Once spring approaches, everyone starts itching to get back to their favorite campground or boondocking spots. For most of us, that means bringing the rig out of hibernation and getting it ready for camping season, also known as dewinterizing.
Hopefully, last fall you winterized your rig by either adding RV antifreeze or blowing all the water out of the lines and water heater with pressurized air. If you used the RV antifreeze method, the majority of water heaters have a bypass valve that allow us to drain the 6–10 gallon tank and turn the switch to bypass the water heater so we do not have to fill it with RV antifreeze. So, in either case, the water heater tank should be empty. Many RV owners simply fill the tank up without thinking about maintenance; however, there are a few steps you can take to make sure your water heater works more efficiently.
120-Volt/LP Water Heaters
Many water heaters now come with either an electrical heating element that can be used on 120-volt power or liquid propane (LP), using a flame to heat the water. It is important to fill the tank before running the unit on 120-volt power, as an empty tank will cause excess heat and ruin the heating element.
Before Filling the Tank, Flush It Out
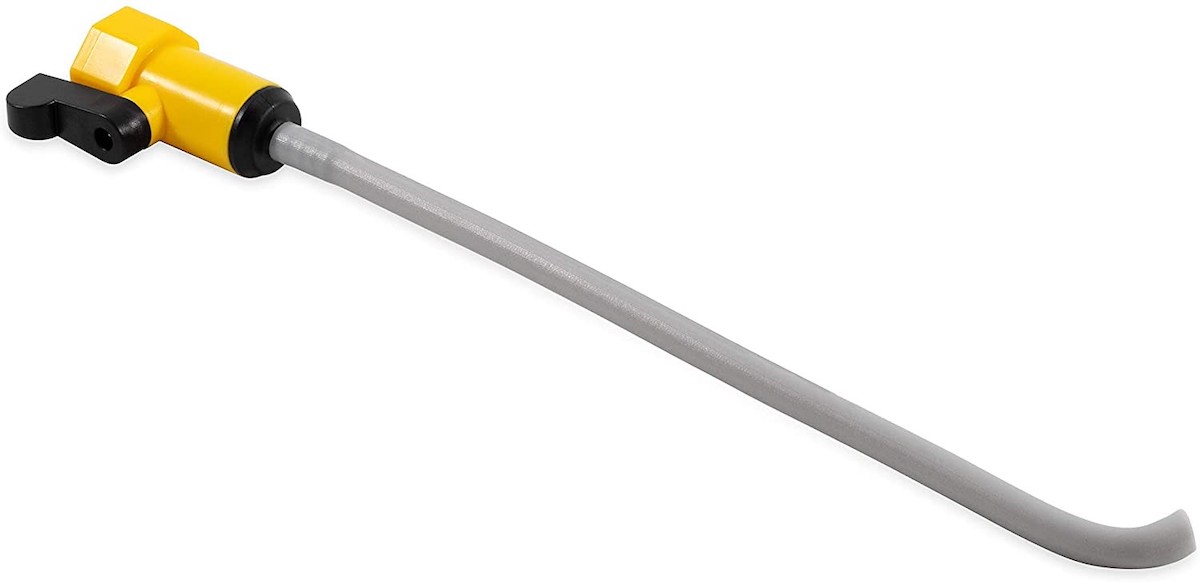
On both Atwood and Suburban water heater tanks, the drain plug is located near the bottom. However, the bottom of the tank is a few inches lower, so approximately two gallons of water will remain in the tank when it is drained. Most campground water sources are hard water and will contain calcium, lime, and other minerals that become sediment at the bottom of the tank. This can create a sulfur or rotten egg smell as well as harden and reduce the water heater’s efficiency. This is a good time to flush out the bottom of the tank using a flush wand connected to a pressurized garden hose.
The rotten egg smell can be caused by a chemical reaction as well as bacteria in the water, and the longer it sits, the more it will smell. You can get rid of the smell by chlorinating the system. Use six ounces of household bleach to each 10 gallons of water in your fresh water tank. Run the chlorinated water through the system and let it sit for a couple of days. Make sure the chlorinated water fills the water heater tank.
Check and Clean All Electrical Connections
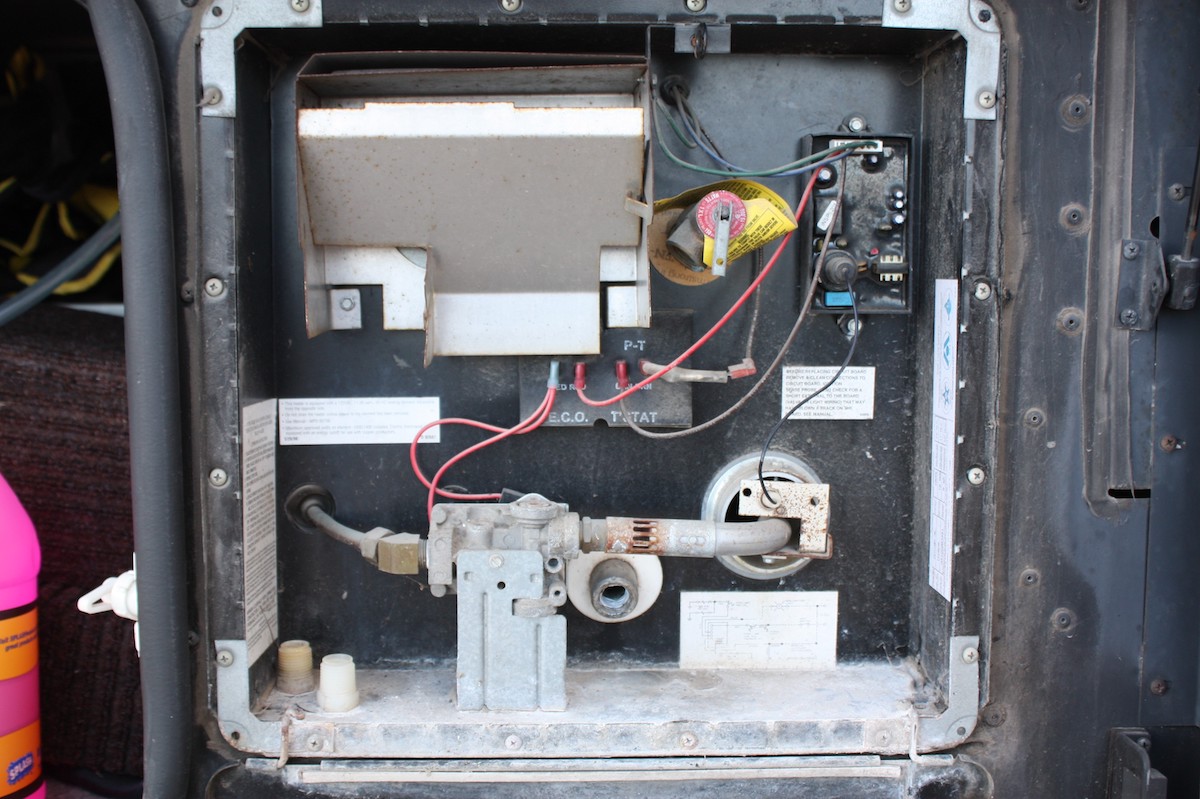
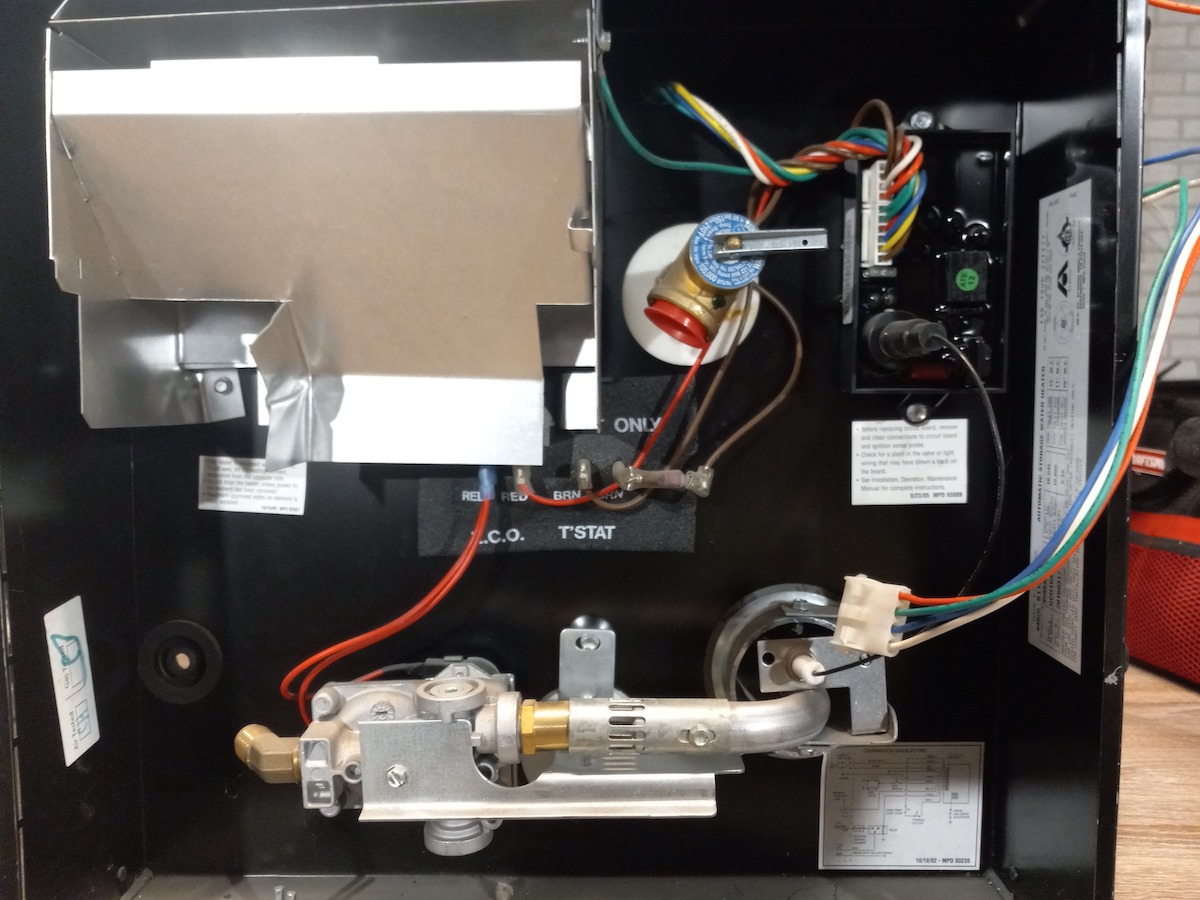
This is also a good time to open the exterior access panel and check all the electrical connections for corrosion and a solid connection. It is common for a white powder or scale to form, which could compromise the connection. Remove the connector and clean it with sandpaper or steel wool and reattach.
Anode Rod Inspection
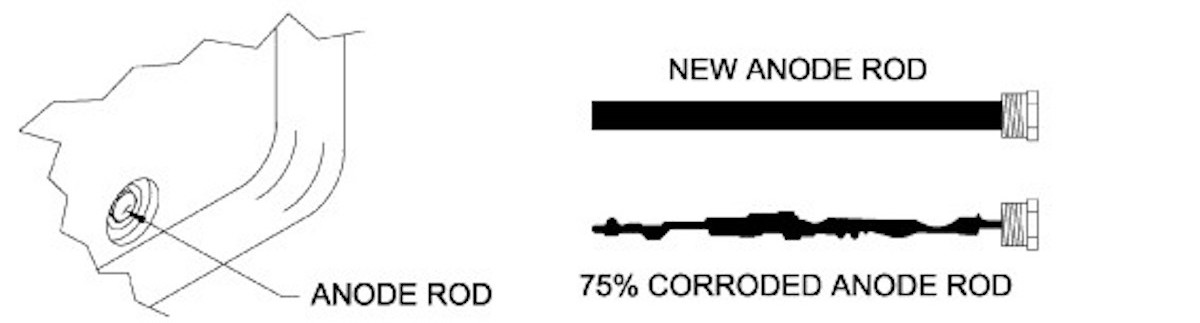
The Suburban water heater has an aluminum or magnesium anode rod that attracts minerals and acts as a sacrificial element that will itself deteriorate rather than the metal of the tank. Atwood uses a stainless steel tank that does not need an anode rod. Inspect it for deterioration and replace as needed. If the deterioration is more than half of the rod, the tank will start to deteriorate as well.
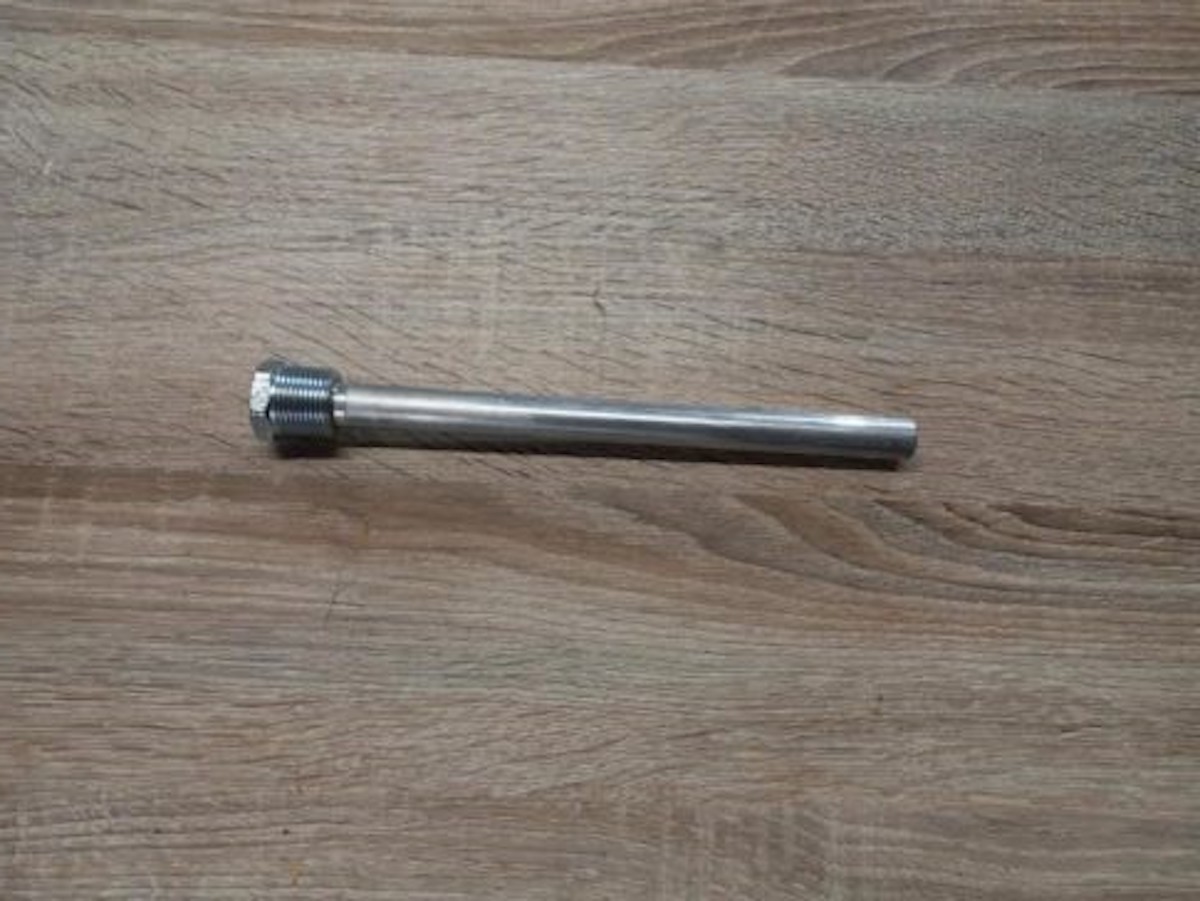
Note: If you do use RV antifreeze in the water heater tank during storage, remove the anode rod and replace it with a ¾” plug with 1-1⁄16th hex as the antifreeze will deteriorate the metal in the anode.
Clean Out the Burner Assembly and Inspect Operation
Check the flue and burner assembly for signs of soot. Excessive soot indicates an improper flame and combustion, so it should be inspected by a qualified technician. Clean the burner assembly and flue box to remove any obstructions and soot or dust. Inspect the vent in the access cover to ensure there are no obstructions. During operation, the flame should be a steady blue color. A flame that is jumping or is yellow is a sign of improper combustion and should be shut down and inspected by a certified technician.
Pressure Relief Valve
Your water is designed to heat to a specified temperature according to the thermostat installed. The pressure relief valve is designed to open and drip (or “weep”) water if the temperature gets above 210 degrees or above 150 psi. An air pocket at the top of the water heater should be present to prevent excess pressure and temperature. However, this air pocket can be reduced over time due to normal operation and should be re-established. If the relief valve is dripping more than normal, perform these simple steps:
1. Turn off the water heater.
2. Turn off the cold water supply.
3. Open a faucet in the RV.
4. Pull out the handle of the pressure relief valve—water should come out of it. Leave it out until the water stops flowing.
5. Snap the handle closed.
6. Close the faucet and turn on the water supply. As the tank fills, the air pocket will develop.
7. Check for LP leaks.
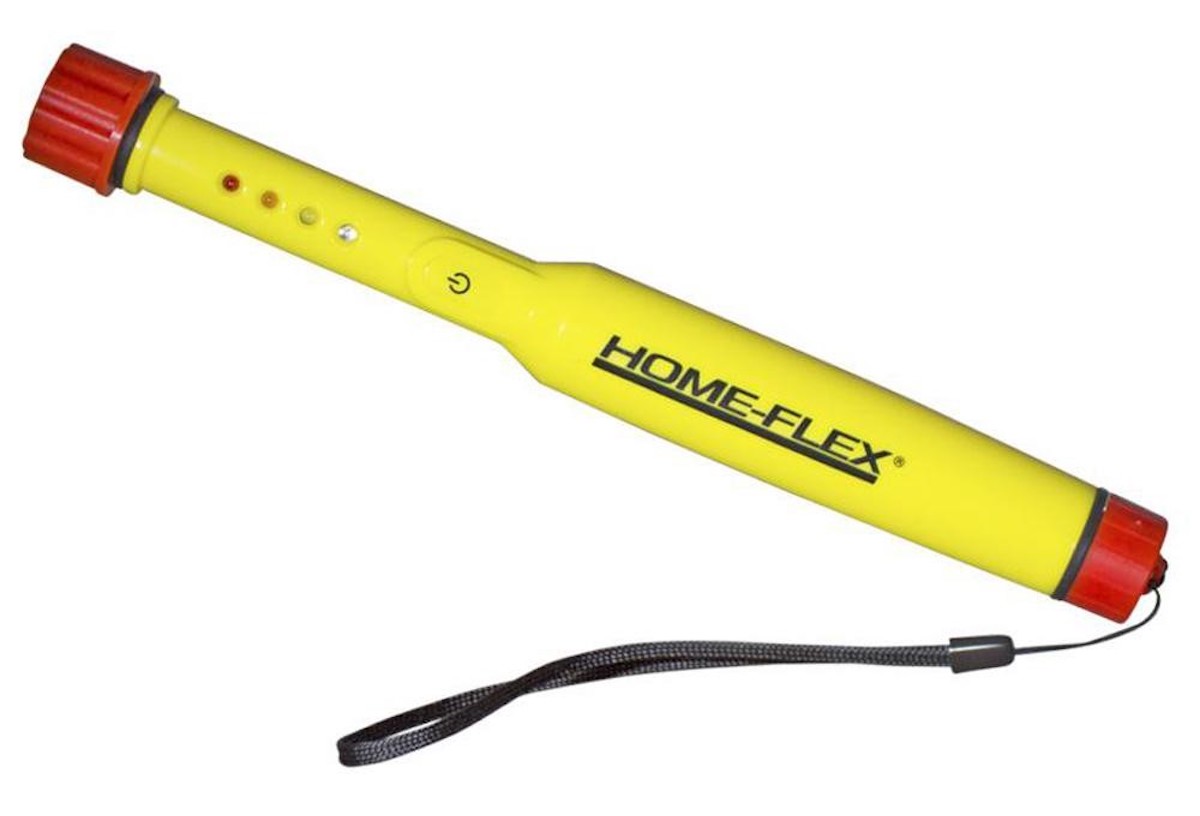
I also like to check all LP appliances when I dewinterize. This can be done with an approved leak test solution or leak tester. Do not use soap and water like the old days, as the soap can deteriorate the metal orifice and connections. I prefer a leak tester such as this one since it’s quick and handy.
We hope these tips will help you when it comes time to clean your RV’s water heater. Now that you’re ready to dewinterize and prep your rig for warmer weather, it’s time to start planning that first road trip of the spring! Happy travels!

Are there videos of Dr wintering the RV that don’t cost
Thank you for this article very helpful, I was watching #thankhank on YouTube between both articles and show I believe I am able to do this myself Once again, thank you very much
Thank you for all your information.