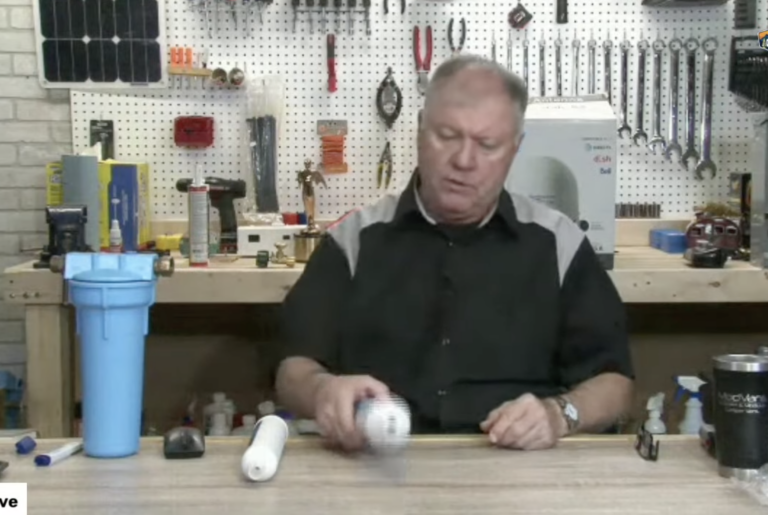
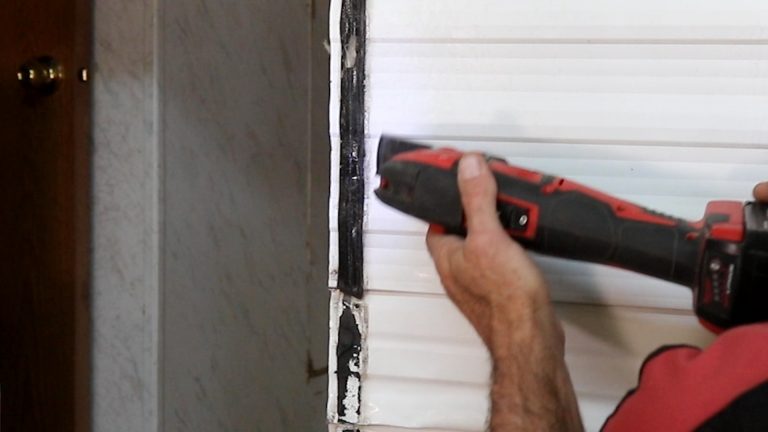
Keep the Moisture Out by Caulking Your RV Sink
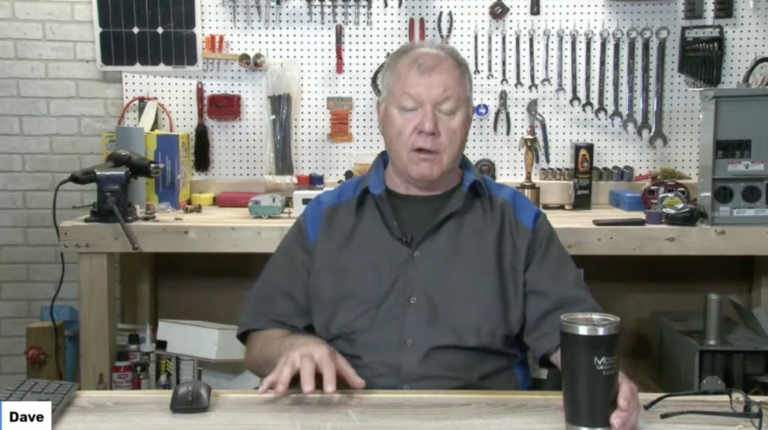
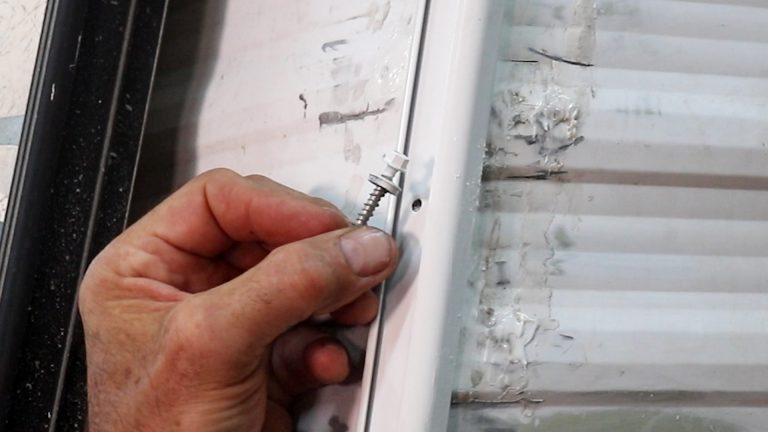
Dave SolbergMost RVers think there is no maintenance required for countertops and sinks. Just keep them clean and dry like at home and there is nothing more that needs to be done. The truth is that as you travel down the road, bumps and dips on the road surface cause small amounts of twisting and turning in all parts of your home. If you’ve got a formica or plastic countertop around your RV sink, it will eventually begin to come loose.
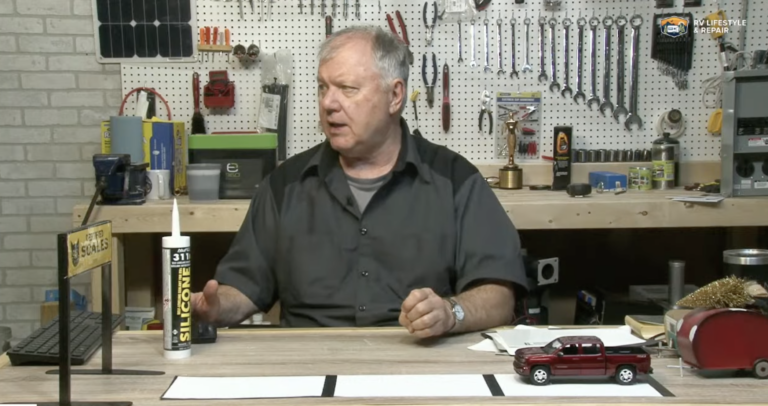
Your countertop itself may be waterproof, but underneath the structure is usually made of particleboard. Once any amount of water leaks through to the center, that particle board will wick it up and hold it, causing the particle board to swell and even begin to rot. The best way to avoid an expensive repair or replacement bill is to caulk around your RV sink once a year as part of your yearly maintenance routine.
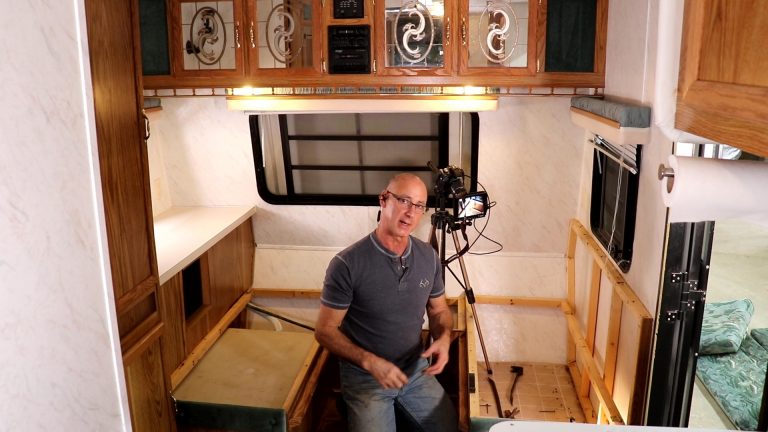
In this video, you’ll learn the simple way to completely seal the edges on your RV sink to prevent moisture from leaking down underneath. You’ll learn the correct type of caulking materials to use for the best seal, and techniques for applying the caulk to ensure complete coverage. This instructional video talks about how to create a neat edge on the caulk surface, and problems that can arise if you don’t do this step. The corners are an important part of the RV sinks to seal, as they often pop loose before the rest of the sink gets started, but you’ll learn why it’s crucial to cover the entire sink edge with the same thickness of caulk. Particle board swelling and rotting can cost you a lot of time and money for repairs, but this lesson about caulking an RV sink can save you both.
Explore videos by Dave Solberg


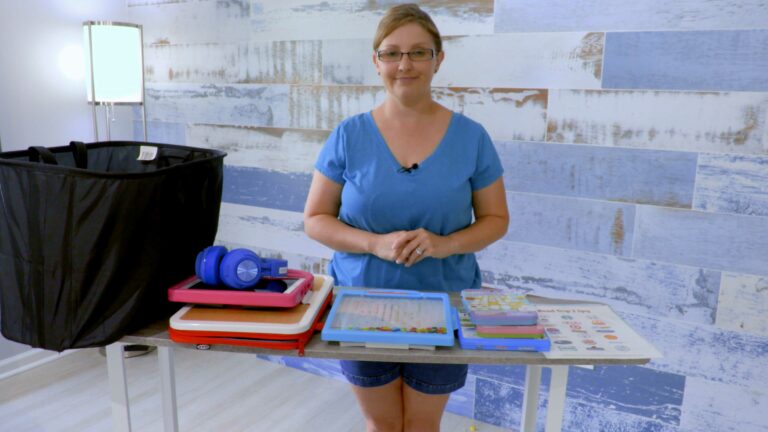
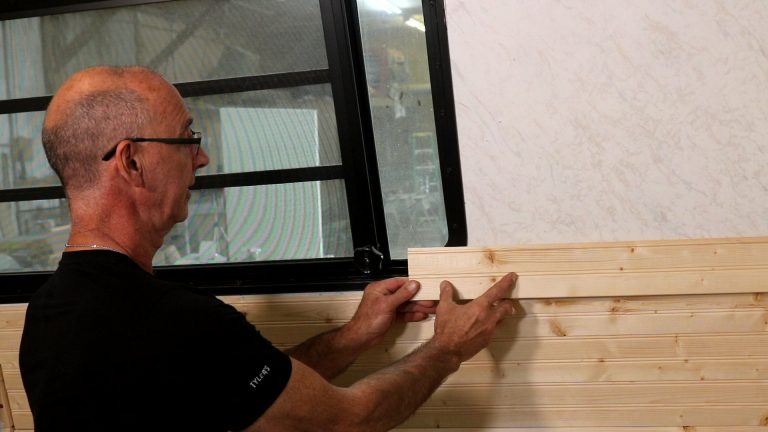
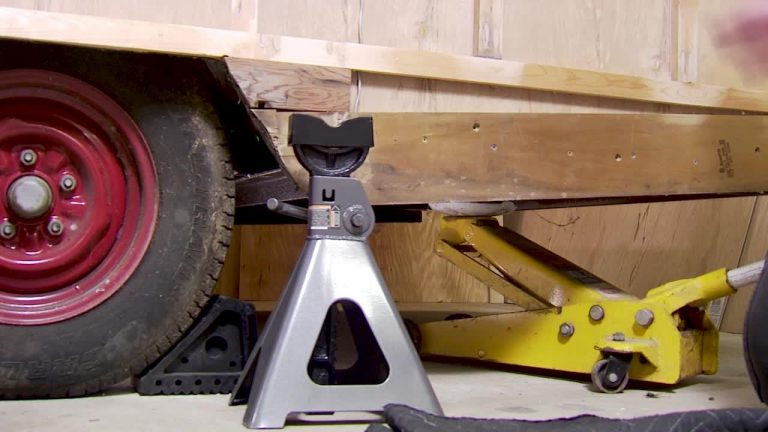
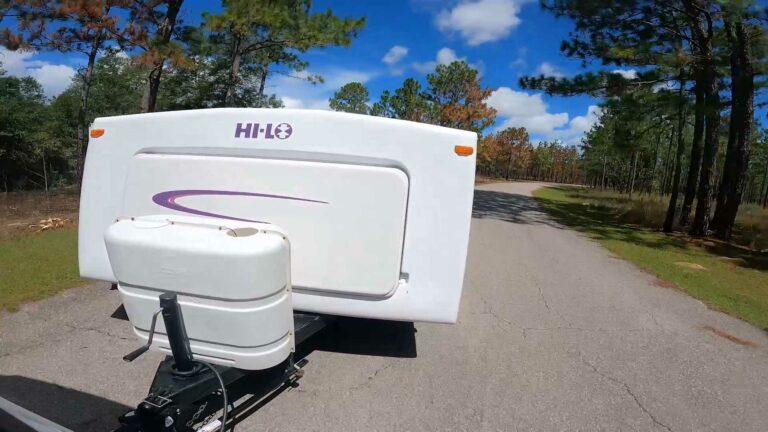
You may be interested in


Premium Membership
Unlock exclusive member content from our industry experts.
- 24/7 Access to Premium RV Maintenance Videos, Travel Inspiration, and Lifestyle Tips
- Step-by-Step Instructional Demos, Projects, and Guides
- 50% Off Video Downloads Purchased in the RV Lifestyle & Repair Shop
- Access to Ask the Expert Program
Unlock exclusive member content from our industry experts.
- 24/7 Access to Premium RV Maintenance Videos, Travel Inspiration, and Lifestyle Tips
- Step-by-Step Instructional Demos, Projects, and Guides
- 2 Full-Length Video Downloads to Watch Offline
- 50% Off Video Downloads Purchased in the RV Lifestyle & Repair Shop
- Access to Ask the Expert Program
Gold Membership
$333 Value
Get everything included in Premium plus exclusive Gold Membership benefits.
- 24/7 Access to Premium RV Maintenance Videos, Travel Inspiration, and Lifestyle Tips
- Step-by-Step Instructional Demos, Projects, and Guides
- 9 Full-Length Video Downloads to Watch Offline
- 2 Full-Length RV Repair Classes to Keep for Life
- Discounts on Purchase-to-Own Content in the RV Lifestyle & Repair Shop
- Access to Ask the Expert Program
- Exclusive GOLD LIVE Streaming Events