Improving Air Conditioner Efficiency
RV Lifestyle & Repair EditorsCooling your RV is not an instant process, and your A/C unit is not a magic wand. The air conditioning on your vehicle functions much like the one in your home, which requires time to bring the temperature down. Naturally, the unit’s rate of cooling depends on its efficiency. In this step-by-step video lesson, RV repair expert Dave Solberg teaches you how to improve your air conditioner's efficiency so you get the most bang for your buck.
How to Improve A/C Efficiency
One of the tasks that should be on your spring RV maintenance checklist is inspecting your air conditioner. Every time before you get back on the road each year, Dave recommends digging into the guts of your A/C unit to ensure that your air conditioner efficiency is at its peak. This job is simple but crucial, because it can save you a decent chunk of change and ensure that you reach your target temperature as quickly as possible without wasted energy.
(Pop quiz: When should you inspect your A/C? Before it gets too hot!)
Here are a few of the things you should check for when inspecting your RV’s A/C for optimal efficiency:
Proper airflow
All A/C units (whether ducted or direct) utilize filters that need to be cleaned and/or replaced to prevent them from clogging, plugging, and tearing; they also have vents that can become clogged, and if these are filled with dirt and debris your system will need to cycle longer in order to reach your desired temperature. The same is true of the evaporator at the front of your A/C’s warm air intake--take a brush to this plate to free up any dust or other contaminants that might be clinging on.
Tightened gasket
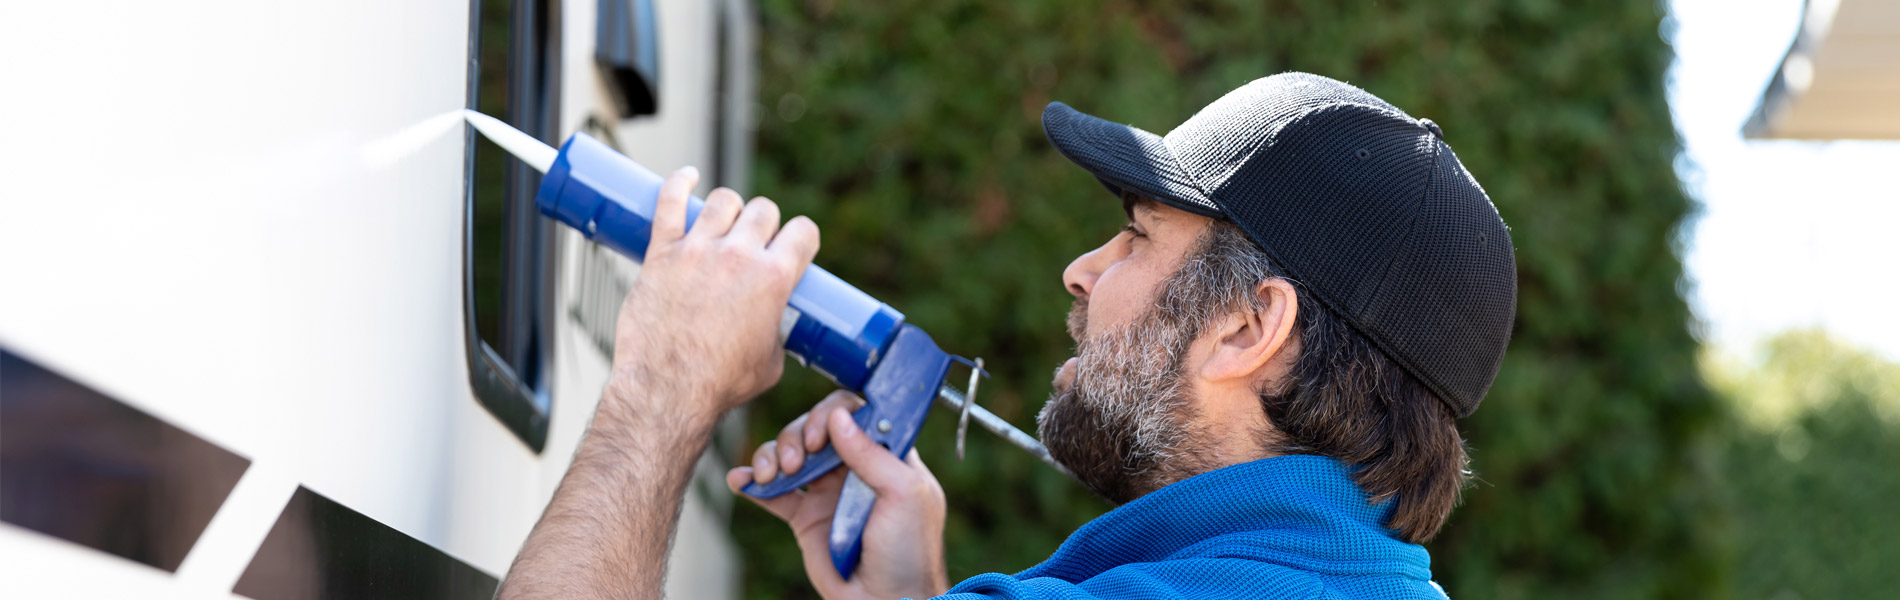
As with other appliances that sit on the roof of your RV, you want to ensure that no moisture can seep into and remain inside of your A/C. One way to prevent leakage is to tighten all screws that mount the unit to the inside and outside of your RV, especially the gasket that rests against the roof. Unwanted water is always a problem!
Straightened fins
Take a closer look at the surface of your A/C unit’s evaporator (intake side) and condenser (output side). Are the fins flattened down anywhere? If so, this will have essentially the same effect on air conditioner efficiency as if they were clogged with dust or debris. You can use a fin comb to straighten the fins and ramp up ventilation for optimal cooling power.
Each of these inspection points is equally essential to the efficiency of your RV’s air conditioning unit. Every spring as you’re getting your rig ready for the road, do yourself a favor and hop up on the roof. Pop the shroud on your mounted A/C, and do a thorough run-through on the guts of the cooling unit. Ensuring optimal air conditioning efficiency ahead of time will leave you feeling cooler when those hot summer days get a grip on your RV!
Temperatures are starting to heat up and everybody's getting itchy to hit the campgrounds, get out on the road and go camping. One of the things you should do every year in the spring, spend a little bit of time doing some maintenance and checking your RV air conditioner. We get a lot of questions on this. Sometimes people wait until it gets really the heat of the summer time and then it's hot to get up on the roof and the and the basically maintain this unit. So when you bring it out from spring, it's a good time to take a little bit of time and just go over a few things.
First thing is airflow. Now this is a typical rooftop unit that you would see. This happens to be a Coleman. There's domestic variety of other ones, a lot of them in your travel trailers on the inside you will have a direct flow. So you will have a plate basically like this up on the ceiling with your knobs in here.
If you have abducted rough air, you will have an air return. It's a warm air return in here and your thermostat will basically run your air conditioner. But both of these have filters. So if you take this off, I'm gonna turn it over for better access. You will have a very thin mesh like filter like this.
It'll either be sitting in these grooves, two of them here as the air comes through or in your cold air return on the ceiling. But both of them will have a filter every spring. You need to take that out and maybe even twice a year or more. Just check that, clean it, replace it if it's being if it's torn because all the stuff inside your RV, if you have pets you've got dander, you've got hair. If you use talcum powder, if you have dust, all that stuff is going to be sucked up through these filters and if these filters get clogged it's gonna restrict your airflow.
Your air conditioner is not going to run as efficient and eventually it might even ruin your air conditioner. Now we did see a case in a couple of videos we've had before where the lady at the campground used a lot of talcum powder and that powder just kept drifting up and got pulled up inside. These filters ended up tearing and it completely caked the the evaporator coils inside which we'll get to here in just a little bit. So it's very very important. Check those filters, clean them out and you can just run them under regular tap water to clean them out.
You can use a shot back if you want but keep in mind they are a little bit brittle or flimsy. So you could tear them pretty easy if you if you do use a shot back, be careful with it. So the next thing then and I'm gonna take this shroud off, get it out of our way for us. So these are the guts of the cooling system which just about everybody has and I'm gonna take this front evaporator cover off, so we have better access the next thing you want to do after. You have made sure that filters are clean, this is our warm air return.
So what happens is the air inside your RV is going to be drawn up through this as this motor takes off, it's gonna draw the air up and pull it back through here. And in our case of the talcum powder, this was completely caked, you couldn't get any air through this whatsoever. So the compressor just got hotter and hotter and hotter and the amP drug got up and it didn't cool down and it finally just ruined the system. But even on the, on the small side, you want to make sure that this is all cleaned out and the way you can do that, you don't have to get up on top of the roof, you can do it inside your RV, we'll pull this back and pull this up when you take off that cold air return, you will see this, this is gonna be wide open in the ceiling of your R. V.
And you can take a look at these coils right from there. Until do I have a lot of dust, Do I have a lot of dander in here and maybe just take a shot back and clean those out. Now if you have a lot of stuff in here, you might want to get up on top of the roof then and they do make a solution that you can coat these with, that will clean the fins out inside. I typically just use a dawn dish soap diluted in and I rinse it with a real low volume hose. Now the thing you gotta be careful about is this is wide open to your RV.
So if I'm up here with water splashing around, that's going to get wet inside my RV. So you might want to put a baggie across that, just one of those plastic shopping bags, some saran wrap, something to keep that water from going down inside. Then you also want to look and it's hard to see on the outside, but there's two drain holes in there and you want to make sure that those are clean as well. So if you're up here, you got this off, you want to make sure you get down into these holes and again I'm gonna pull this up, make sure you get a good solid, so you can see this right here and this right here, our drain holes. Because when you're pulling that air from inside your R.
V. It's gonna be warm, moist air and it's gonna go through your evaporator coil and flash and it's going to take that moisture out and and cool that air, you can only cool it down about 16 degrees. So you gotta cycle quite a bit um you know if your, if your unit is really, really hot, so we want to make sure that these are clean, these are open, you don't want a silicone around the outside obviously because that has to get out and and go down. That's why you see every time you step out the door, that big rainfall coming off, it's your condensation out of your air conditioner coming out. One other thing while you're maintaining it, and this doesn't really make it run more efficient, but it's something that you want to make sure this gasket is tight and you typically inside will have four spring loaded screws and just make sure they're good and tight because that will compress this and you won't get moisture inside.
Very few people do that. We've brought this up many many times in the videos that you just need to tighten those up. Otherwise, if it starts to break down the seal a little bit and you get a gap, you get water in there and it wicks inside the, the roof. And then you've got big problems which we've seen before. So then once you've done this clean out while you're up here, there's a special little tool and this is little, just a little um fork and I'm gonna turn this around a little closer and you can see some of these fins have started to, to get a little bit out there.
We're gonna come around here and just show good and they don't have to be perfect. It's just that you want to make sure that, that you don't get a, you know, a flat spot along all here because that that's gonna restrict that air flow all the way back. And then we're gonna have the same problem as if we had um, you know, a bad filter or a plug filter couple of years ago. Something else that happened. We had a local guy that had a unit out in storage, he had it all covered up and this insulation right here was completely chewed up by squirrels.
They got in underneath it, They nested in here, they chewed up on the, on the styrofoam. And I think it's kind of ironic because we call this fan here a squirrel cage. So it literally was a squirrel cage, but so here's how the system works. Warm moisture is brought up from the inside, goes through your evaporator coil, your coolant then flashes in here, brings out the moisture, cools it down and then it's shot back down on the inside on the backside here, what's happening? Turn this around a little better shot.
So we see our motor here, we see our fan blade here. So as this is spinning, it's pushing the air back down into your RV. But as this is spinning on the backside, it's literally pulling outside air in to cool back down. This coolant that's now gotten really hot because of the moist air coming up, the warm, moist air coming up through here. So it goes back through through the condenser coils back here and gets cooled.
So these are also important to make sure that you've got good ventilation coming through there. Same thing, use the comb, make sure that they're nice and straight. The thing you see a lot of times with these. Now this happens to be a pretty a newer unit that's got a kind of a neat feature as you notice this is angled. Now, most of them are straight down the back and the reason they've angled this is so that you don't get as much damage from rain hail, that type of stuff.
It's hard for that to get in here, but you still can get branches that you may back up into a campground or something. So just, you know, every spring, do a little bit of maintenance, take a look at that, make sure those are nice and, and um open. So you get good airflow coming in to cool this back down, otherwise everything's gonna work harder. The amp draw is gonna get higher. It's gonna be less efficient and you're going to, you're going to basically burn out the motor and the, and the condenser couple other tips on, making it run more efficient is don't expect to take 100 and 20 degree RV and cool it down to 65 degrees in a day.
It will not do that. You can't let it sit out in the baking sun and get to that temperature unless you have two or three air conditioners. You know, try to put it in the shade, try to try to put the unit into a place where you're not gonna be directly into the heat of the sun during the day. And you know, the cooler you can get that inside temperature to start with the, the easier this thing is gonna work, the more efficient it's going to be another thing is, you know, kind of limit, get some airflow going. You know, use your, use your vents inside to get some of that hot, moist air out of there as well when you when you're starting up the unit and that'll make it run easier.
So just take a little bit of time once in the spring when you're doing your other, we call it the winterizing. Just take a look at your air conditioner. Just those small little things can make it run a lot more efficient
Share tips, start a discussion or ask other students a question. If you have a question for an expert, please click here.
Already a member? Sign in
No Responses to “Improving Air Conditioner Efficiency”