RV Inspection Tips: Side Area Maintenance
Dave SolbergA complete RV inspection of your vehicle’s exterior, and particularly its side walls, should be performed at least once a year to check for any weaknesses and pinpoint maintenance that needs to be done. It’s best to perform this RV inspection prior to putting your RV into storage, and again when you bring it out in the spring before hitting the road for the year’s first big trip.
The exterior sidewalls on an RV are highly important components that must be fully checked during an RV inspection. You’ll want to look closely at all seams, joints and the surface of the walls, keeping an eye out for slight damage that could lead to moisture penetration and expensive repairs further down the road. In this extensive lesson, RV expert Dave Solberg walks you through a demonstration inspection on his demo motor home, pointing out all the things you need to check for, and giving recommendations for any damage you might come across.
Inspecting Your RV
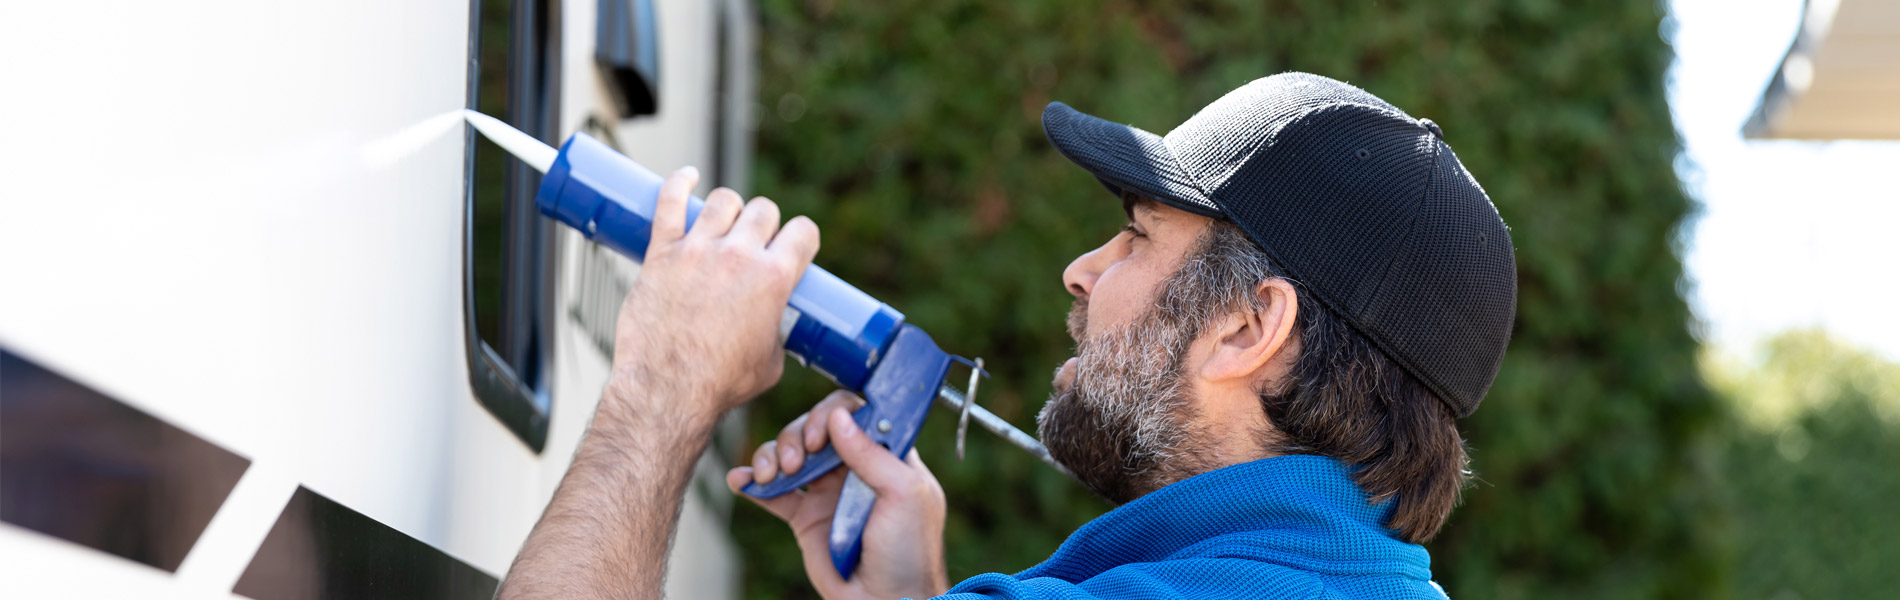
To help you get a sense of what to do doing your RV inspection on the exterior of your RV, Dave covers the entire vehicle from the wheels to the roof. First things first, as you get up close and personal with your rig during an RV inspection, you’ll want to be sure to look for loose, cracked, and moldy sealant. Check sealing around windows, doors, mounted components such as lights and ladders, and at the connecting point between the sidewall and the floor/roof.
The bottommost area of the RV is especially prone to moisture penetration that can cause swelling of sidewall material, delamination, and expensive repairs. To emphasize this point, Dave talks about the importance of nipping in the bud any minor signs of leaking or separation along these seams. We promise, you don’t want to see what happens when the issue expands to the interior!
Leave No Screw Unturned!
After you’ve walked through the exterior surface areas in your RV inspection, Dave recommends opening all compartments, doors and windows and checking the felt lining to make sure they have not pulled away from the frame and are not damaged. These linings might seem insignificant or even superfluous, but they’re actually essential for maintaining a quiet ride. As felt starts to come loose, you’ll hear rattling and vibrations where before there was silence. The same goes for rusted and loosening corners in the back of compartments. Pull out that screwdriver, and get everything snug.
Next you’ll want to get up on the ladder (which also needs to be checked!) to fully inspect every inch of the roof material and the roof-to-sidewall joint. It’s essential for your sanity and your wallet that you find any spots where the seal is cracked or peeled away. This will cause moisture penetration, which in turn will cause a major headache!
Finally, after inspecting tires for weather checking, even tread wear and proper age (no more than 10 years!), you’ll want to examine the strength and integrity of all compartment “chicken beaks”, outlets and vents. If you see anything that looks loose or rusted, do yourself a favor and immediately tighten bolts and replace essential components that are on their last leg. Use your discretion during an RV inspection when it comes to fixing and replacing parts. Just because something on the exterior looks as if it can hold out a little longer, it’s tough to tell when exactly its breaking point might be.