RV Slide Out Awning Installation
RV Lifestyle & Repair EditorsRV slide out rooms revolutionized the way we travel and enjoy the great outdoors. In some cases, slide out rooms in the bedroom and living area can more than double the amount of leisure space you have to work with inside your RV, making your stay more comfortable and allowing for more activities. Because this handy invention can be such an important component of your RV adventures, it seems only right that you would want to take care of your slide out room and keep it in tiptop shape for as long as possible.
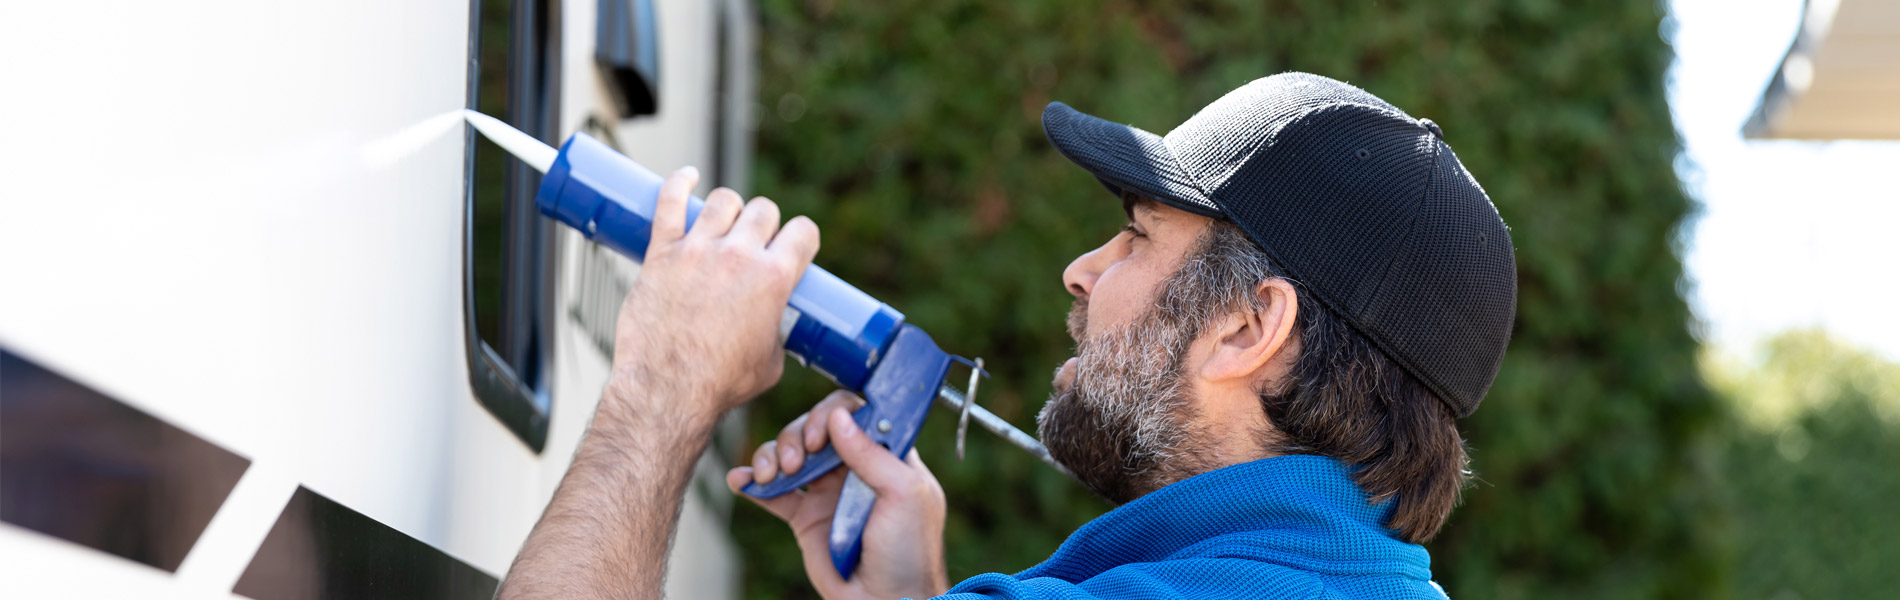
To protect your RV slide out from the elements and even keep your living space a few degrees cooler, most RV maintenance experts and certified technicians recommend installing a retractable awning over your slide out room. RV slide out awning installation is a relatively simple process that requires two sets of hands and about an hour of your time, and this small addition will work wonders in keeping debris such as sticks and leaves off of the top of your awning, which has been known to damage the top seal of your sidewall cut-out and cause potentially major leakage inside the cabin.
In this lesson, we walk you step by step through a demonstration of a RV slide out awning installation to show you just how important a slide out awning can be for the longevity of your RV components and your overall RVing enjoyment.
Quick and Painless RV Slide Out Awning Installation
One of the most common concerns RVers have about buying and using a vehicle with a slide out living room is trapped moisture. However, whether it be excessive heat or a pesky water leak from the roof of your slide out room, there’s a simple fix for any problem you might encounter: an awning. Awnings help to cover the roof and seams of your slide out, keeping water from building up and leaking into your cabin and harsh sunlight from baking your living space.
Utilizing a slide out awning can negate a lot of issues on your RV, so we’ll show you how to complete an RV slide out awning installation. In this RV slide out awning installation, Dave Solberg and RVIA-Certified Master Technician Steve Albright teach you the expert technique for the entire process.
First you’ll learn how to mount the rear and front brackets at the top of an RV slide out. Steve talks about the importance of measuring your slide out room beforehand to ensure you’ll have proper overall fit as well as correct placement of these brackets. You’ll then want to either remove the drip rail that’s already mounted in order to make room for the new awning bead rail, unless you have enough space for both.
Once you have the brackets mounted with neatly sealed screws, Steve and Dave show you how to snap a line to check that the bead rail is level, and then walk you through the process of threading the awning and making sure each component is securely installed. Prior to threading the awning material, Dave advises that you carefully clean your hands to ensure that you leave behind no dirt or grime from ladders, drills or other tools you might use. This awning should last you a long time, so you want it looking good from the start!
You’ll also learn why it’s essential to turn off the power supply on your RV before drilling any holes in the sidewall, and discover what Steve likes to use to ensure the awning remains rolled tightly during transit. Unwinding can cause bunching and rips in the material, which leads to a bad time.
And that’s that! All that’s left is to cycle the awning several times to check for smooth operation. Pretty easy stuff, if you feel confident in your ability to get the job done. With Dave and Steve’s help, the process is a synch. Consider adding an awning to your slide out room; we guarantee it’s worth the investment!