Watch TV at a Dry Camp with an RV Inverter
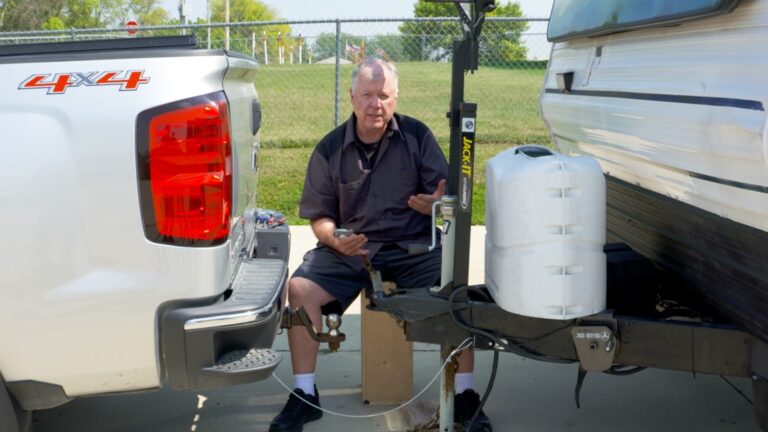
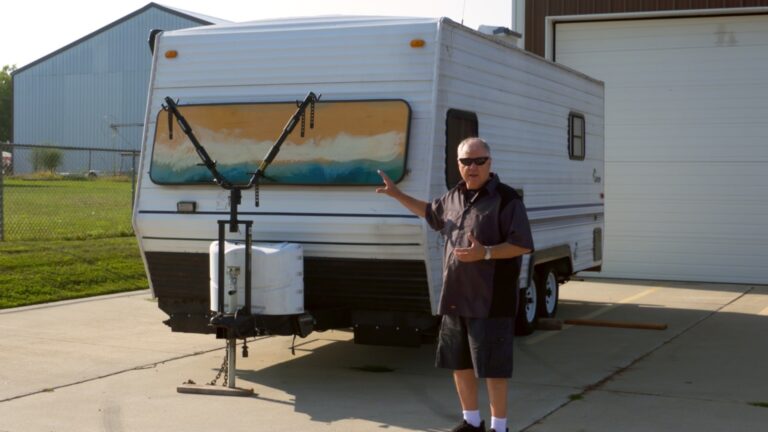
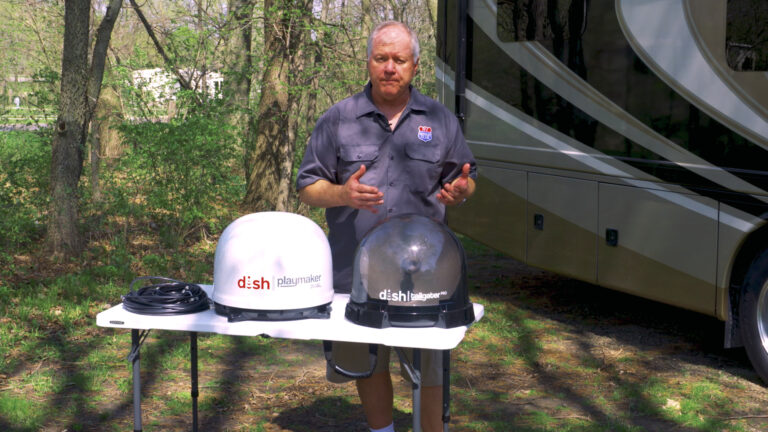
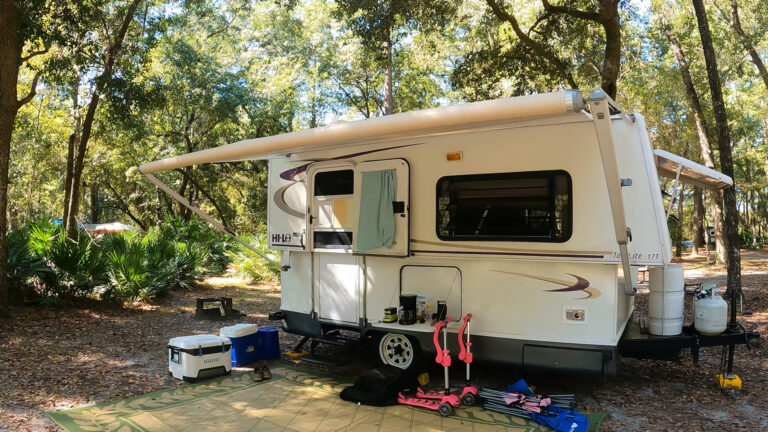
Dave SolbergBoondocking, or dry camping, is the practice of parking an RV overnight in a spot with no running water or electricity. Boondockers must rely on their own supplies while staying in these locations.
The benefit of dry camping is that some of the most beautiful RV sites are located in the pristine wilderness, untouched and filled with natural wonder. They’re attractive and peaceful, but campers have to be ready to live completely off the grid when they take advantage of these sites. If your fresh water tanks are full and your batteries are topped off, you shouldn’t have any problem dry camping for a night or two, but it’s a good idea to install some insurance.
What Does an Inverter Do?
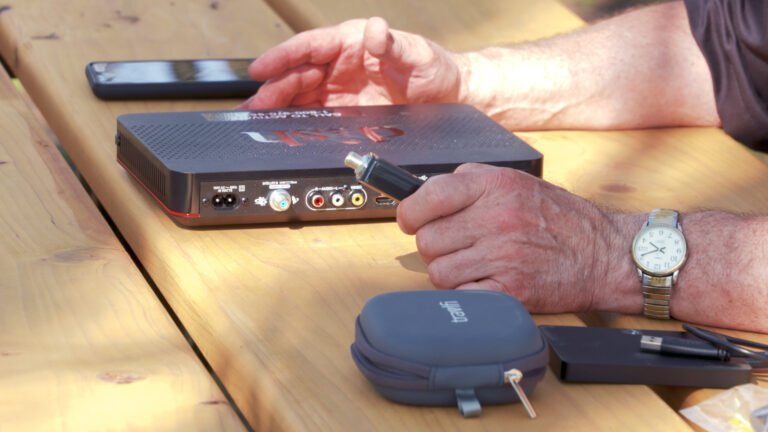
Watching TV or movies at night requires 120-volt electricity. If you don’t want to fire up the generator, an inverter is an easy and inexpensive option. An inverter converts the 12-volt DC electricity available from your house batteries and turns it into the 120-volt power you need for a full night of using the TV, VCR, DVD player, video game consoles, or whatever else you’d like to use. In other words, an RV inverter turns battery power into entertainment.
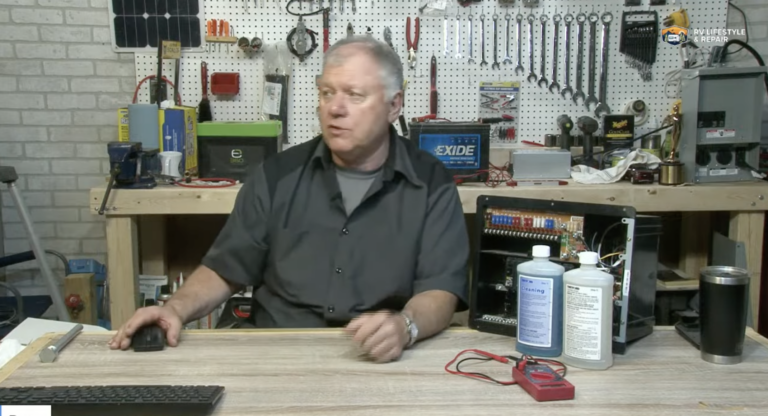
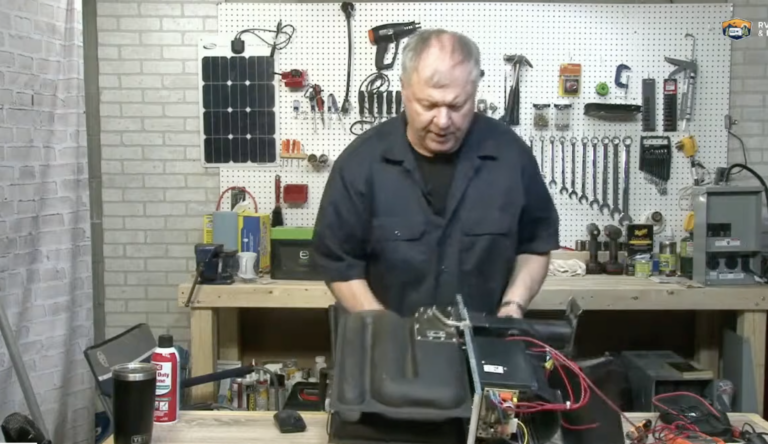
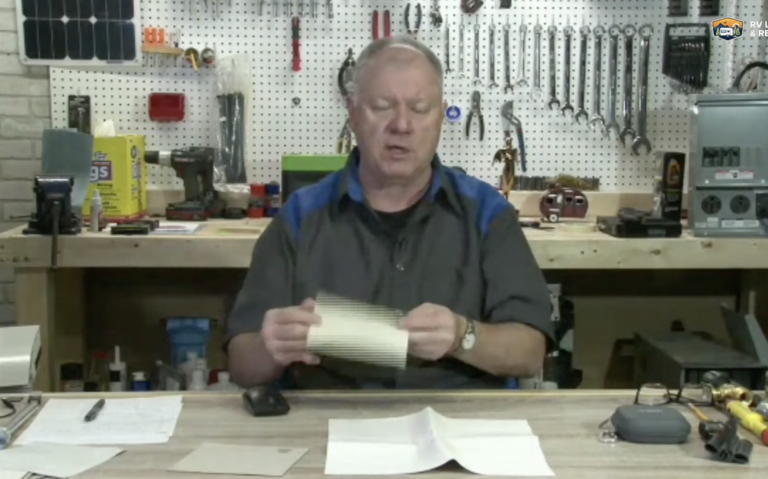
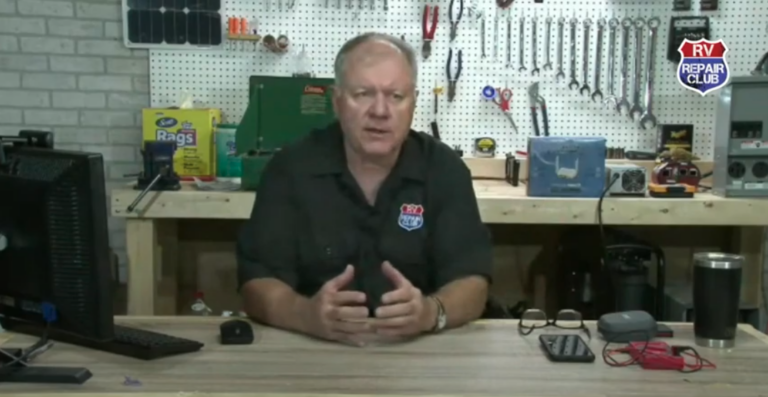
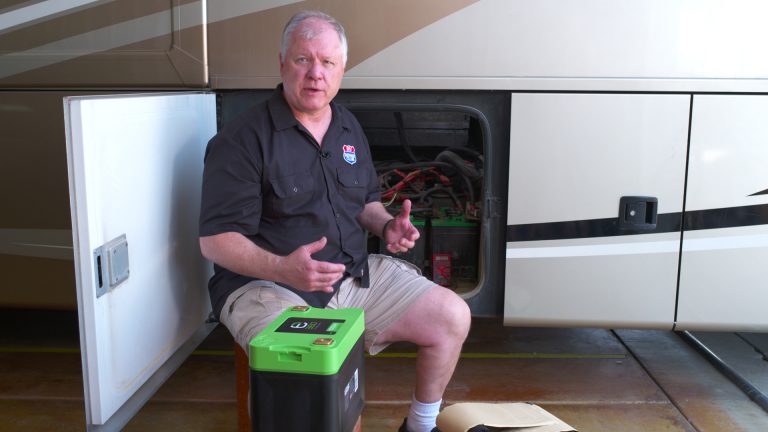
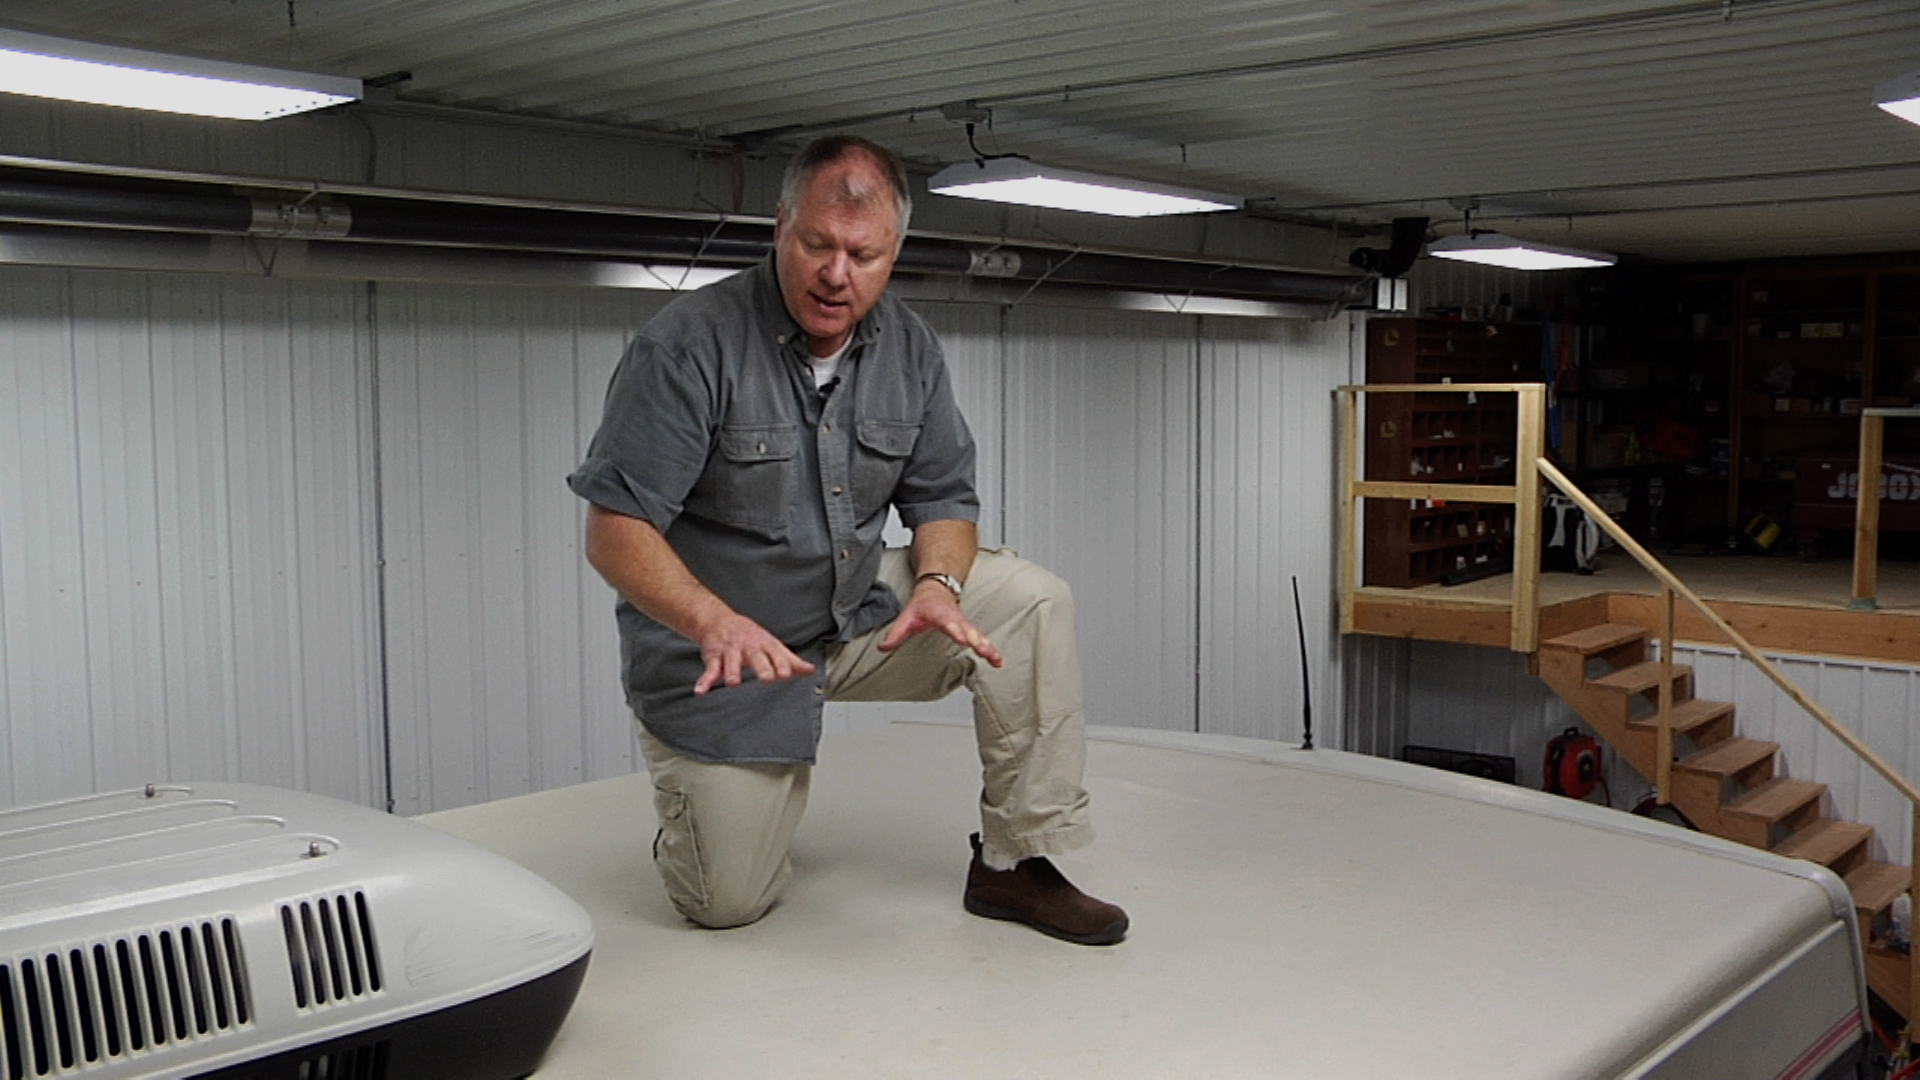
In this video, RV maintenance and repair expert Dave Solberg teaches you how to safely and easily install an RV inverter. You’ll find out which connectors to use to prevent road vibrations from loosening your wires and learn how to connect a TV, VCR, or DVD player to the inverter.
This clip will also teach you about dedicated electrical systems and why they’re best for items such as entertainment systems in your RV electrical setup. Finally, you’ll see a discussion of Velcro strips vs. screws when it comes to securing the inverter to the shelf inside the storage cupboard. Let’s get started!
Installing and Using Your Inverter
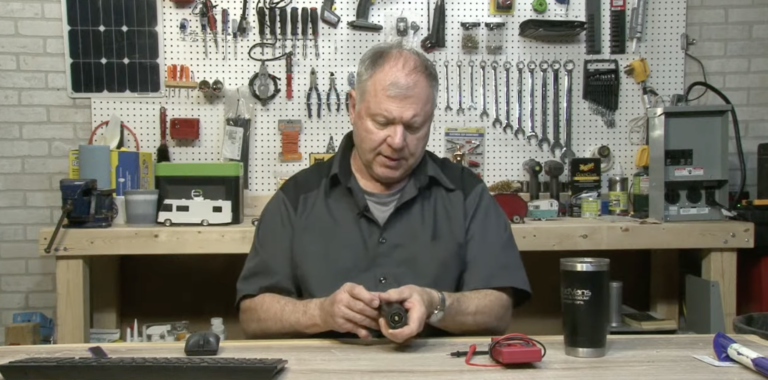
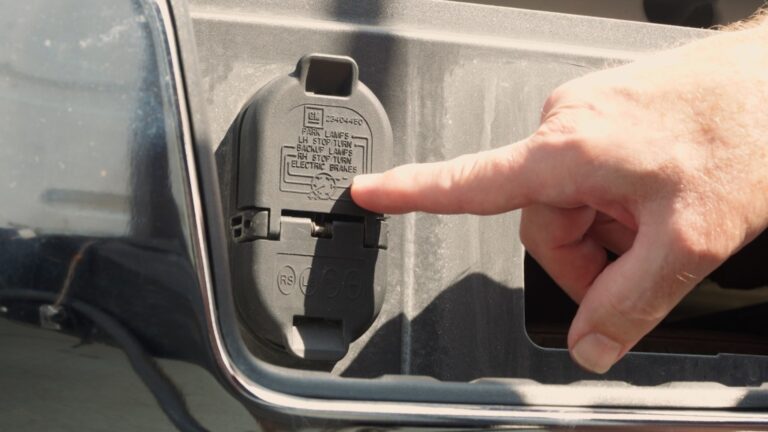
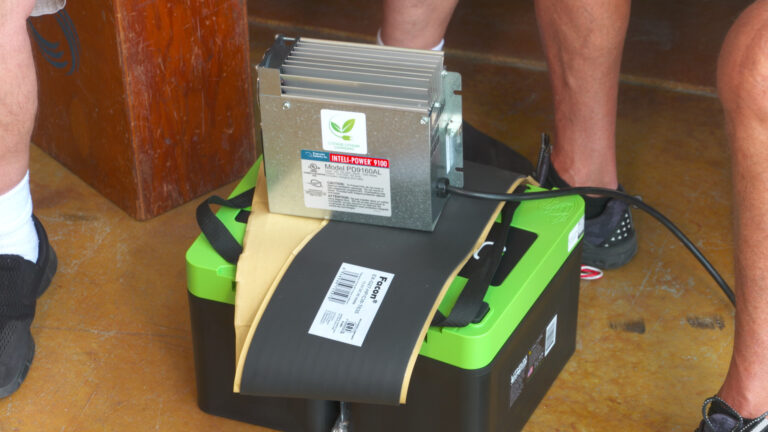
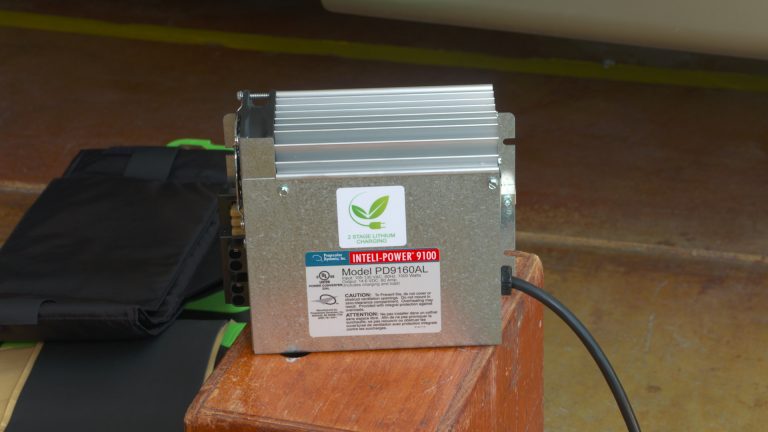
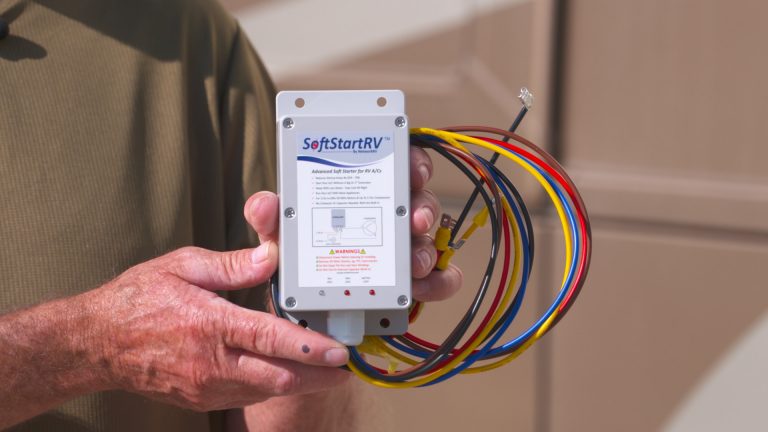
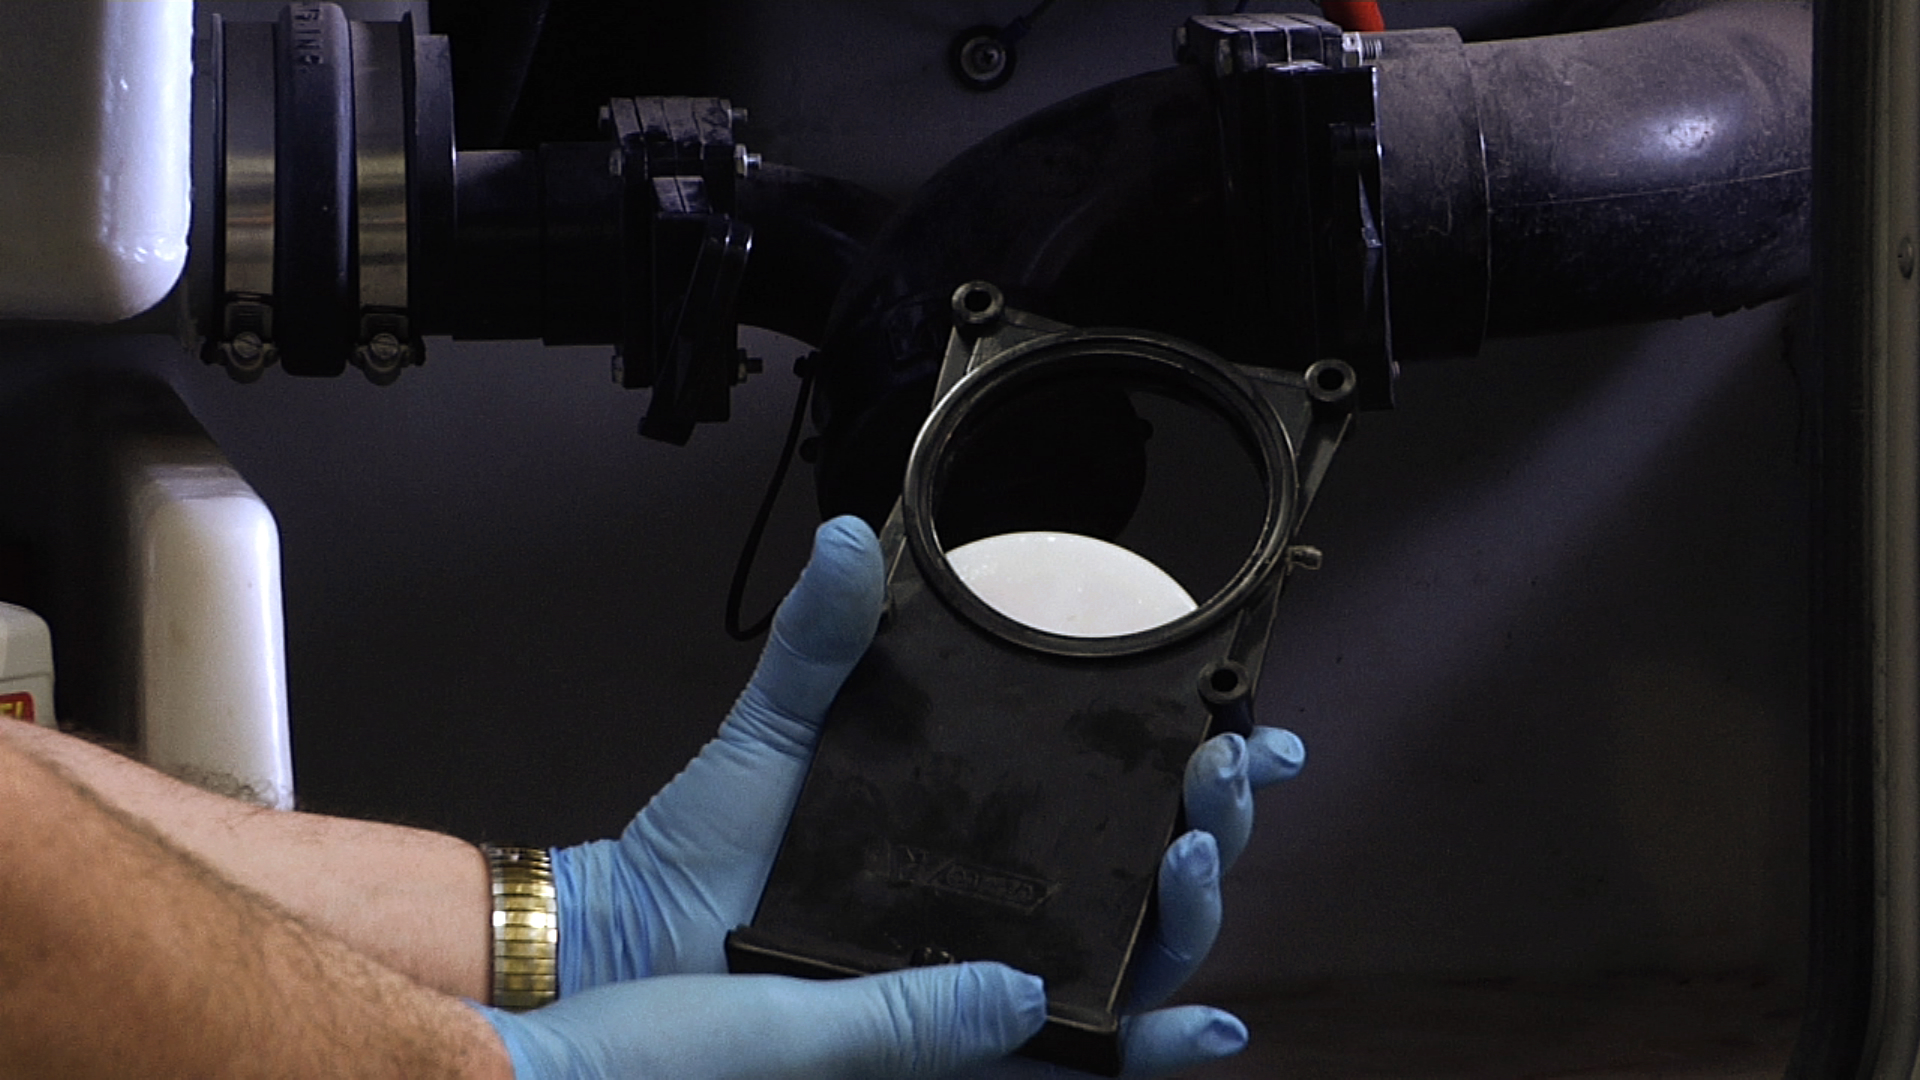
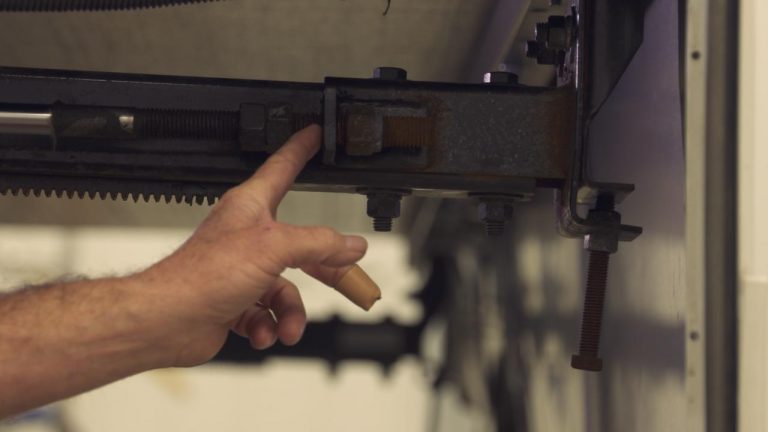
Inverters are typically 130 watts, and when installed on an RV they should be wired to a dedicated circuit with 10-gauge wire. The system should utilize positive and negative inputs with a chassis ground and connect to a fuse on the 12v side of your vehicle’s distribution center. Dave explains why it’s best to use automotive-style clips rather than twist locks or crimps, as they provide a better connection, don’t corrode, and never shake loose due to road vibration.
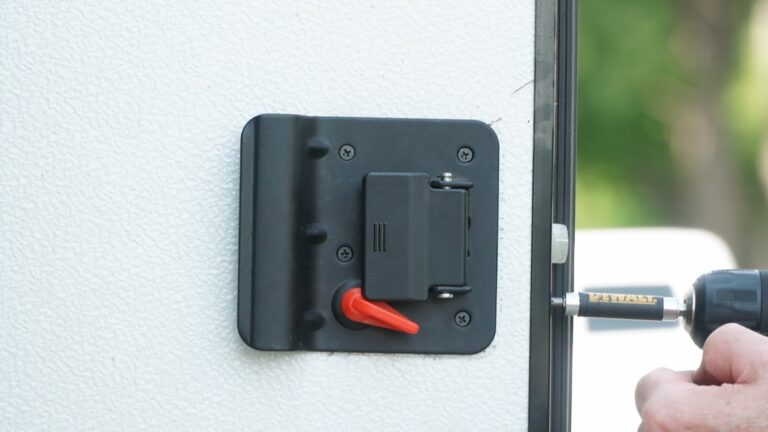
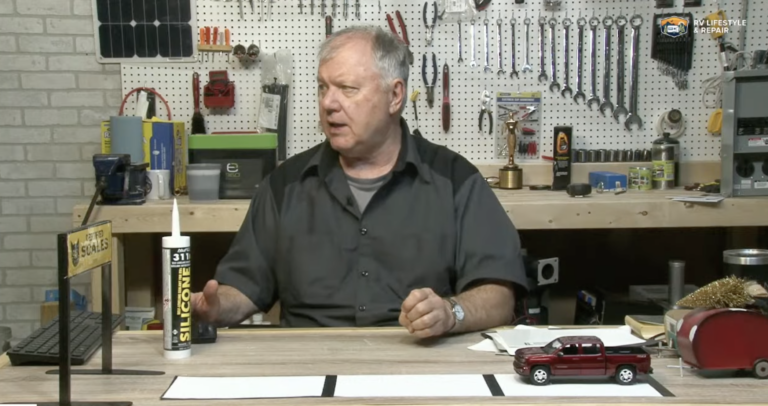
When mounting the inverter to your entertainment console, attaching Velcro strips to the underside or screwing the box into the shelf if possible will keep the inverter firmly situated.
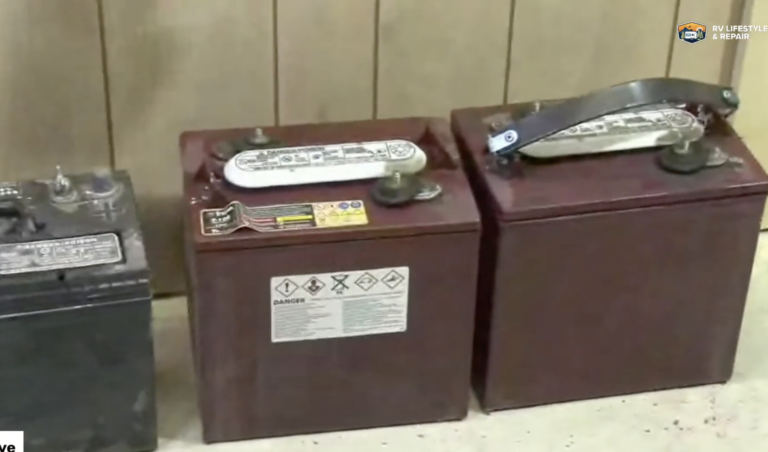
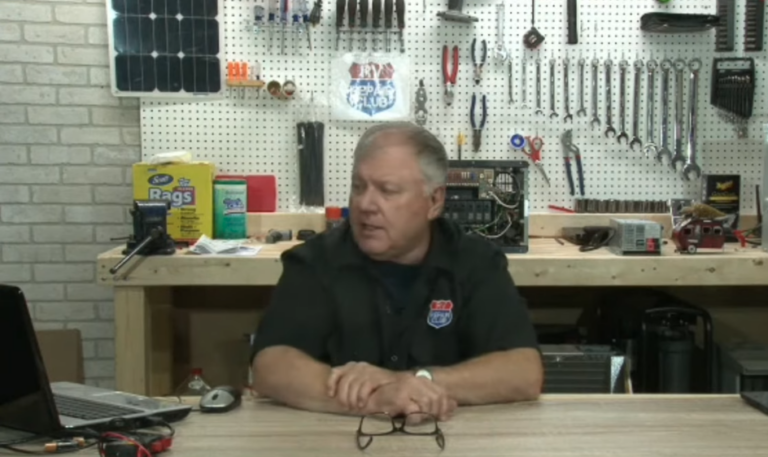
With the inverter in place, Dave teaches you how the system works to invert power from 12v to 120v, and explains what happens when the system is bypassed. Lastly, you’ll learn how long your inverter will last during a single stint, depending on the condition of your batteries, the size of your battery bank, and what appliances, lights, and other gadgets you’re using.
Thanks to Dave’s guidance, you’ll have no trouble completing this RV inverter installation. We recommend that you check out some of our expert tips for using an RV inverter, which will help you optimize the experience. You can also dig into the RV Repair Club video archives to discover other essential technology videos, including our repair and maintenance series on such subjects as maintaining your RV batteries. If you ever run into any trouble, feel free to send us a message or leave a comment, and we’ll get back to you as soon as possible!
Explore videos by Dave Solberg


You may be interested in


Premium Membership
Unlock exclusive member content from our industry experts.
- 24/7 Access to Premium RV Maintenance Videos, Travel Inspiration, and Lifestyle Tips
- Step-by-Step Instructional Demos, Projects, and Guides
- 50% Off Video Downloads Purchased in the RV Lifestyle & Repair Shop
- Access to Ask the Expert Program
Unlock exclusive member content from our industry experts.
- 24/7 Access to Premium RV Maintenance Videos, Travel Inspiration, and Lifestyle Tips
- Step-by-Step Instructional Demos, Projects, and Guides
- 2 Full-Length Video Downloads to Watch Offline
- 50% Off Video Downloads Purchased in the RV Lifestyle & Repair Shop
- Access to Ask the Expert Program
Gold Membership
$333 Value
Get everything included in Premium plus exclusive Gold Membership benefits.
- 24/7 Access to Premium RV Maintenance Videos, Travel Inspiration, and Lifestyle Tips
- Step-by-Step Instructional Demos, Projects, and Guides
- 9 Full-Length Video Downloads to Watch Offline
- 2 Full-Length RV Repair Classes to Keep for Life
- Discounts on Purchase-to-Own Content in the RV Lifestyle & Repair Shop
- Access to Ask the Expert Program
- Exclusive GOLD LIVE Streaming Events