Tips for RV Roof Repair and Maintenance
Carol JacksonIn this quick video lesson, Carol Jackson of RV Inspection Specialists teaches you some important RV roof repair tips that are essential for taking care of and upgrading this crucial part of your rig. If during your semi-annual RV inspection you discover a leak coming from the ceiling, you might have a torn membrane or separated joint on your roof. Let’s get that handled!
First, you should assess the amount of damage and size of hole or separation. If the damage is extensive enough, you might need to take your RV to a shop that specializes in roofing. However, if it’s a manageable issue and you feel confident fixing the problem on your own, Carol demonstrates how to repair small patches on your own.
She discusses what you’ll need to know to repair EPDM roof membrane (common on RVs until recently) vs TPO roofs. EPDM was more fragile to tears from branches and erosion from sun and other elements. Conversely, TPO tends to be more durable, but is still fairly prone to tearing from low-hanging trees.
Where to Begin: RV Roof Repair Demo
Start by sizing up your membrane tear to determine how much patch material you’ll need. This material comes in a roll or square with adhesive backing. Your patch should extend beyond the tear in all directions by at least 1.5 inches, and 2 to be safe.
For this example repair, Carol uses sealing tape, a metal roller, denatured alcohol, and self-leveling sealant. First she cleans the torn area with some denatured alcohol. Dirt, mold, and grime will prevent a solid patch. Carol recommends that you make sure the area is dry, and then cut the patch with scissors or a razor.
Remove the adhesive backing as you work, and take care to get the patch placement right the first time. You cannot easily pull it back up once it sticks. You risk damaging the patch or worsening the roof membrane tear. Also, don’t stretch the patch as you place it down and press.
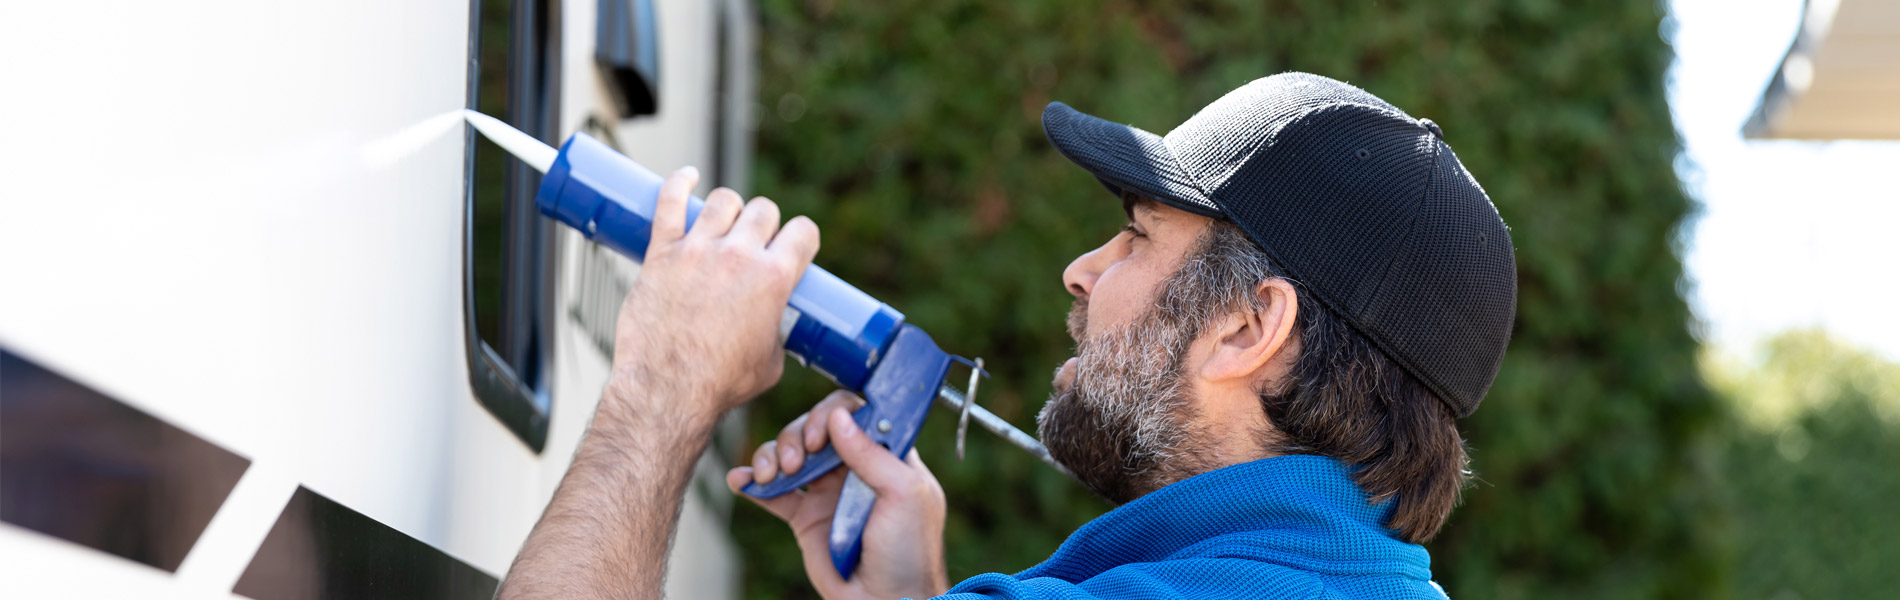
Use the metal roller to firmly press the patch in place, working out from the middle over the tear toward the edges. Once the patch is securely in place, run a bead of self-leveling sealant around the border to ensure a complete seal. This extra layer of defense will thoroughly prevent any additional water from seeping through hidden crevices and into your vehicle.
With the patch watertight, your roof damage will be properly protected from pesky leaks. If you have any other issues with the outside components of your RV, be sure to check out other RV roof repair videos in our series on exterior maintenance and upgrades!