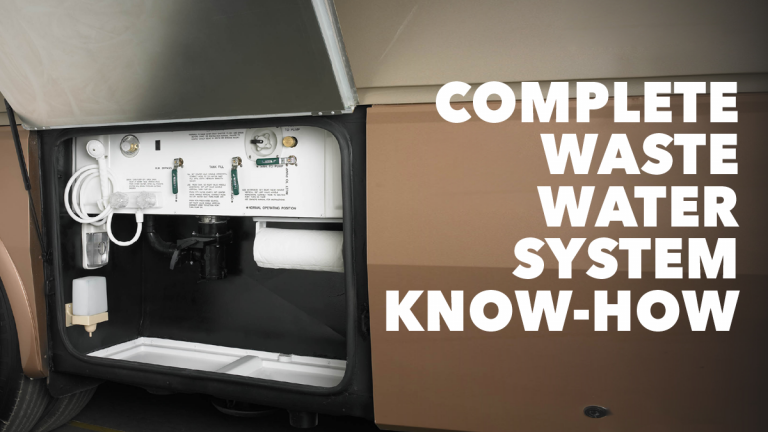
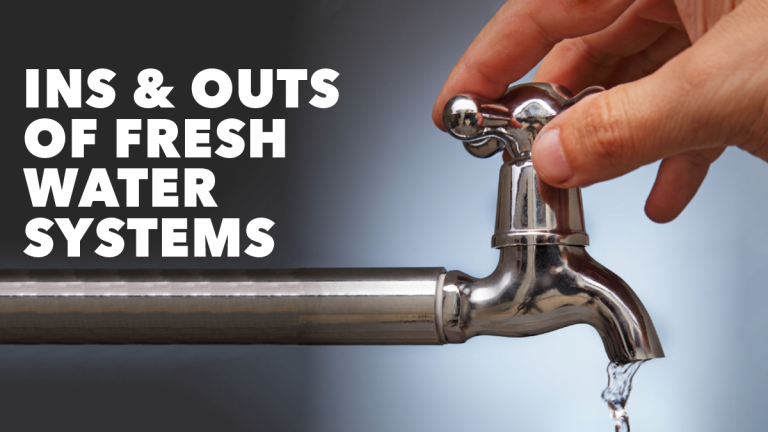
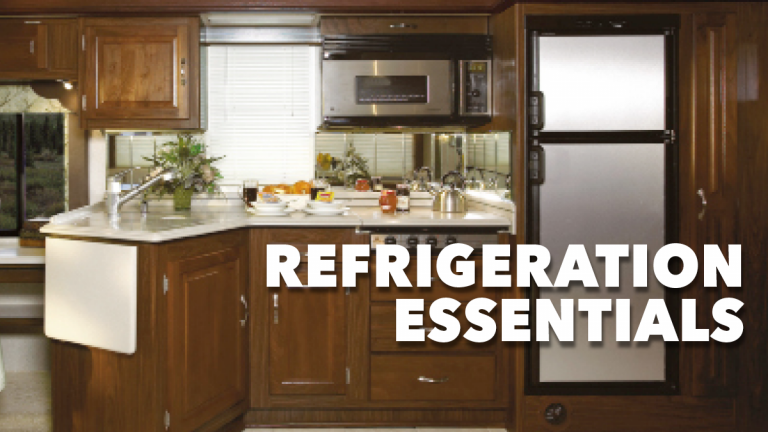
Ins & Outs of Fresh Water Systems + DVD
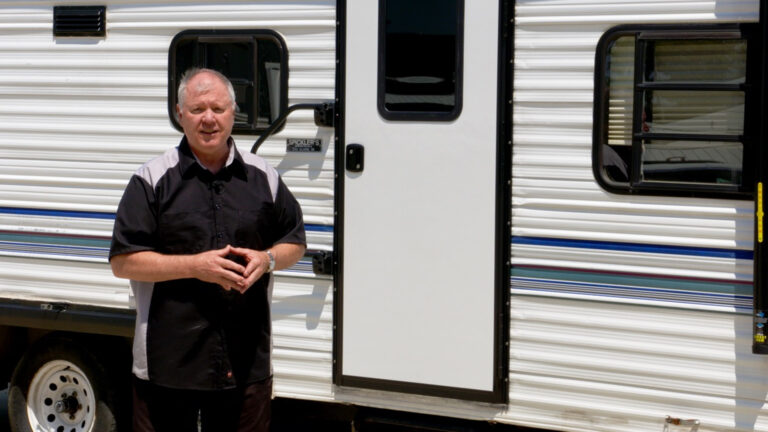
Dave Solberg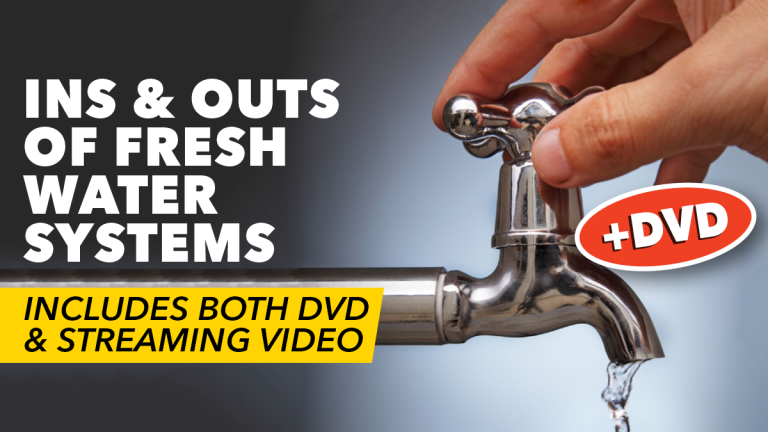
Class Preview
1:31:13
- In-depth Instruction; over 92 mins
- On-demand video access anytime
- Bonus downloadable PDF resources
- Access to class Q&A
- Available for purchase: $49.99
Session 1: Overview
5:09
Your instructor, Dave Solberg, will talk through a summary of what you’ll see in this comprehensive class. He’ll preview the primary sources of fresh water at a typical campground, the alternative ways to connect the water system to your rig, and more.
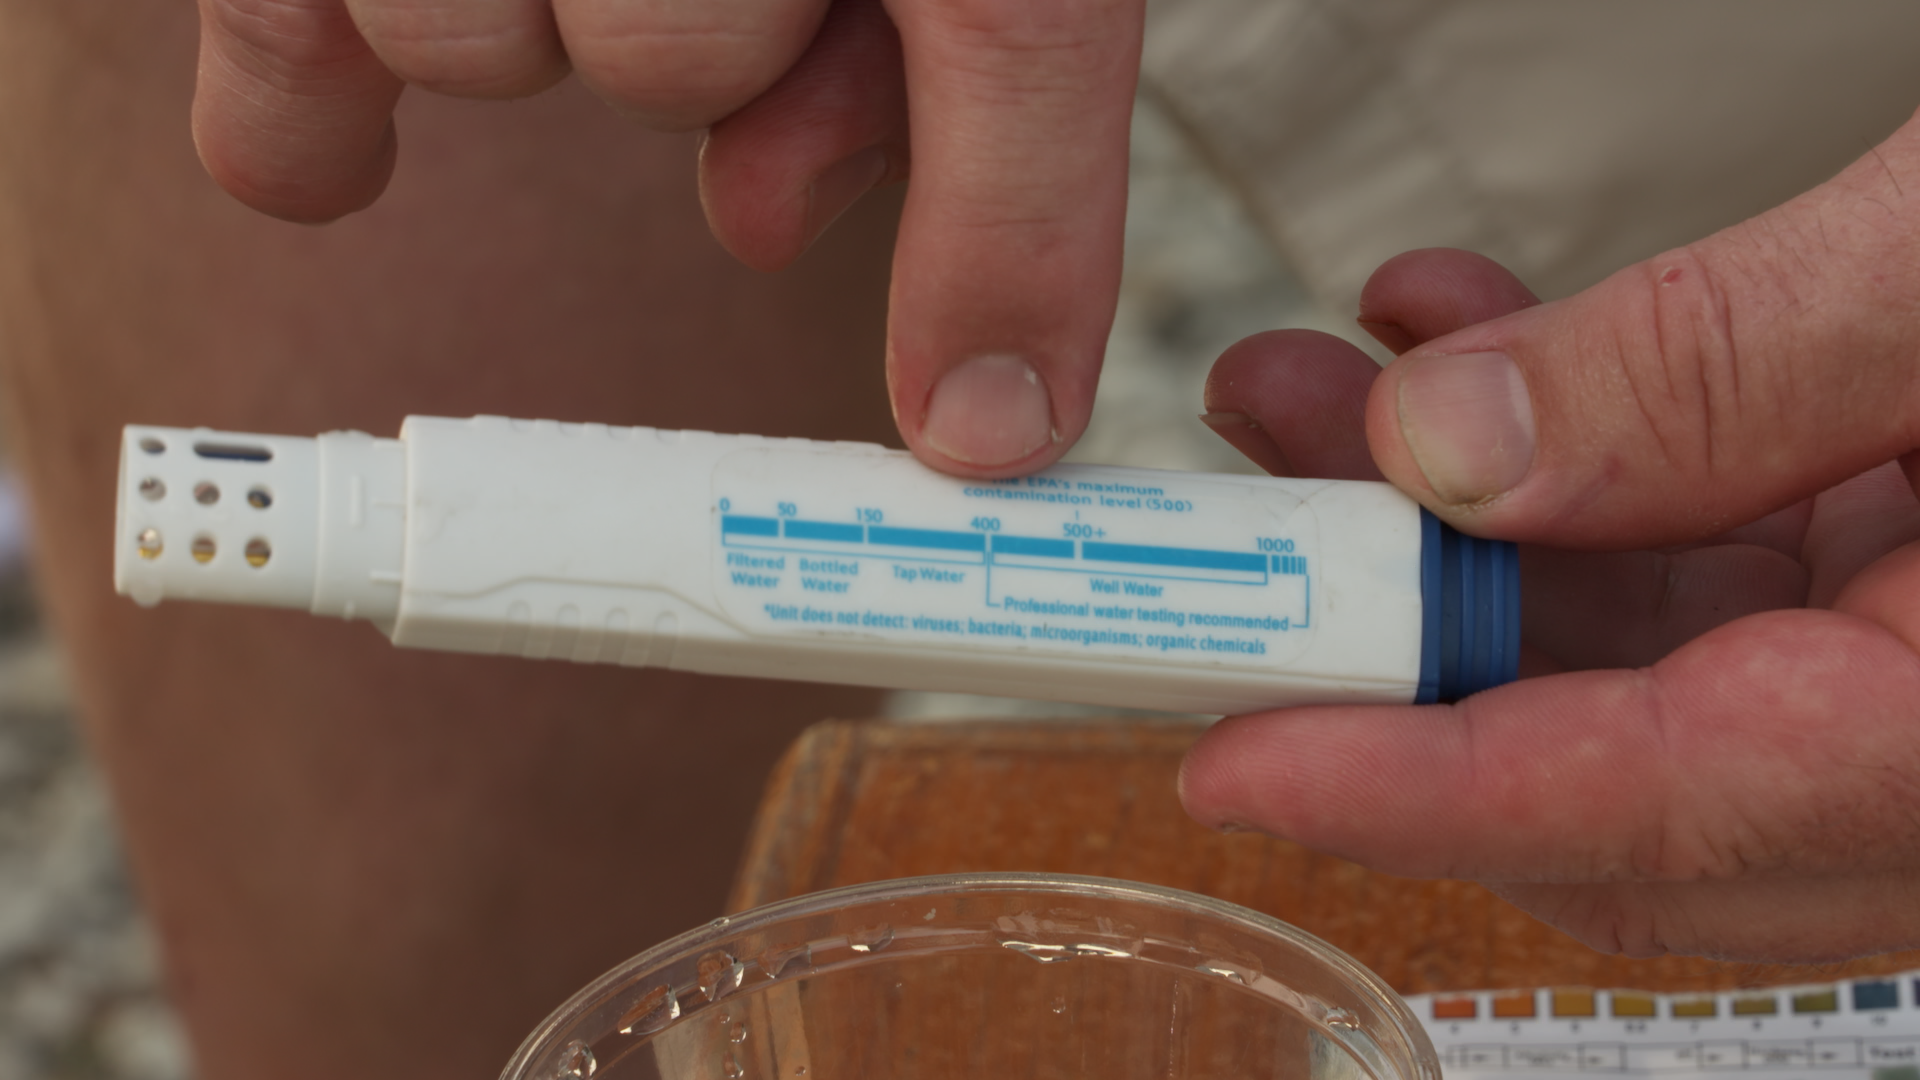
Session 2: Checking Campground Water Quality
4:12
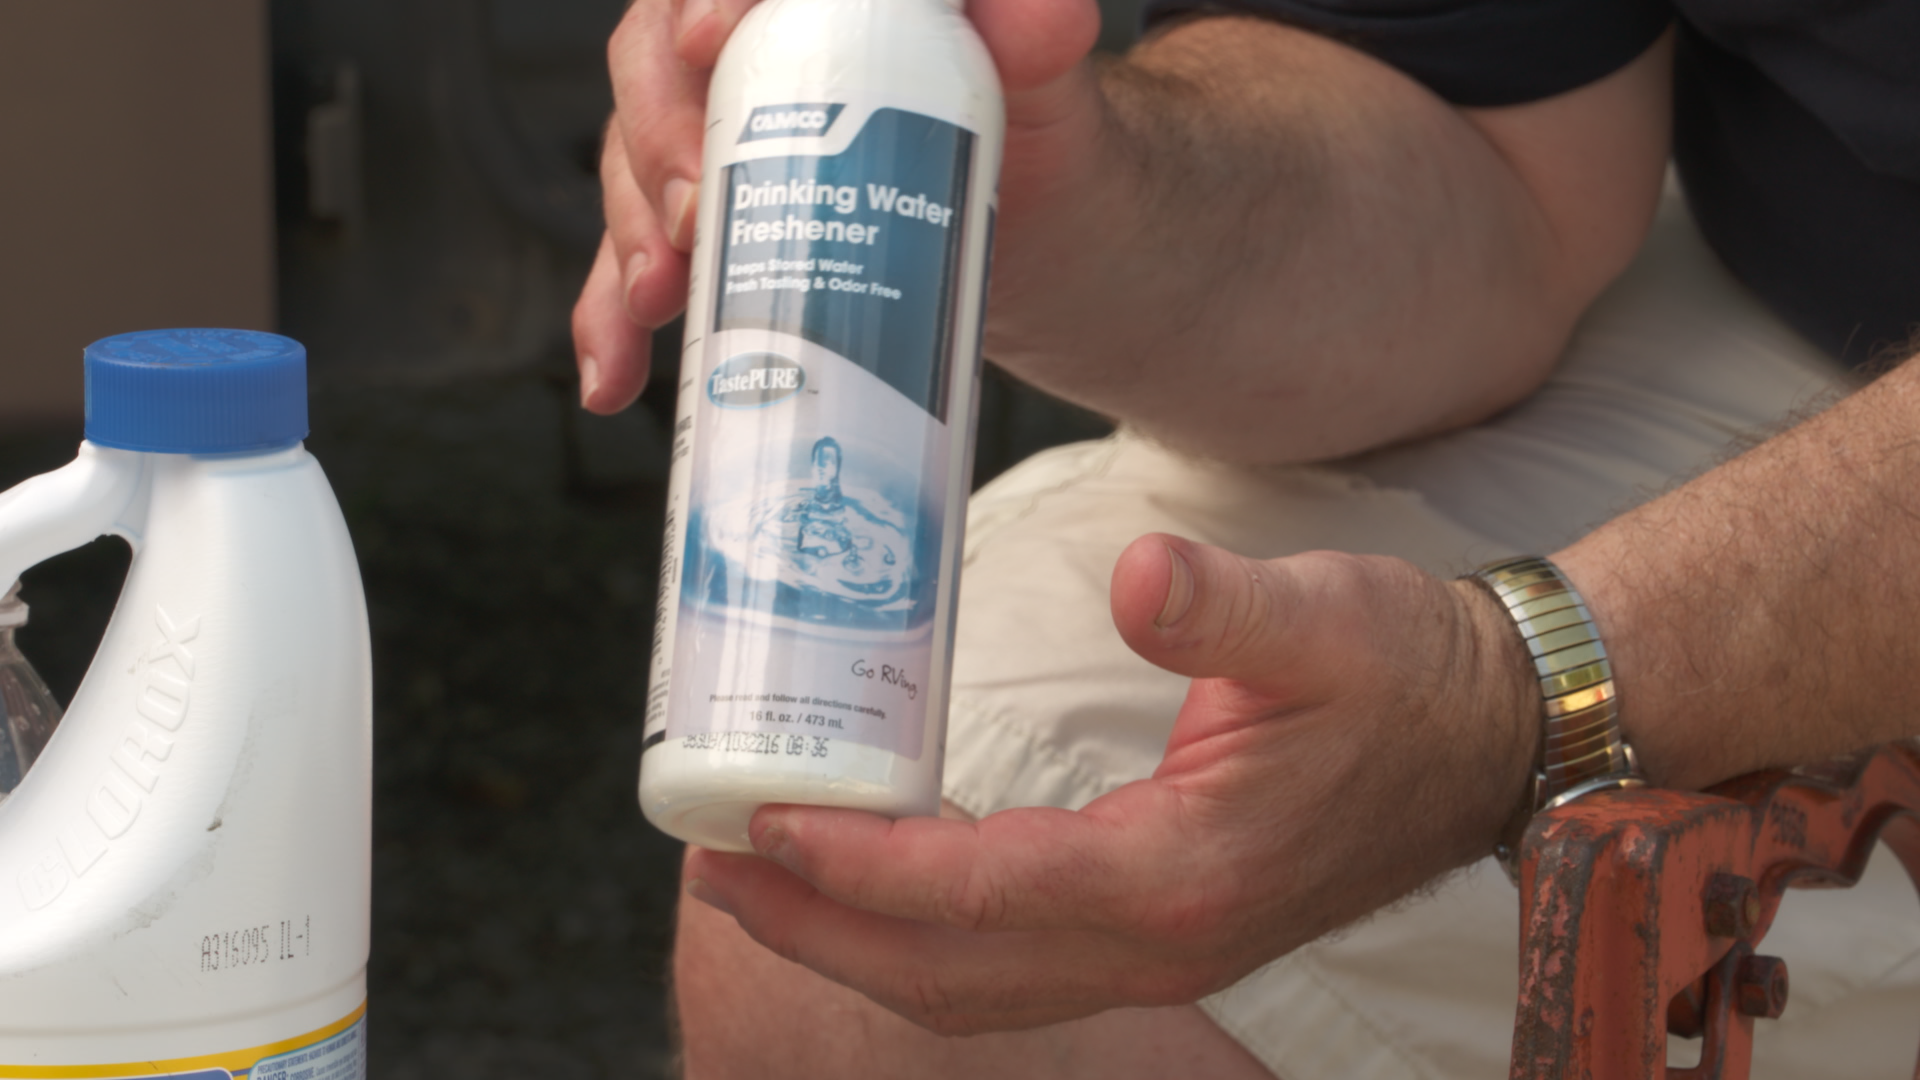
Most campground water comes from an underground well rather than a municipal water system, therefore it’s important to test the water before hooking up your rig. There are several tools and test strips you can use to measure the amount of dissolved solids in your water as well as other impurities. These can also be used to test water that has been sitting in your fresh water tank for a period of time.
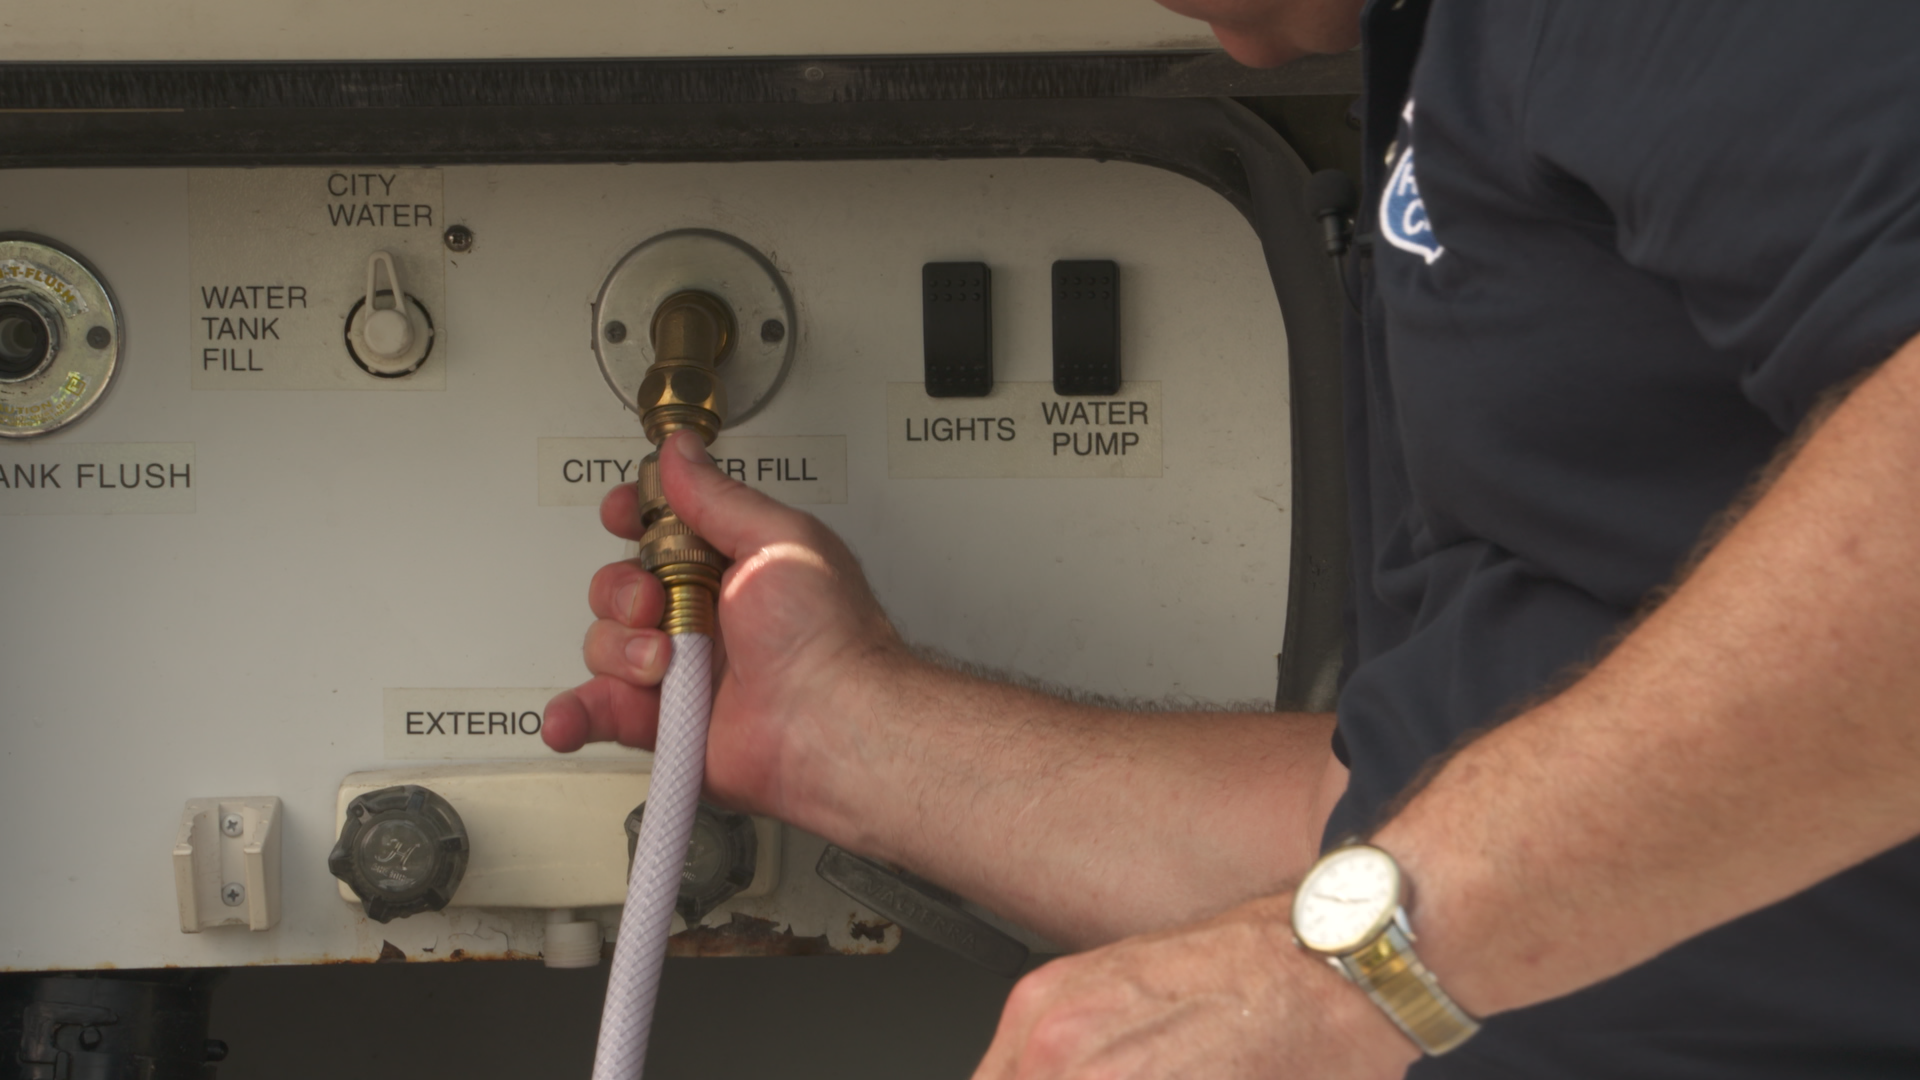
Session 3: Proper Hoses, Adapters, and Storage
2:52
Always use an approved fresh water hose as a typical household garden hose contains chemicals and will provide a bad taste. To make it easier to connect to your city water fill, an elbow adapter or even quick connect can be permanently installed. And always store your fresh water hoses, adapters, and filters in a sanitary compartment away from the dump station and hoses.
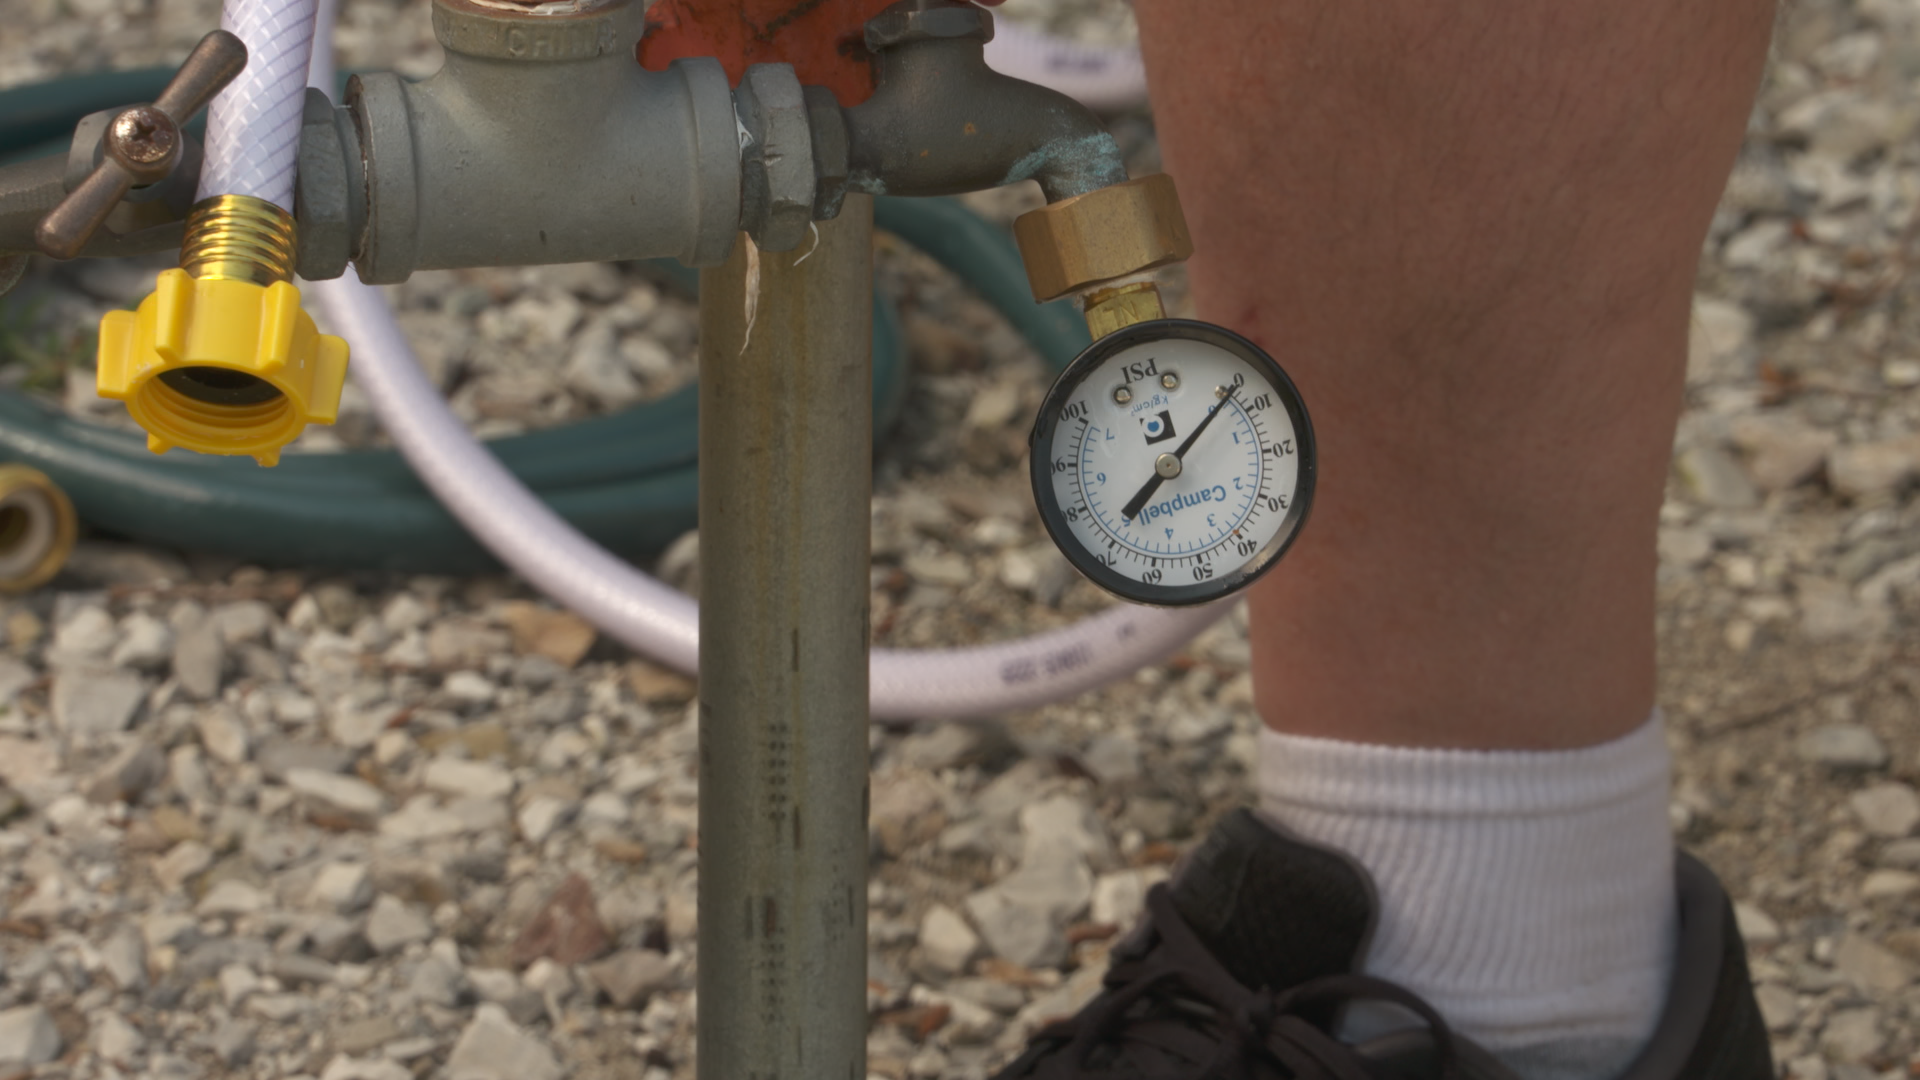
Session 4: Checking Pressure, Adding Filter and Pressure Regulator
6:53
Always check the pressure of any new campground you are hooking up to making sure it will not exceed the limits of your lines and connections. Some newer rigs have more residential style lines that can handle the higher psi and provide more pressure. Using a pressure regulator will protect your rig from an accidental flood. Most campground water is also hard water which will contain lime, rust, and calcium all of which will clog lines, screens in the water pump, and ice makers. A good filter is well worth the money.
Session 5: On-Board Water Tank
2:58
Fresh water can be supplied by an on-board tank via the 12-volt water pump. Some RV companies design and manufacture their own tanks which allows them to build a tank that utilizes all the space available in the basement or underneath cabinetry. Others rely on the design of a third party and usually have limited capacity. These tanks can be found in the foundation of basement models, or under dinette and bed frames in others.
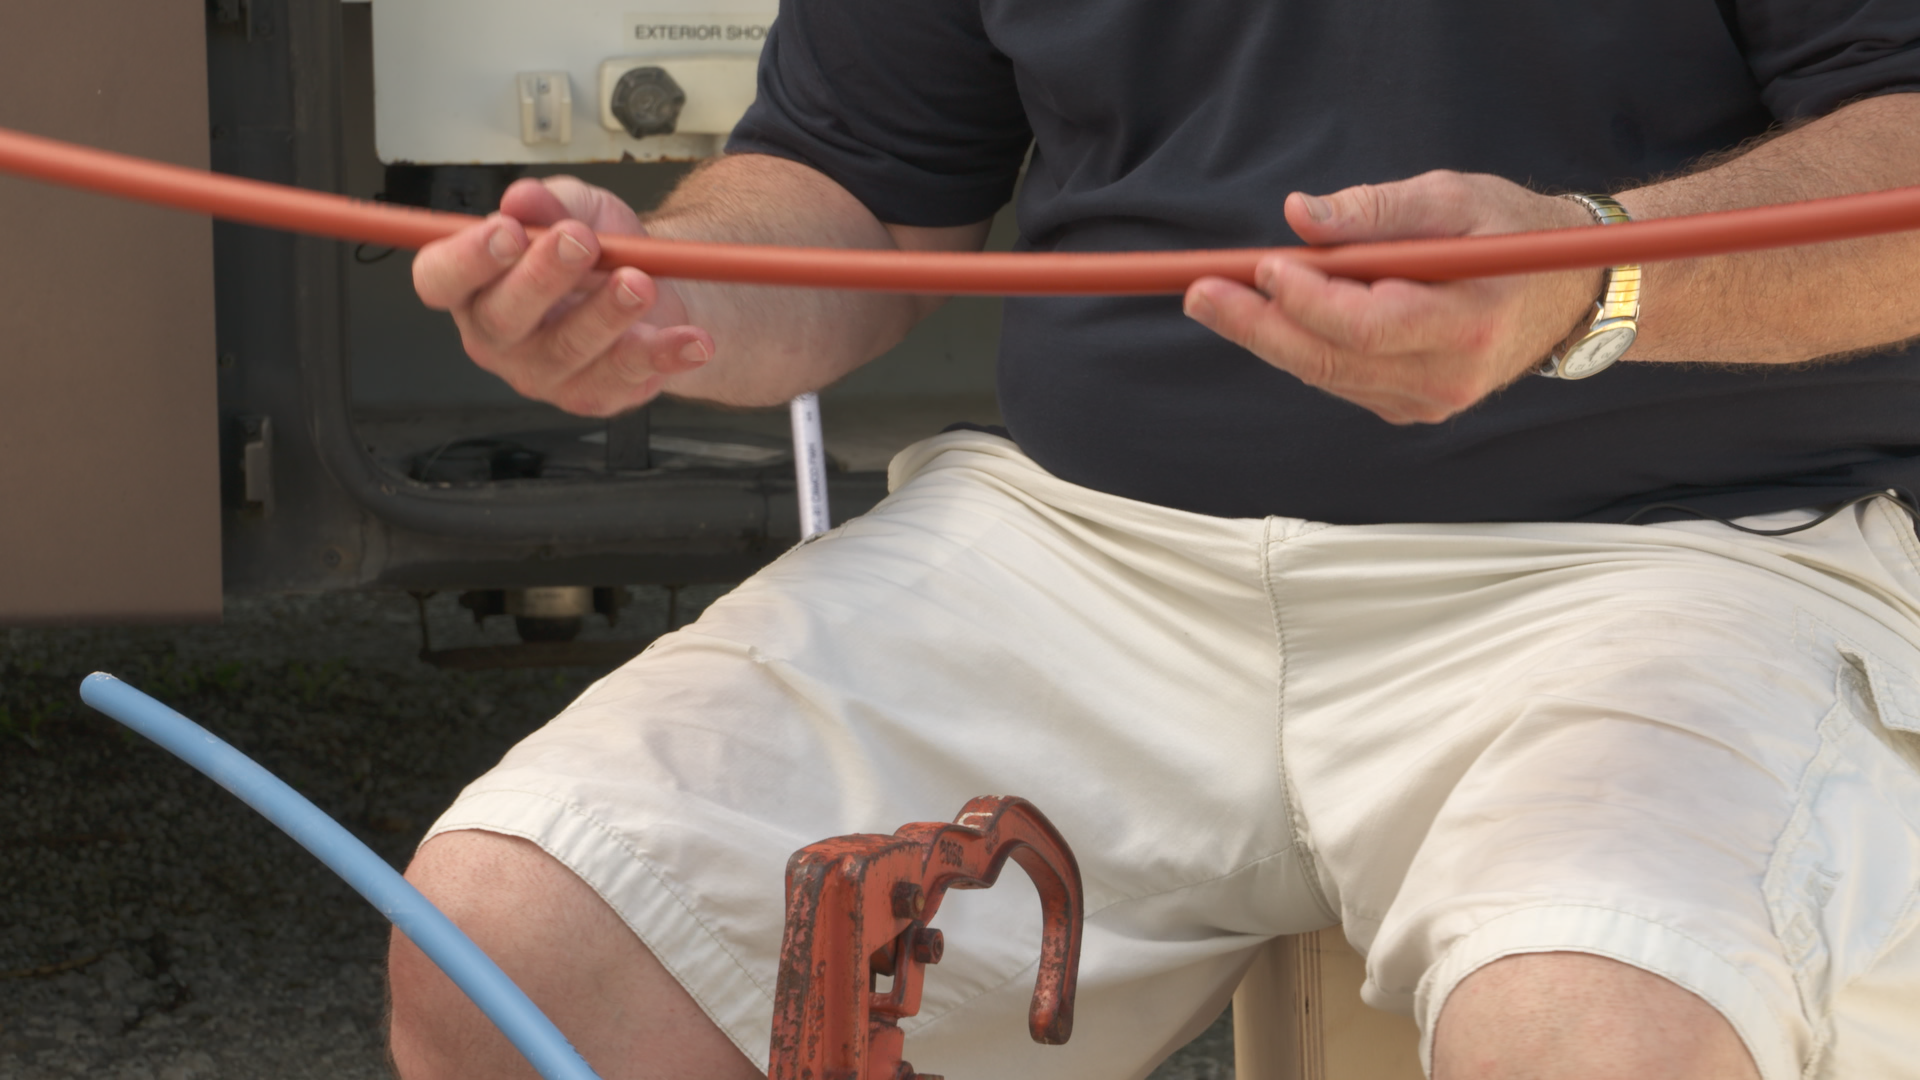
Session 6: Water Lines
4:11
For years, RV manufacturers used small, 3/8” water lines that had limited volume and provided limited pressure. Newer plastic components such as Pex are ½” and provide more capacity and also allow for larger pumps. Some of these lines even are color coded red and blue for hot and cold identification.
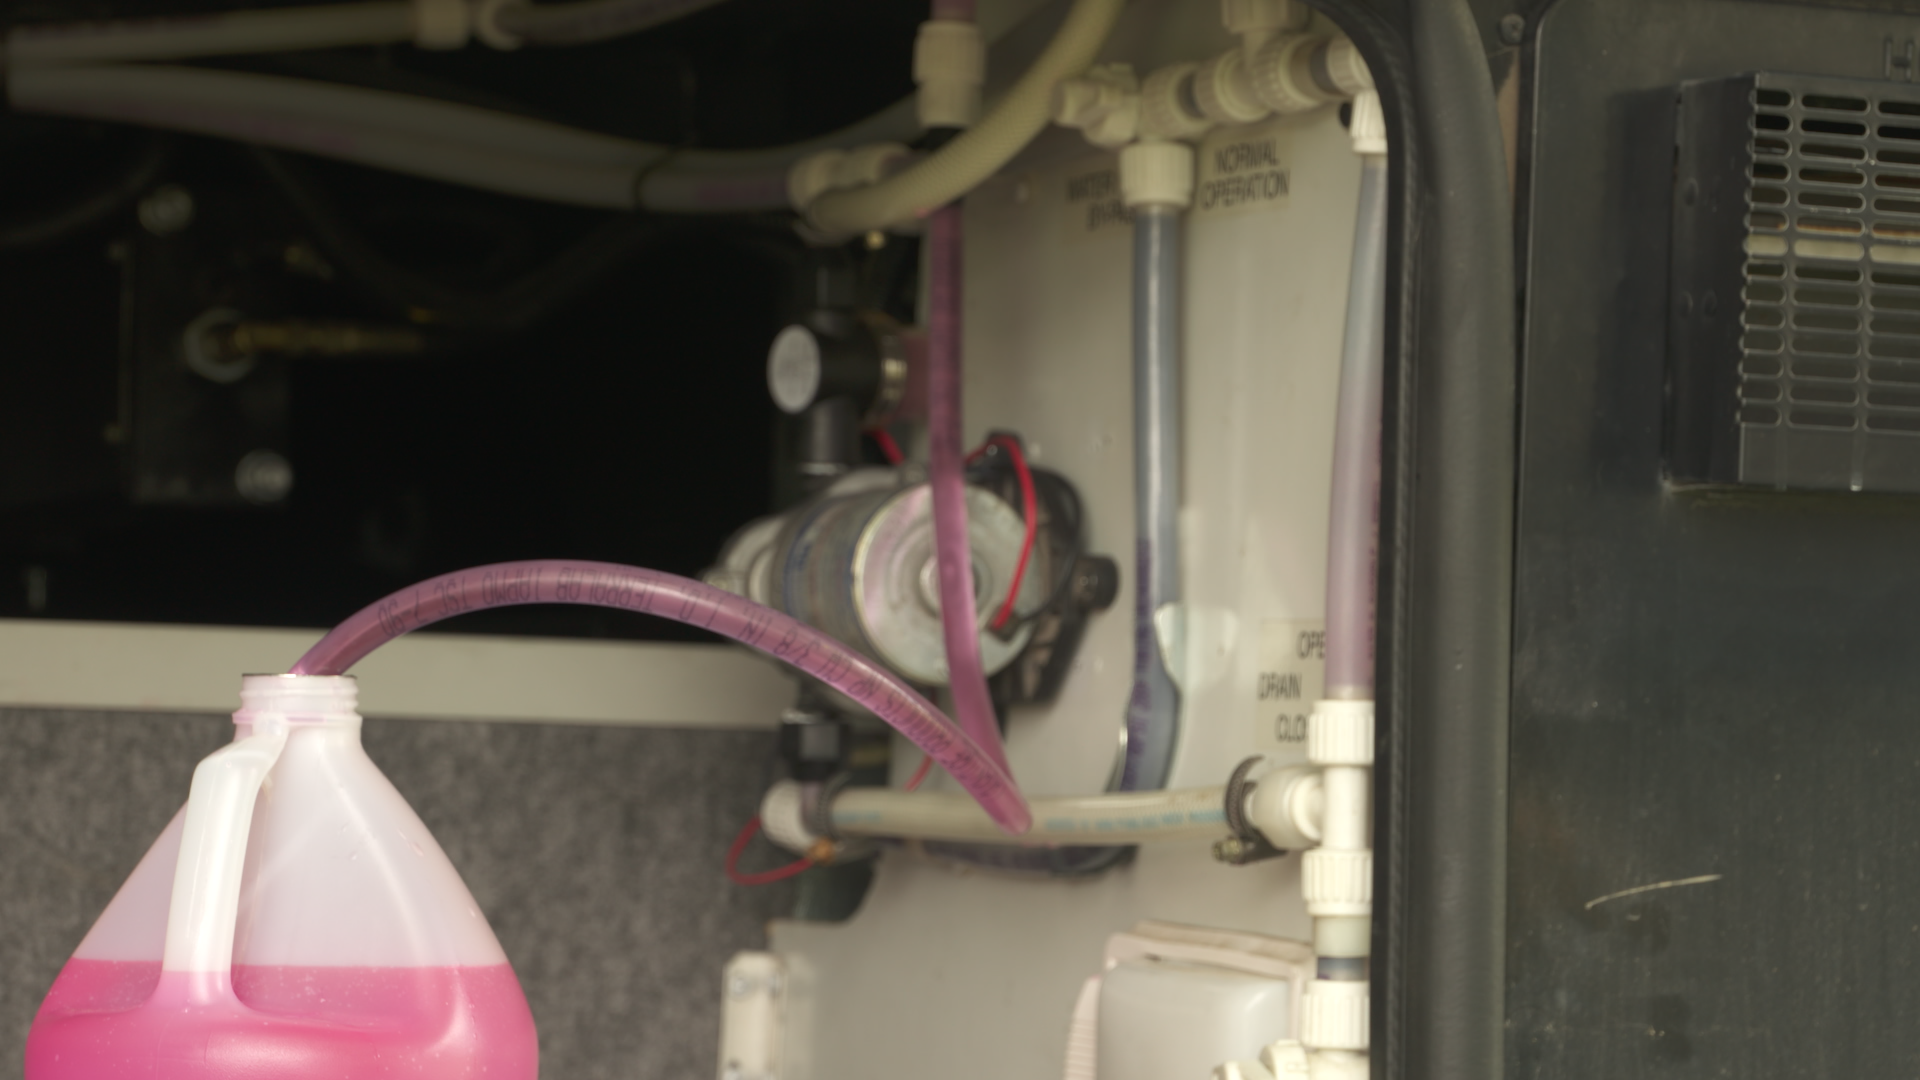
Session 7: Winterizing
8:56
There are two methods of winterizing, running RV antifreeze through all the lines inside the rig, or blowing all the water out with an air compressor. Running RV antifreeze allows for use of the toilet if the rig is being used in cold weather. This antifreeze is non-toxic and tasteless.
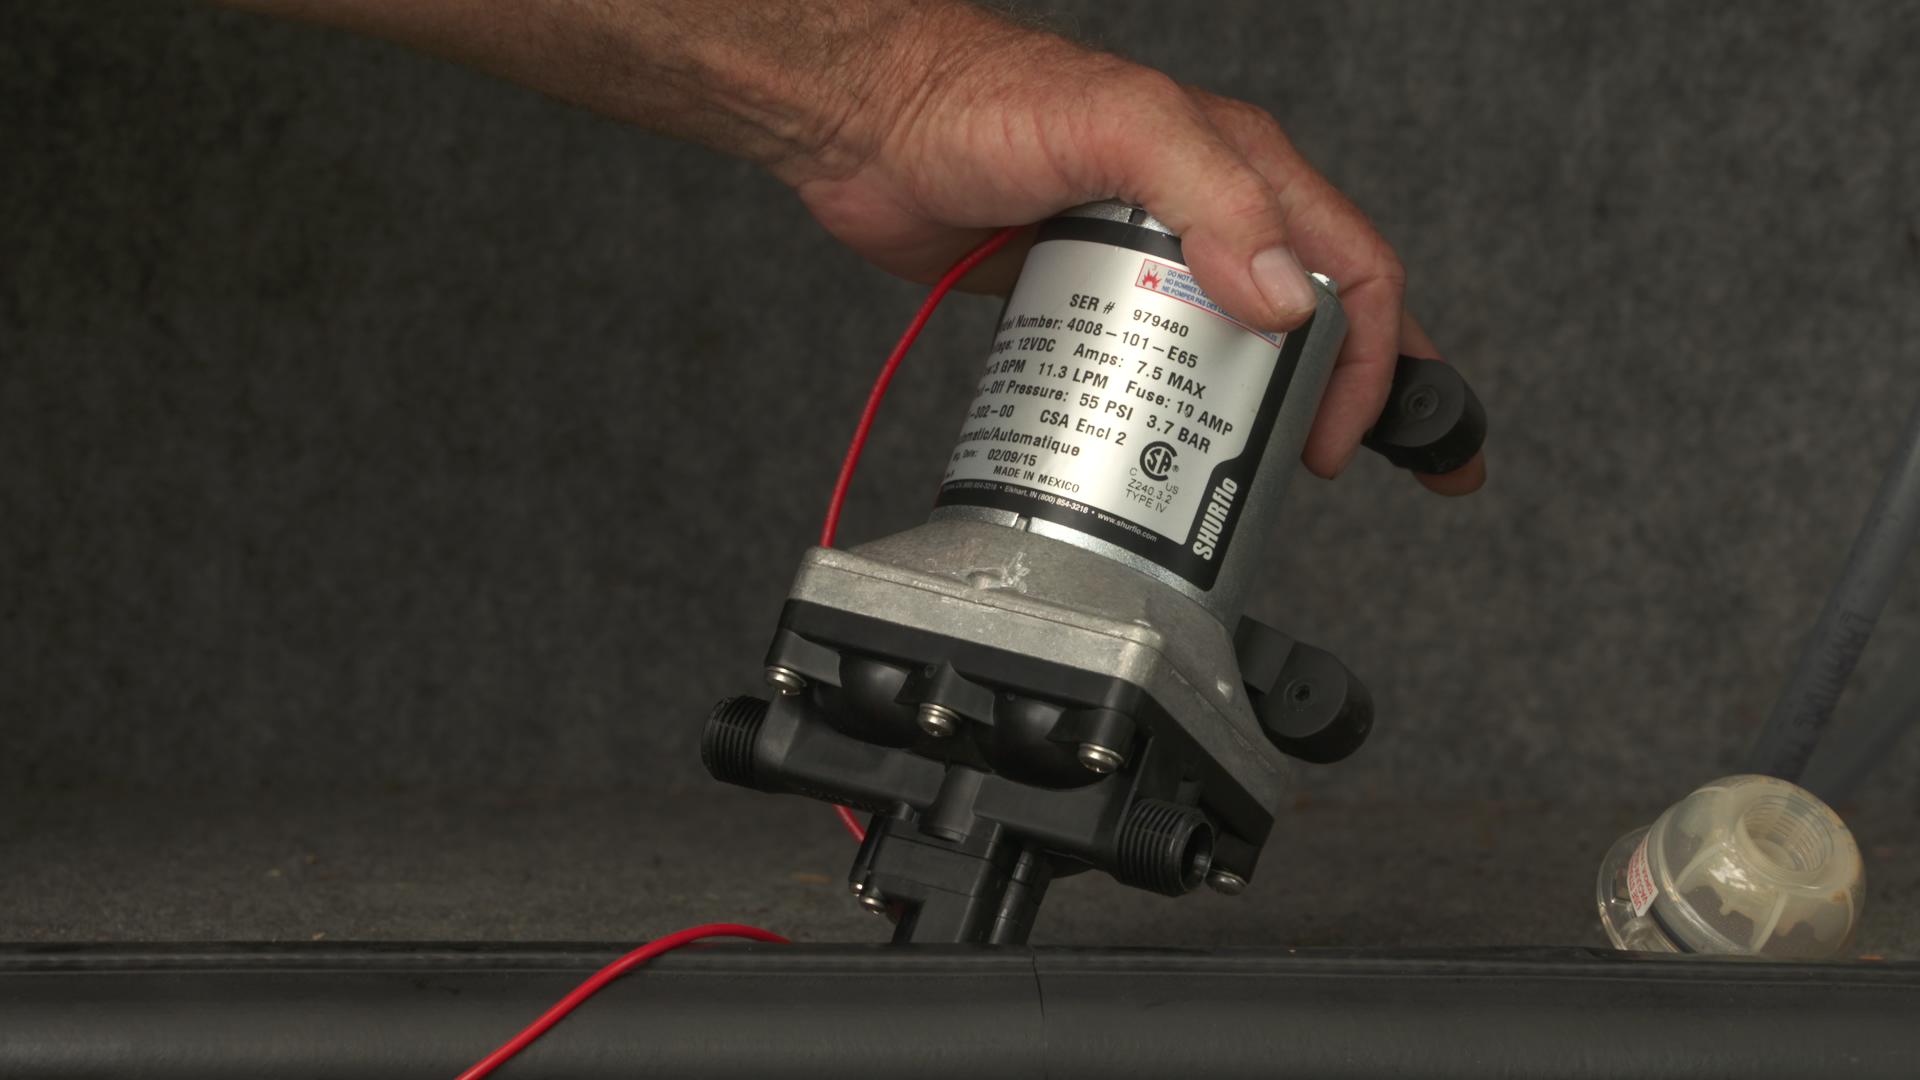
Session 8: Water Pump
31:01
There is very little maintenance required on an RV water pump, however there are some tips for prolonging the life and making it run quieter. Most RV water pumps have a screen or filter on the incoming water line to filter out rust and calcium from the campgrounds hard water. Checking this screen occasionally is important to keep the flow going through the pump.
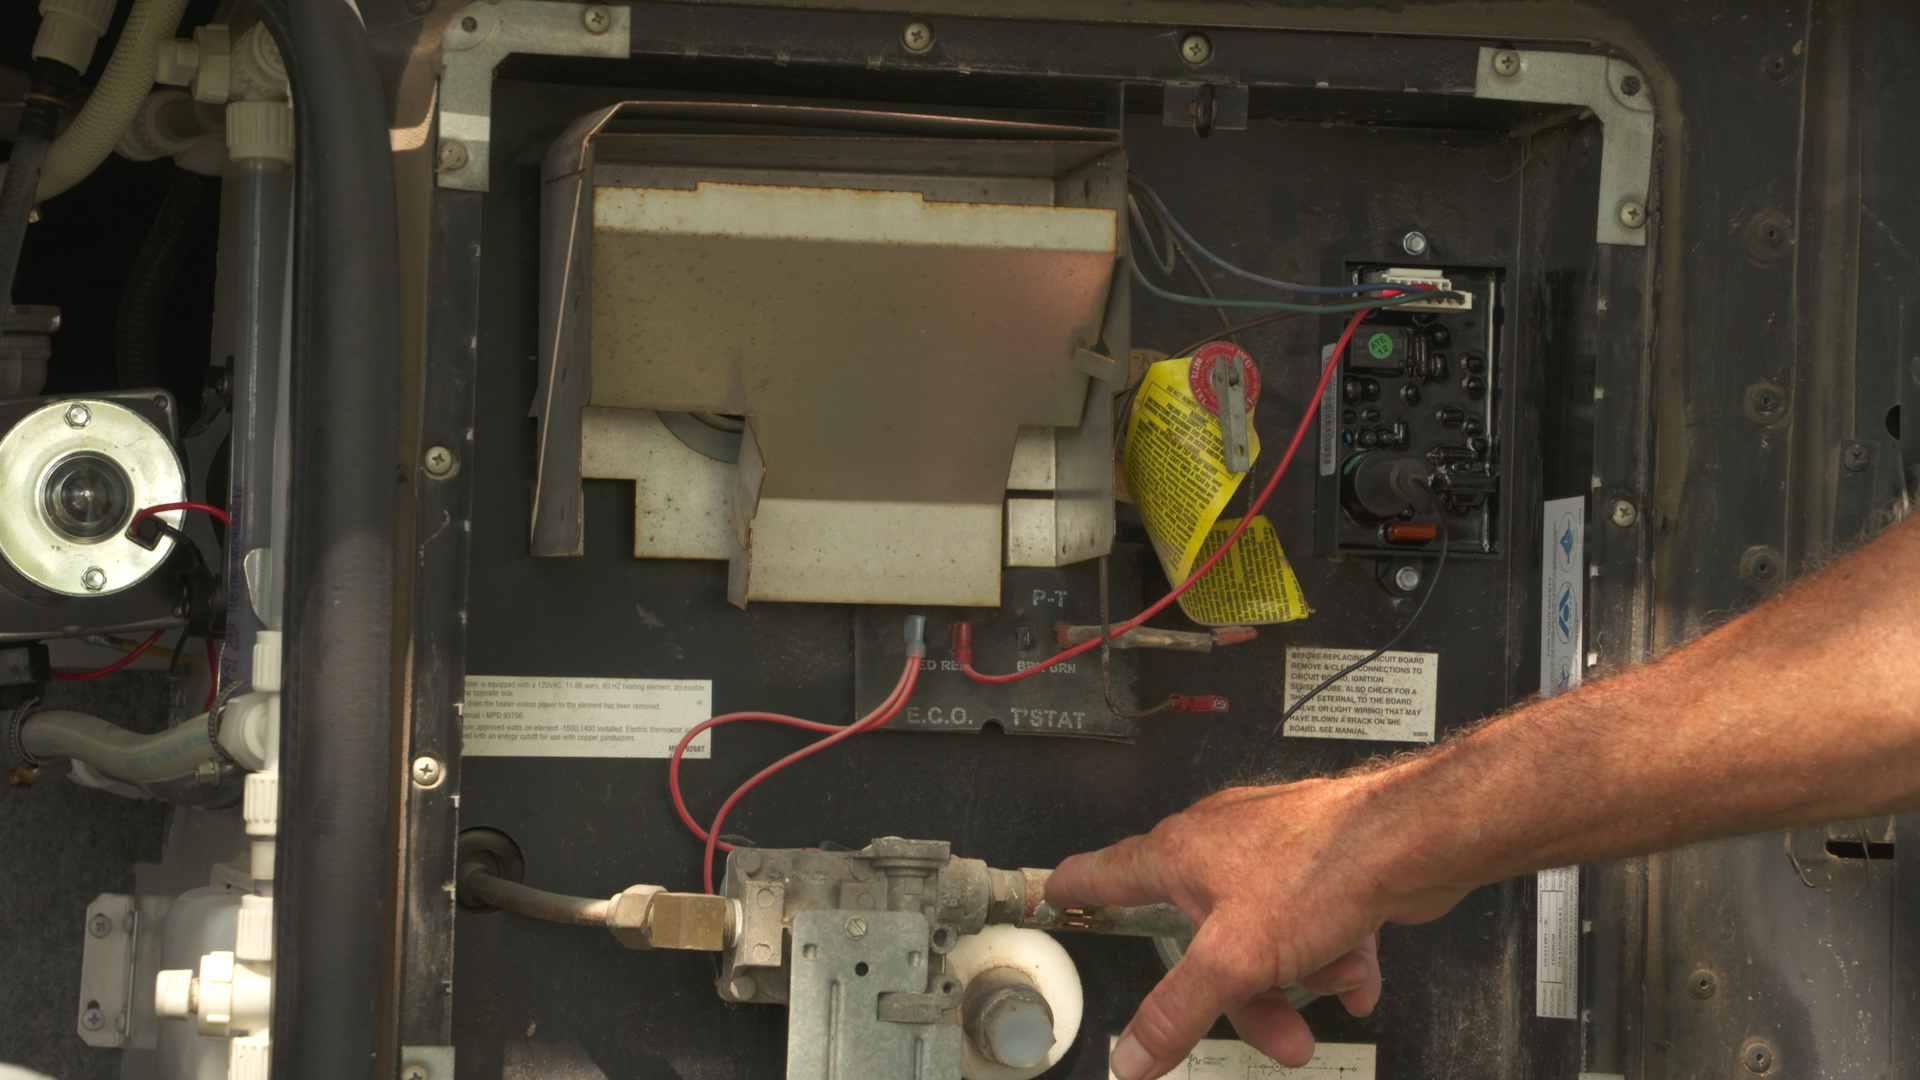
Session 9: Water Heater
18:21
The on-board water heater provides hot water for faucets at the kitchen, bathroom, shower, and on some models the washing machine. Typically smaller rigs have a 6 gallon heater that is powered by LP and the 12-volt system. 6 gallons doesn’t go far so water conservation becomes a must. An upgrade is the 10 gallon Electric/LP model that provides enough hot water to take a good long shower! Not much maintenance is required, however it’s import to drain the water heater when winterizing!
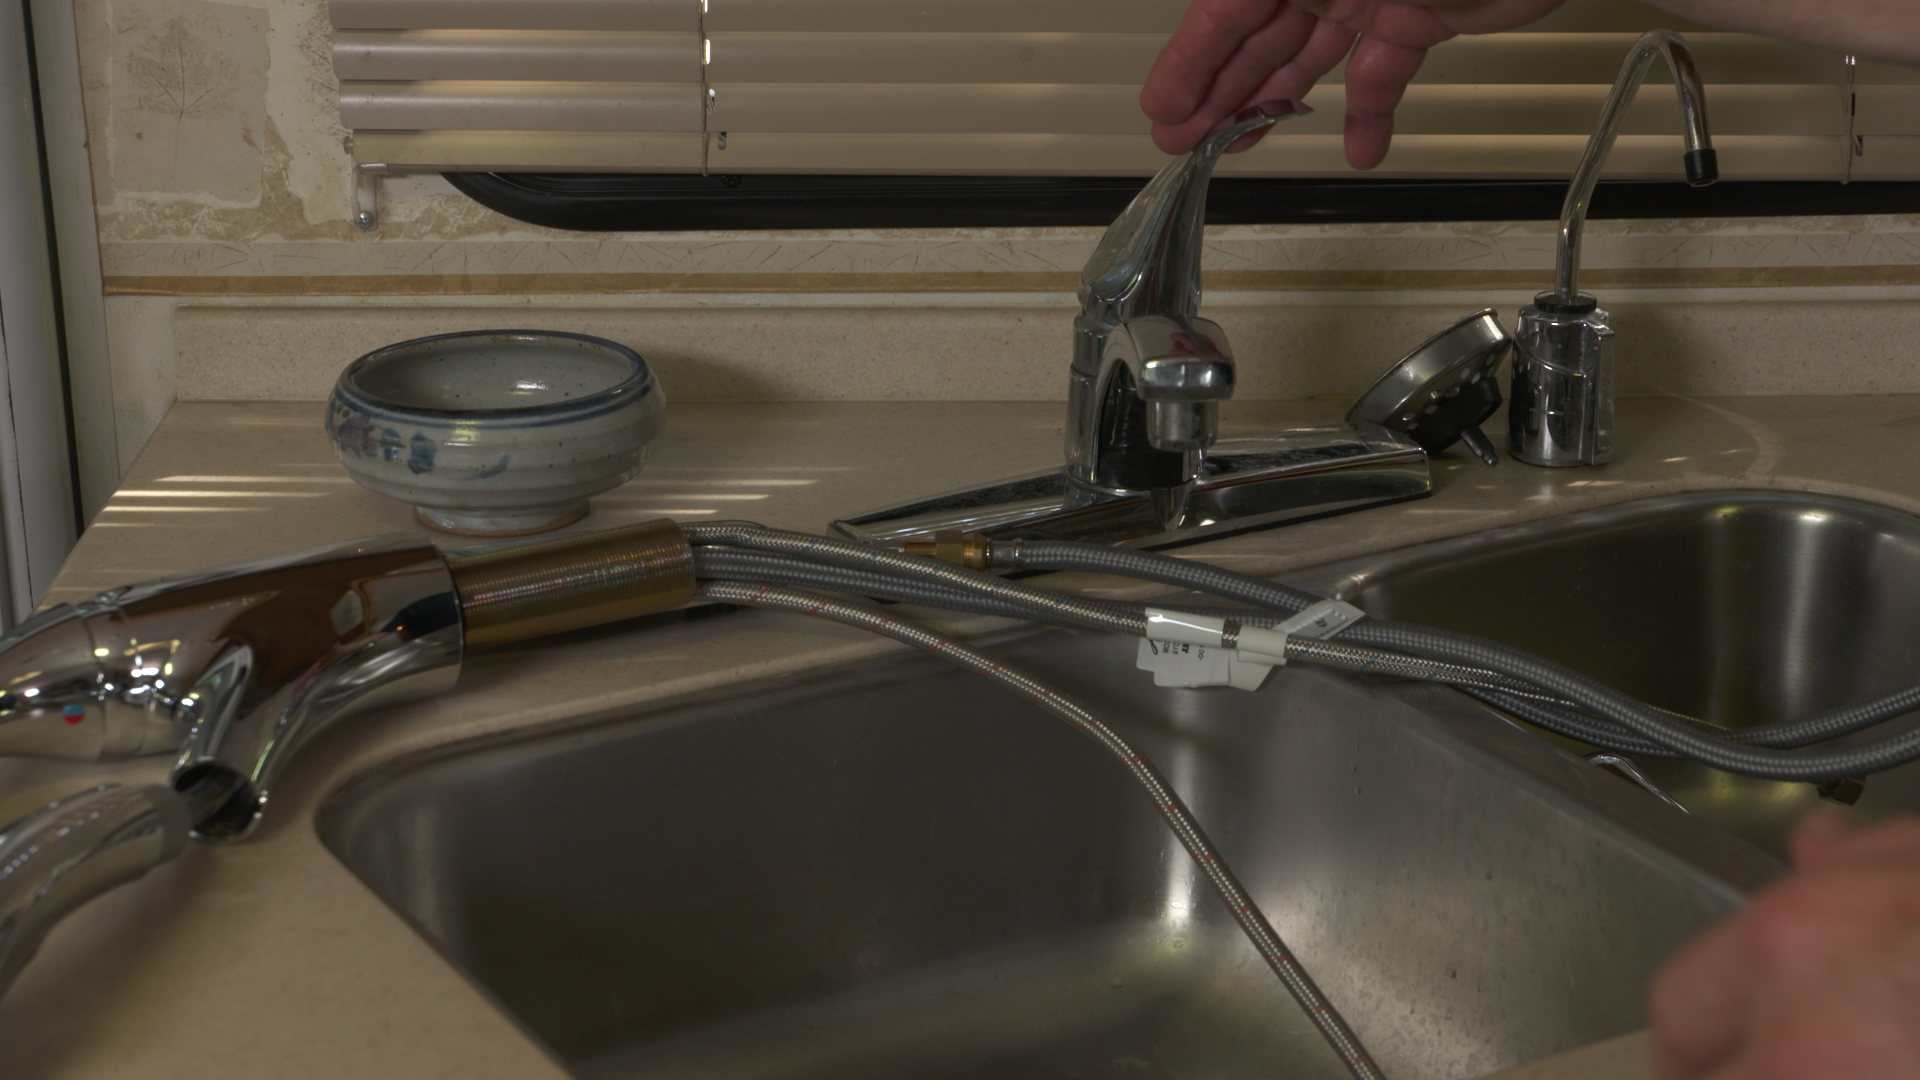
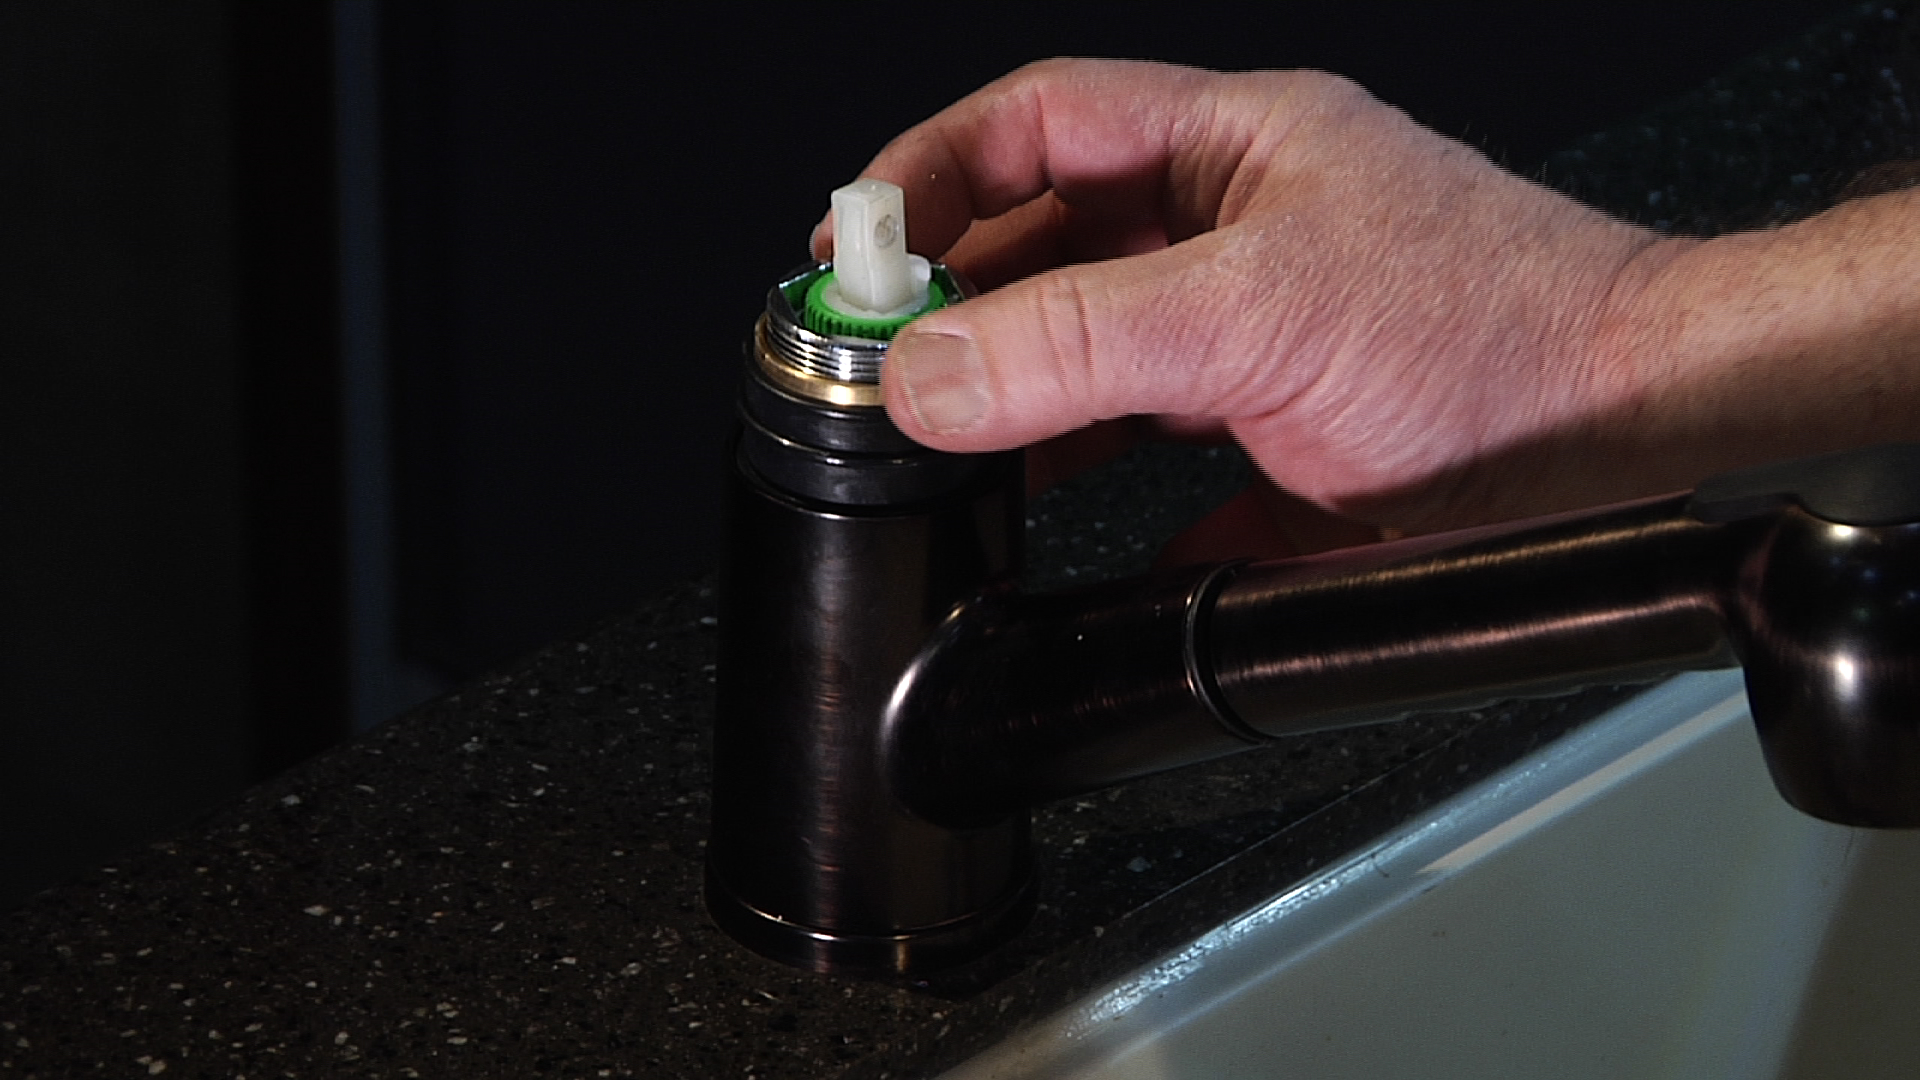
Session 10: Faucet and Shower Head Upgrade
1:42
Many entry level RVs have a cheap dual handle faucet and plastic shower head. It’s easy to upgrade to a single handle faucet that can be purchased at a home improvement store. Take a quick look at the old faucet to verify hole positions to see if you will require a base plate to cover the holes. It’s easy to R&R a faucet and shower head after watching the Bonus Video Downloads provided with this class.
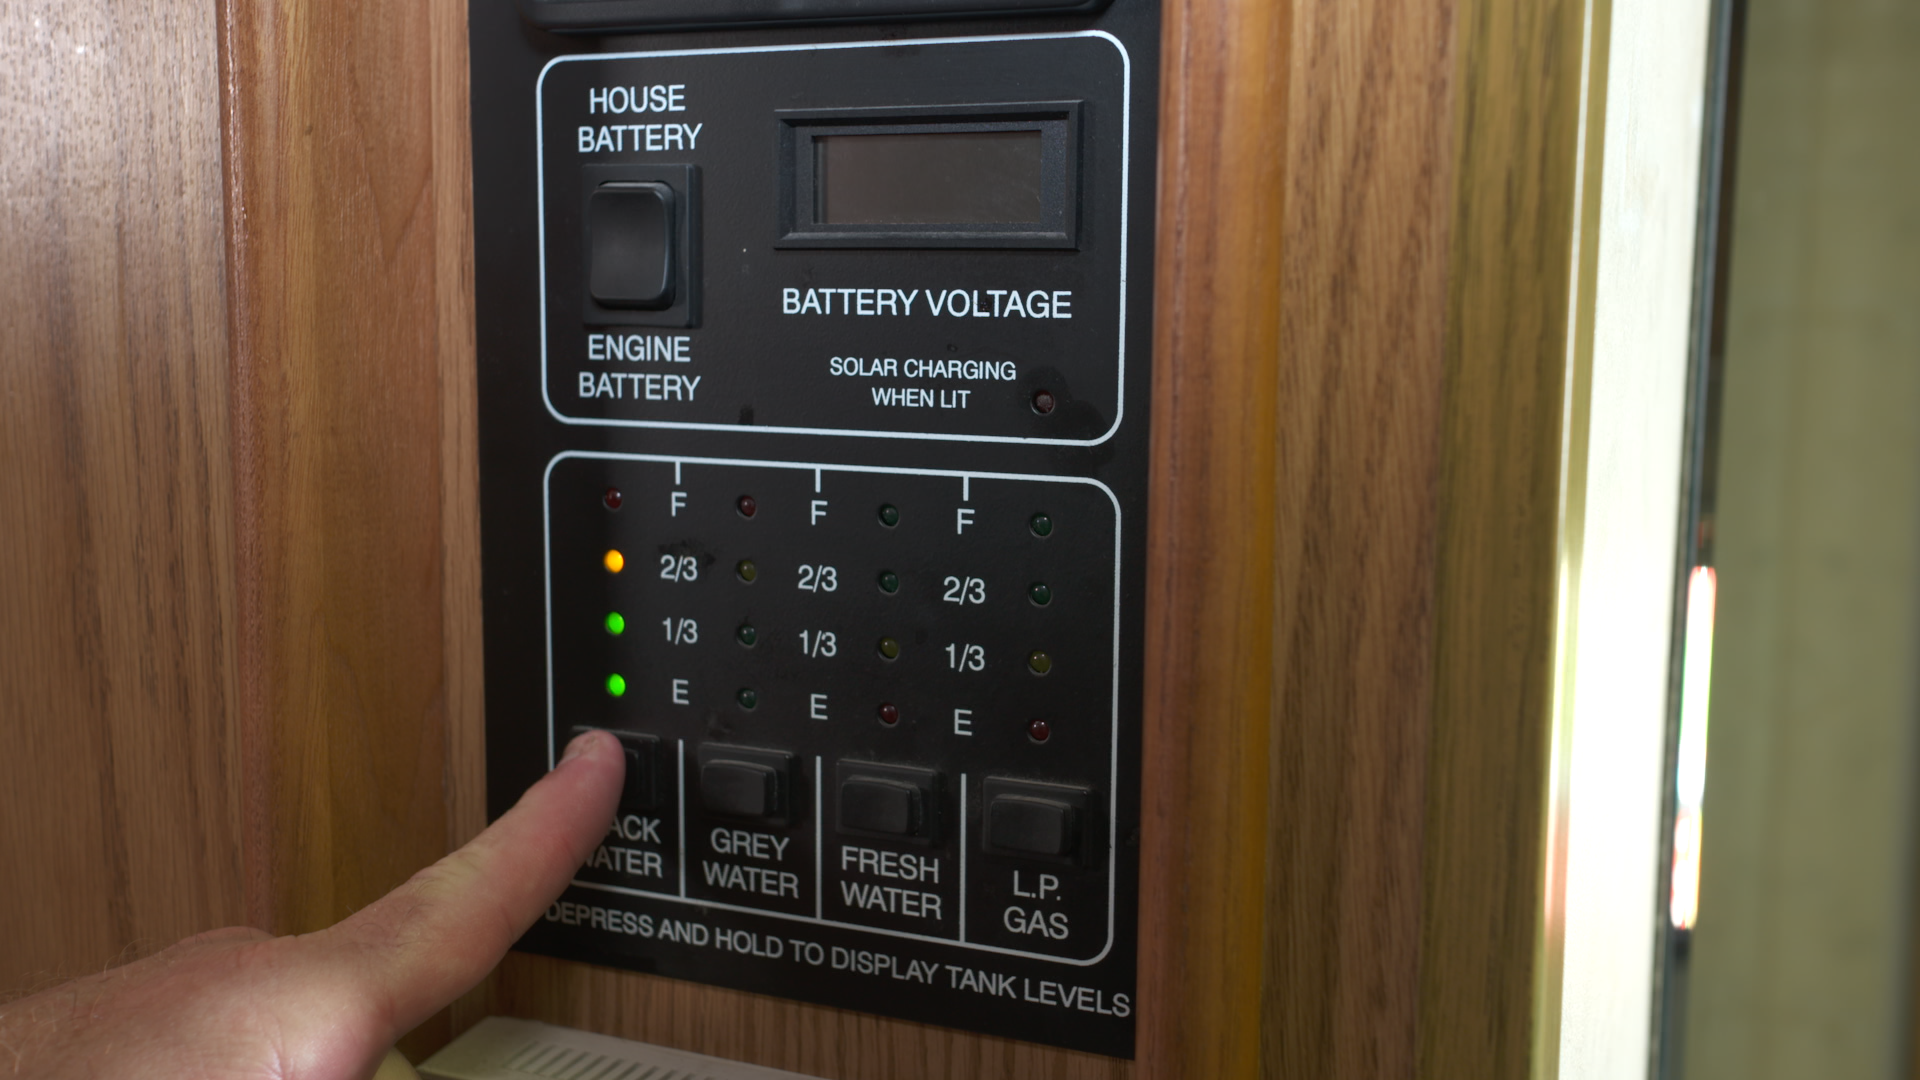
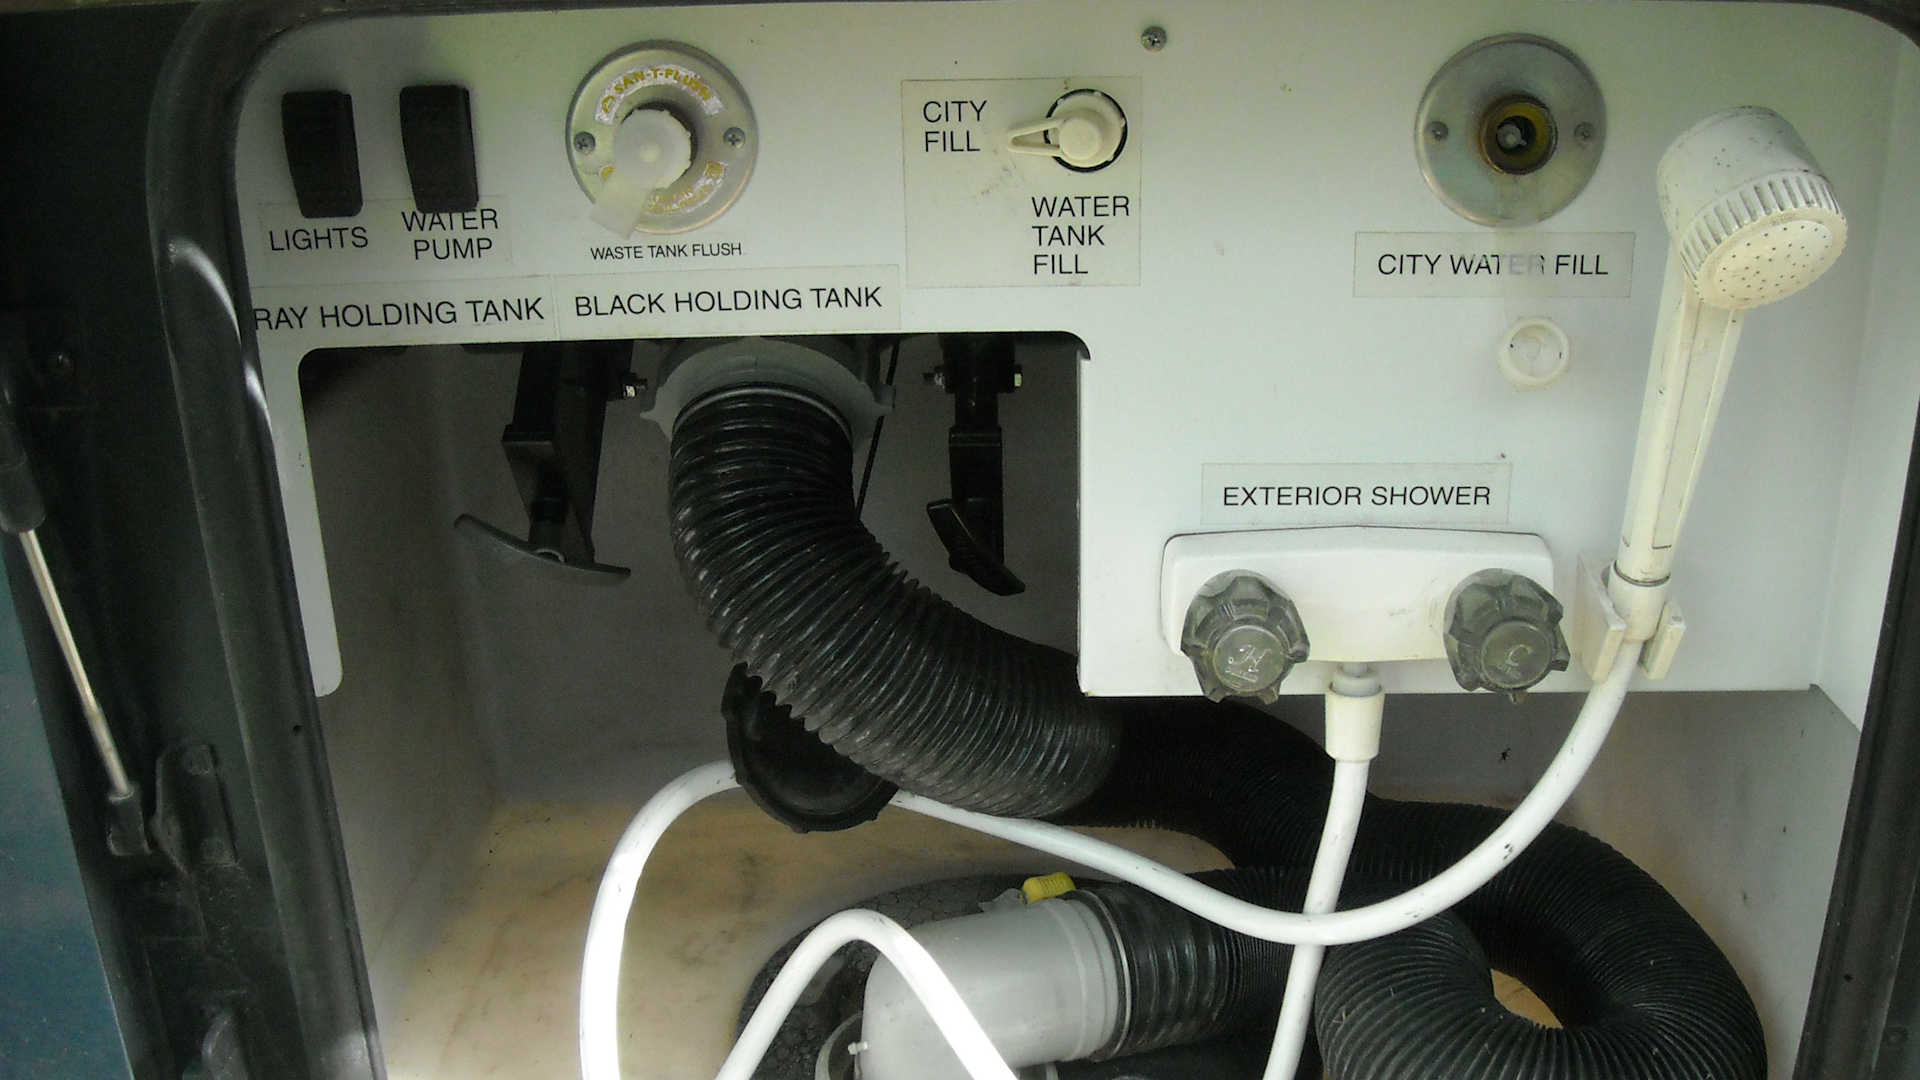
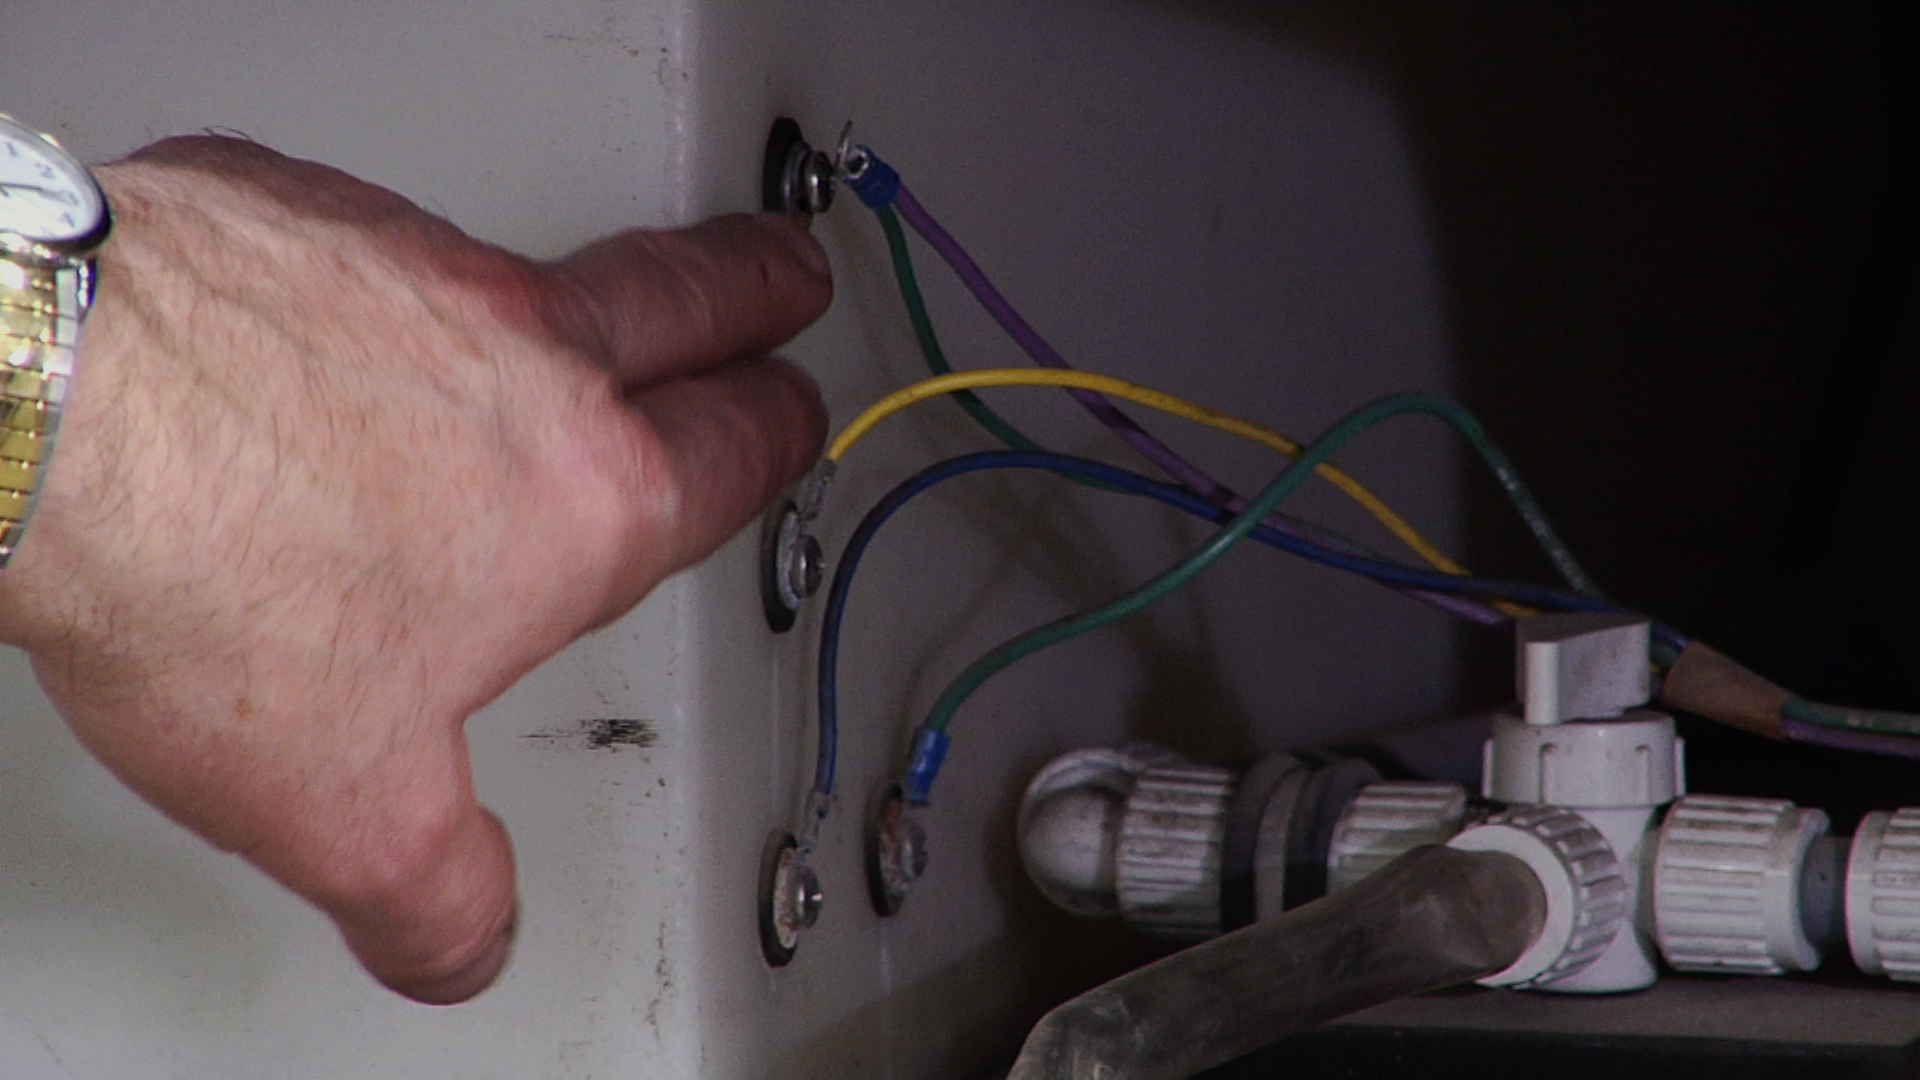
Session 11: Monitor Panel
2:54
The monitor panel is the information center of not only the fresh water system, but the waste water, LP, and often times house batteries. Typically probes inserted into the fresh water tank determine the level by arching across as the level rises and falls, however a new system uses ultrasound to provide an accurate reading.

Session 12: Class Summary
2:04
In this important RV Repair Club class, Dave Solberg will show you many essential aspects of your RV’s fresh water system, and how to ensure you enjoy clean and safe water on every trip you make.
Fresh water can be provided an outside pressurized source referred to as City Water, or by an on-board pump and a fresh water tank. Most tanks are made of rotocast plastic with connections attached by a process call spin-welding. Tanks come in a variety of shapes and sizes depending on the floorplan and the space available to install them. Some manufactures design and build their own tanks allowing them to wrap around basement foundations and provide more capacity while others that purchase tanks from a third party usually are limited. These tanks are filled with either an outside connection called the gravity feed, or a valve that switches the pressurized water from a city connection to the tank. Water is supplied to the faucets, shower head, and toilet by a demand pump that runs on 12-volt power and automatically turns on when a faucet is opened and the need for water is sensed. Most trailers and entry level motorhomes come with a smaller pump that provides approximately 30-35 psi while upgrades can go as high as 50-60 psi. It’s important to know the limitations of your water lines and connections before installing a higher psi pump!
The city water connection uses a fresh water recommended hose to go from the campground source to the service center and bypasses the on-board water pump to provide pressurized water similar to that in your home. This class will show the proper hoses to use at the campground as well as filters and pressure regulators to ensure you are filtering out sediments and won’t flood your rig. You will also learn how to check the water for quality and purity and what to do if your water quality is unacceptable. Winterizing is an important step when traveling across the country and some owners preferred to use RV antifreeze while others blow out the entire water system leaving nothing in the lines and tanks to freeze. And finally, our RVIA Certified Master Technician shows how the water heater operates, maintenance, and troubleshooting as well.
In addition to the detailed video instruction you’ll receive, this online class provides you with some downloadable resources and helpful information to print and keep, including: A detailed Class Guide you can follow and use as a reminder for the key points of the class instruction; two resource documents that will help you winterize and troubleshoot your system; and two BONUS video tutorials, walking you through installation of a shower head and kitchen faucet.
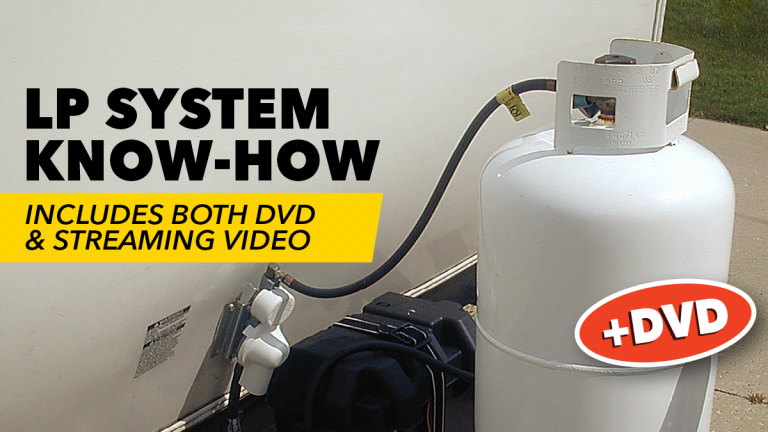
NOTE: You’ll receive this Class video instruction in two forms: As on-demand streaming video (in your RV Account); and as a physical DVD, mailed to you.
Dave Solberg
Dave Solberg is the Managing Editor of the RV Repair Club. For over 25 years, Dave has conducted a wide range of RV maintenance and safety seminars, developed dealer and owner training programs, written RV safety and handyman articles, authored an RV handbook reference guide and logged over 100,000 miles on the road in an RV.
Bonus materials available after purchase
How do I know what the Class covers?
Do I have to be a Member of RV Lifestyle & Repair to purchase a Class?
How do I purchase a Class?
How do I access/view my Class?
Do I have to take the Class right away?
Is there a limit on the times I can view my Class?
Can I view a Class on my tablet device or mobile phone?
How do I get access to the Bonus Materials for the Class?
How does the Class Q&A Resource benefit work?
Can I print out Class details?
What are PDF downloads?
Are there any system requirements to view the Class video content?
Why do you need my email?
Can I get a refund if I don’t like the Class?
How do I contact RV Lifestyle & Repair Academy?


Purchase Class
Purchase class and add to your personal library with on-demand video access.
- Enjoy on-demand video access to this content anytime, anywhere for the one-time cost below.
- You won’t lose access, with or without an active current Membership
Ins & Outs of Fresh Water Systems + DVD
with Dave Solberg