Painting the Walls
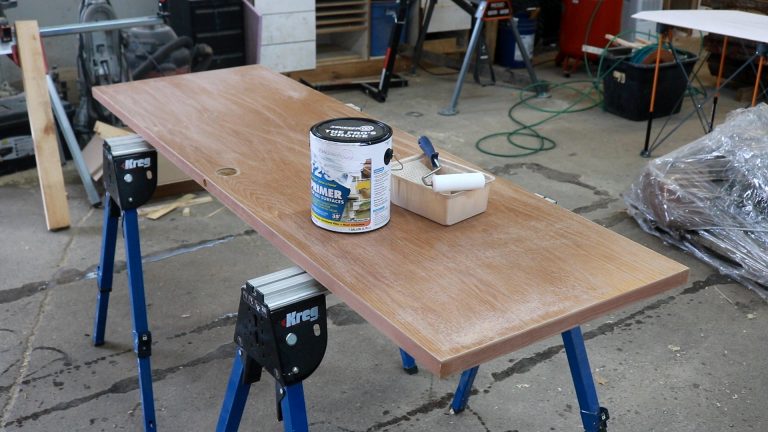
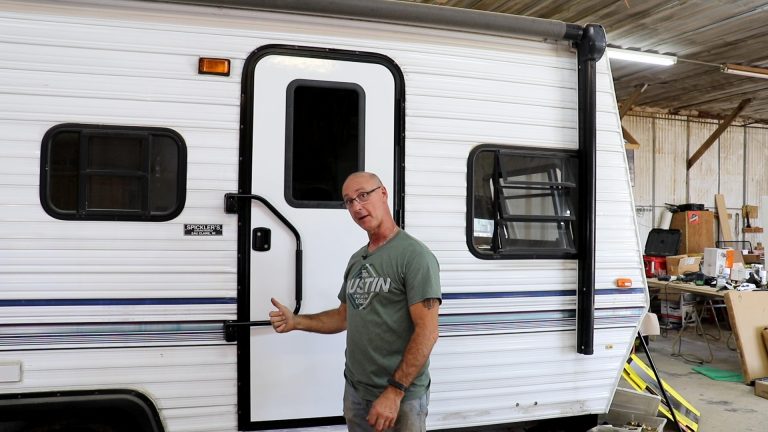
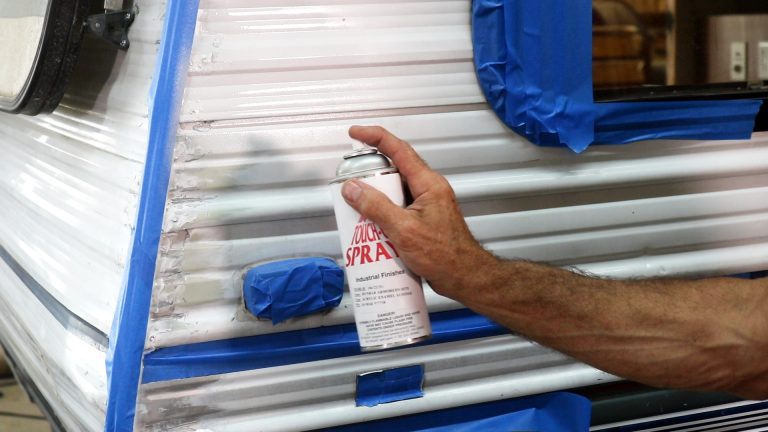
George VondriskaA bit of paint goes a long way in refreshing a tired interior. However, painting a camper’s interior isn’t as easy as simply slapping your favorite color on the walls. If you want it to adhere well, it’s important to follow a specific recipe that includes TSP for cleaning and the right primer. The color used in this video is Benjamin Moore Gray Cashmere.
Share tips, start a discussion or ask one of our experts or other students a question.
Already a member? Sign in
3 Responses to “Painting the Walls”
Explore videos by George Vondriska


You may be interested in

Premium Membership
Unlock exclusive member content from our industry experts.
- 24/7 Access to Premium RV Maintenance Videos, Travel Inspiration, and Lifestyle Tips
- Step-by-Step Instructional Demos, Projects, and Guides
- 50% Off Video Downloads Purchased in the RV Lifestyle & Repair Shop
- Access to Ask the Expert Program
Unlock exclusive member content from our industry experts.
- 24/7 Access to Premium RV Maintenance Videos, Travel Inspiration, and Lifestyle Tips
- Step-by-Step Instructional Demos, Projects, and Guides
- 2 Full-Length Video Downloads to Watch Offline
- 50% Off Video Downloads Purchased in the RV Lifestyle & Repair Shop
- Access to Ask the Expert Program
Gold Membership
$333 Value
Get everything included in Premium plus exclusive Gold Membership benefits.
- 24/7 Access to Premium RV Maintenance Videos, Travel Inspiration, and Lifestyle Tips
- Step-by-Step Instructional Demos, Projects, and Guides
- 9 Full-Length Video Downloads to Watch Offline
- 2 Full-Length RV Repair Classes to Keep for Life
- Discounts on Purchase-to-Own Content in the RV Lifestyle & Repair Shop
- Access to Ask the Expert Program
- Exclusive GOLD LIVE Streaming Events
How does the paint hold up where you have removed seams, patched and painted. With all the flexing when traveling I would think there would be cracks?
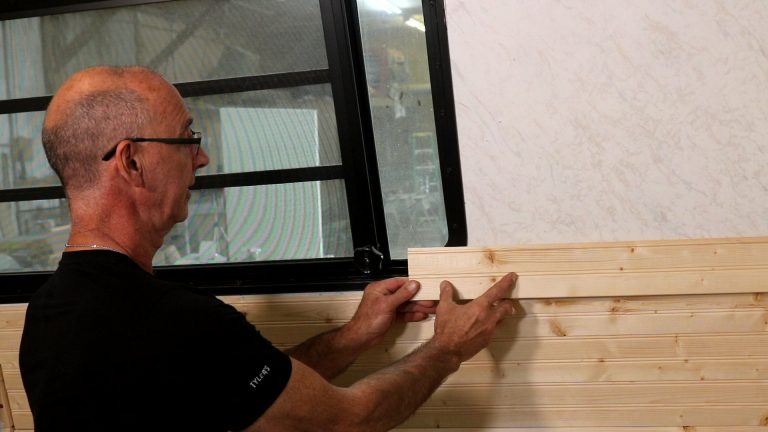
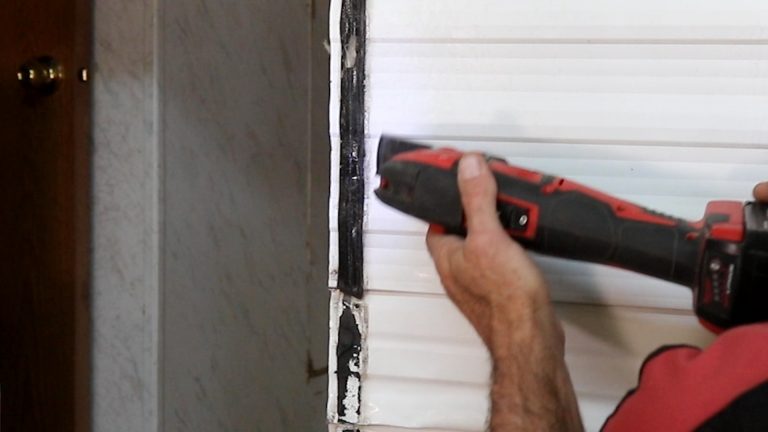
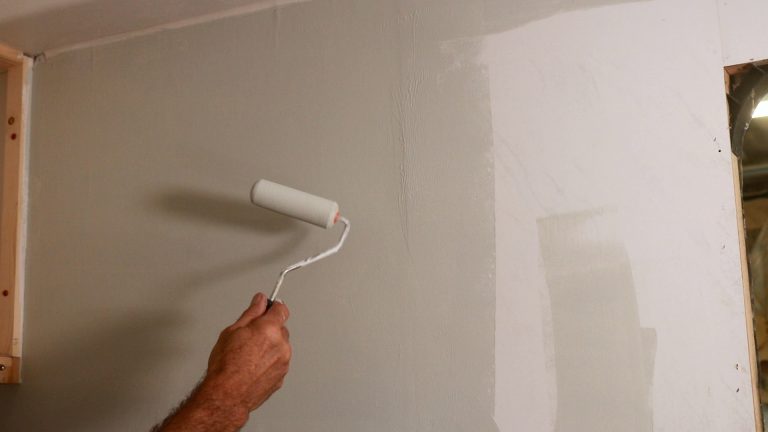
A couple additional thoughts: 1) There are different kinds of primers. To paint over the plastic (contact paper) we need a "bonding" primer, such as the one you use. The goal is adhesion to a potentially slick surface. Standard wall paints are designed to adhere to micropores, which the primer then provides. 2) Luan covered with contact paper is essentially flat, except at seams or where it has been damaged. As long as it is reasonably clean, no sanding is needed, as thin plastic is not amenable to sanding--it will just tear if sanded too much. A single pass with fine grit sandpaper (like 180 or more) is probably okay, or just the TSP wash. The sanding is for the seams, holes, et al that have been repaired. When applying the filler/spackle/whatever, leave as little extra on the wall as possible so you can do less sanding and have less risk of tearing the plastic (contact paper) where it is still intact.
You may not be a professional painter, but you are definitely a professional--and I mean a cabinetmaker, not a videographer ;-). Very good content, a good addition to the channel.