SF
How to Strip a Wire in Your RV
Sydney FranklinWhen conducting electrical work on your RV, it is important to know how to strip a wire and the different connectors available for splicing electrical wires together. With a few simple steps, you can properly strip and terminate wires using a butt splice. Using a butt splice is the same as an eye splice or a spade splice. Butt splices are commonly used in RV maintenance and are used in the installation of trailer and clearance lights.
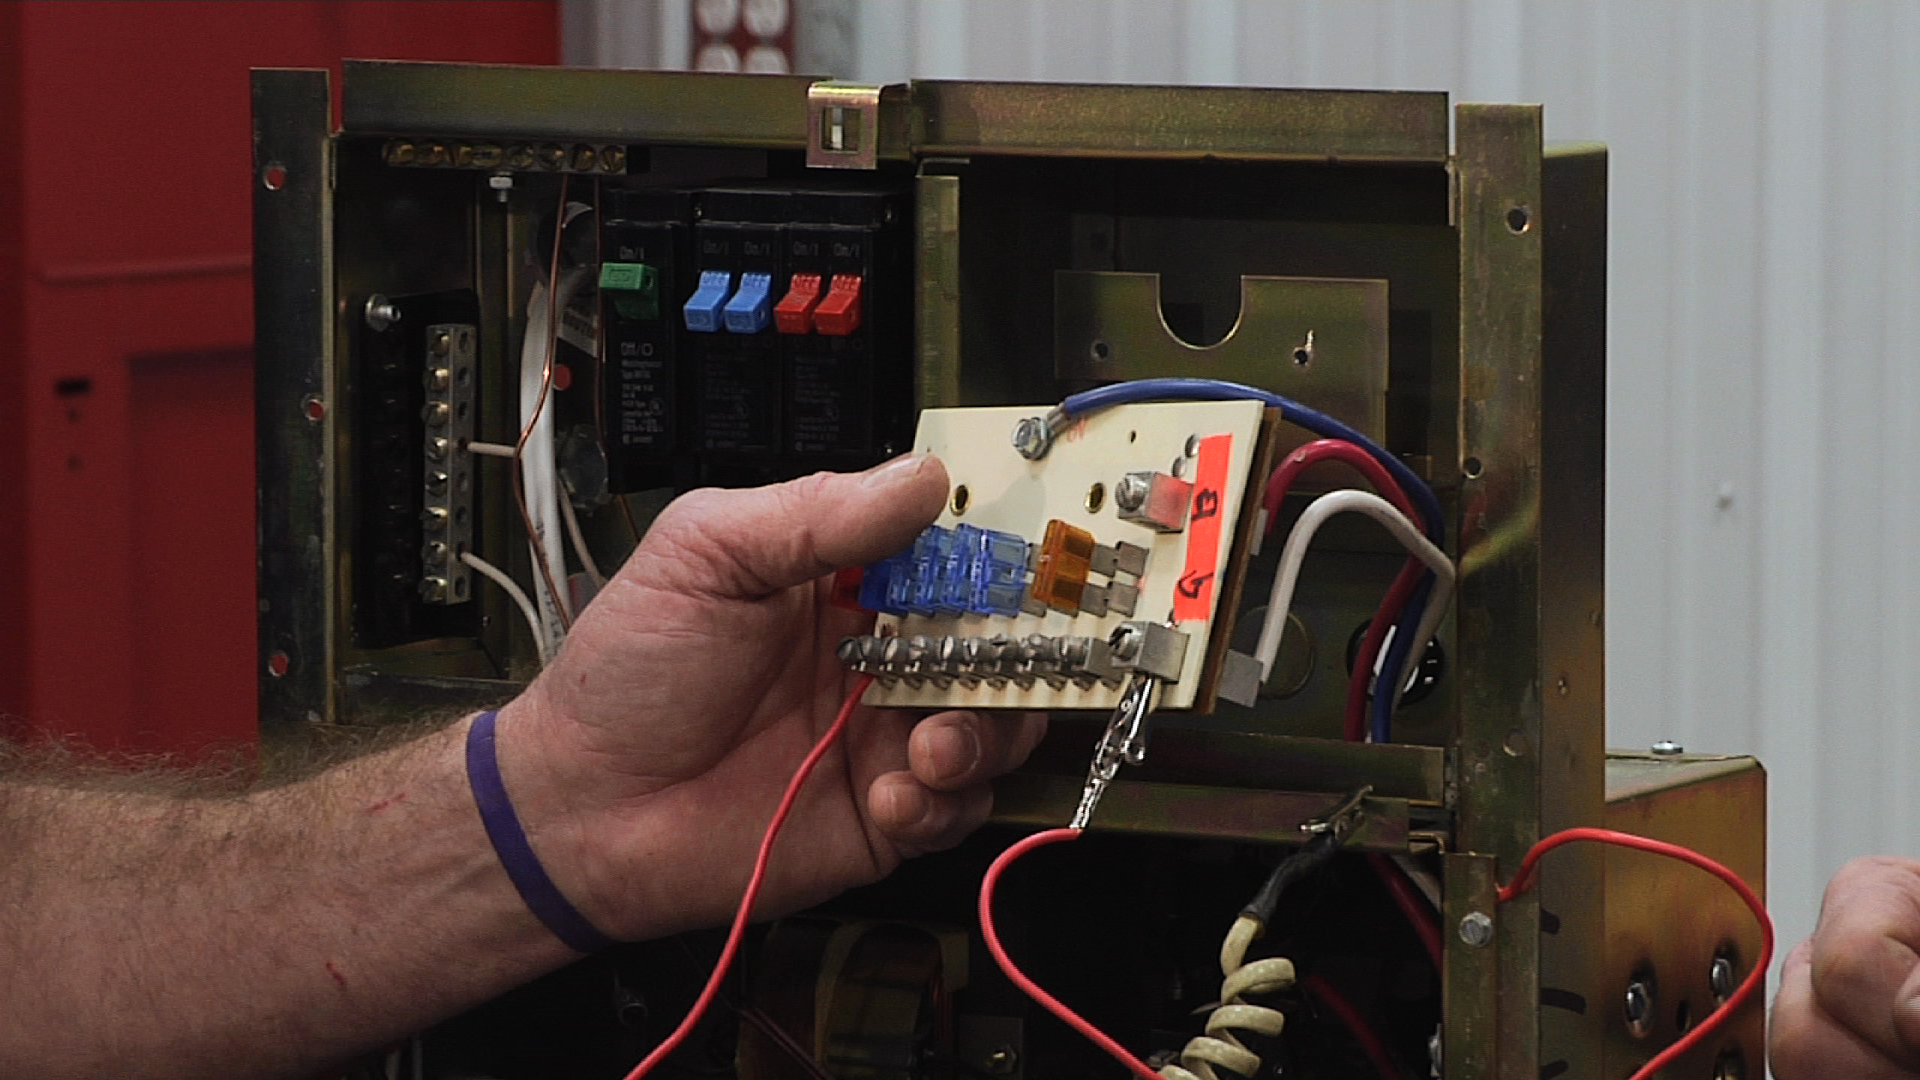
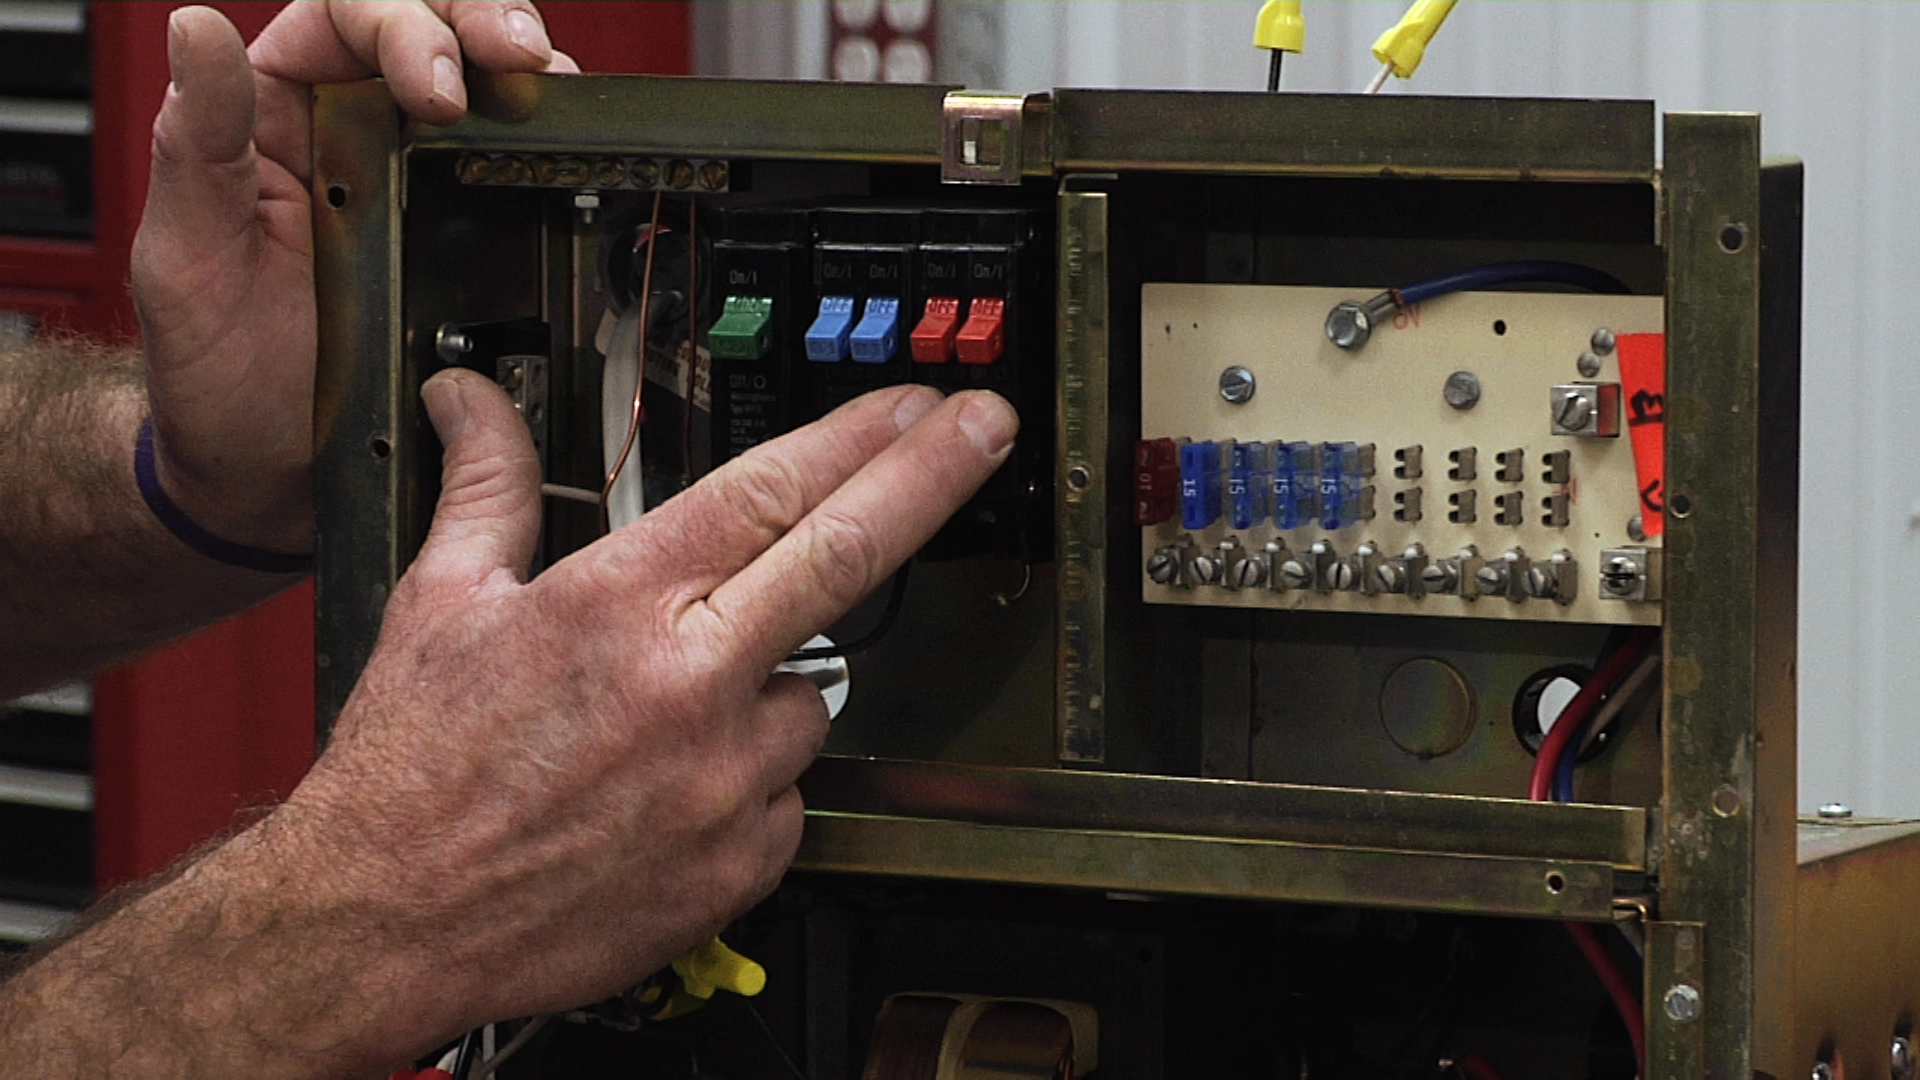
The first step in how to strip a wire is making sure all power to the wire is disconnected. Check the fuse box and remove or disconnect power from the grid of the RV you are working on.
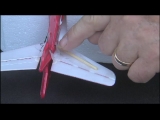
The tools you need include one that can strip the correct gauge wires, one that will crimp insulated wires together and butt connectors. Next, determine the correct gauge to use on the stripper and the correct length of wire to expose. Gently squeeze the stripper, removing the outside covering of the wire.
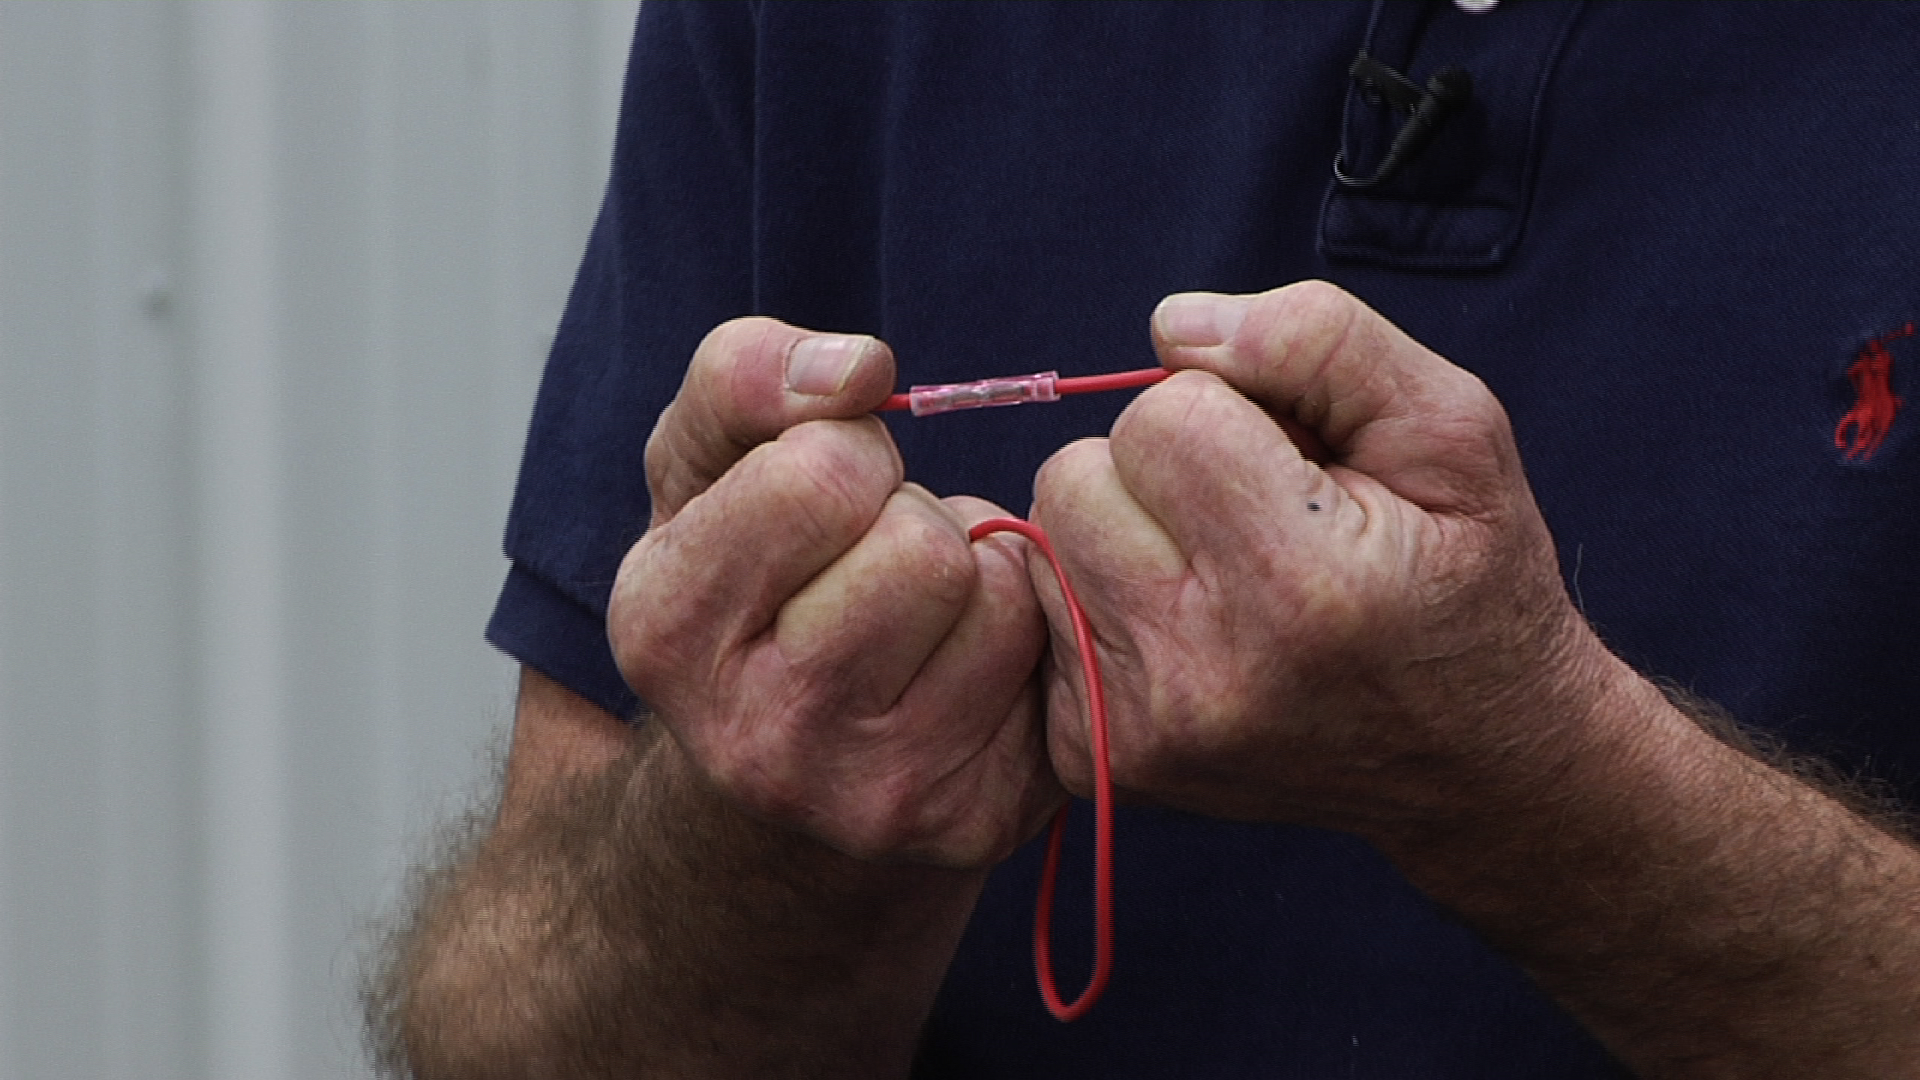
The next step in how to strip a wire is placing one end of the butt splice over the exposed wires and squeezing it with a crimper. Do the same with the next wire on the other end of the butt connector. This will create an inline circuit.
To make sure termination is complete you will need to test the wire and ensure the butt connection will hold. Look to ensure there are no copper wires coming out of either end and gently, yet firmly, tug on each end of the wires. If there is a strong hold, your connection is good.
As the owner of a RV, there are many reasons for needing to know how to strip a wire and splice wires together. Knowing how to do this, you will be able to easily install new lighting or conduct simple electrical work throughout your unit.
Explore videos by Sydney Franklin
You may be interested in


Premium Membership
Unlock exclusive member content from our industry experts.
- 24/7 Access to Premium RV Maintenance Videos, Travel Inspiration, and Lifestyle Tips
- Step-by-Step Instructional Demos, Projects, and Guides
- 50% Off Video Downloads Purchased in the RV Lifestyle & Repair Shop
- Access to Ask the Expert Program
Unlock exclusive member content from our industry experts.
- 24/7 Access to Premium RV Maintenance Videos, Travel Inspiration, and Lifestyle Tips
- Step-by-Step Instructional Demos, Projects, and Guides
- 2 Full-Length Video Downloads to Watch Offline
- 50% Off Video Downloads Purchased in the RV Lifestyle & Repair Shop
- Access to Ask the Expert Program
Gold Membership
$333 Value
Get everything included in Premium plus exclusive Gold Membership benefits.
- 24/7 Access to Premium RV Maintenance Videos, Travel Inspiration, and Lifestyle Tips
- Step-by-Step Instructional Demos, Projects, and Guides
- 9 Full-Length Video Downloads to Watch Offline
- 2 Full-Length RV Repair Classes to Keep for Life
- Discounts on Purchase-to-Own Content in the RV Lifestyle & Repair Shop
- Access to Ask the Expert Program
- Exclusive GOLD LIVE Streaming Events
Share tips, start a discussion or ask one of our experts or other students a question.
Already a member? Sign in
No Responses to “How to Strip a Wire in Your RV”