Repairing a Leaky Sink: Inspection and Troubleshooting
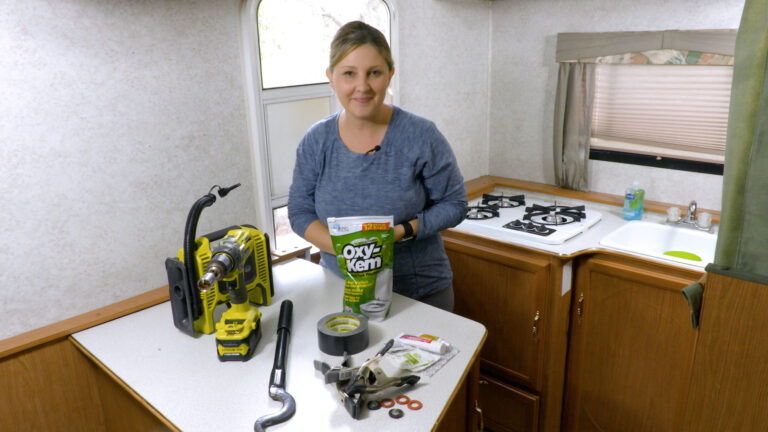
Carol JacksonIn this in-depth video lesson, Carol Jackson of RV Inspection Specialists walks you through the process of diagnosing and repairing a leaky sink on your RV. It’s not uncommon for your vehicle’s water system to spring a leak, due to all of the vibration that rattles an RV when it’s rumbling down the road. Especially with older RVs that utilize rigid plastic pipes, there are a number of places in a sink’s immediate plumbing system where leaks might develop.
Where to look and what to do when repairing a leaky sink
To help you figure out how or why your RV sink has taken on a leak, Carol goes part by part along her sample sink and filtration system. She explains which parts are particularly prone to leaks, and then demonstrates simple methods you should execute to fix whatever problem you encounter.
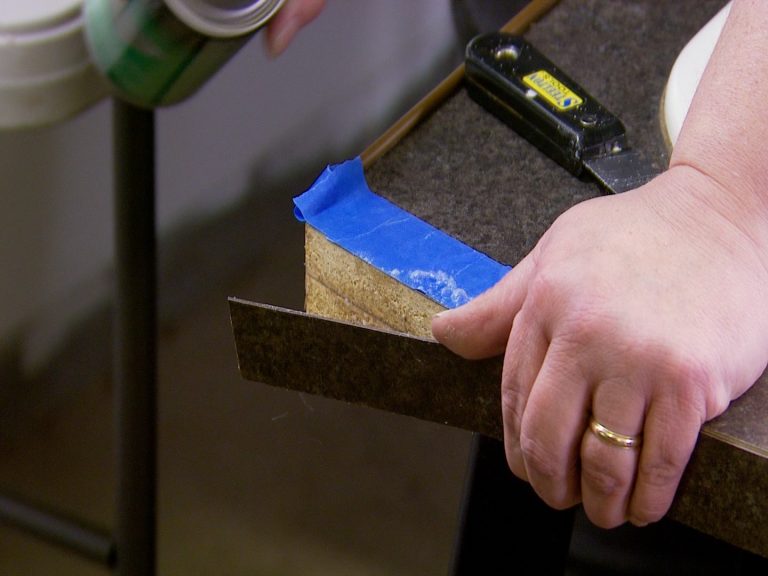
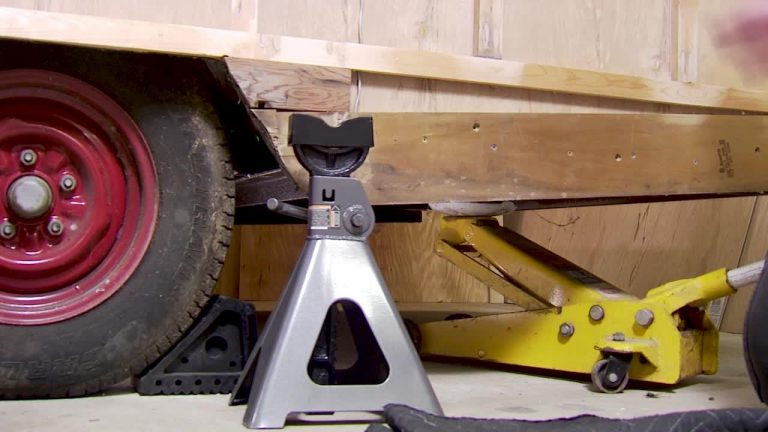
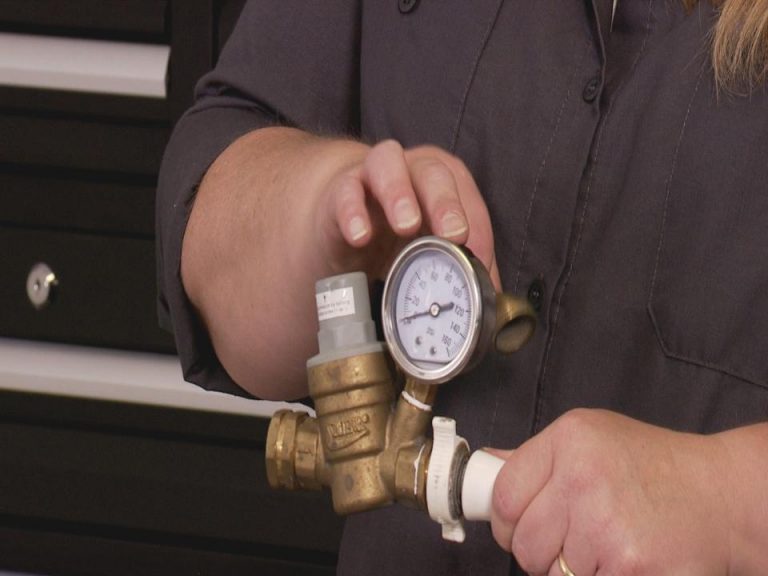
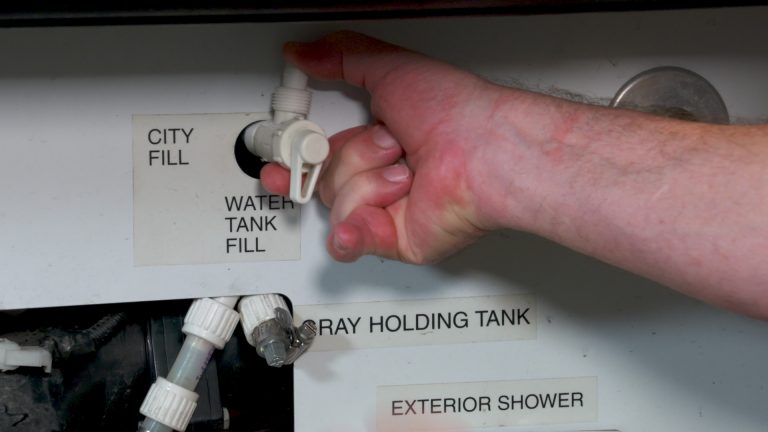
First, if you’re unsure where the leak is, you should complete a thorough inspection from end to end. Many of the common leaky spots can be repaired with a quick turn of the wrench, while others will require replacement parts, specialized tools, and a bit of finagling. You’ll usually find that the weakest points in any plumbing system are the joints, rubber O-rings, and places of movement (i.e. handles and valves).
With just about all newer models, the piping you’ll find throughout your plumbing system will be PEX tubes. This tubing is made of flexible cross-linked polyethylene that’s designed to expand and contract with rising and falling temperatures. PEX tubes come in A and B grades, which are used for different facets of the water system.
Four typical repairs
1. The most common fix needed when repairing a leaky sink is to replace cracked, eroded, or ill-fitting rubber O-rings. Carol demonstrates this type of replacement by opening up the water filter housing (after turning off water flow at the outlet) and inspecting the large O-ring.
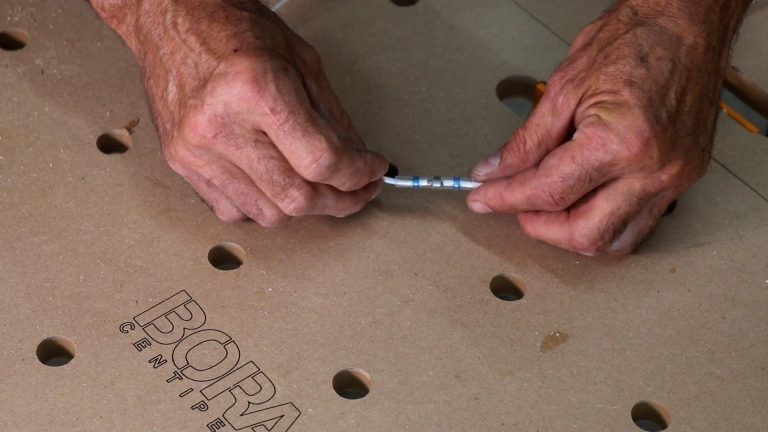
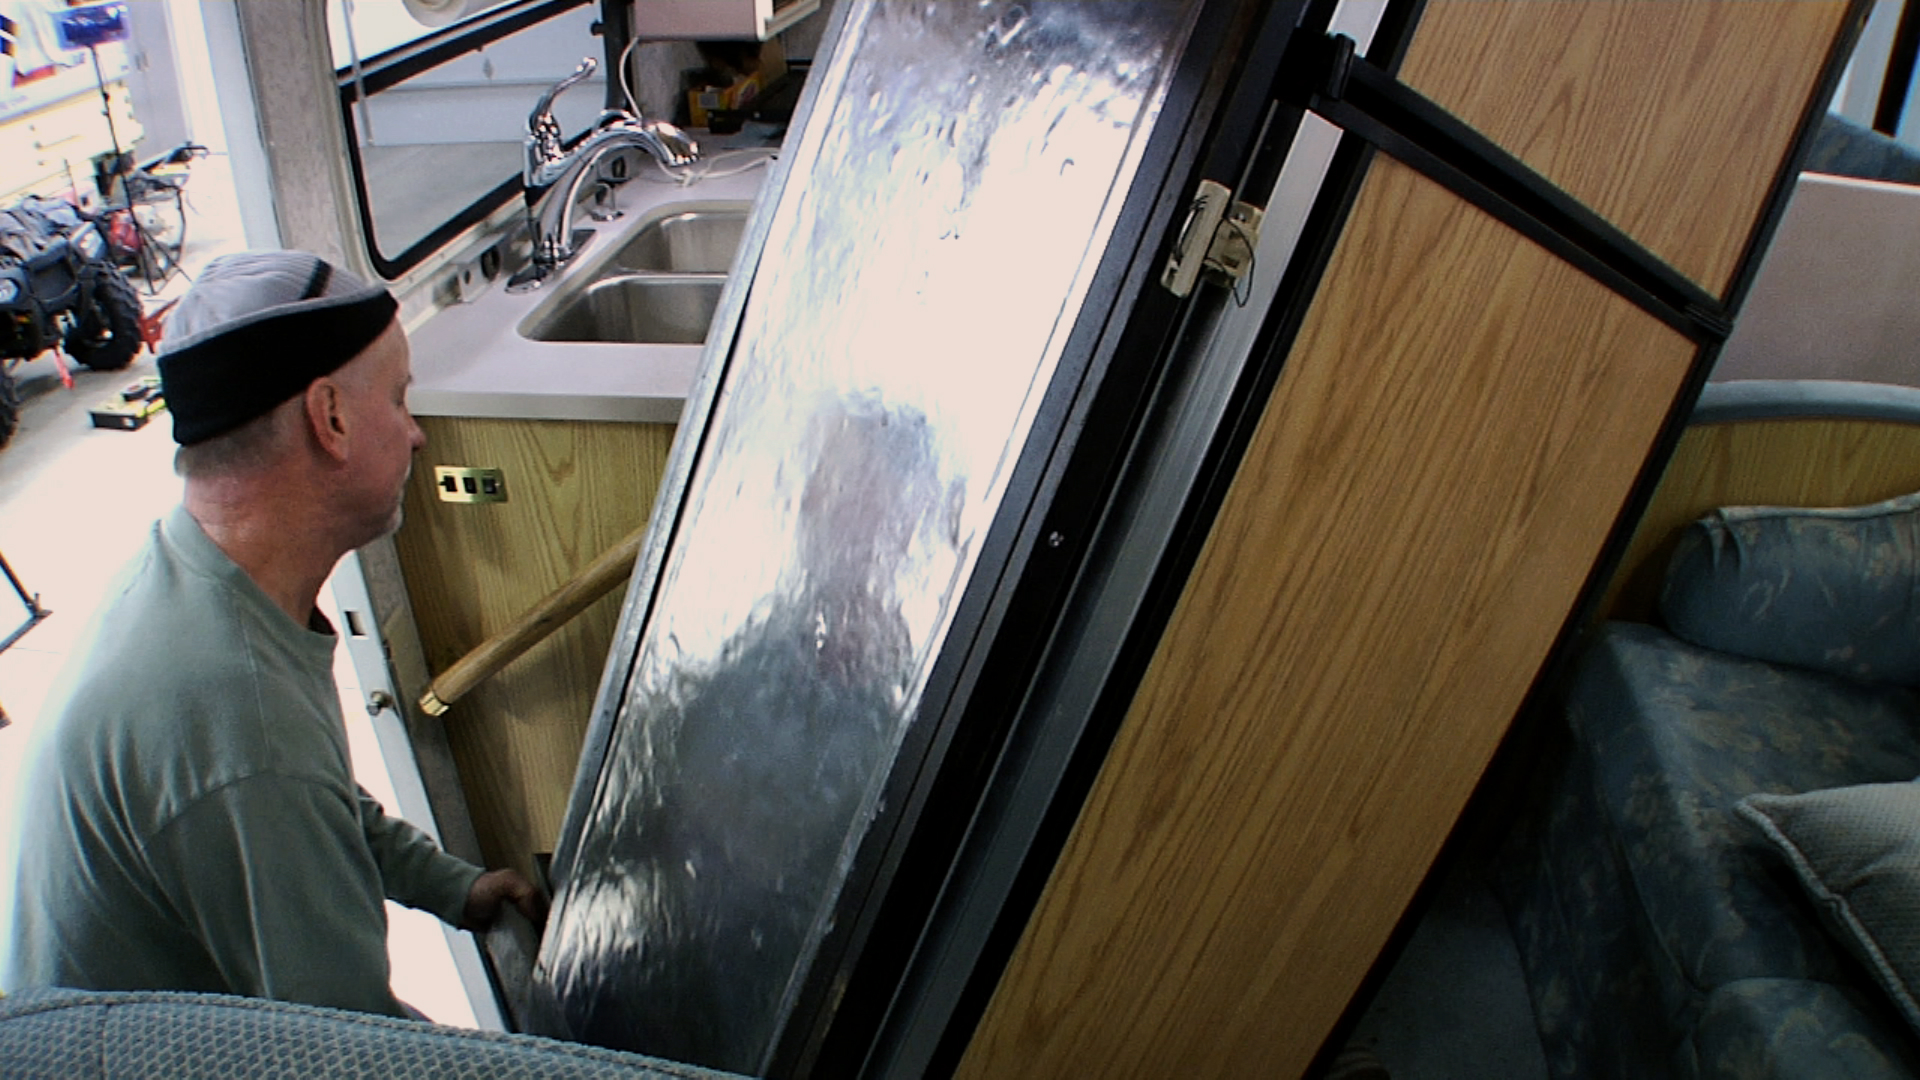
2. For the next fix, Carol shows you how to check under your sink for the source of a leak in the internal lines. You’ll want to begin by shutting off water flow, bleeding pressure by opening both faucet handles, and letting all remaining water run out. In Carol’s case, there’s a poor connection between the cold water PEX and its fitting.
This means she’ll have to cut off a small portion of the PEX and reclamp. This will require a couple of PEX-specific tools that you should be able to easily find at your local hardware store. Carol shows you how to complete each step, explaining what you should do if you encounter any oddities.
3. The third spot that can often require a solution is in the drainage system. If your RV employs the older, standard model of P-trap drainage, there are at least six joints where you might spring a leak. There are about a million more parts that can be faulty in the basket that connects to the sink bowl. Carol discusses the proper repair for each, so you should have no issue solving those basic problems.
4. The final common leak Carol shows you how to diagnose is the easiest ro reach: in the faucet handles. If you have a minor leak around the handle, that almost certainly means you have a faulty cartridge. Carol walks you through this process step by step, so again, no problemo. If you ever feel stumped on which tool you need for the job or where to find the right part, you need only ask around at your local hardware store.
Good luck diagnosing and repairing a leaky sink on your RV!
Explore videos by Carol Jackson

You may be interested in


Premium Membership
Unlock exclusive member content from our industry experts.
- 24/7 Access to Premium RV Maintenance Videos, Travel Inspiration, and Lifestyle Tips
- Step-by-Step Instructional Demos, Projects, and Guides
- 50% Off Video Downloads Purchased in the RV Lifestyle & Repair Shop
- Access to Ask the Expert Program
Unlock exclusive member content from our industry experts.
- 24/7 Access to Premium RV Maintenance Videos, Travel Inspiration, and Lifestyle Tips
- Step-by-Step Instructional Demos, Projects, and Guides
- 2 Full-Length Video Downloads to Watch Offline
- 50% Off Video Downloads Purchased in the RV Lifestyle & Repair Shop
- Access to Ask the Expert Program
Gold Membership
$333 Value
Get everything included in Premium plus exclusive Gold Membership benefits.
- 24/7 Access to Premium RV Maintenance Videos, Travel Inspiration, and Lifestyle Tips
- Step-by-Step Instructional Demos, Projects, and Guides
- 9 Full-Length Video Downloads to Watch Offline
- 2 Full-Length RV Repair Classes to Keep for Life
- Discounts on Purchase-to-Own Content in the RV Lifestyle & Repair Shop
- Access to Ask the Expert Program
- Exclusive GOLD LIVE Streaming Events