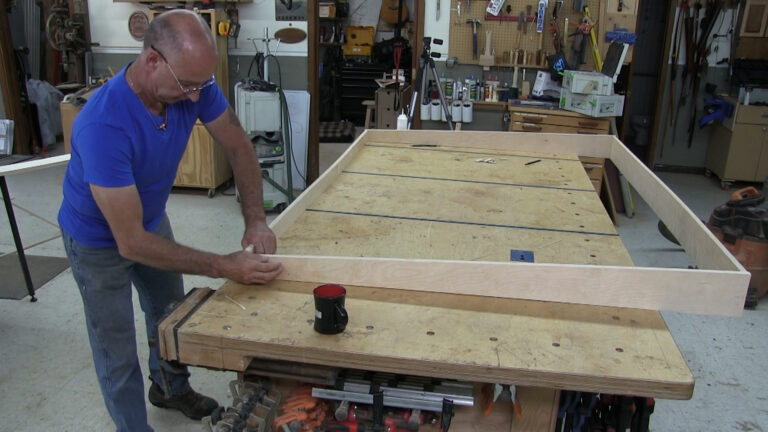
Repairing the Floor
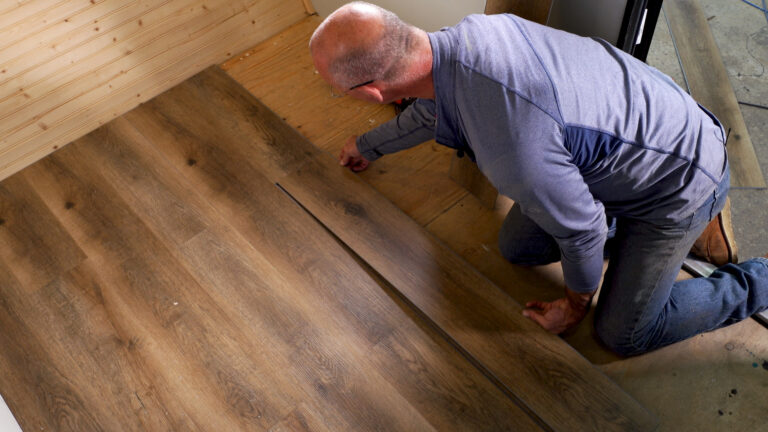
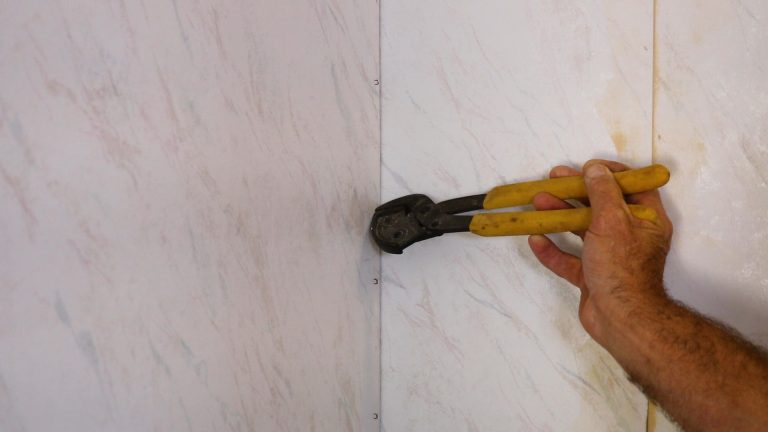
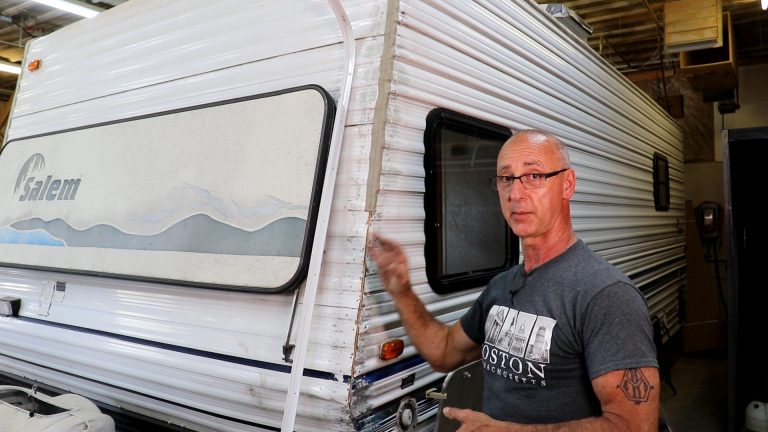
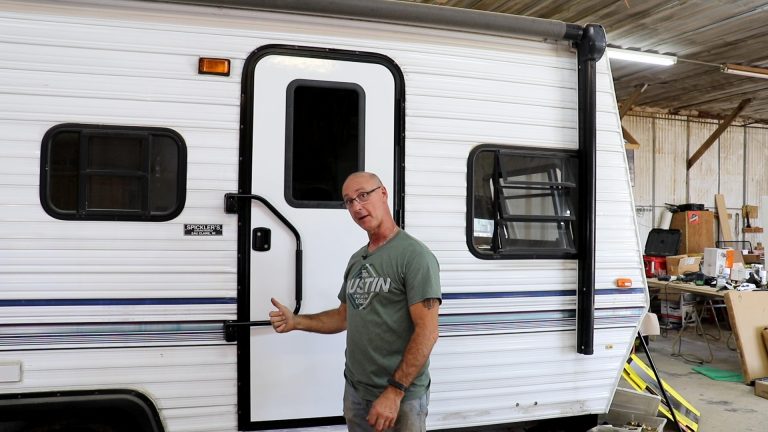
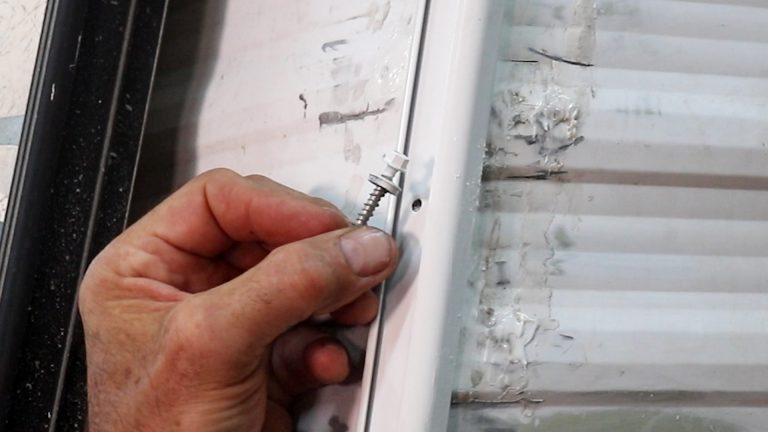
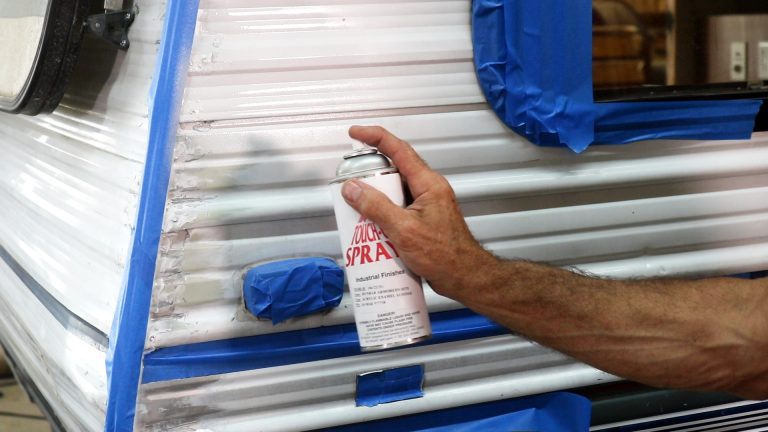
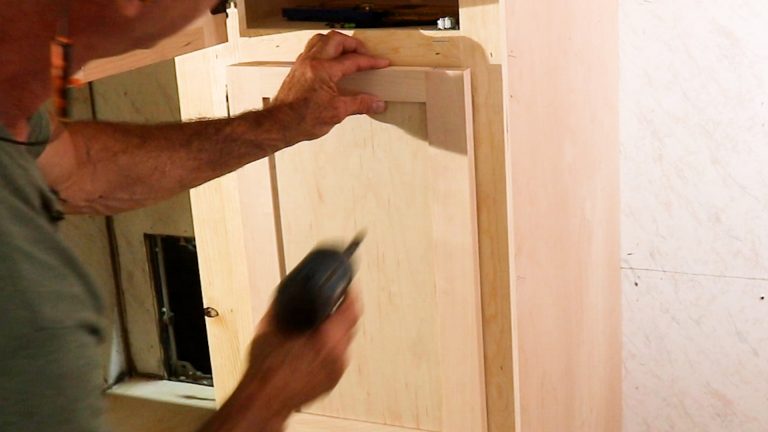
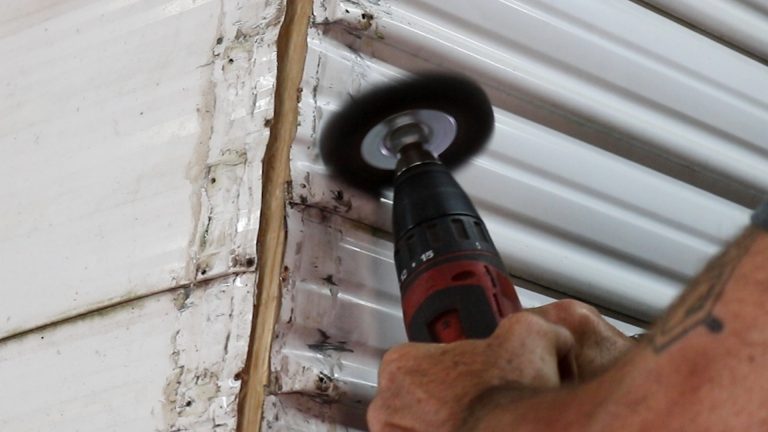
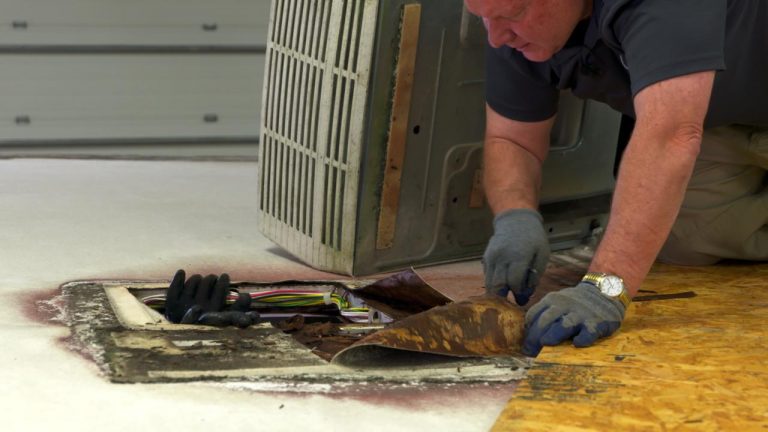
George VondriskaUh oh… Trouble in paradise! Turns out there were some bad spots in the floor. You never really know what you’re dealing with until you get to work. We’ll have to replace the plywood and some of the floor joists. Watch to see how we tackle this sticky situation.
Share tips, start a discussion or ask one of our experts or other students a question.
Already a member? Sign in
4 Responses to “Repairing the Floor”
Explore videos by George Vondriska


You may be interested in


Premium Membership
Unlock exclusive member content from our industry experts.
- 24/7 Access to Premium RV Maintenance Videos, Travel Inspiration, and Lifestyle Tips
- Step-by-Step Instructional Demos, Projects, and Guides
- 50% Off Video Downloads Purchased in the RV Lifestyle & Repair Shop
- Access to Ask the Expert Program
Unlock exclusive member content from our industry experts.
- 24/7 Access to Premium RV Maintenance Videos, Travel Inspiration, and Lifestyle Tips
- Step-by-Step Instructional Demos, Projects, and Guides
- 2 Full-Length Video Downloads to Watch Offline
- 50% Off Video Downloads Purchased in the RV Lifestyle & Repair Shop
- Access to Ask the Expert Program
Gold Membership
$333 Value
Get everything included in Premium plus exclusive Gold Membership benefits.
- 24/7 Access to Premium RV Maintenance Videos, Travel Inspiration, and Lifestyle Tips
- Step-by-Step Instructional Demos, Projects, and Guides
- 9 Full-Length Video Downloads to Watch Offline
- 2 Full-Length RV Repair Classes to Keep for Life
- Discounts on Purchase-to-Own Content in the RV Lifestyle & Repair Shop
- Access to Ask the Expert Program
- Exclusive GOLD LIVE Streaming Events
Hi Jason Darger here with Utah Flooring & Design. I was looking around Flooring & Design earlier today and sure enough, found your post: https://www.rvrepairclub.com/video/repair-camper-floor-023868/ We offer flooring services that range from hardwood to tile to carpet. Whether you need brand new carpet installation, flooring repair, or a special service like counter top installation, we are your team! - https://utahflooringanddesign.com/ Regards, Jason Darger.
Curious what the metal plate was below the floor. Also, was 5/8 plywood the same thickness as the original? How thick was the original plywood? What is your methodology for choosing 5/8 vs. 1/2 or 3/8? Thanks.
My floor has 1/4 ply top foam insulation and the bottom is 1/4 ply .. where do I get that material to fix my floor. Grand Design Imagine 26' says longer season.. so top wet bottom wet cut it open and not sure how far to remove if cant find replacement as the foam insulation is not a standard size usually :) Forgot to mention what type of plank flooring can be used after I fix it. On retailer said material not good below 40 and that would be on the high side storing for the winder.. usually 35 and below. .Buffalo0 NY
Why did not use treated wood inside the trailer.