Restringing Pleated Day/Night Shades
Carol JacksonAs RV day/night shades age, the strings that retract and extend the pleated shade often get a little wonky. This can make a broken or frayed shade difficult to manage and keep in the up position. Although your shade seems to be destined for a replacement, it’s not a lost cause if you don’t mind spending some time on it. All you have to do is remove the old string and replace it, and voila, good as new! In this step-by-step video lesson, Carol Jackson of RV Inspection Specialists demonstrates how to restring day/night shades for your RV windows.
Getting started: restringing day/night shades
To complete this quick project, you’ll need: a flathead screwdriver, a power driver, scissors, tape, a tape measure, and embroidery needle and thread to navigate small holes on your shade’s beams. And of course you will need a new set of strings, which come ready-made in any restringing kit such as the Pleated Shade First Aid Kit from United Shade.
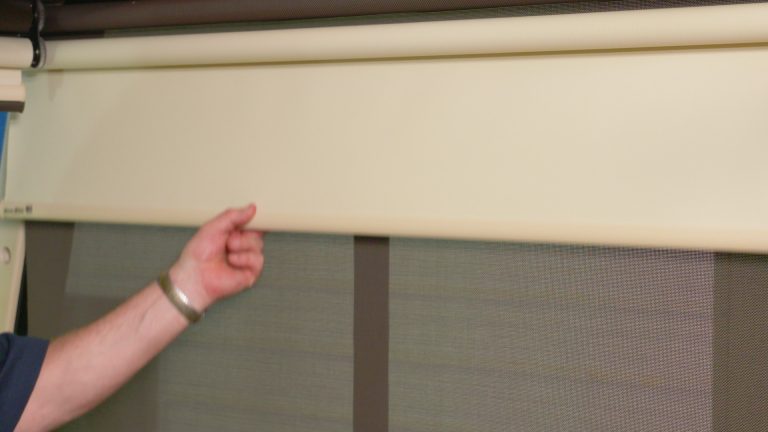
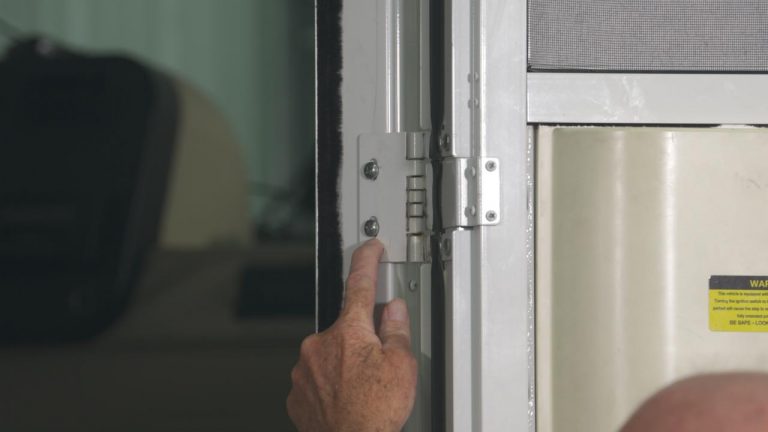
The first step in the process is to get the shade off of the window. If your shade is covered around the edges with a box valance, you’ll have to first use your power driver to remove the valance, and then the shade via the buttons at the bottom corners and its top track. Once the shade is off the wall, lay it flat on your work surface. Cut the string where it attaches to the buttons, and set the buttons aside (If they are in good shape, you’ll reattach them once you’re ready to put the shade back on the wall).
Taking your day/night shades apart
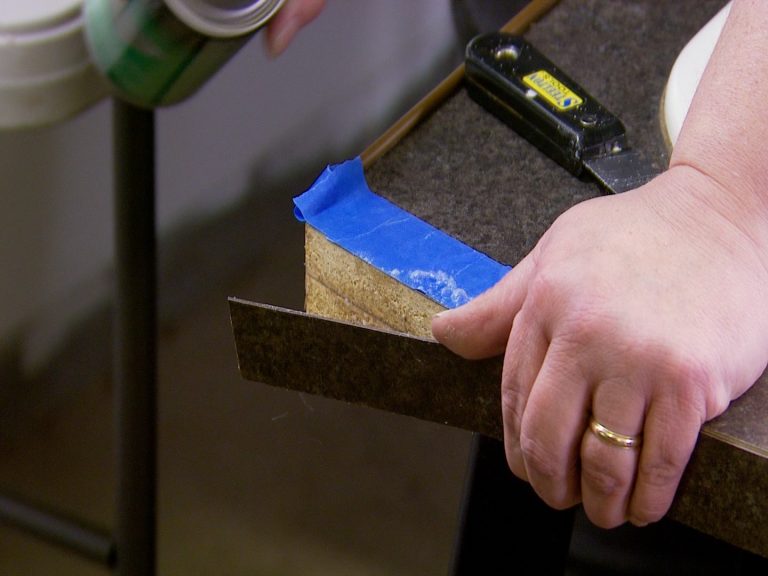
To get into the RV window shade and replace its strings, you’ll start by removing the end caps from each beam. Carol likes to use her flathead screwdriver to gently pry the caps away from the metal beam. (try not to crack the caps!)
Next, slide off the beams’ metal shields, exposing the strings around the shade and the springs at the top. If your shade employs a two-sided spring system, Carol recommends replacing it with a one-spring system. You can do this by cutting the strings where they attach at the spring ends, and then uncoil the springs where they attach at the center rivet.
With the spring replaced, you can cut and remove the strings from both sides of your shade. Go ahead and throw them away (or reuse them for another project); you won’t need them again for this one.
Adding new string
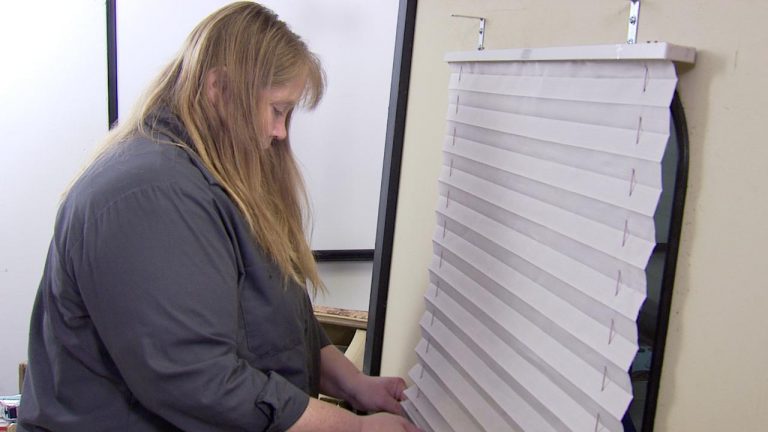
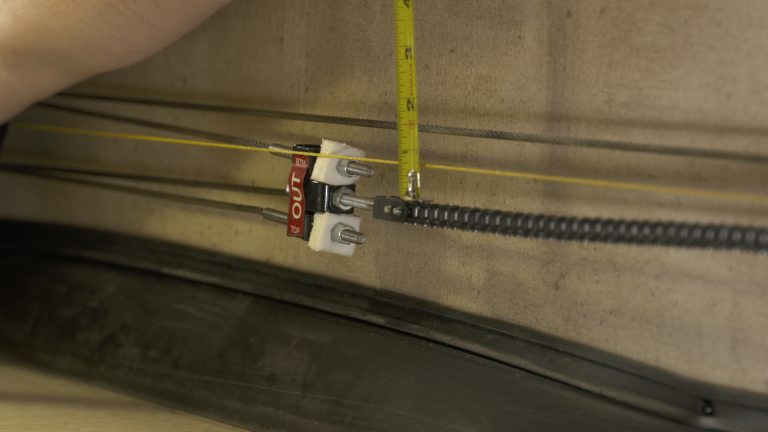
Start the restring process by gathering the shade in its pleated form. Using your embroidery needle, guide a length of thread from the top hole through to the bottom. Join the end of your thread to the end of your new string with a small amount of painter’s tape. You don’t want a bulky tape joint because the holes can be quite small.
With her strings pulled all the way through on both sides and attached to the spring at the top, Carol shows how to cross the strings over at the center point of the bottom beam. That’s an important feature, so don’t skip this step!
Carol then reassembles the shade by sliding the beam shields back on, reattaching the buttons at the bottom, rehanging the shade via the top rail and then the buttons drilled into the wall, and lastly reinstalling the box valance. A quick test to make sure your day/night shades are fully functional and secure, and there you are, your broken shade has a second life!
Explore videos by Carol Jackson

You may be interested in


Premium Membership
Unlock exclusive member content from our industry experts.
- 24/7 Access to Premium RV Maintenance Videos, Travel Inspiration, and Lifestyle Tips
- Step-by-Step Instructional Demos, Projects, and Guides
- 50% Off Video Downloads Purchased in the RV Lifestyle & Repair Shop
- Access to Ask the Expert Program
Unlock exclusive member content from our industry experts.
- 24/7 Access to Premium RV Maintenance Videos, Travel Inspiration, and Lifestyle Tips
- Step-by-Step Instructional Demos, Projects, and Guides
- 2 Full-Length Video Downloads to Watch Offline
- 50% Off Video Downloads Purchased in the RV Lifestyle & Repair Shop
- Access to Ask the Expert Program
Gold Membership
$333 Value
Get everything included in Premium plus exclusive Gold Membership benefits.
- 24/7 Access to Premium RV Maintenance Videos, Travel Inspiration, and Lifestyle Tips
- Step-by-Step Instructional Demos, Projects, and Guides
- 9 Full-Length Video Downloads to Watch Offline
- 2 Full-Length RV Repair Classes to Keep for Life
- Discounts on Purchase-to-Own Content in the RV Lifestyle & Repair Shop
- Access to Ask the Expert Program
- Exclusive GOLD LIVE Streaming Events