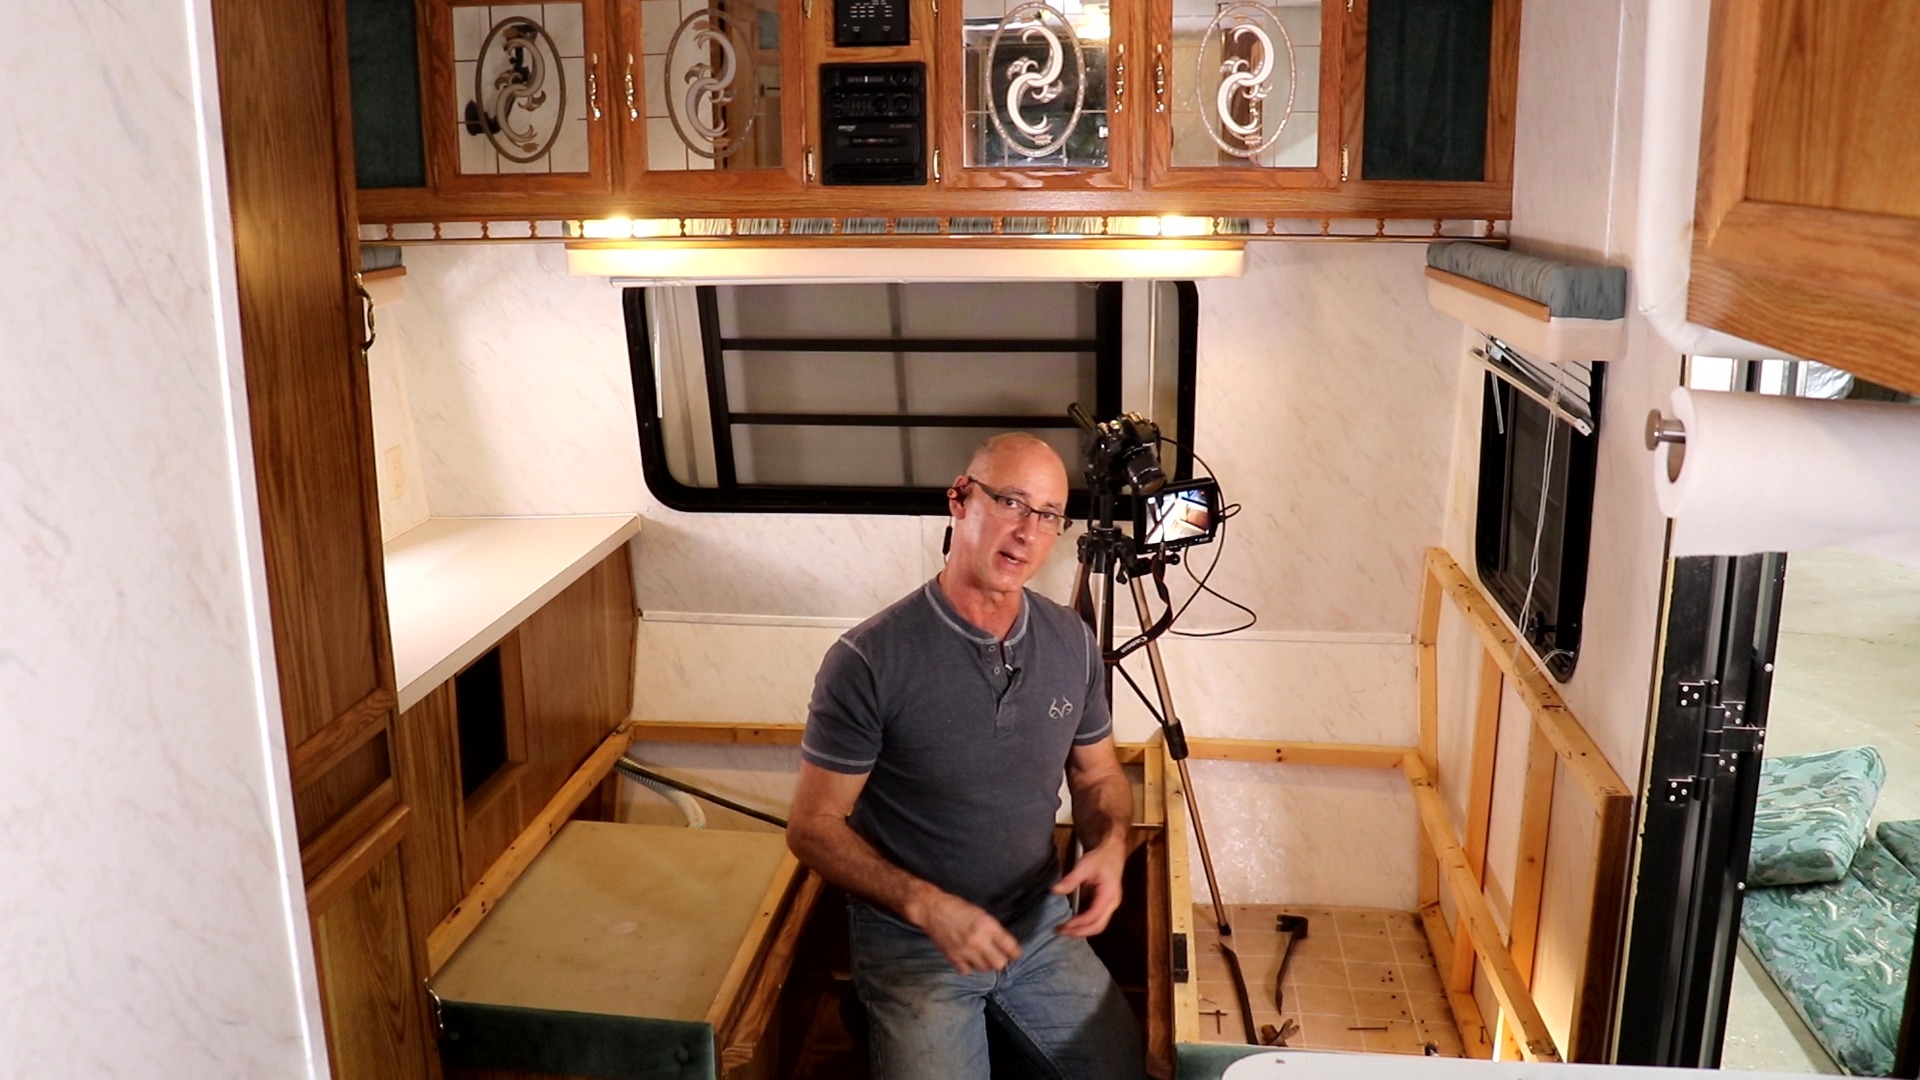
Welcome to RV Lifestyle & Repair’s first-ever Trailer Makeover! Join your host George Vondriska and the RVLR team as we transform a 1997 Salem Forest River 20’ trailer from dated to deluxe one room at a time! Follow along to see how we’ll tackle problem areas like the bunkhouse, dinette, and kitchen to maximize space, improve efficiency, and take this trailer into the 21st century. Get ready, and buckle up—you won’t want to miss a moment of this adventure.
SPONSORED BY:


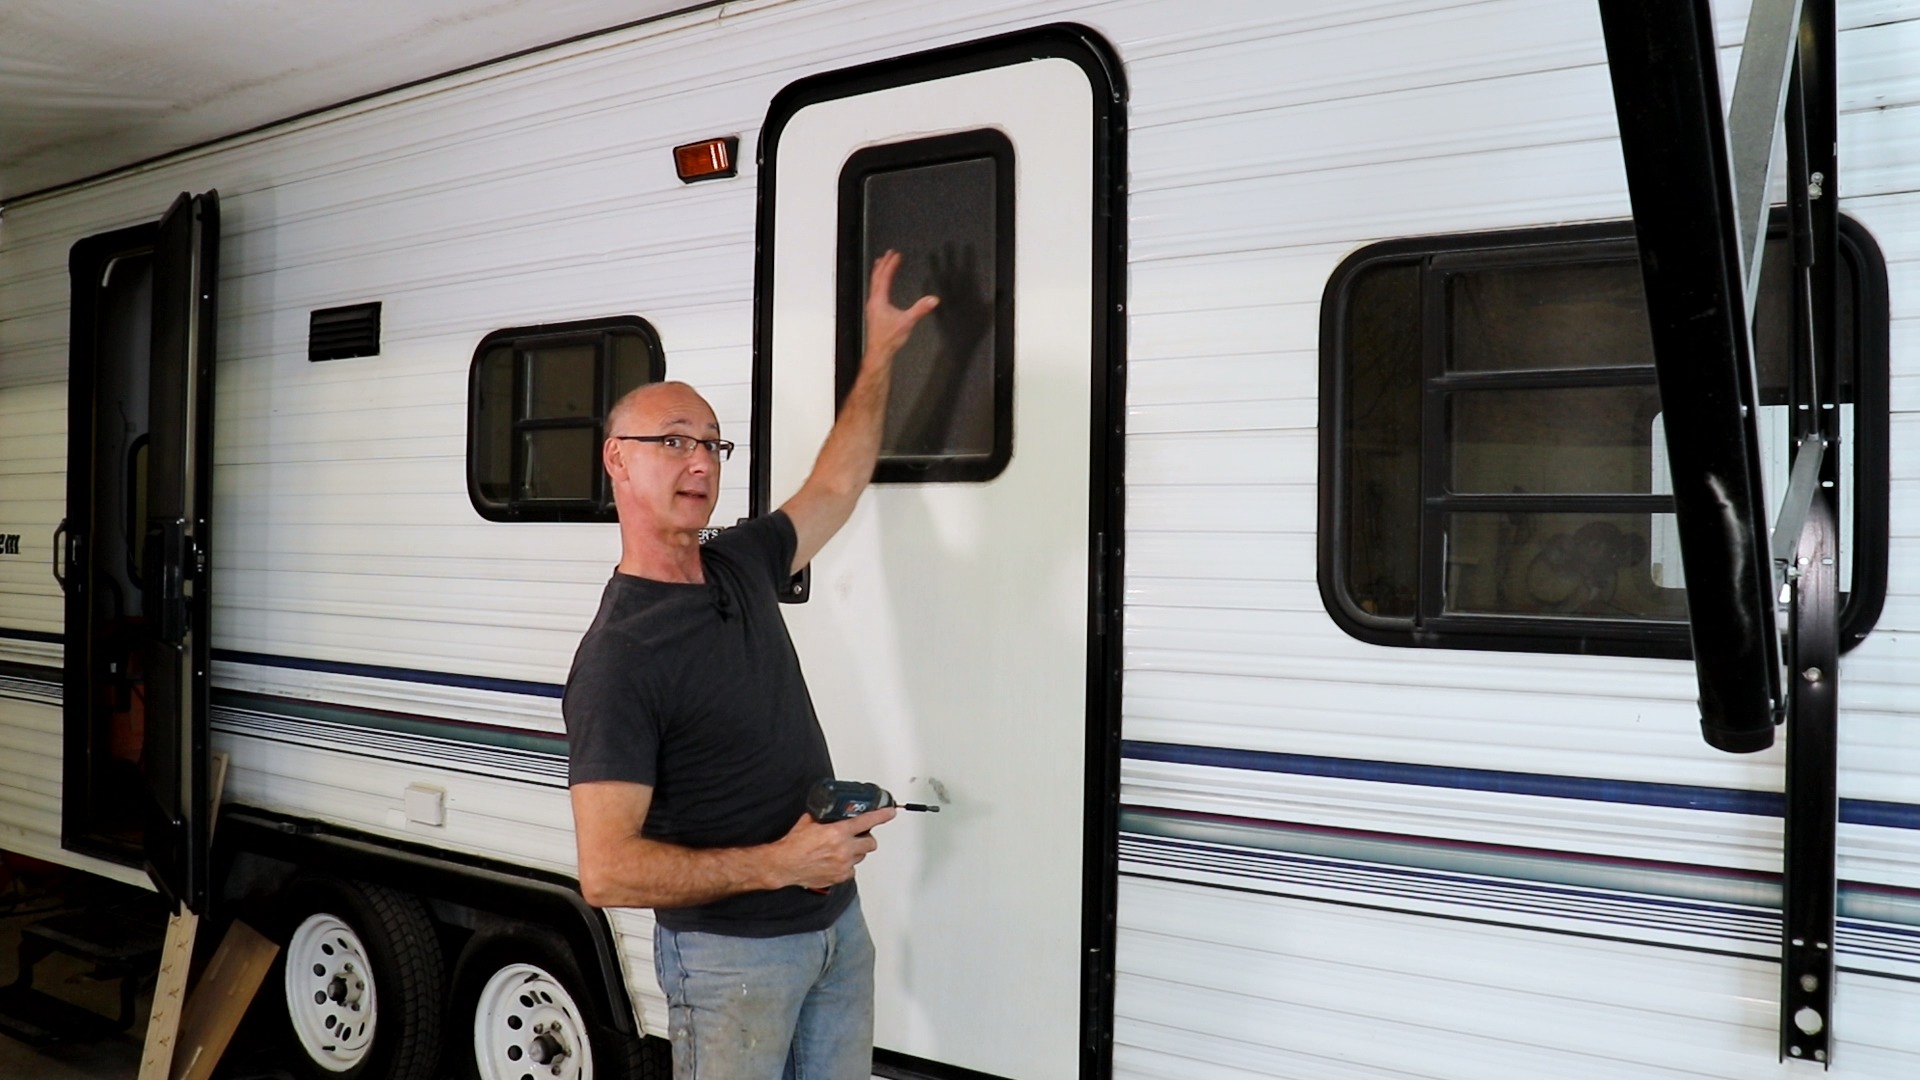
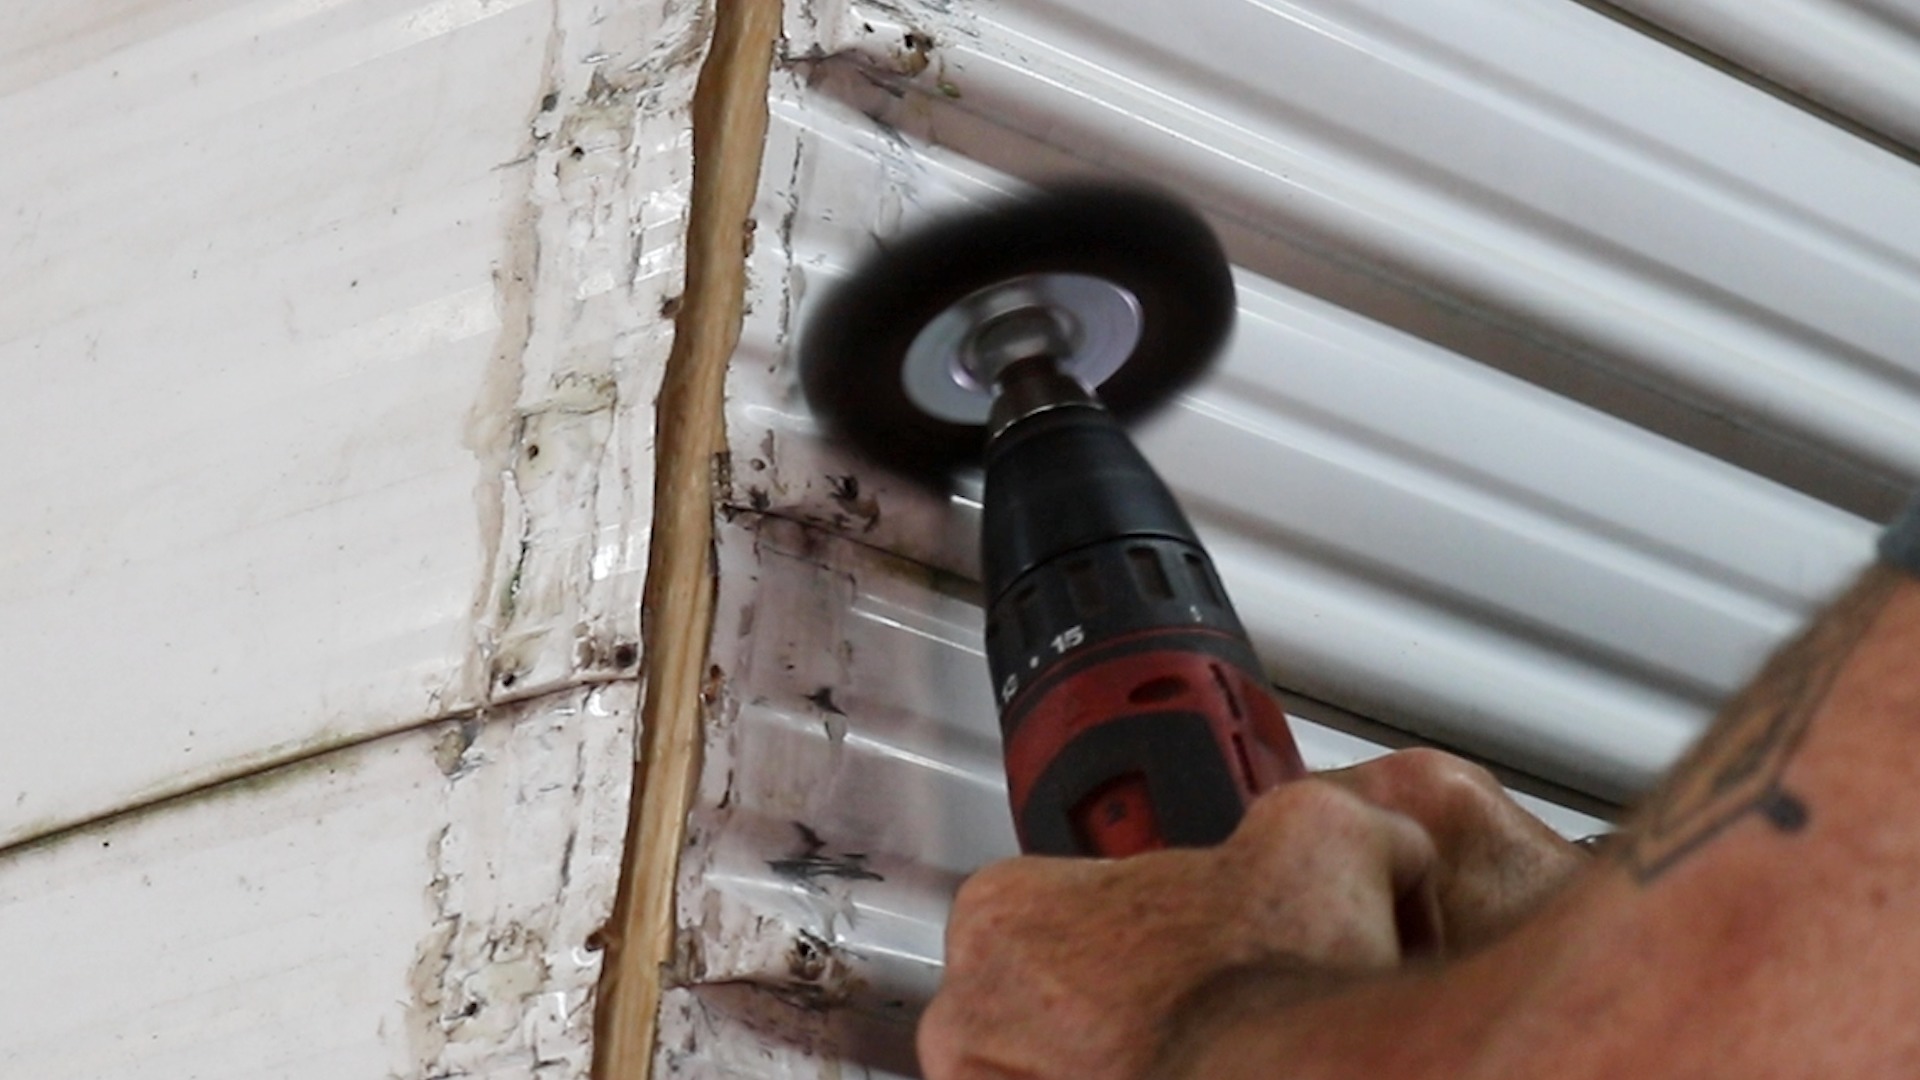
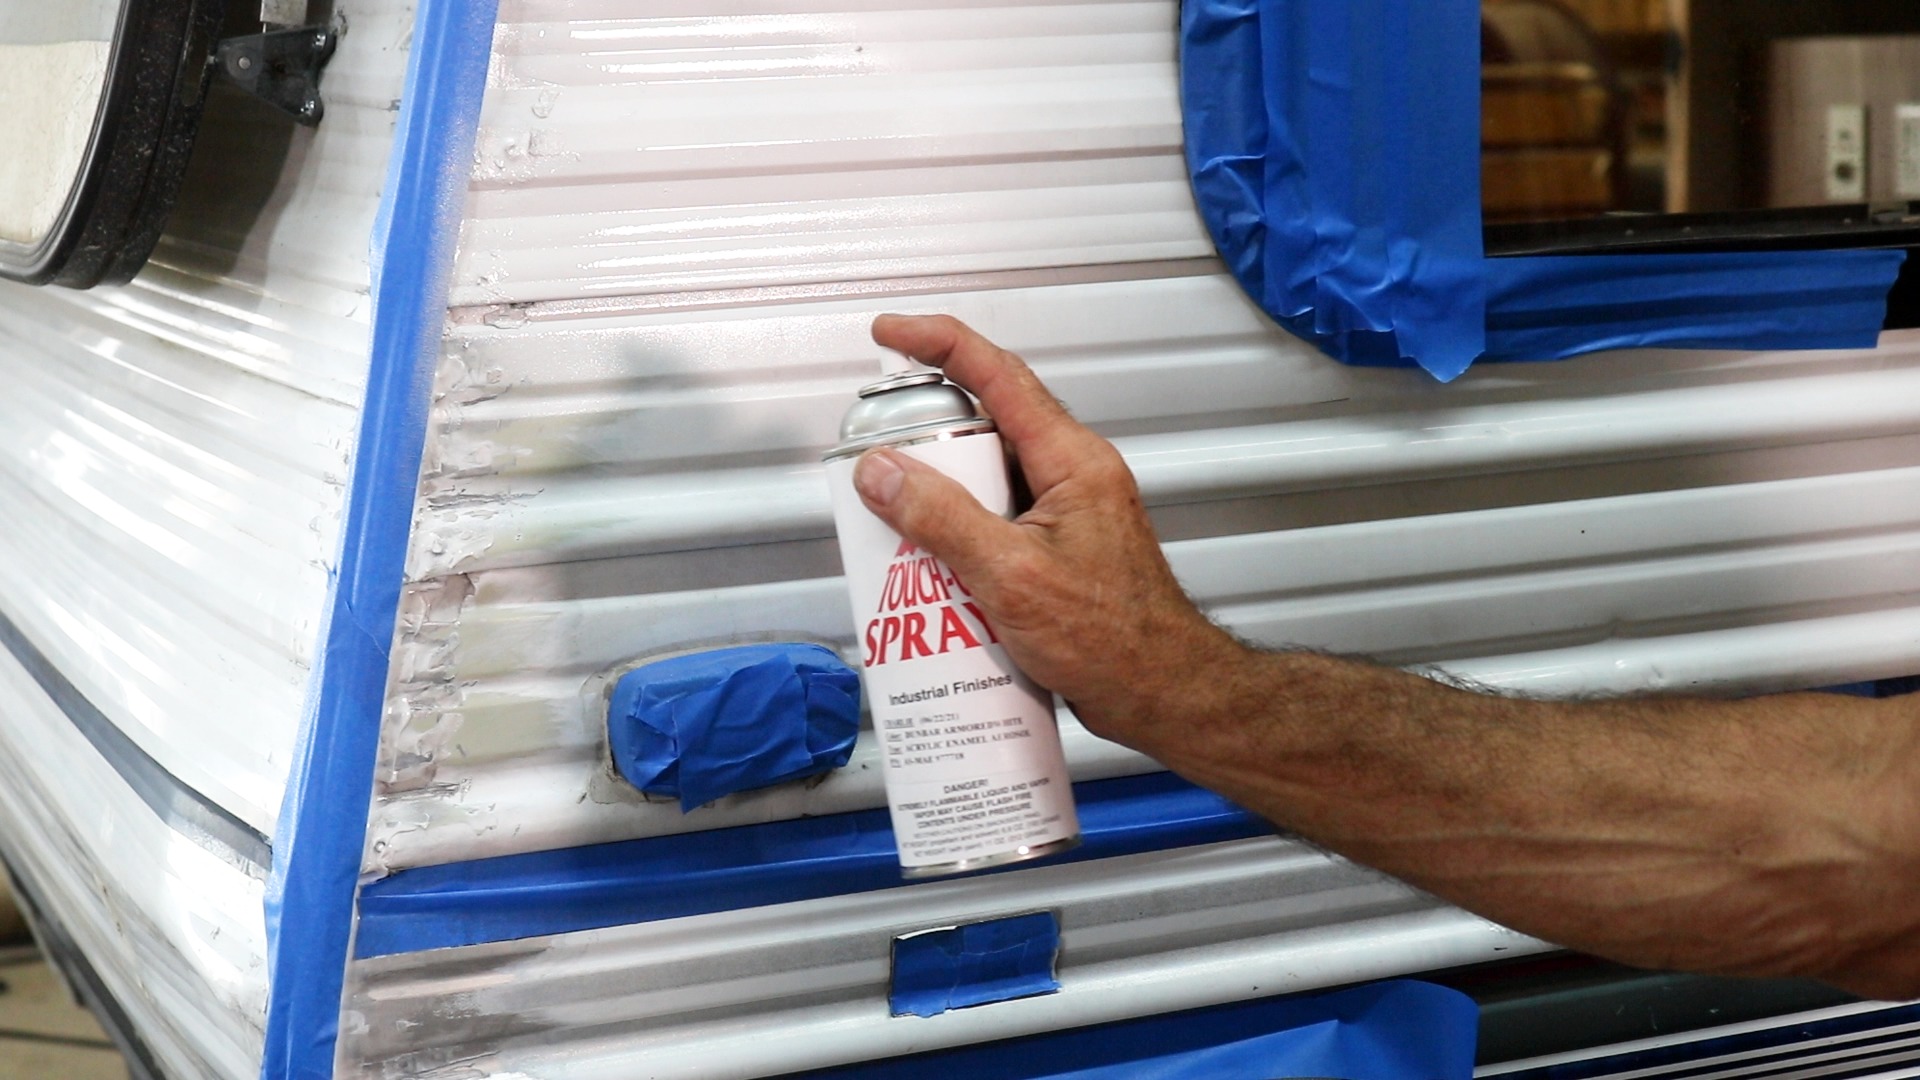
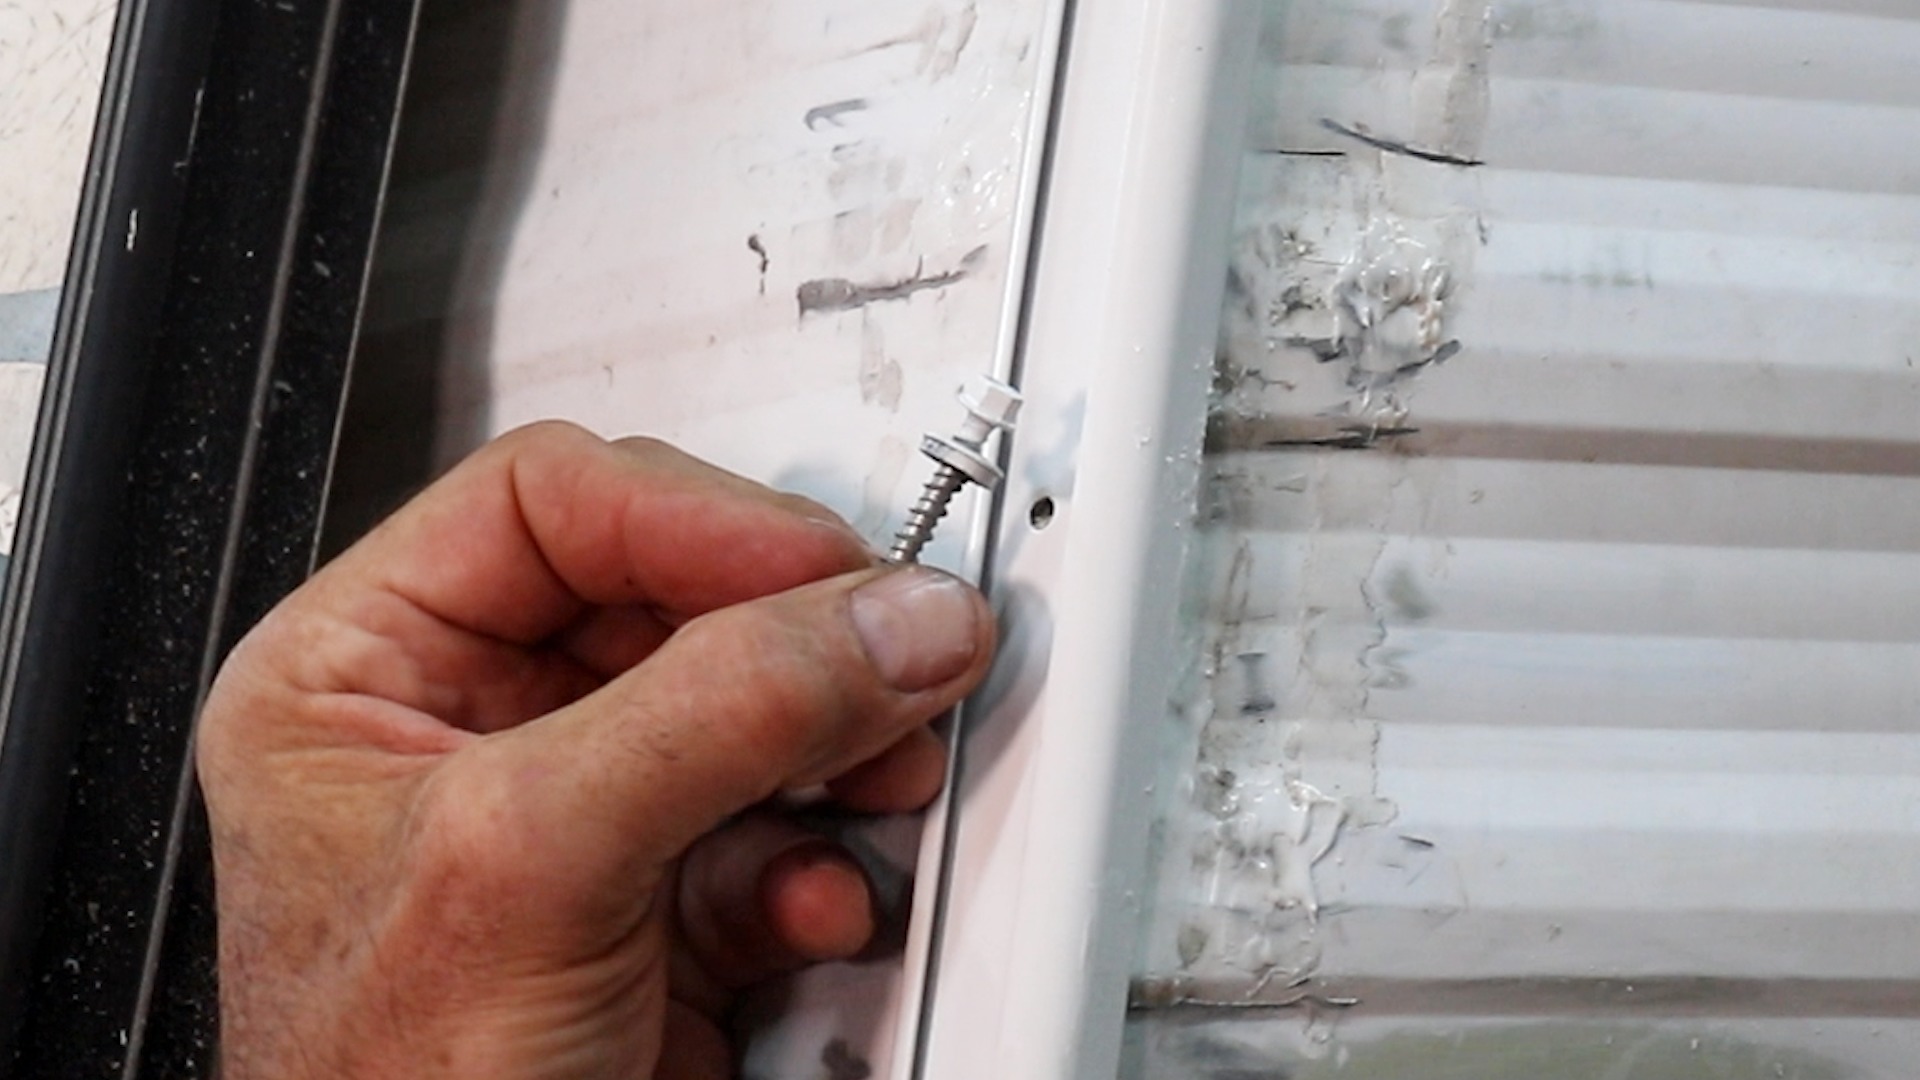
Part 10
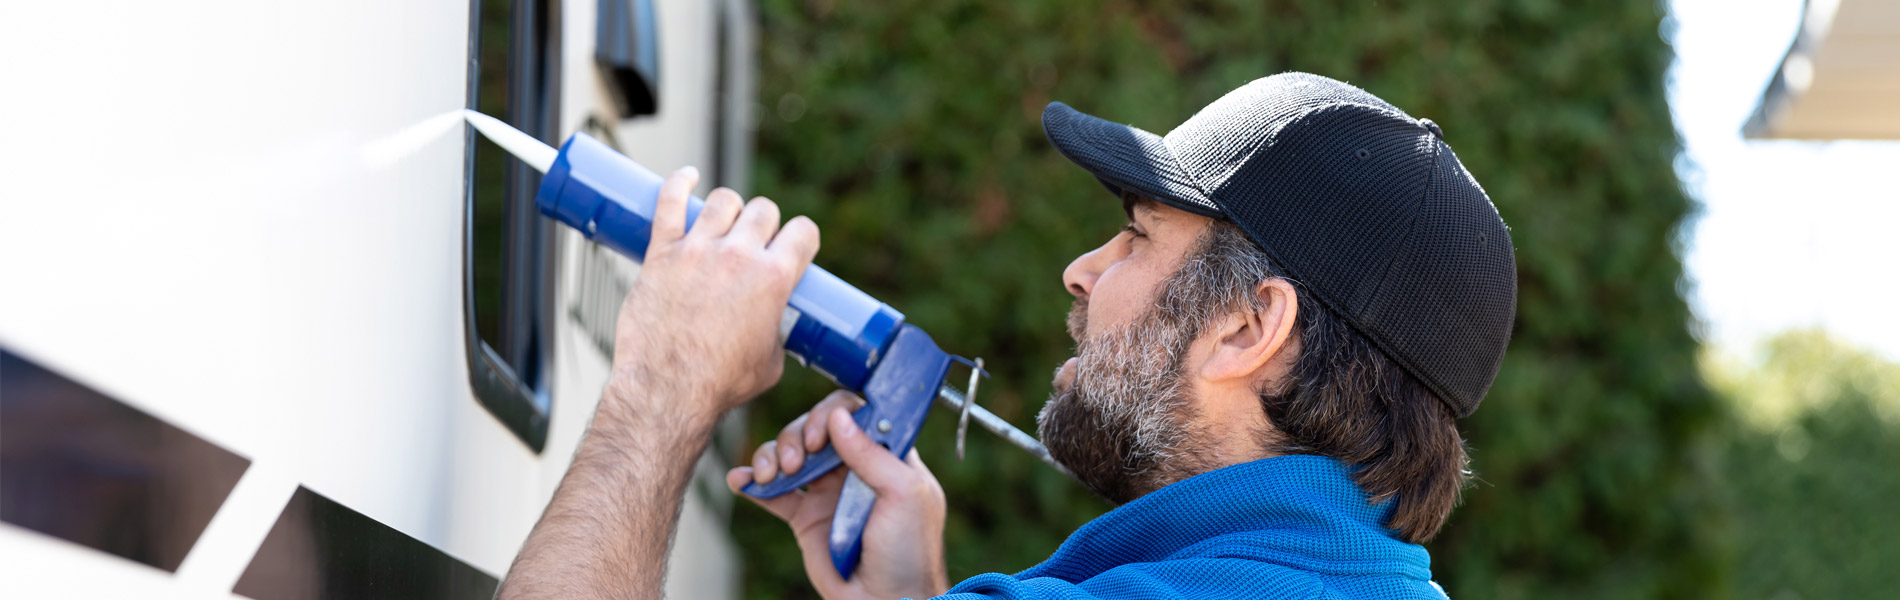
Driving Neoprene Washer Screws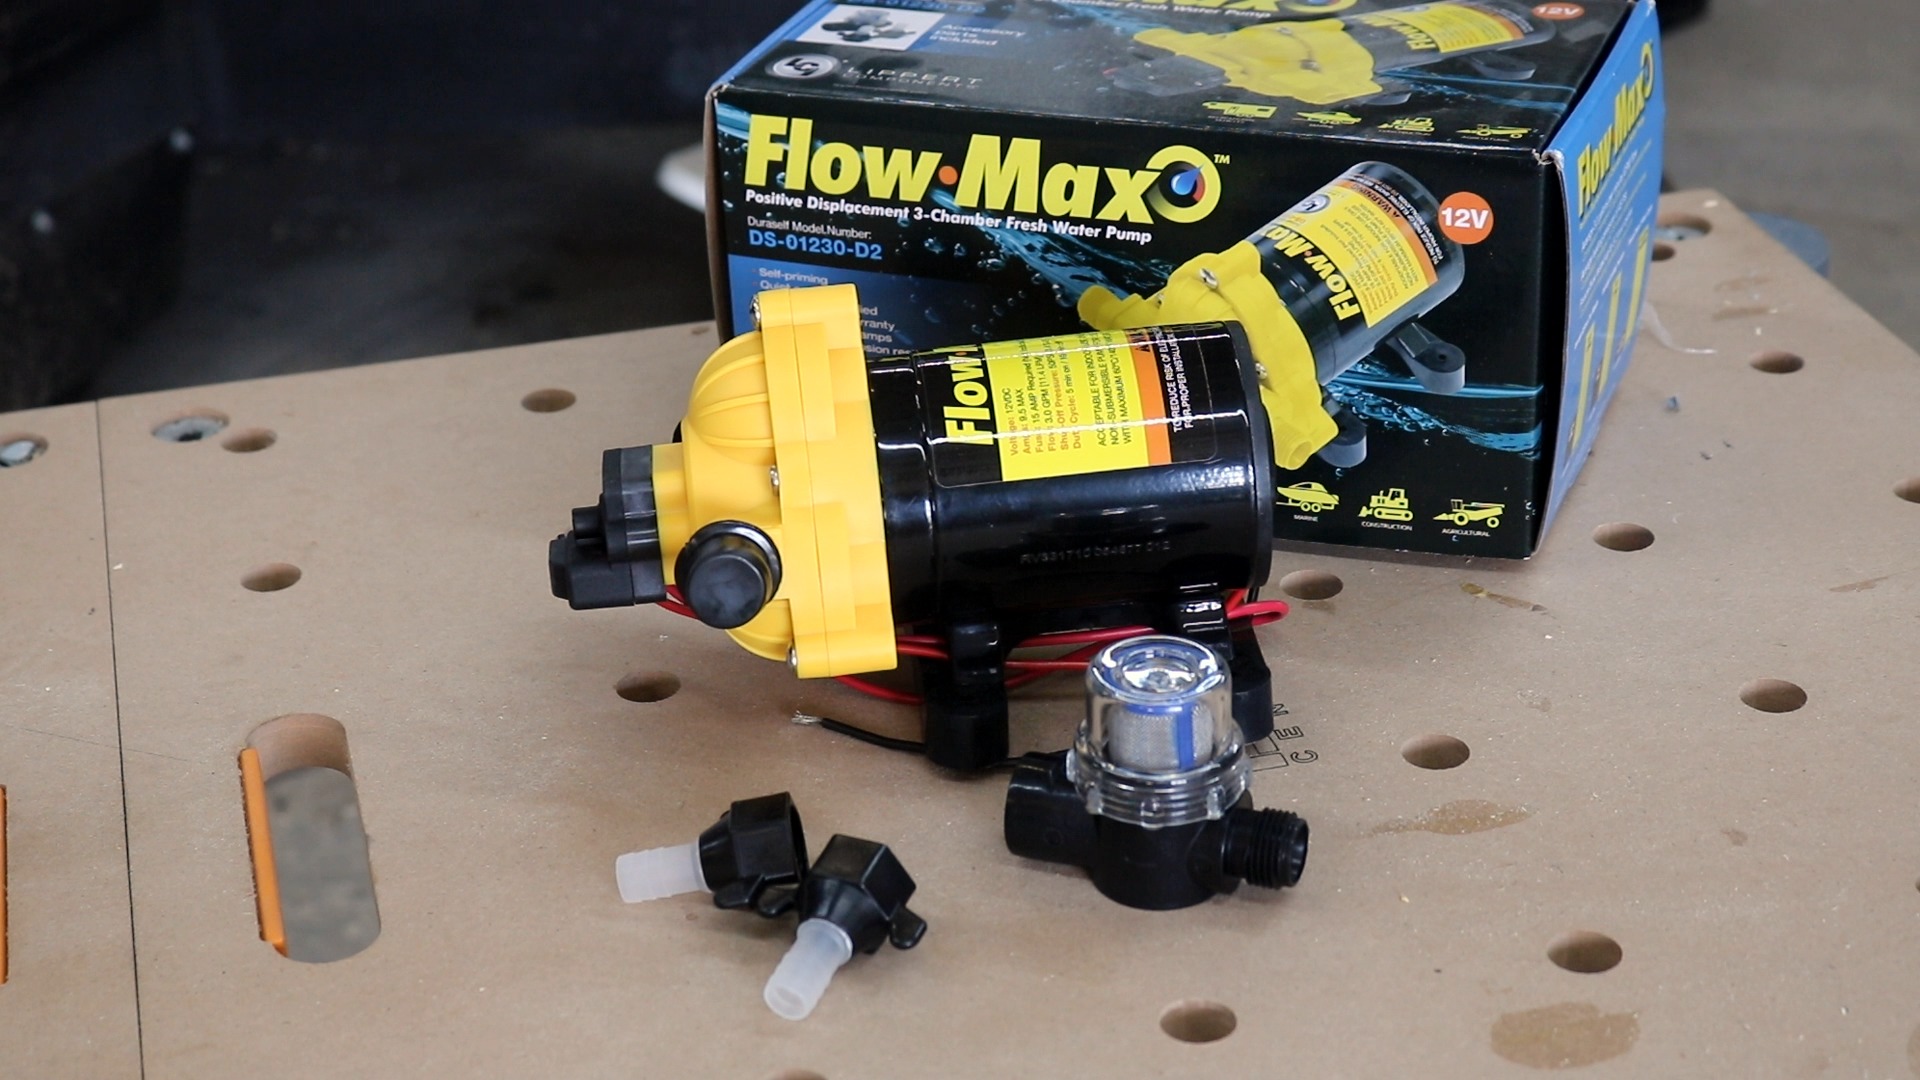
Part 11
Lippert Water Pump Installation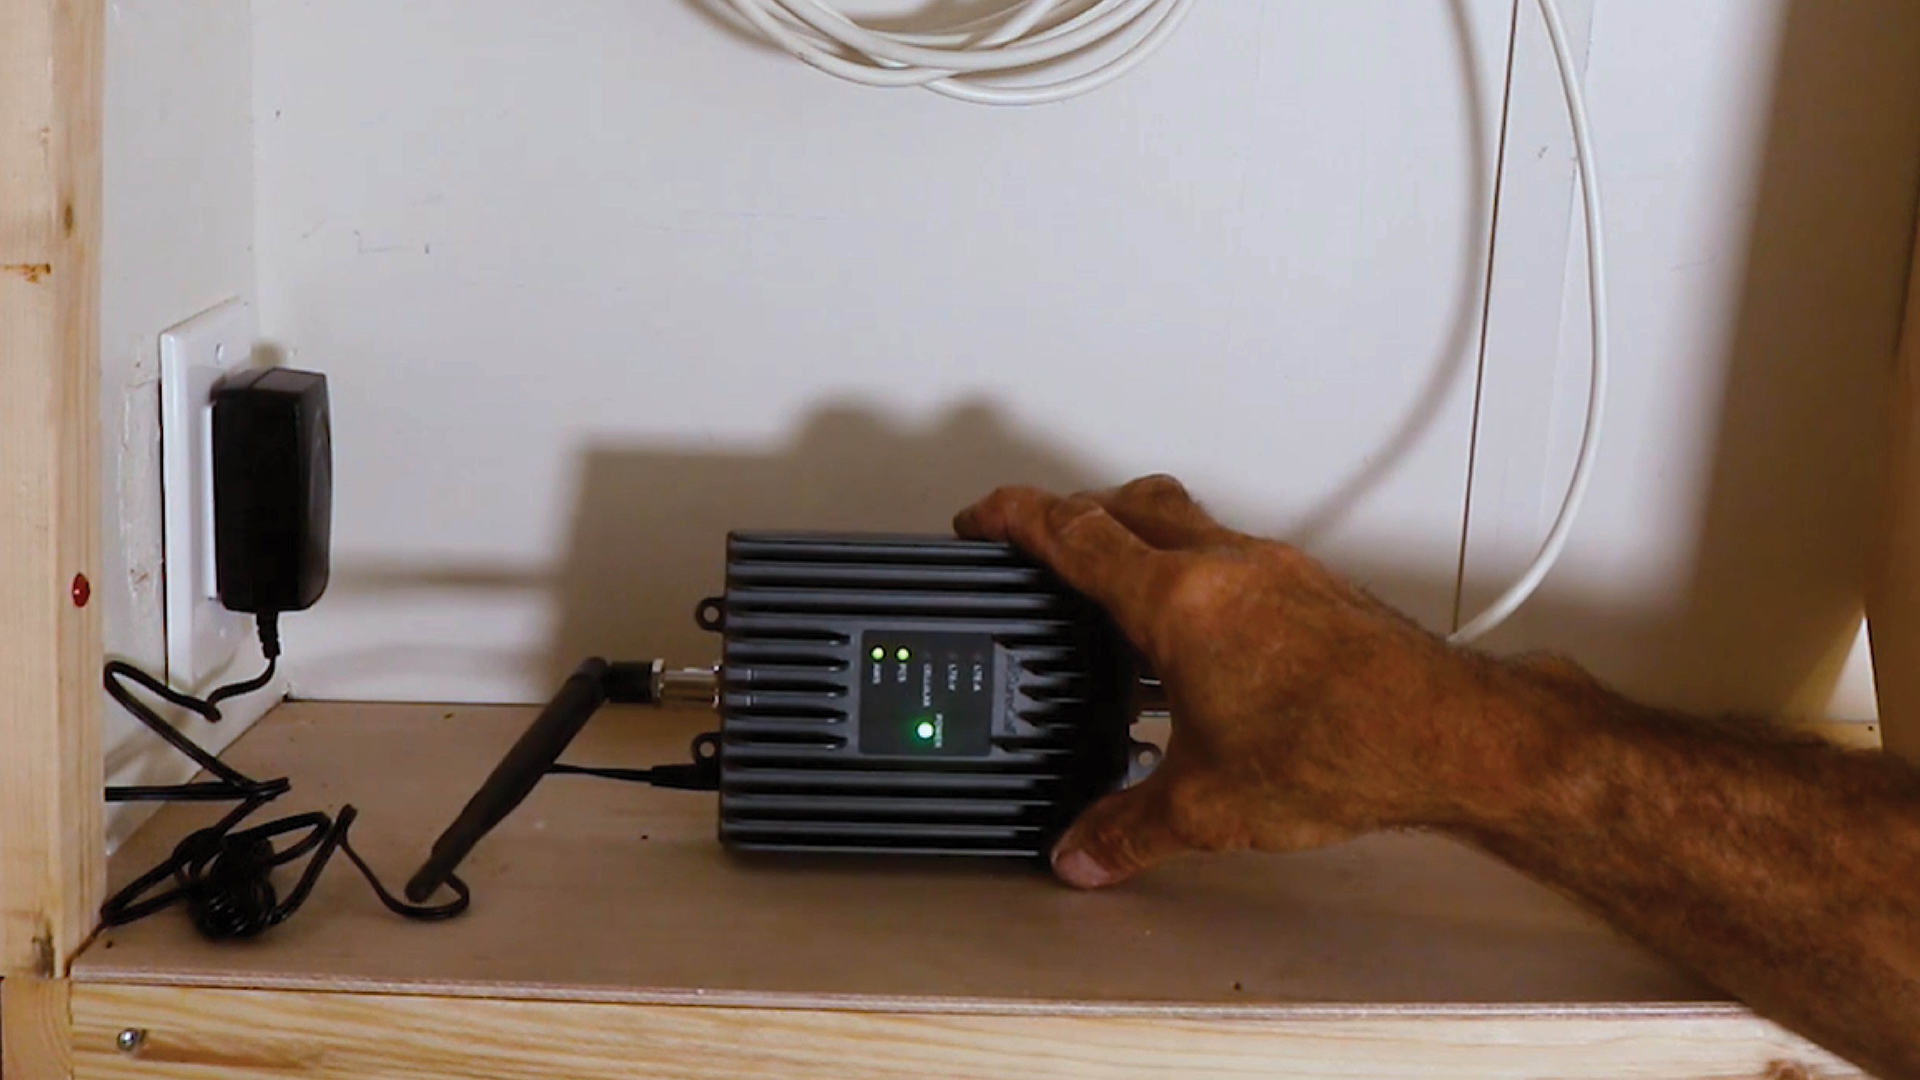
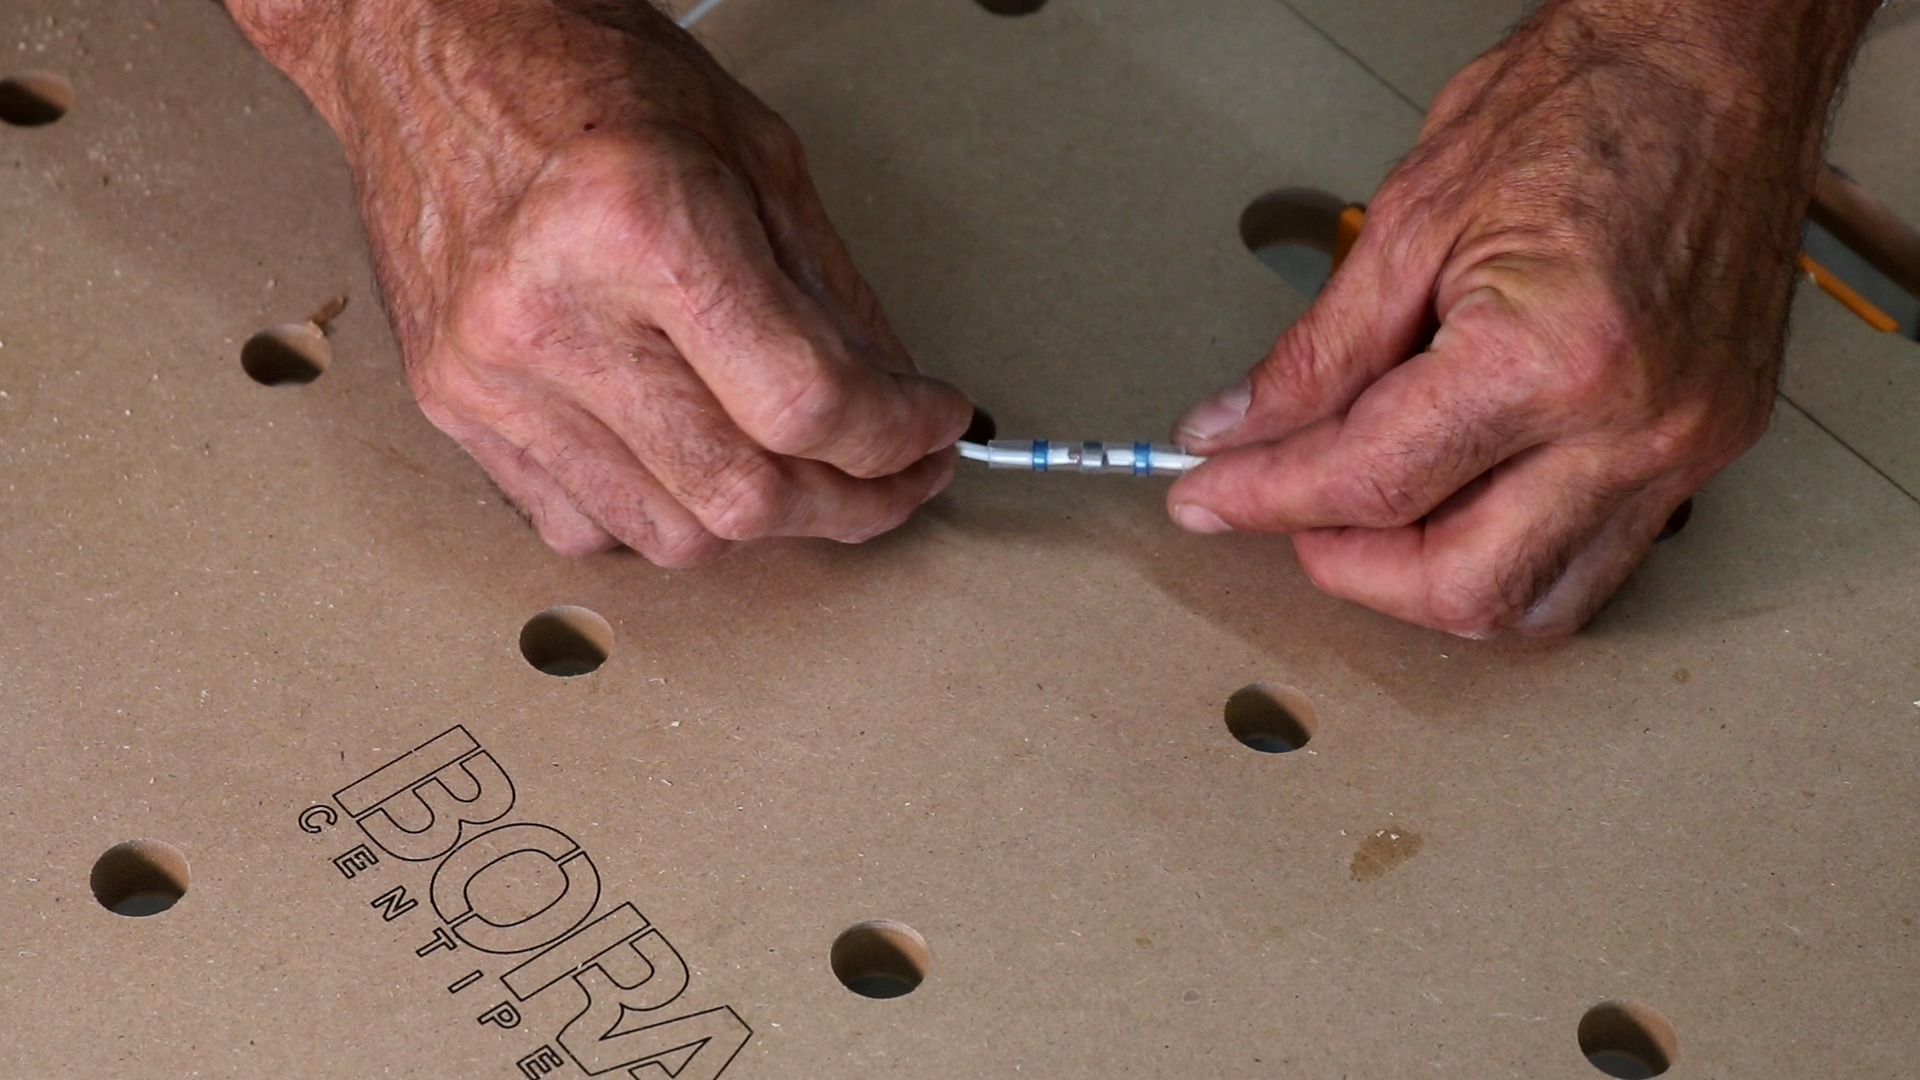
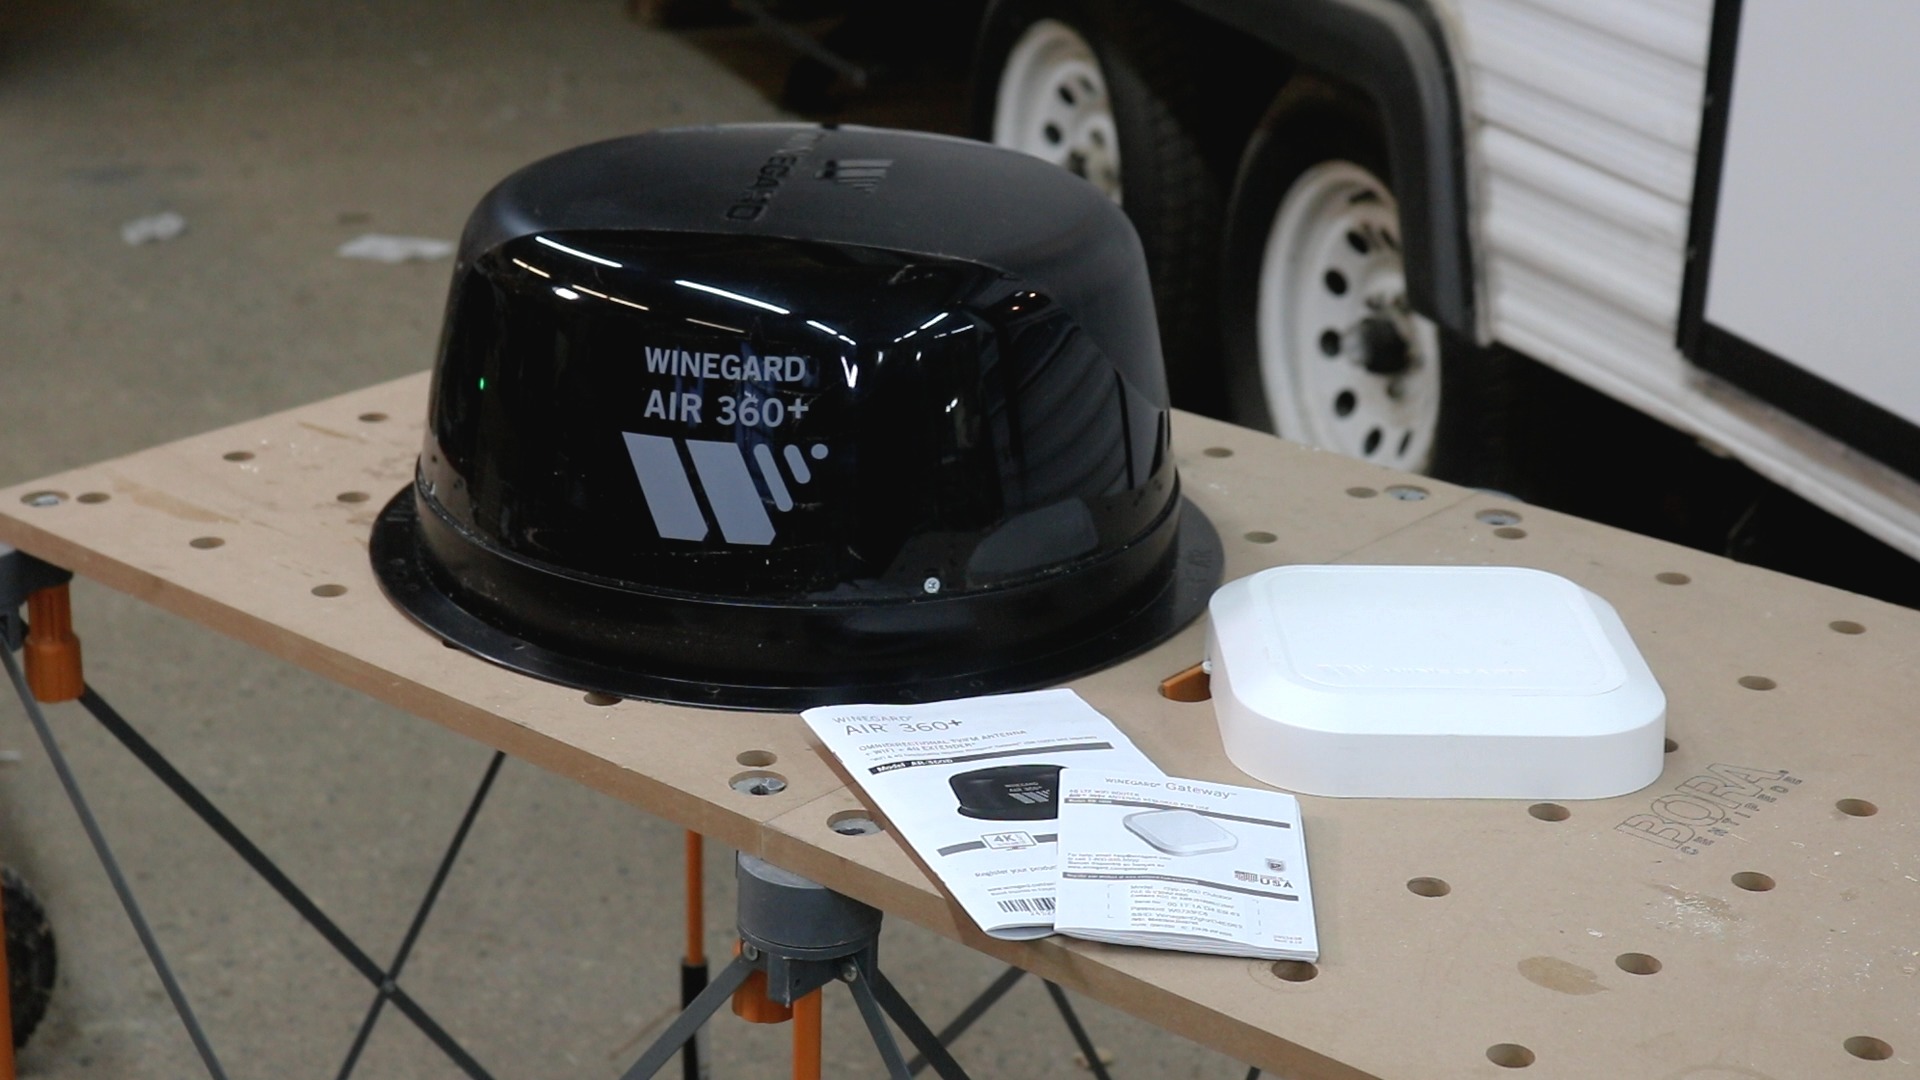
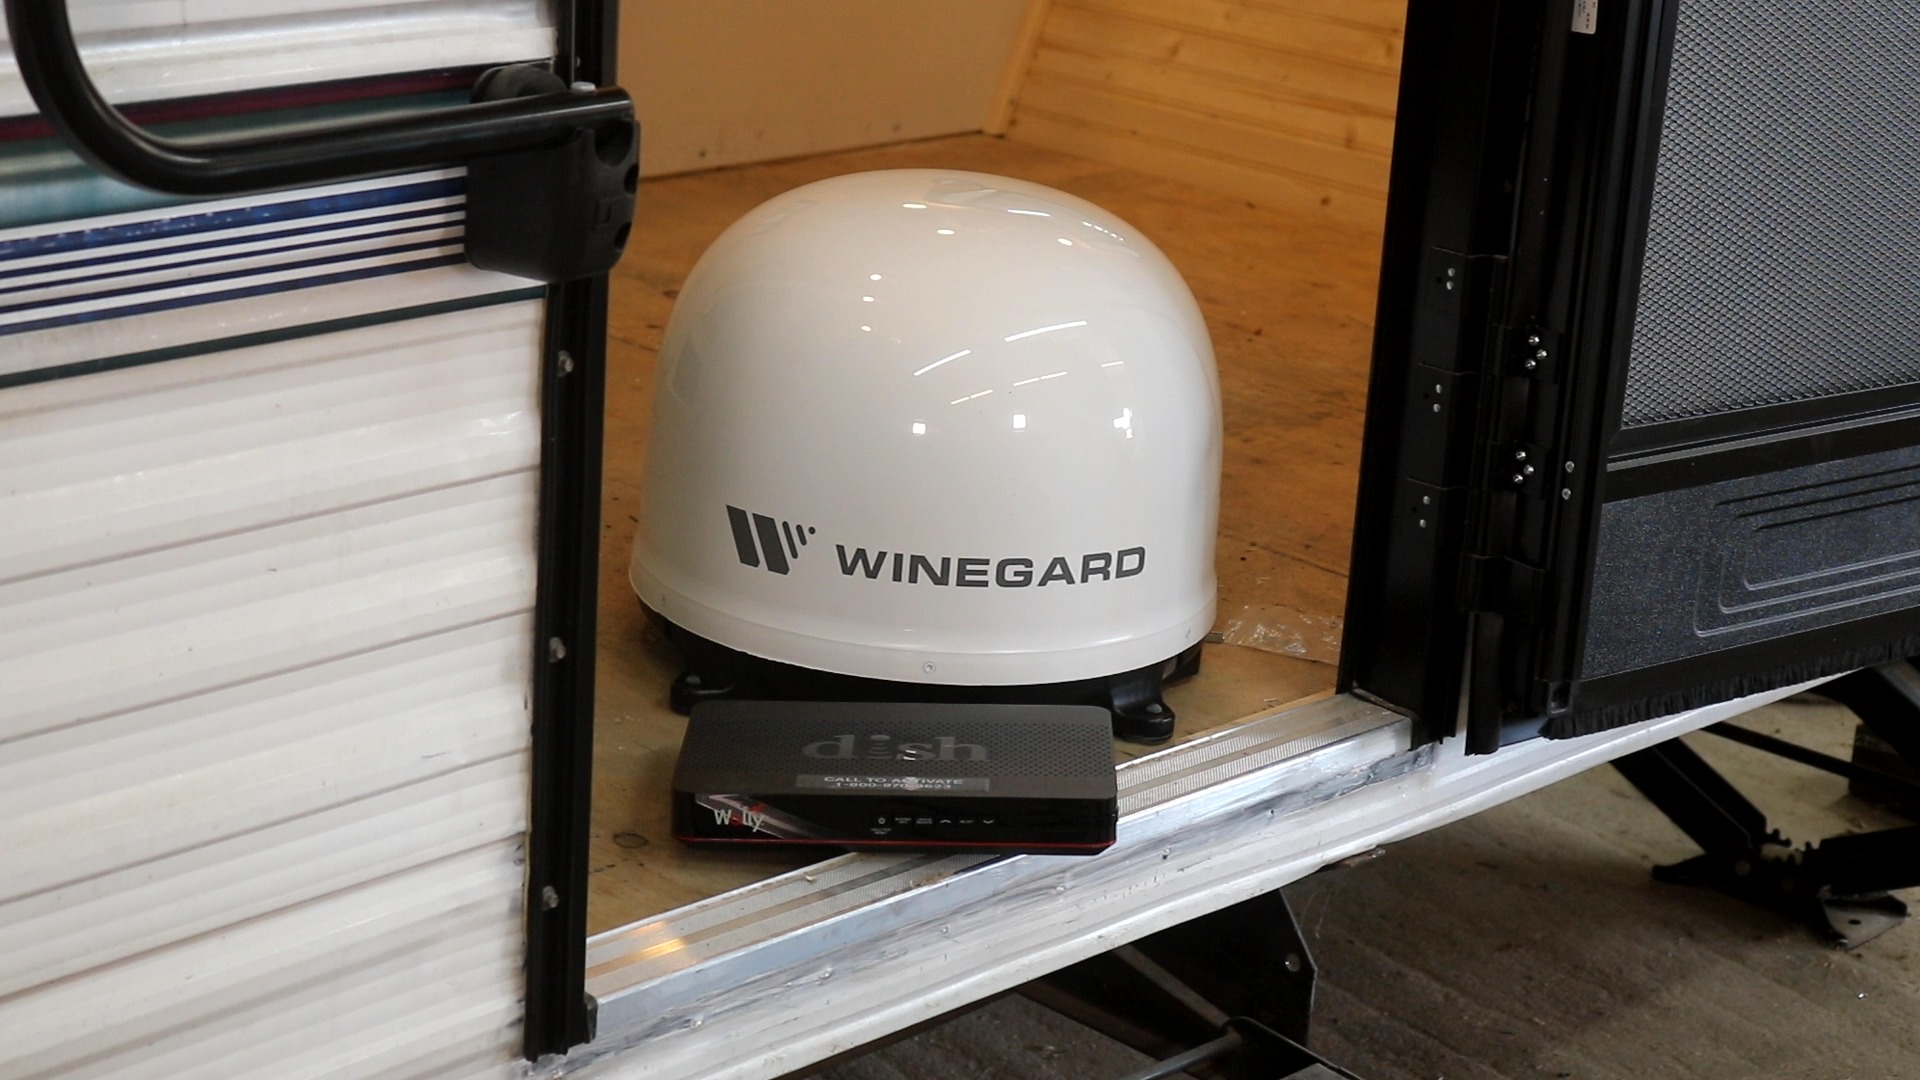
Part 12
Winegard Cell Phone Amplifier Install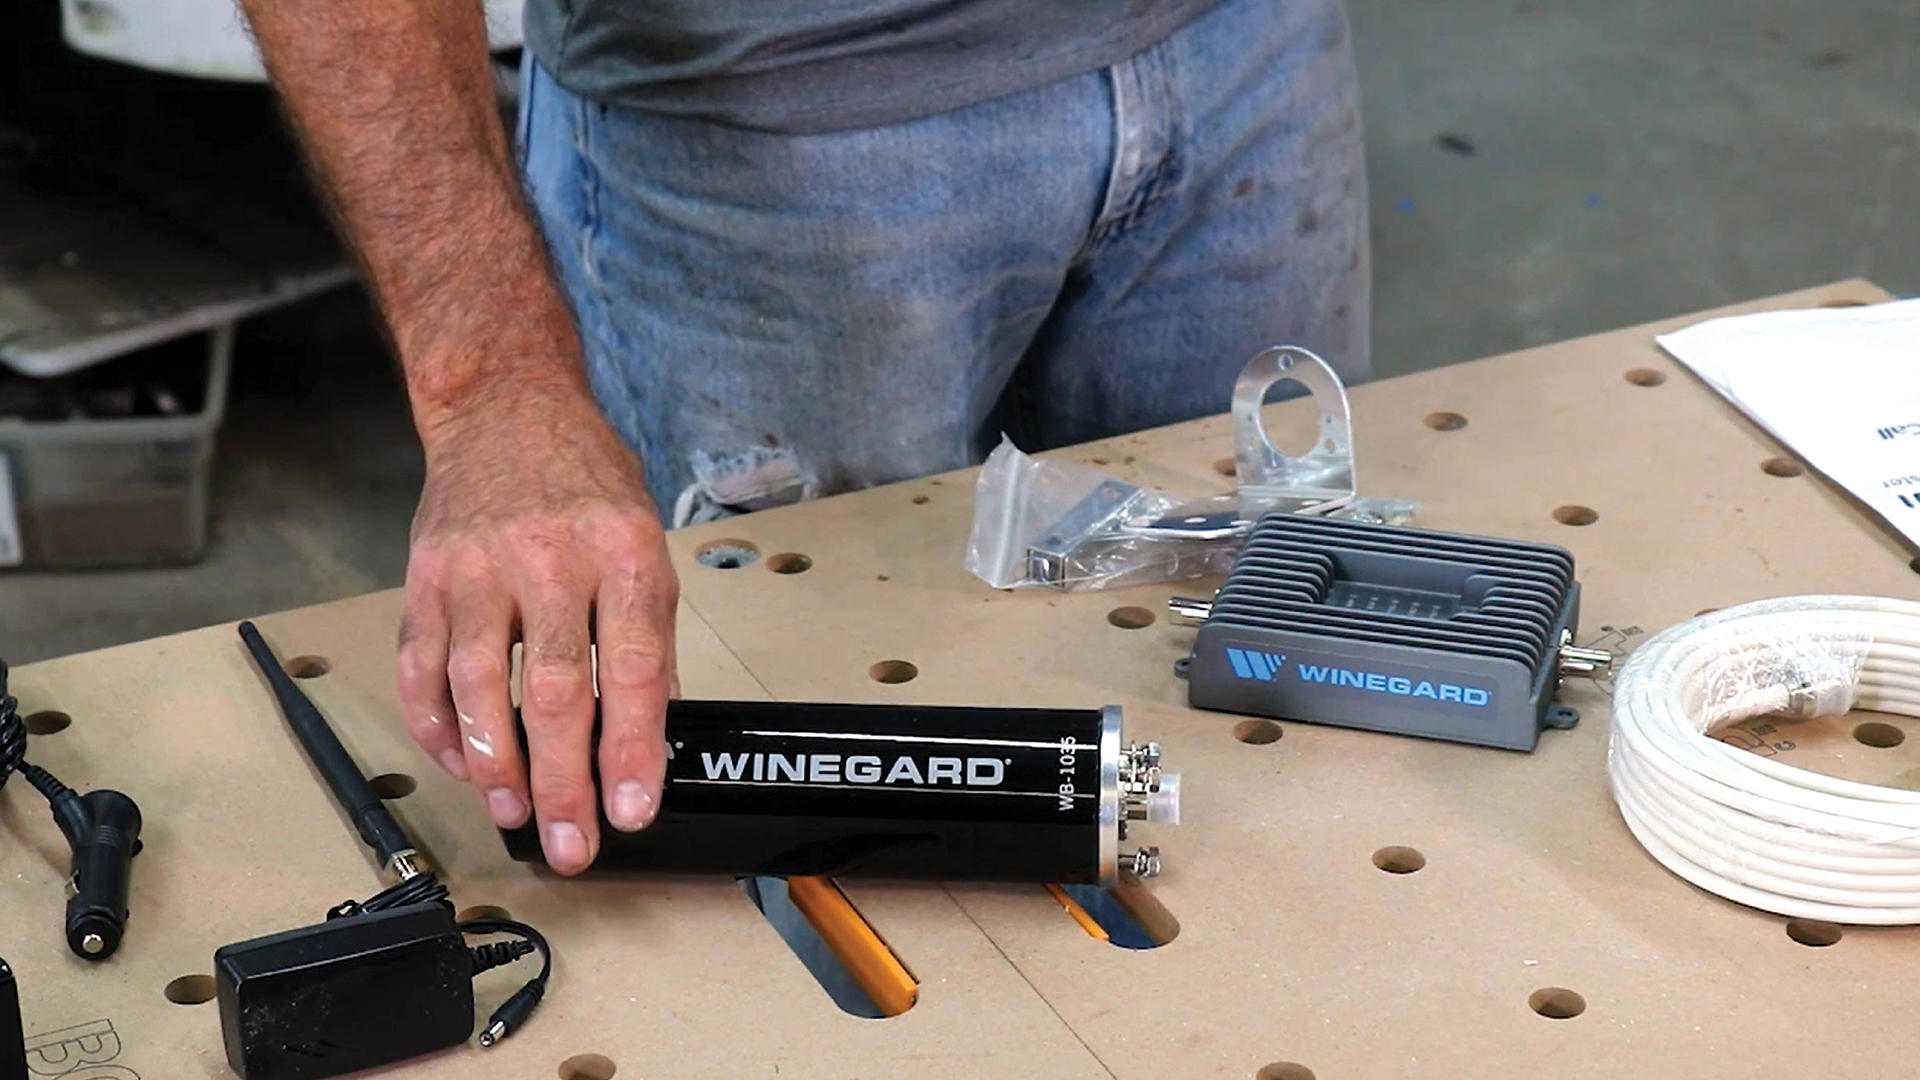
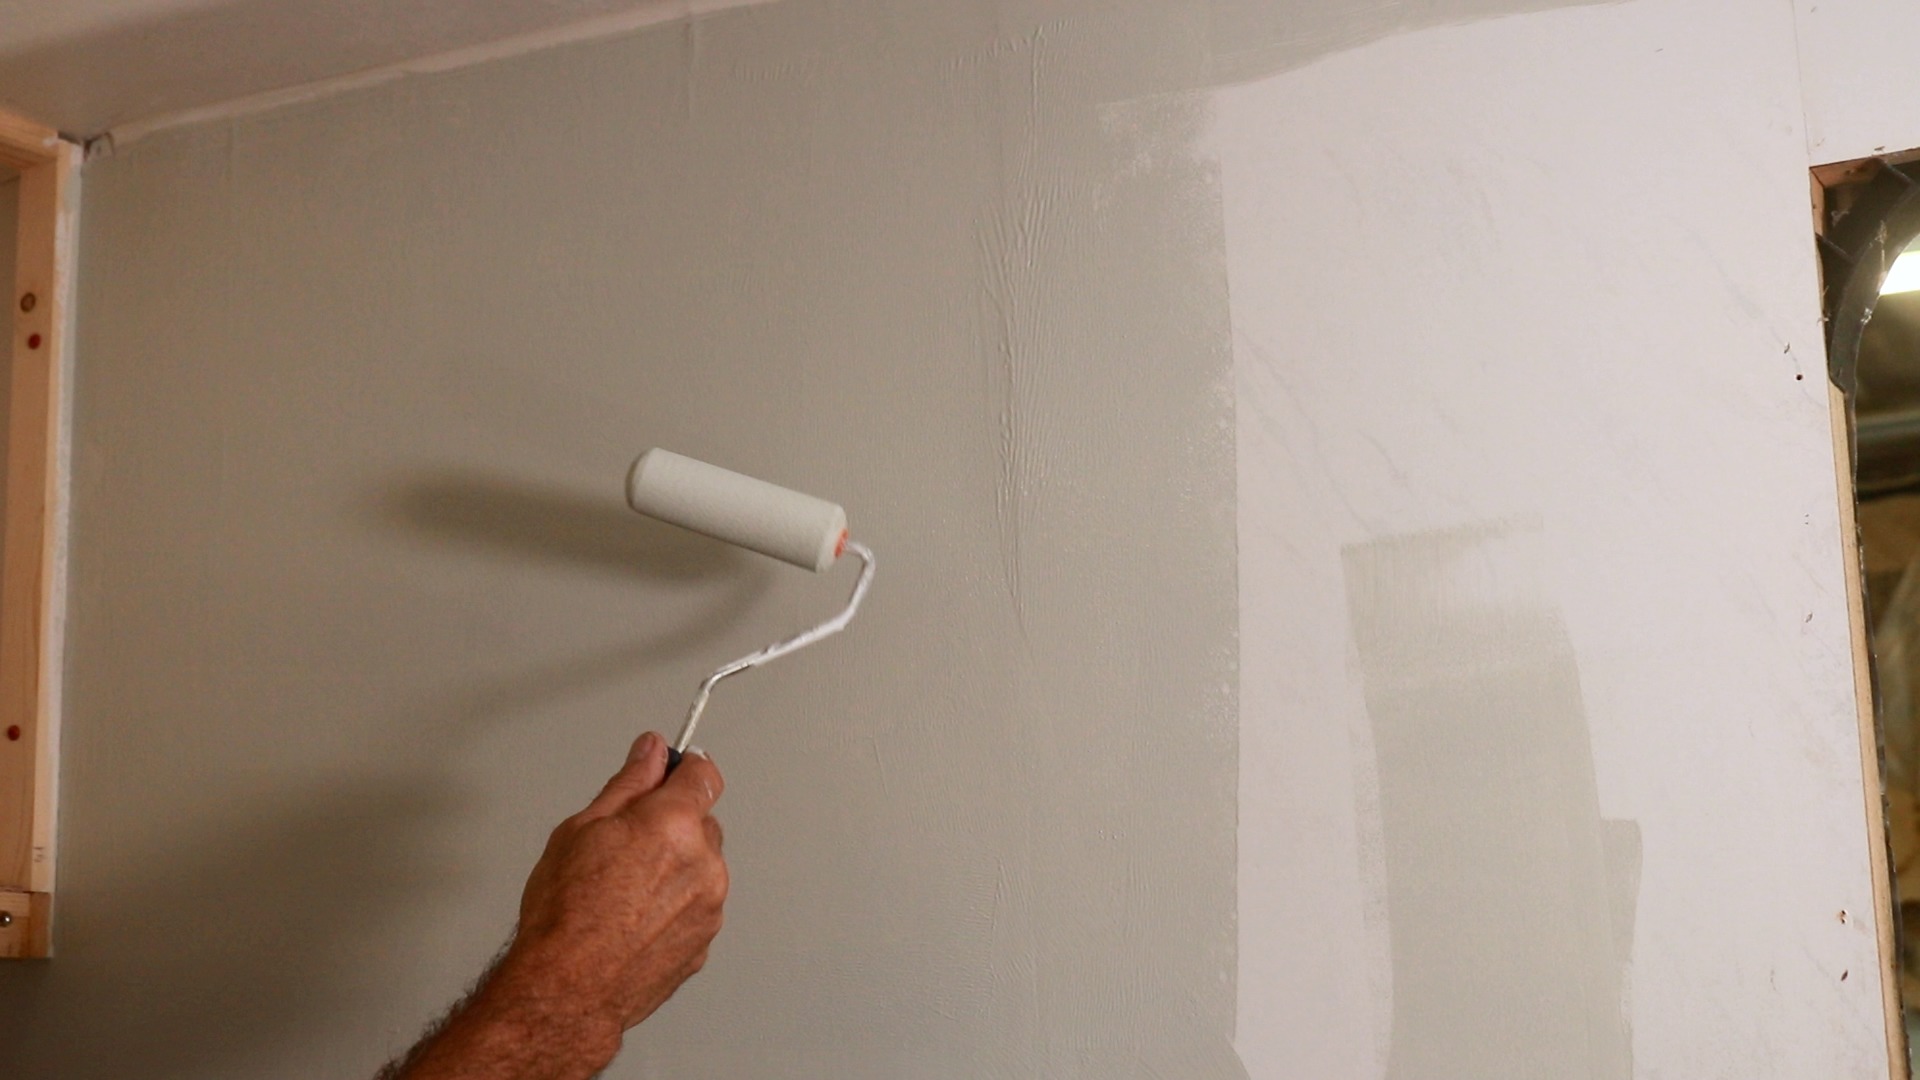
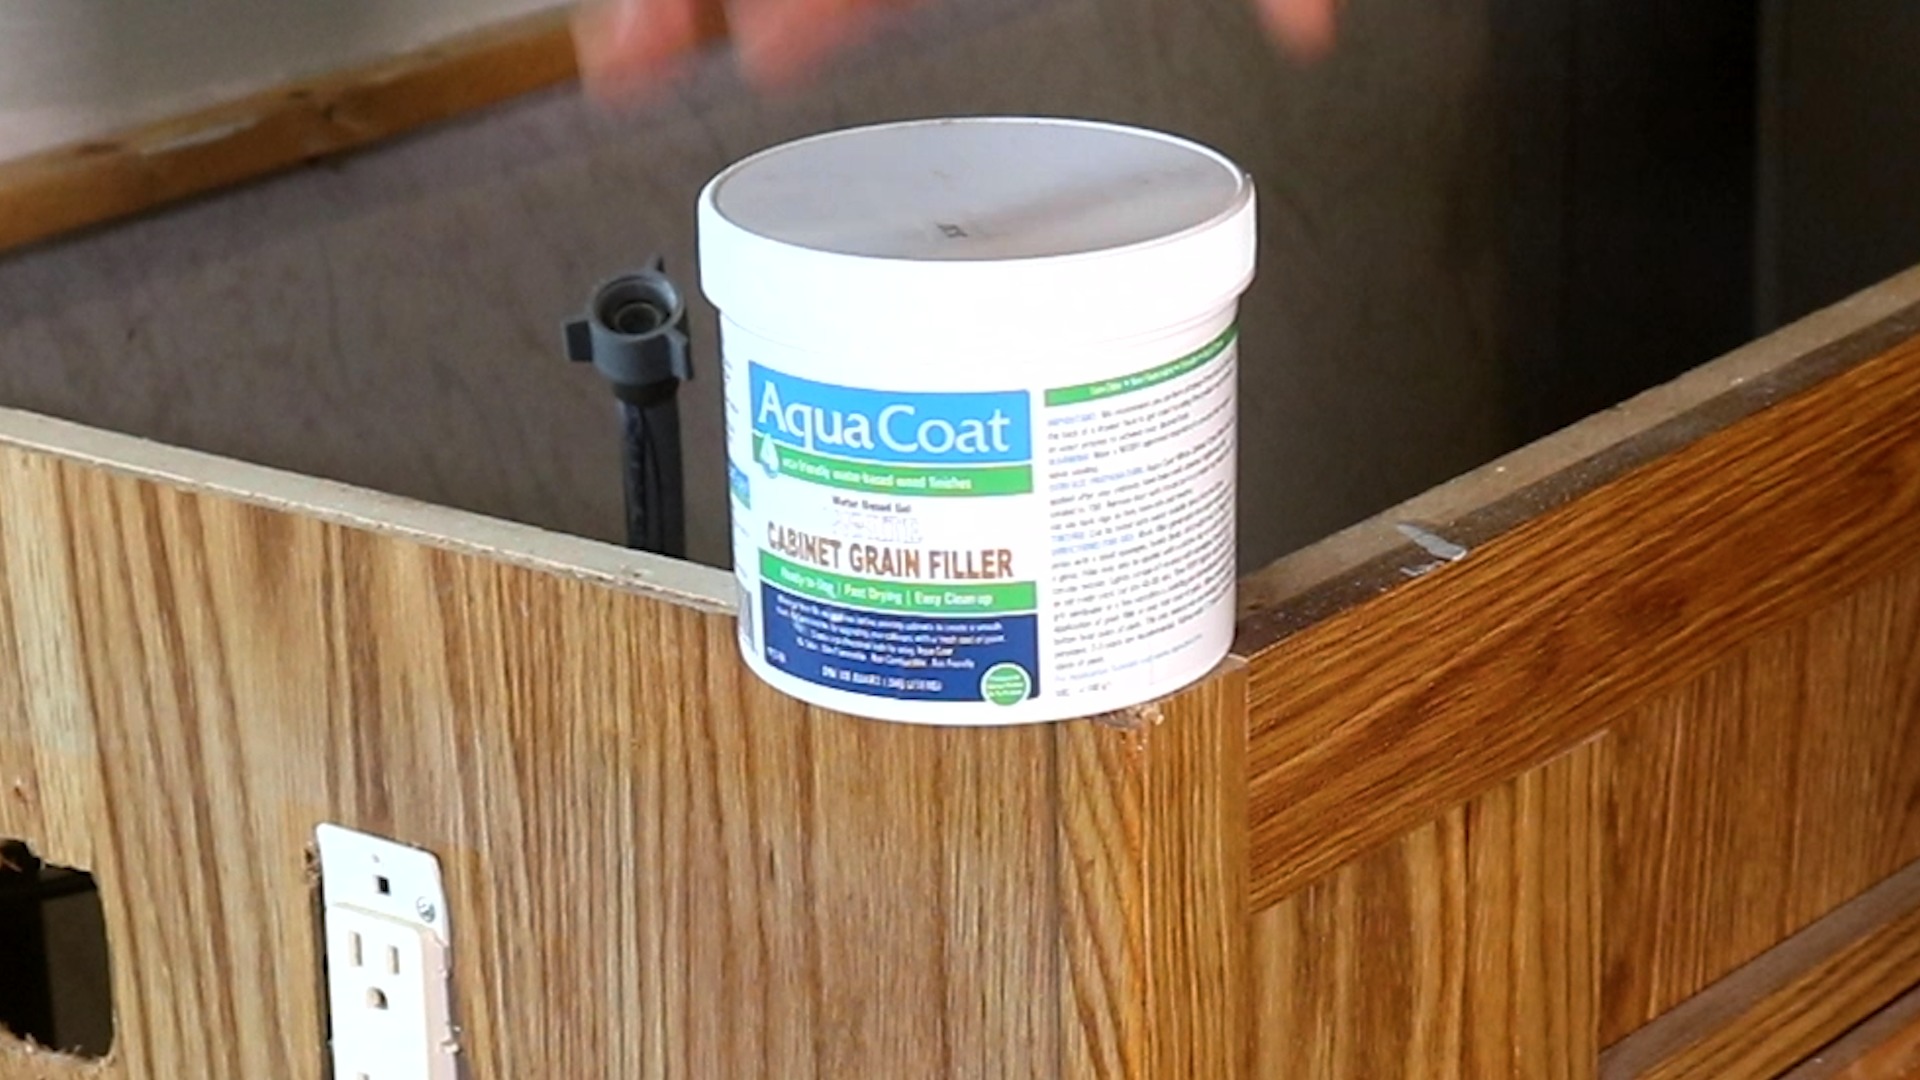
Part 16
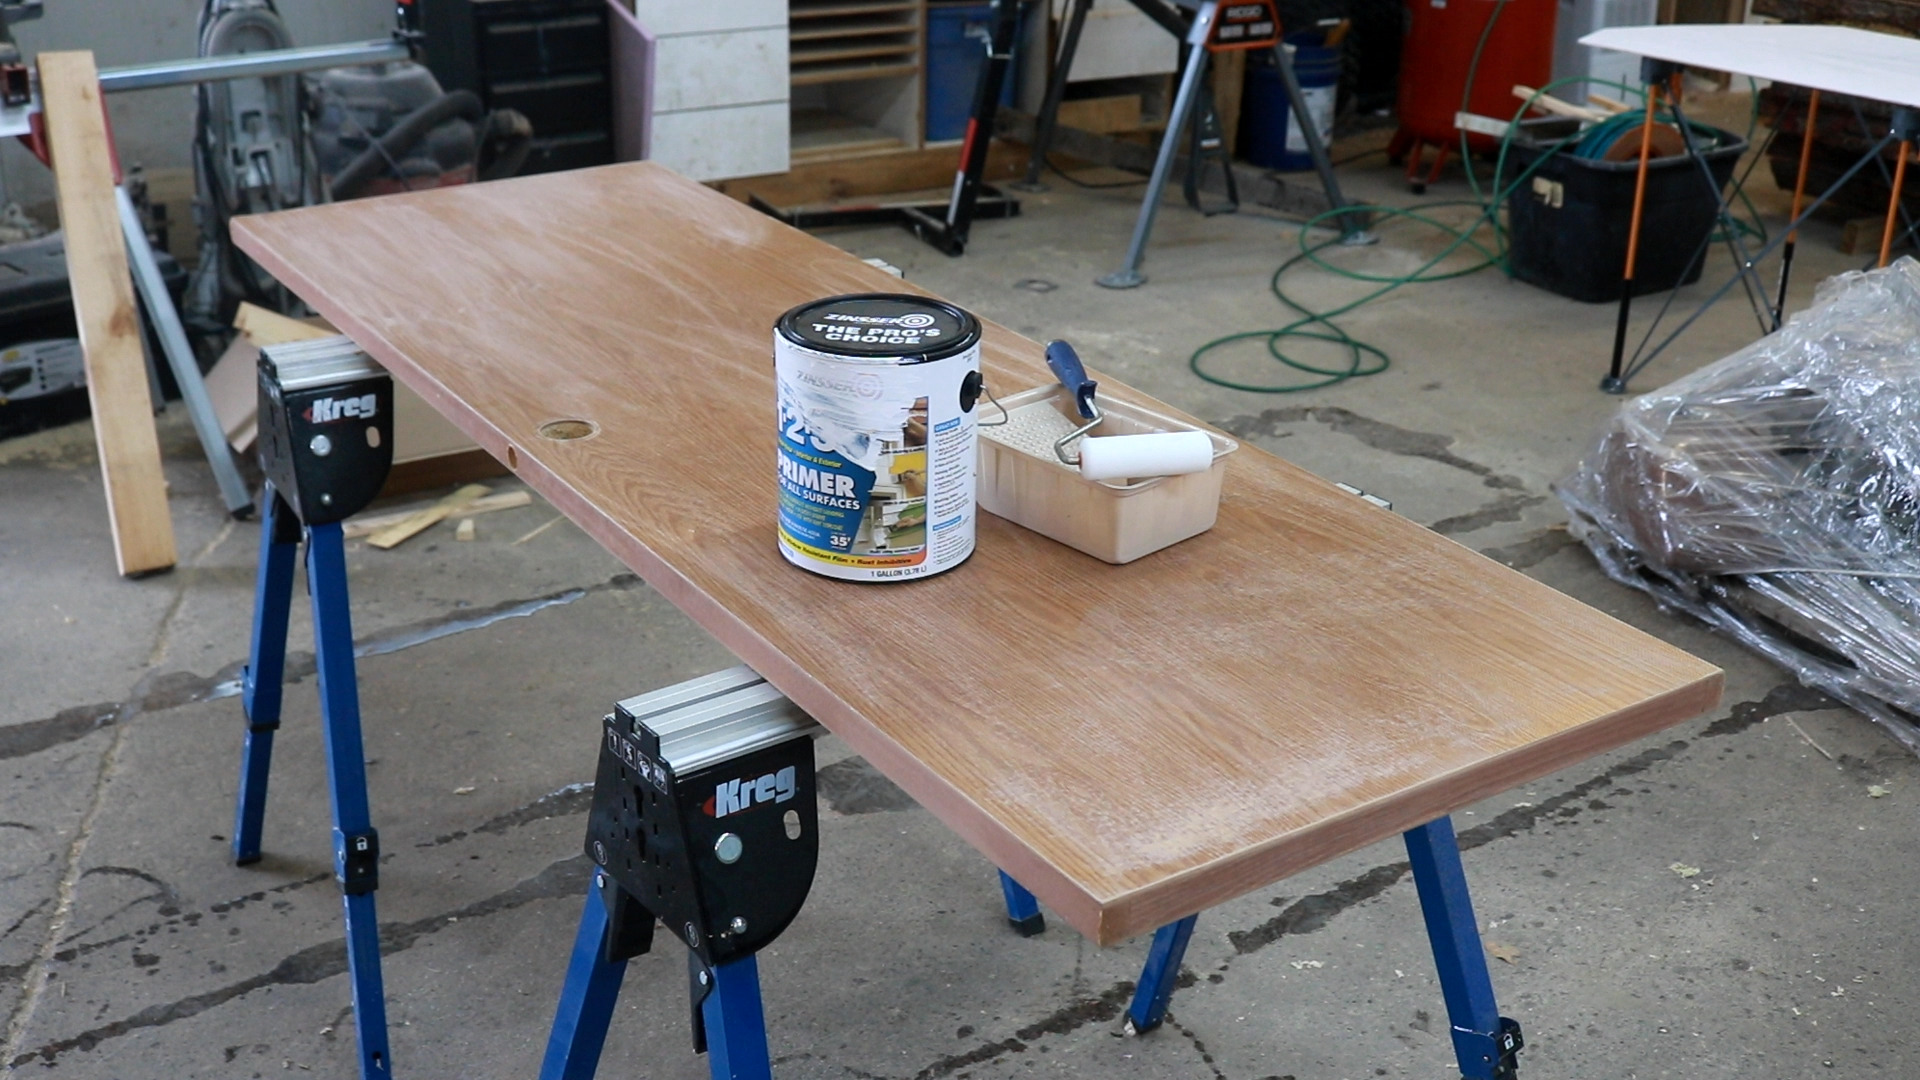
Painting the Cabinets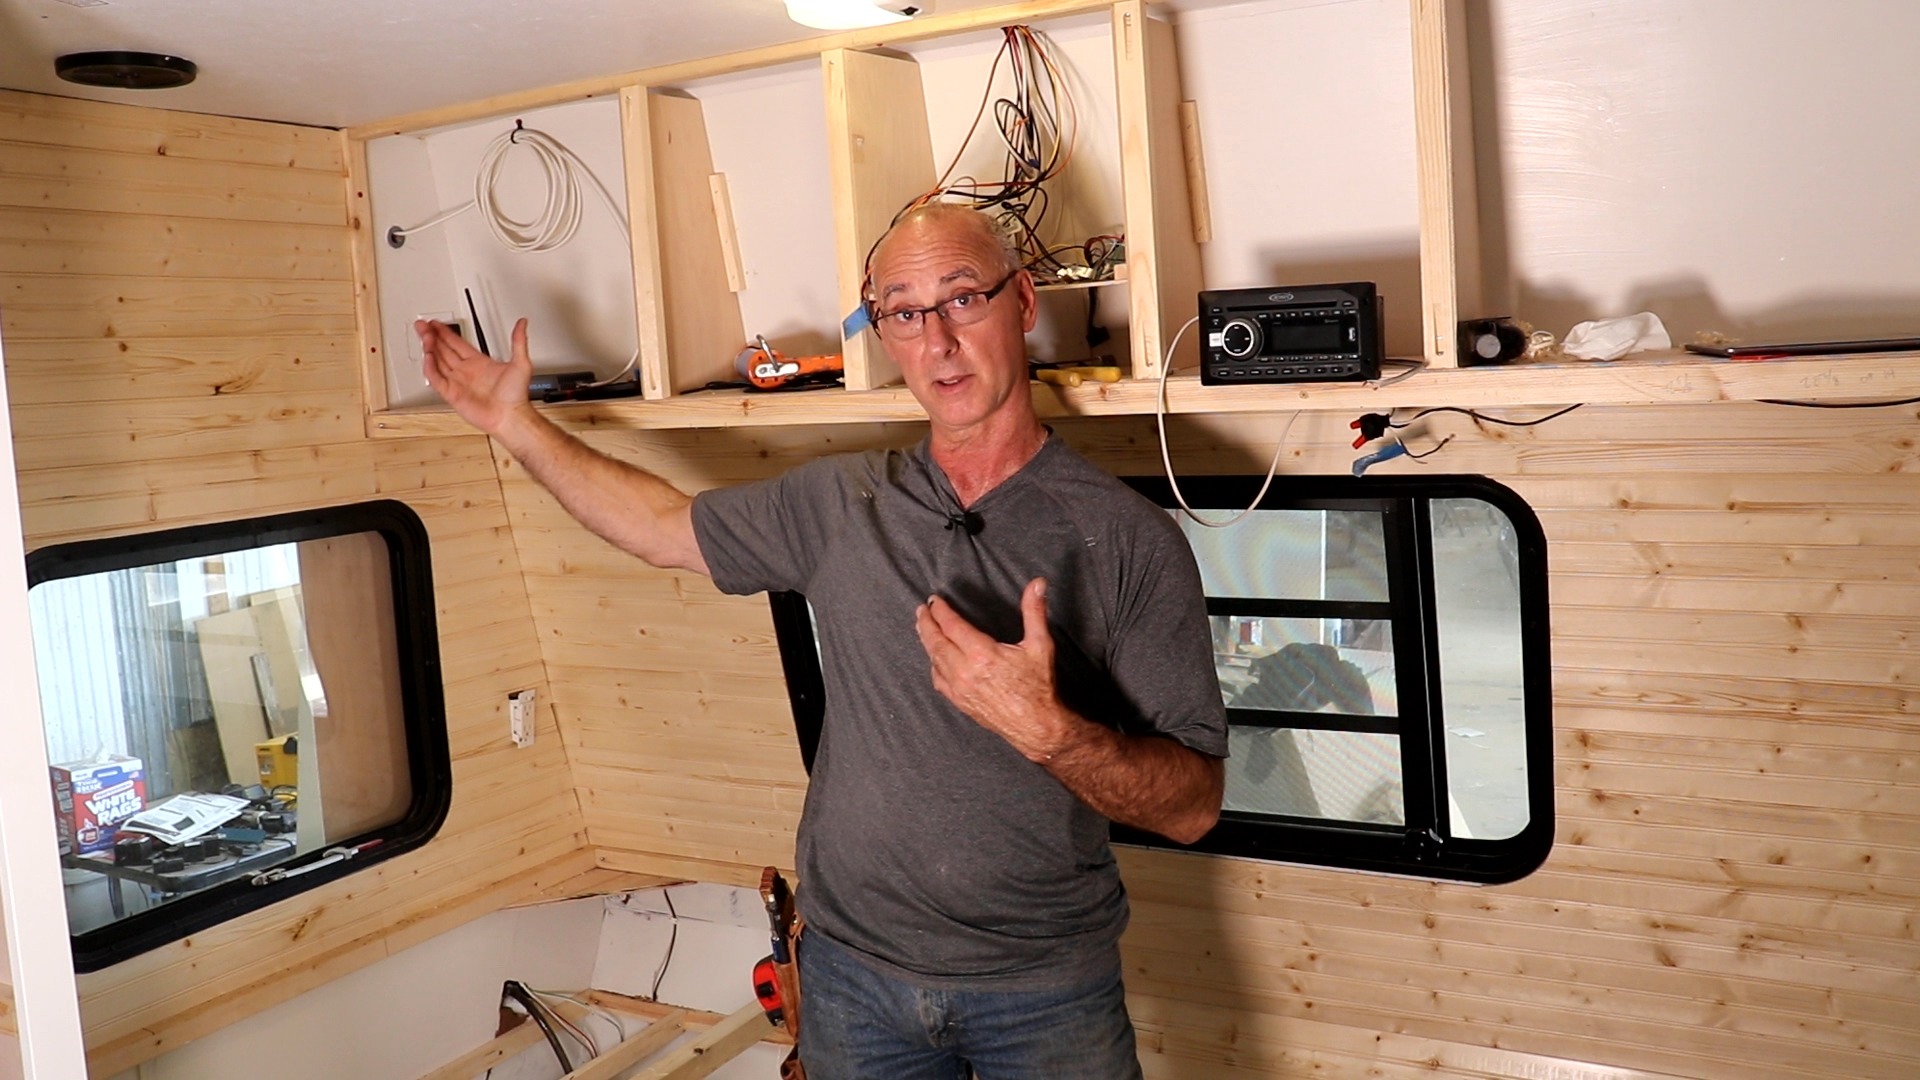
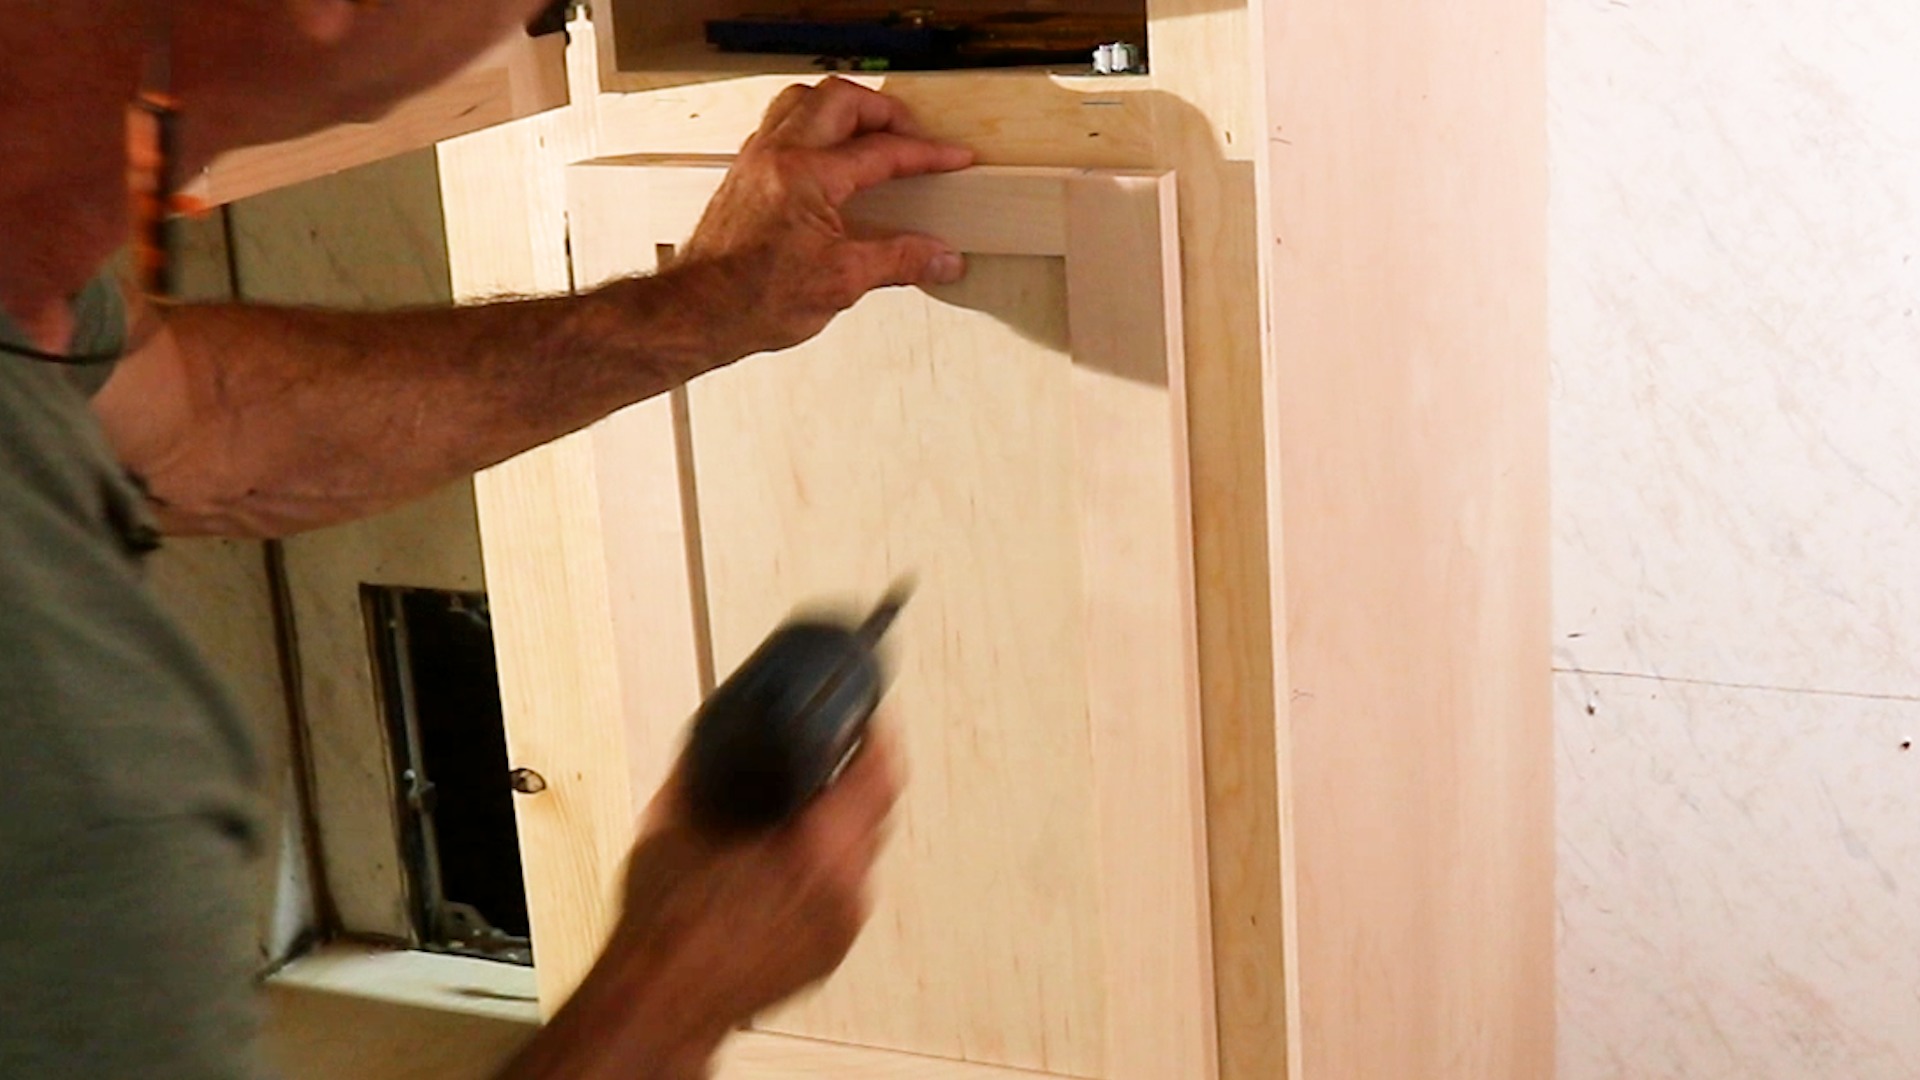
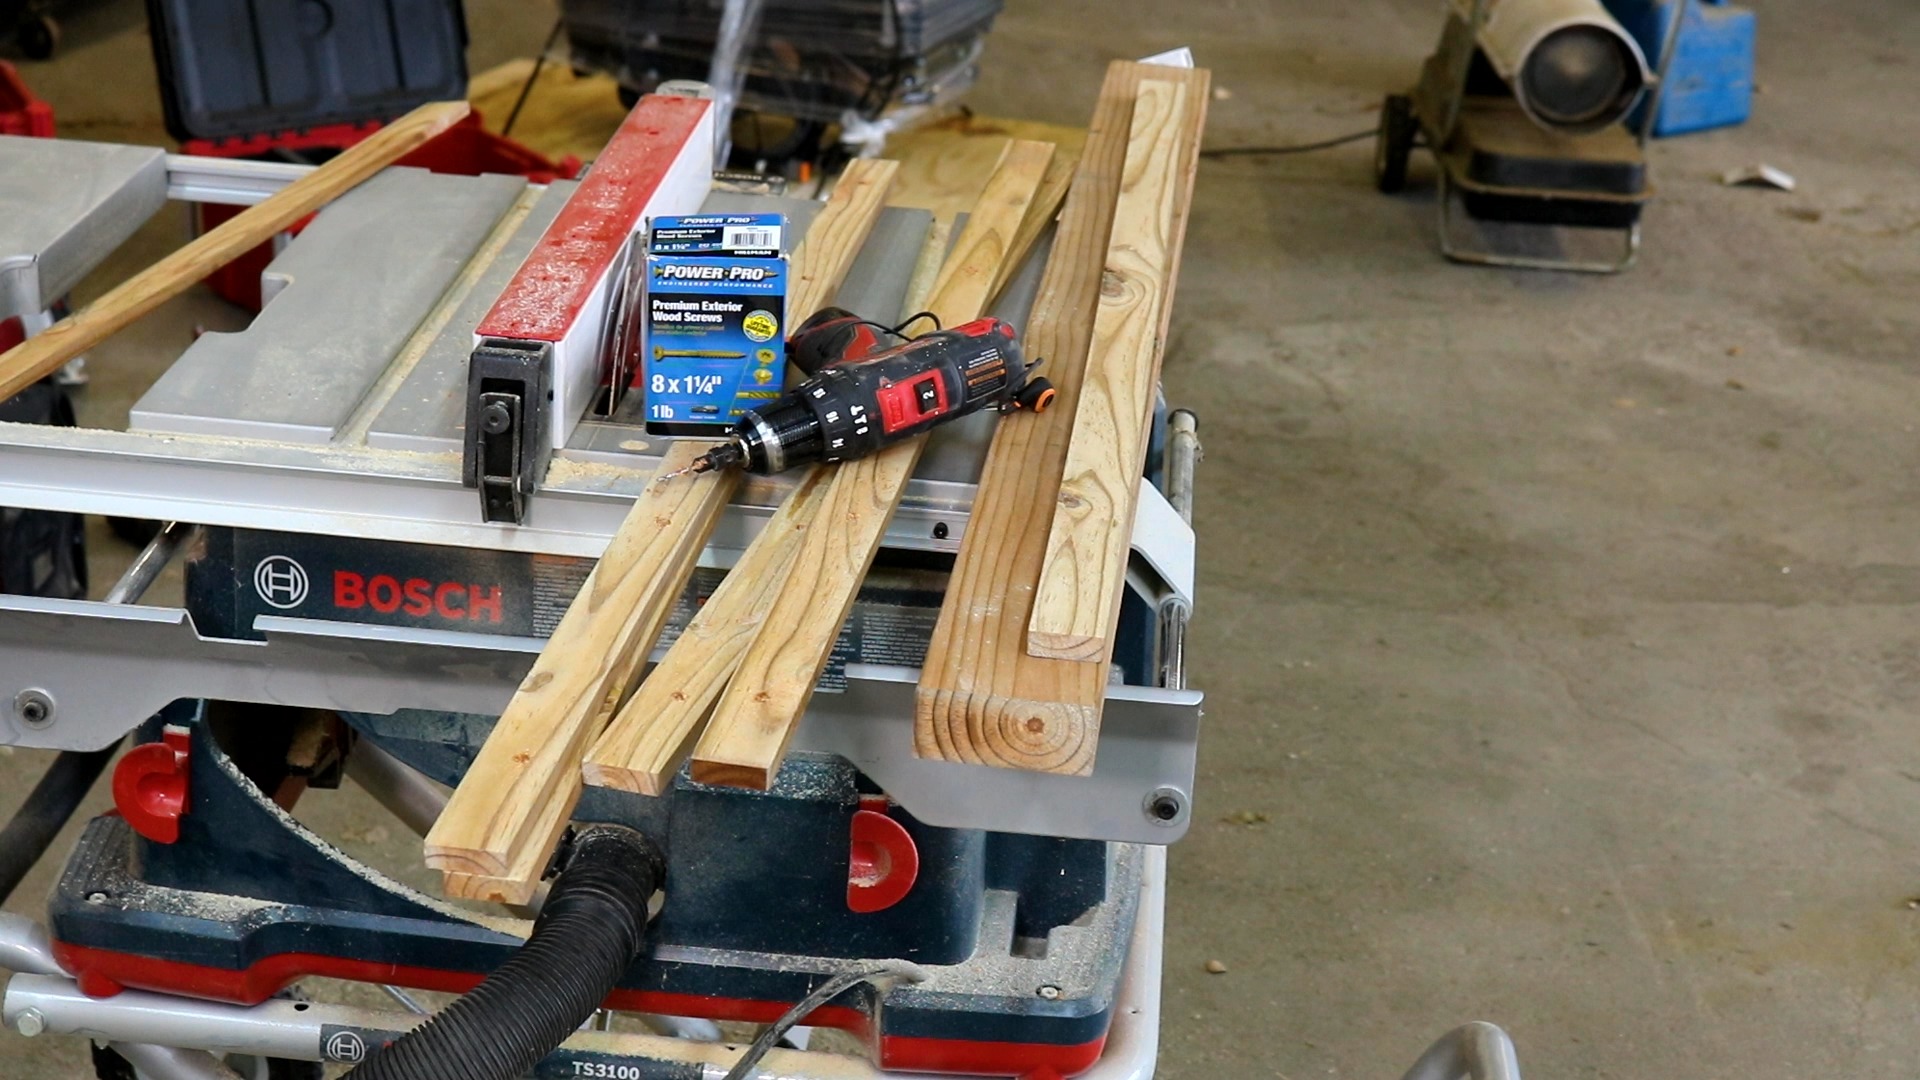
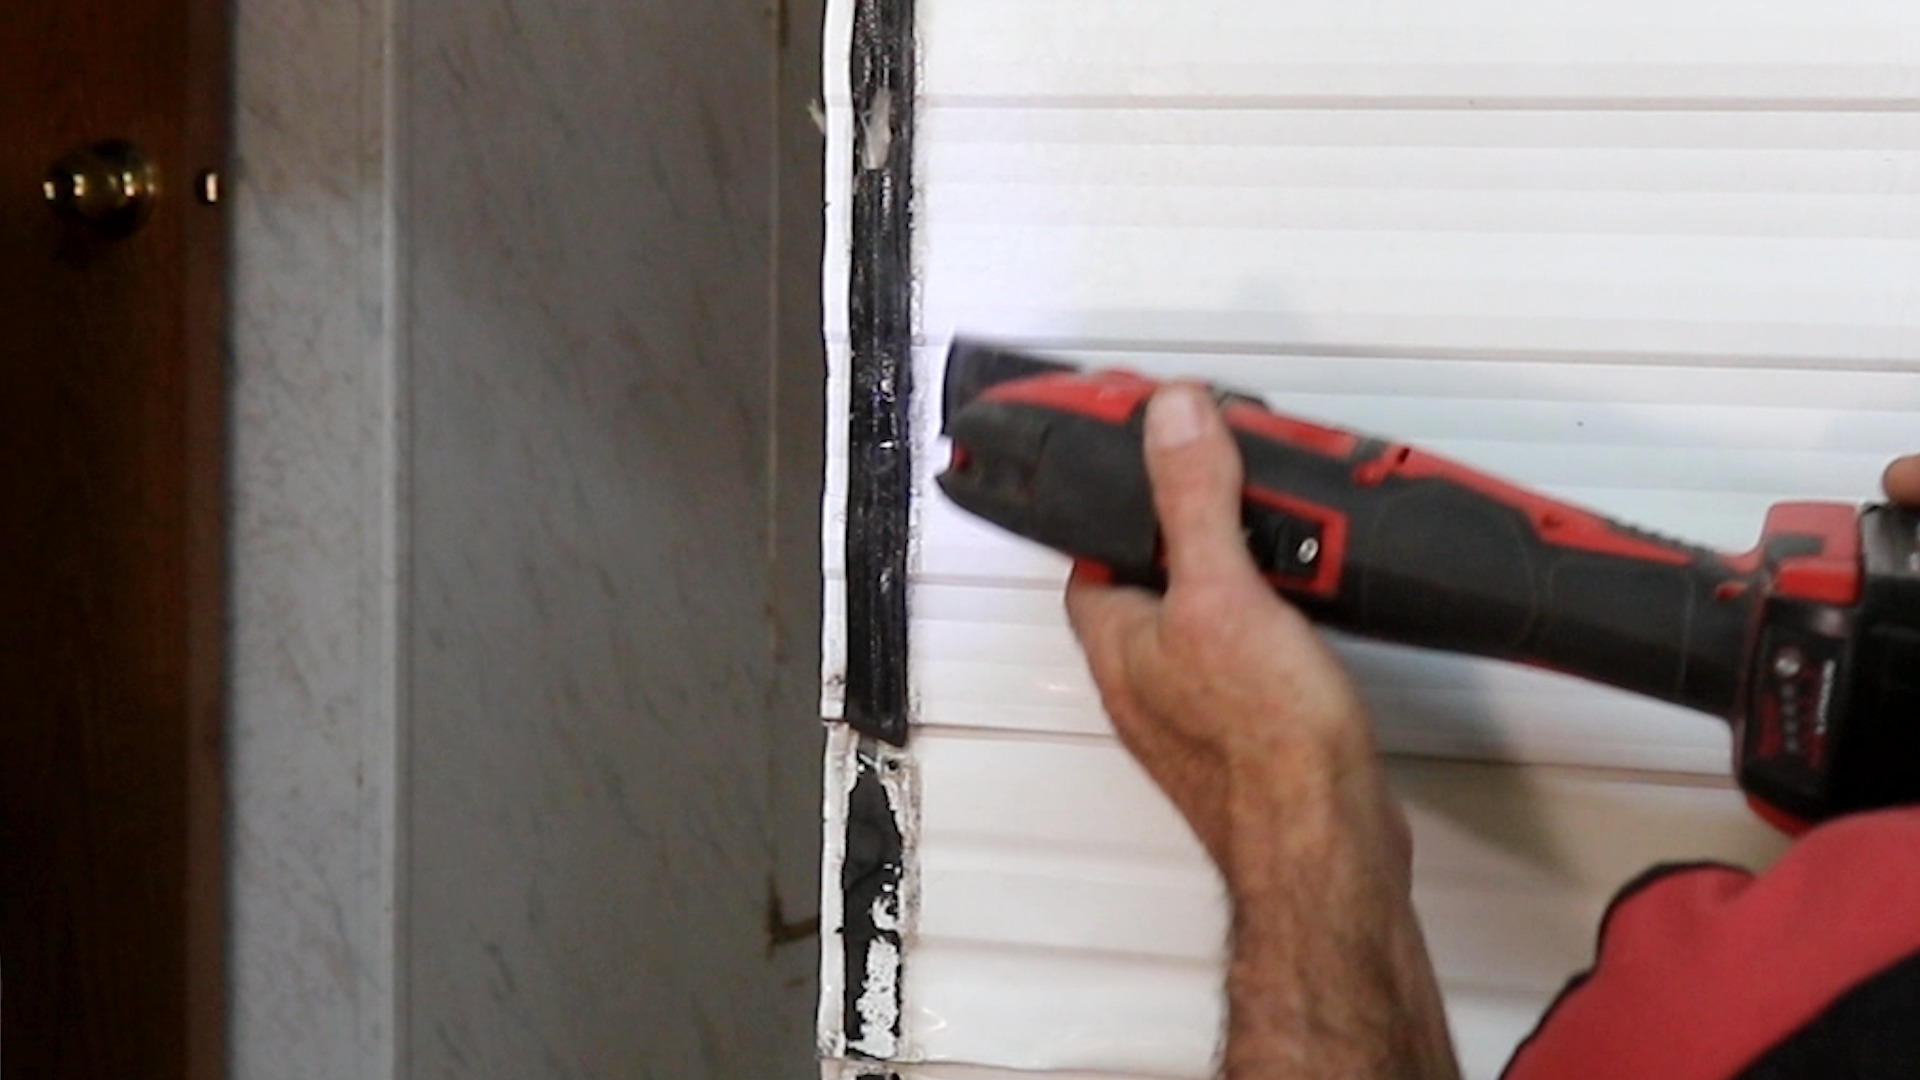
Part 17
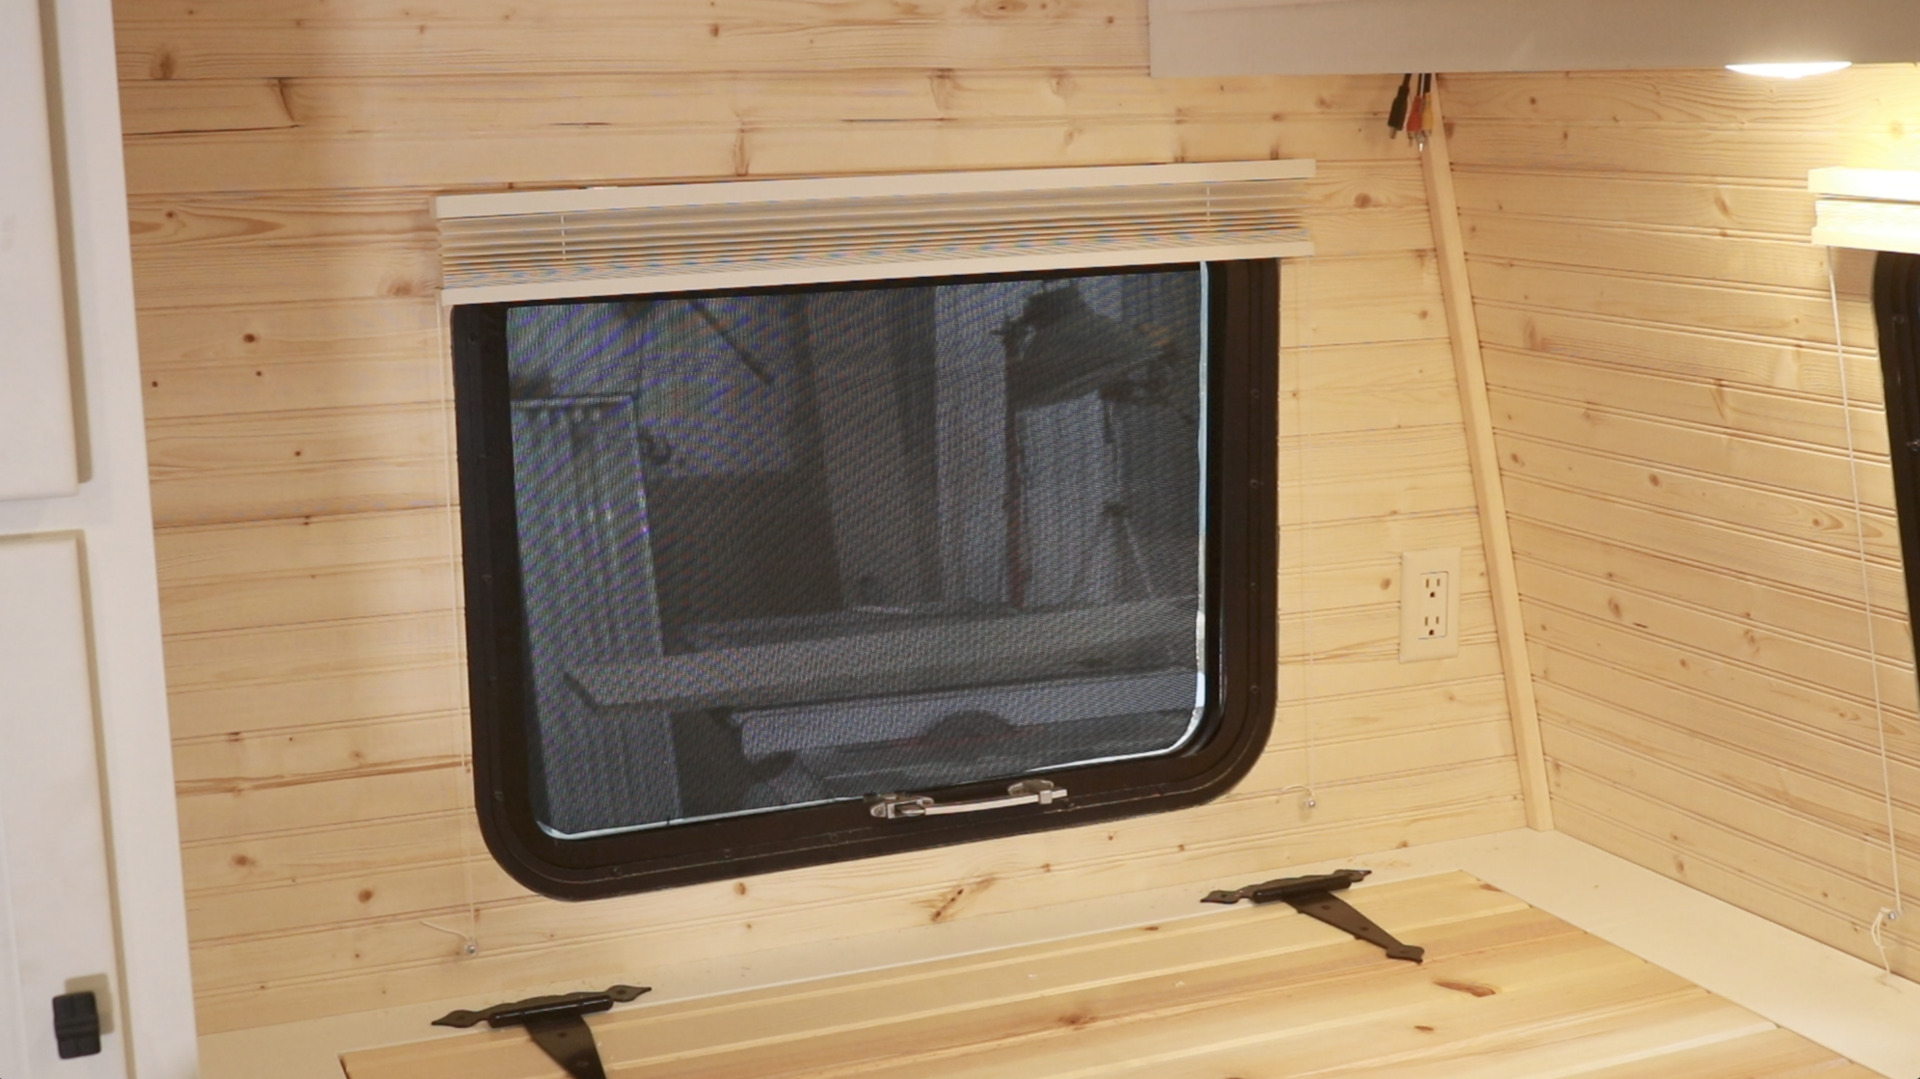
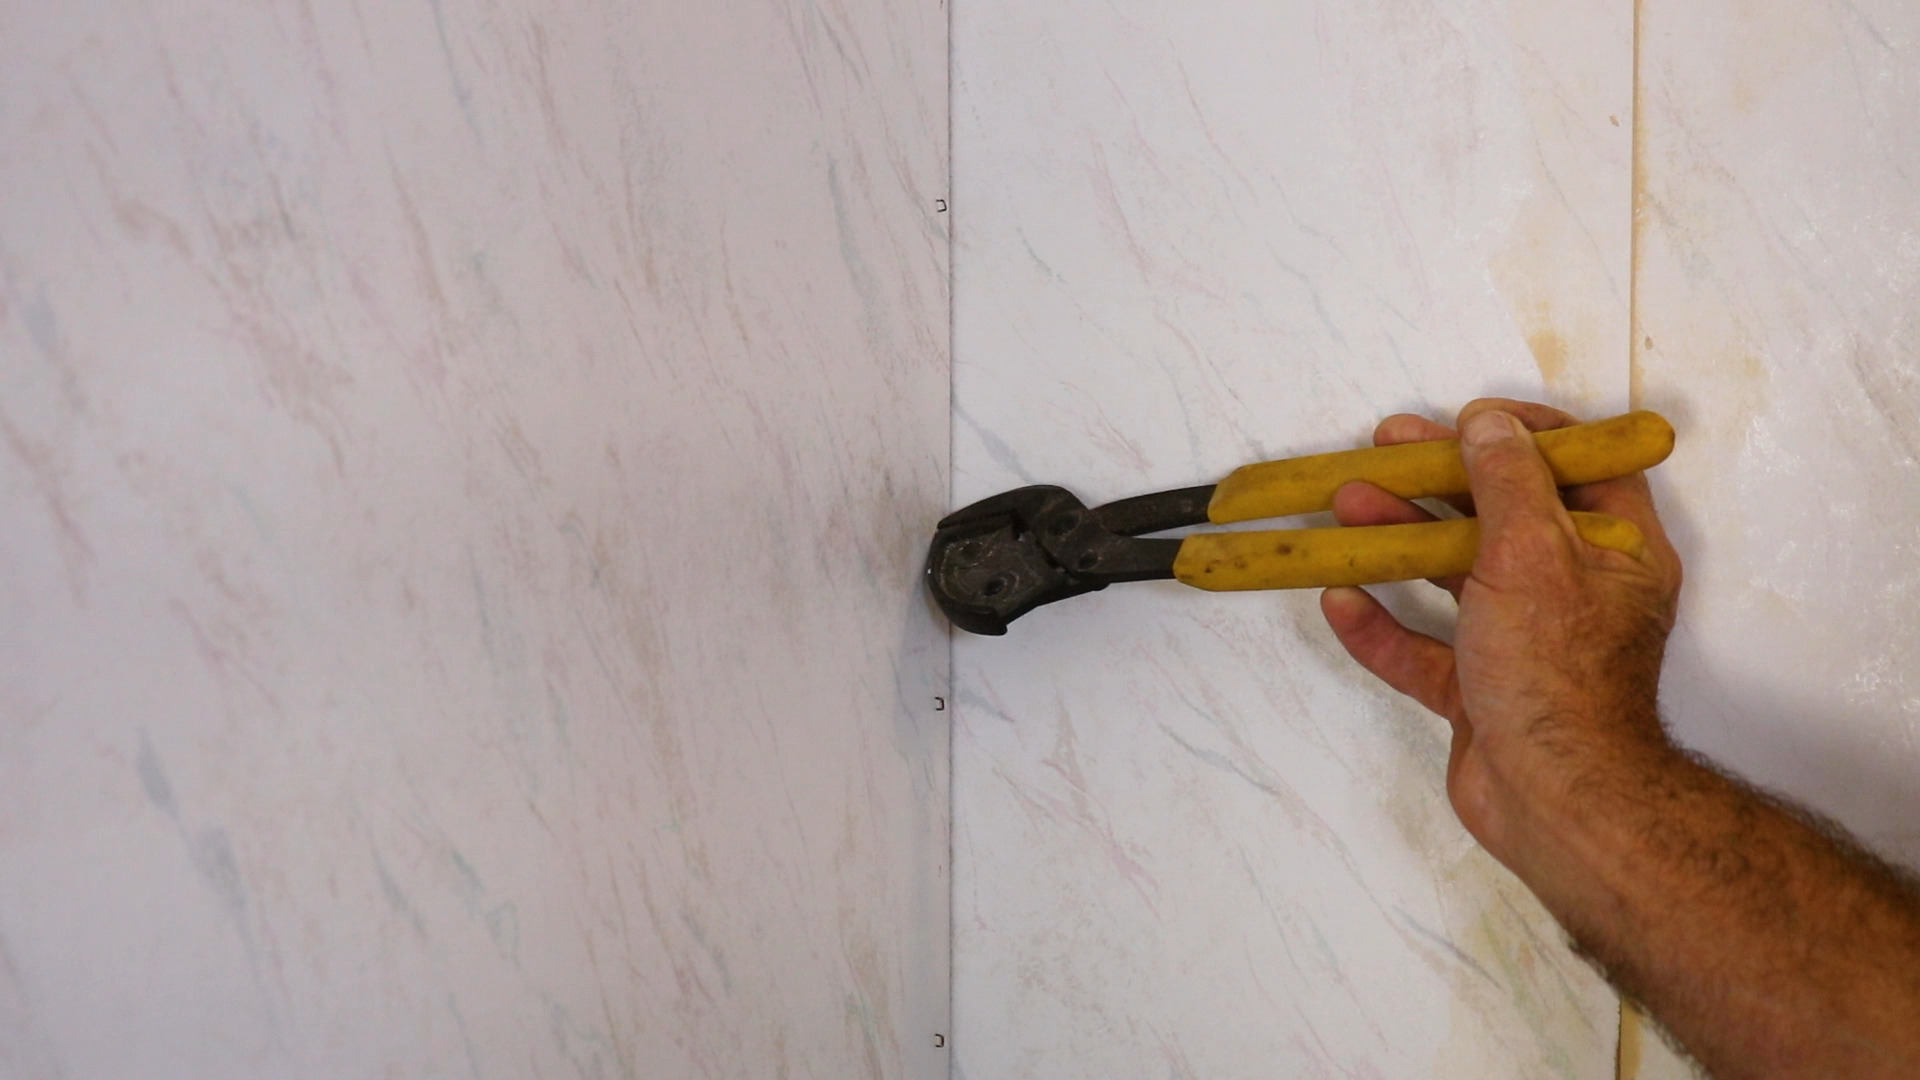
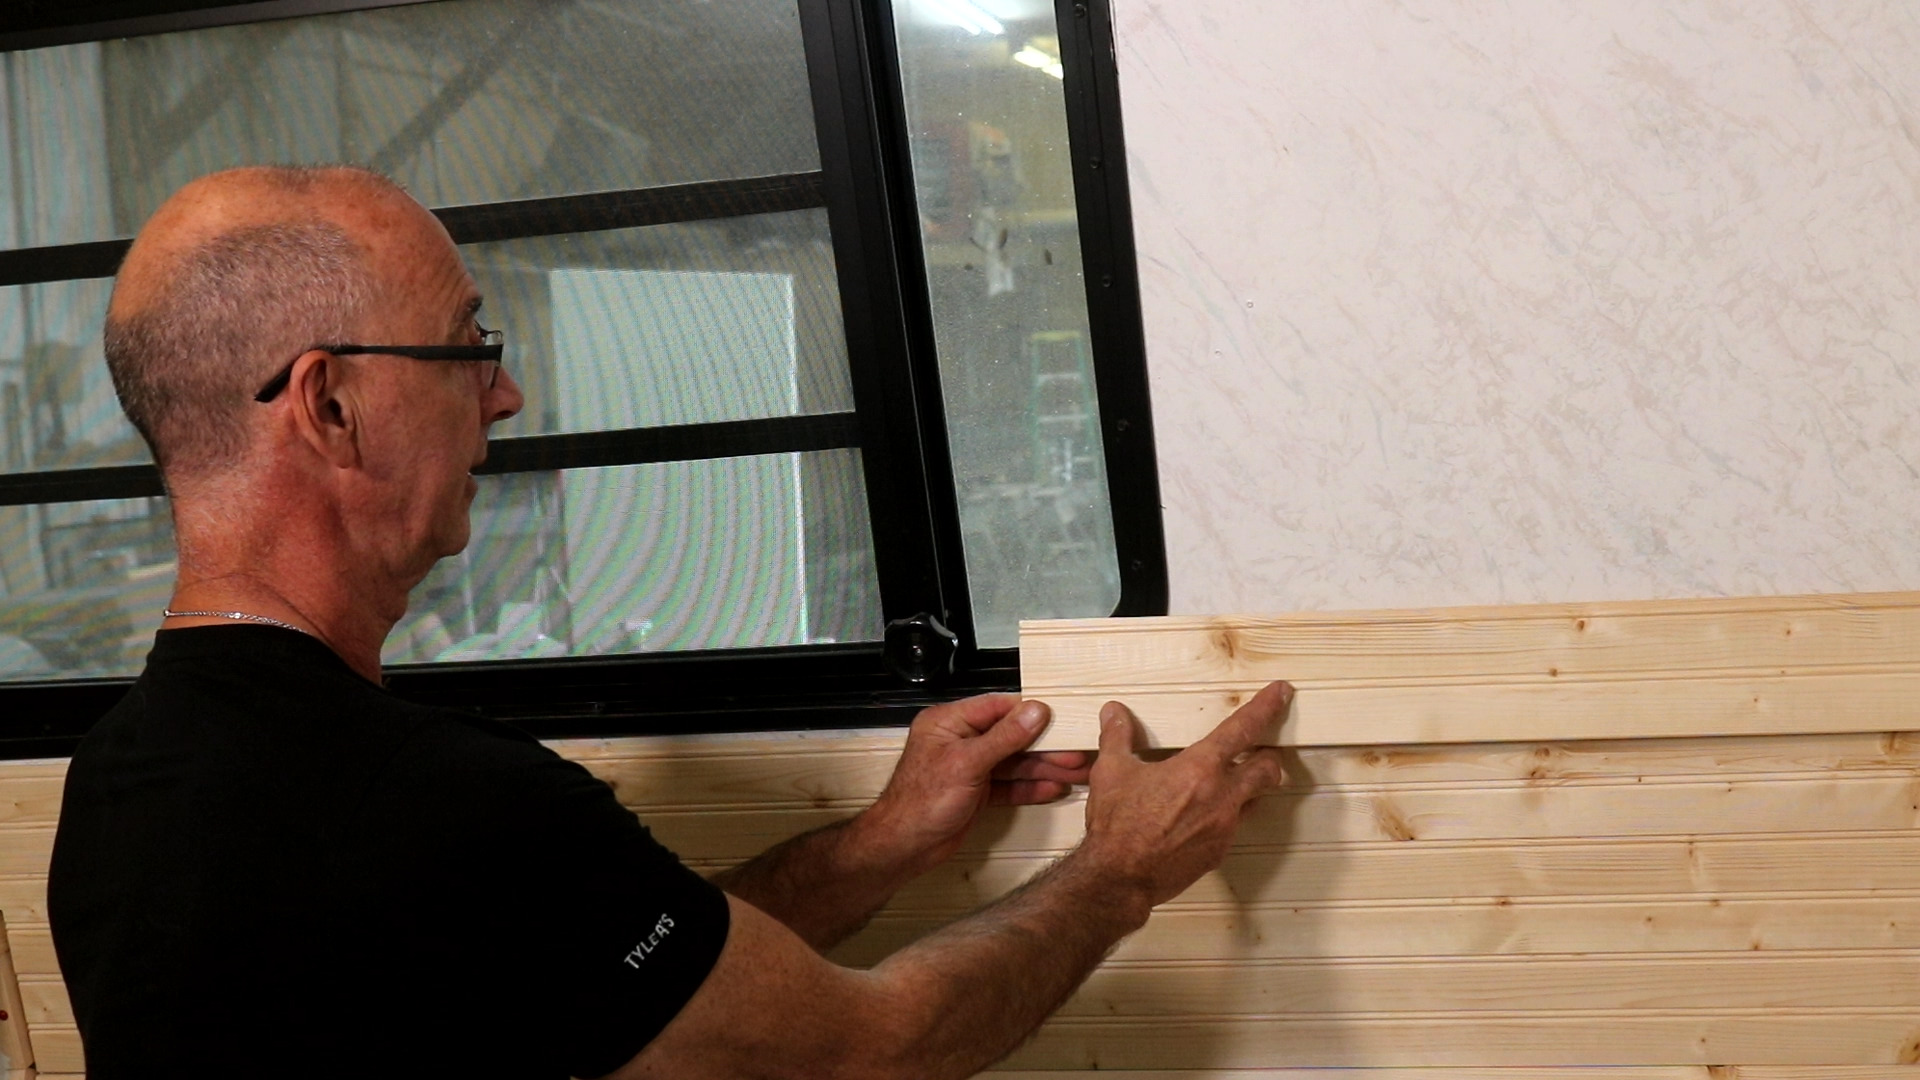
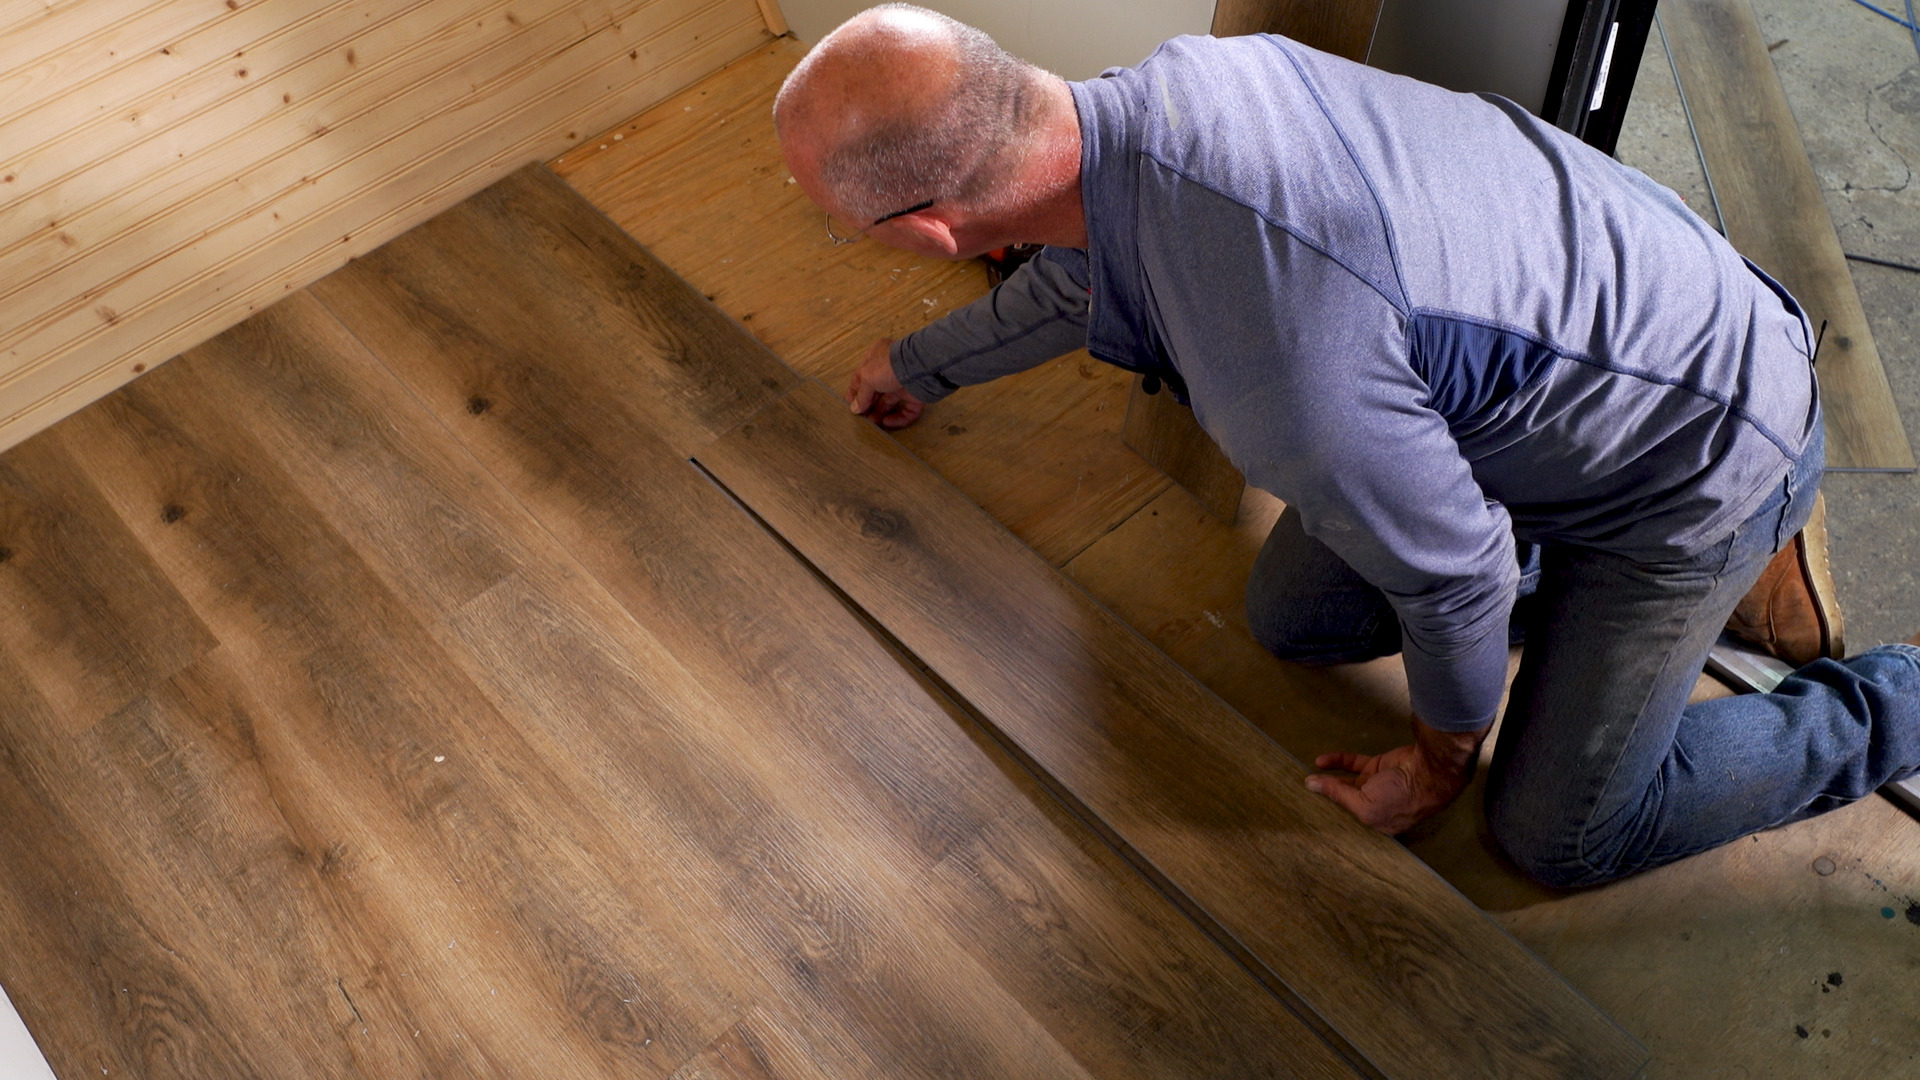
Prefinishing And Installing Wainscoting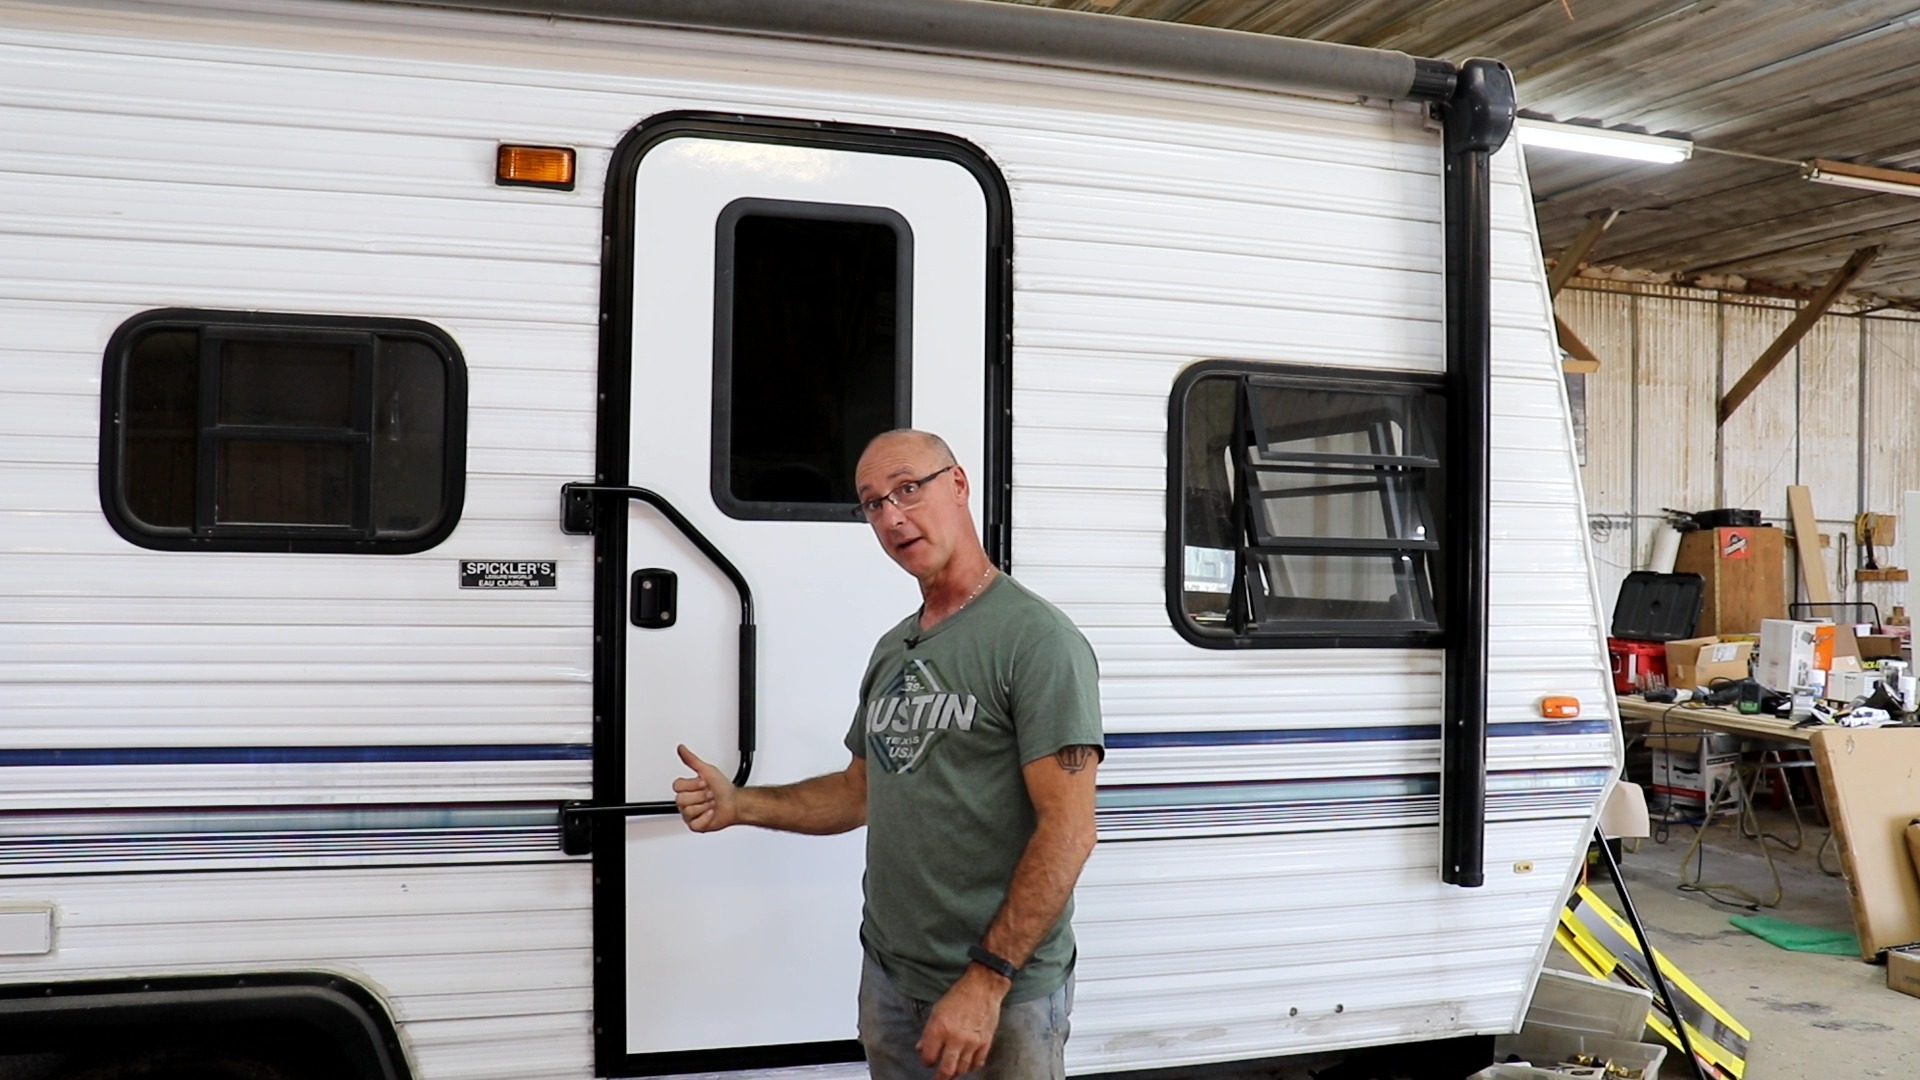
I’m replacing the dingy carpet in my 2015 Coachman Brookstone 334RE. Trying to figure best way to put the new vinyl plank flooring onto the the dinning slide out which sits flush when extended. Currently it just has a flap of carpet that lays on the floor but looks like the vinyl would break if done this way and step on! Help
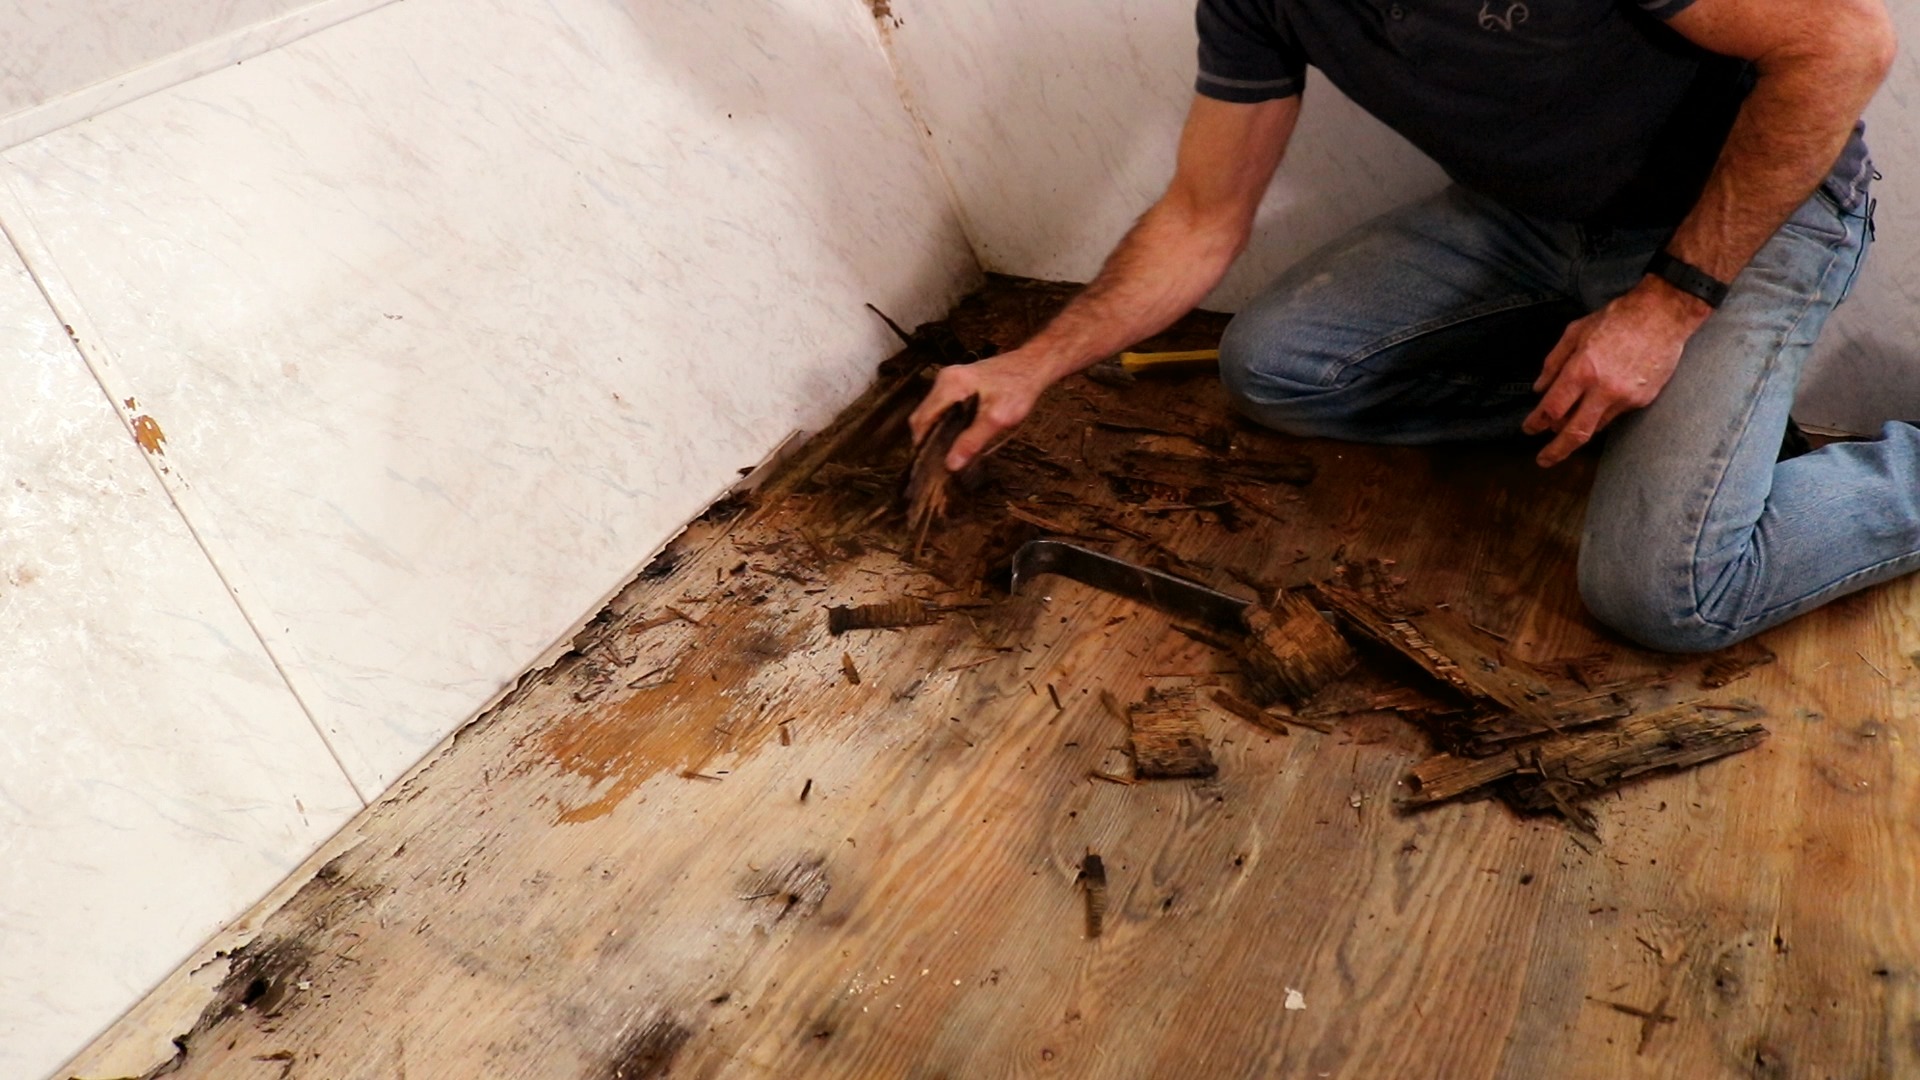
Removing floor in bathroom and bunk sidewall, all rotted due to roof and sidewall leaks. How do I locate roof leaks?
There are two holes in roof is there a way I can repair this myself? I also have water damage inside that I will need to repair but after roof is repaired. Thanks
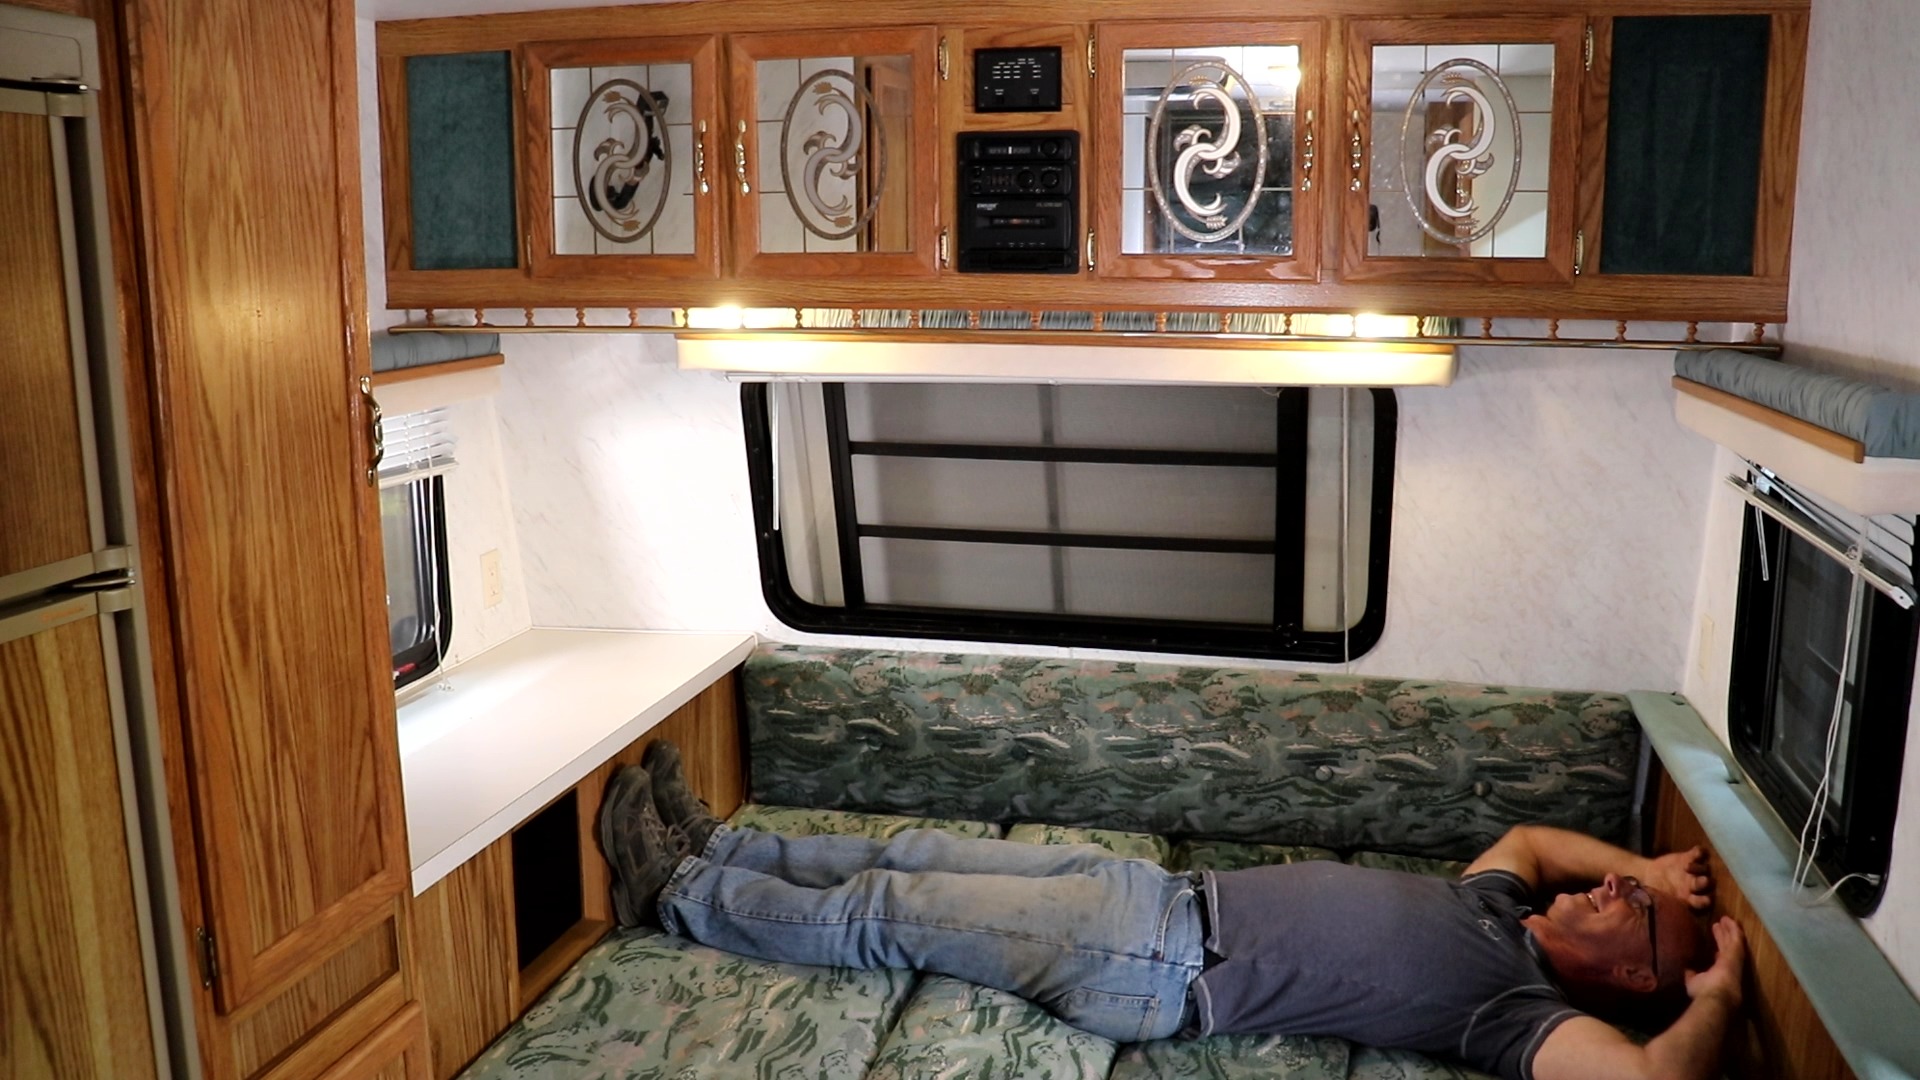
How do I remove the overhead cabinets? Are they attached to the ceiling thru the roof?
Can’t seem to find any basic repair or replace sewer lines for black or grey water tanks. I just purchased my RV and it has a 6” crack in the black plastic drain pipe coming off of one of the grey water tanks.
soggy floor. delaminating and became spongy. just a small amount of water rot but mostly the plywood and foam separating? any fix?
I'm having a problem with the interior panel of the entry door cracking, can a video be done on repairing/replacing that and my compartment latches are not working properly and I can't seem to adjust them to work properly.
how change speed blower resistor?
We have a slide in camper we are renovating. There is no water heater or electric water pump. We're ok with no shower, but I'd like warm water from either the tank or from the RV park hookups. What should we consider when installing & using a tankless water heater for the sink? Any specific brands?
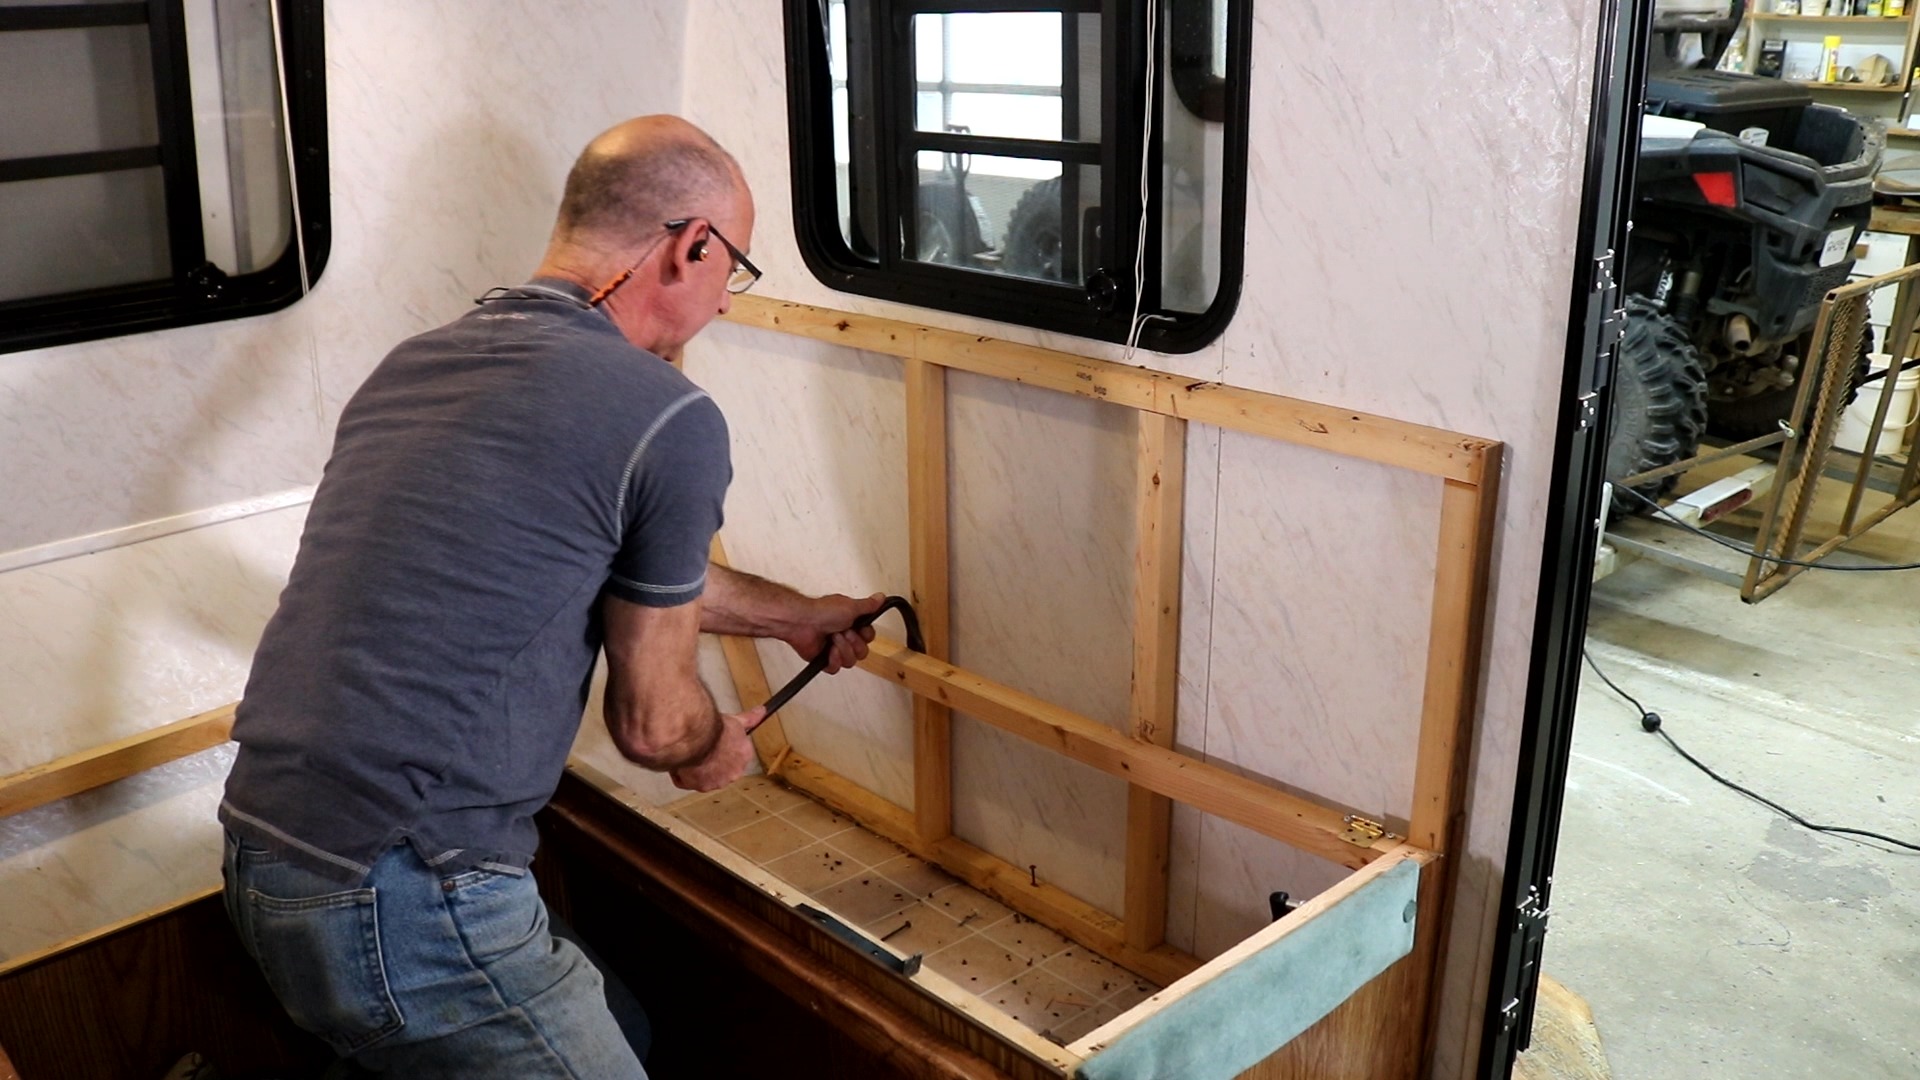
I’m replacing the entire back outer wall do to water damage and i’m uncertain on the proper way to remove the large window section