RV Water Heater Troubleshooting: Adjusting the Flame
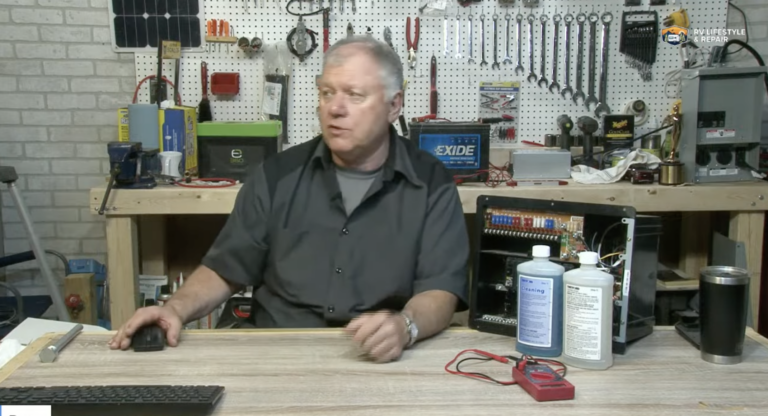
Dave SolbergOne of the most frustrating things to happen on vacation is to get ready to take a shower and the water heater isn’t working correctly. Fortunately, by doing some RV water heater troubleshooting, most problems are easy to decipher and to fix.
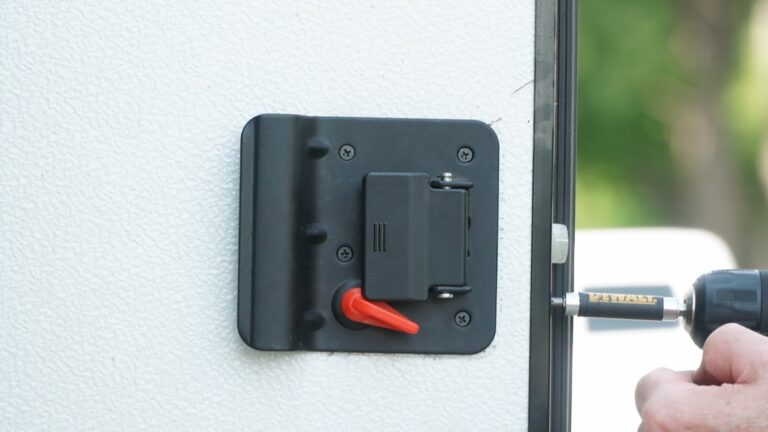
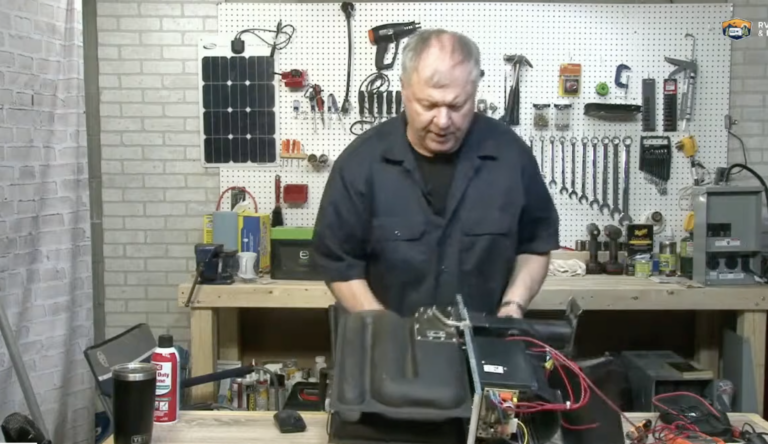
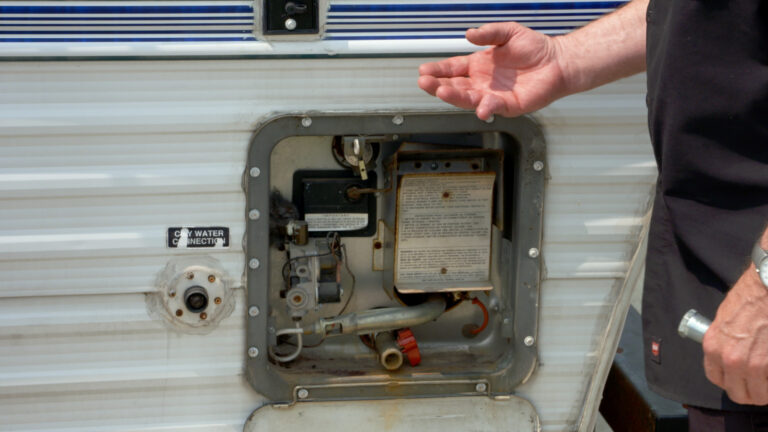
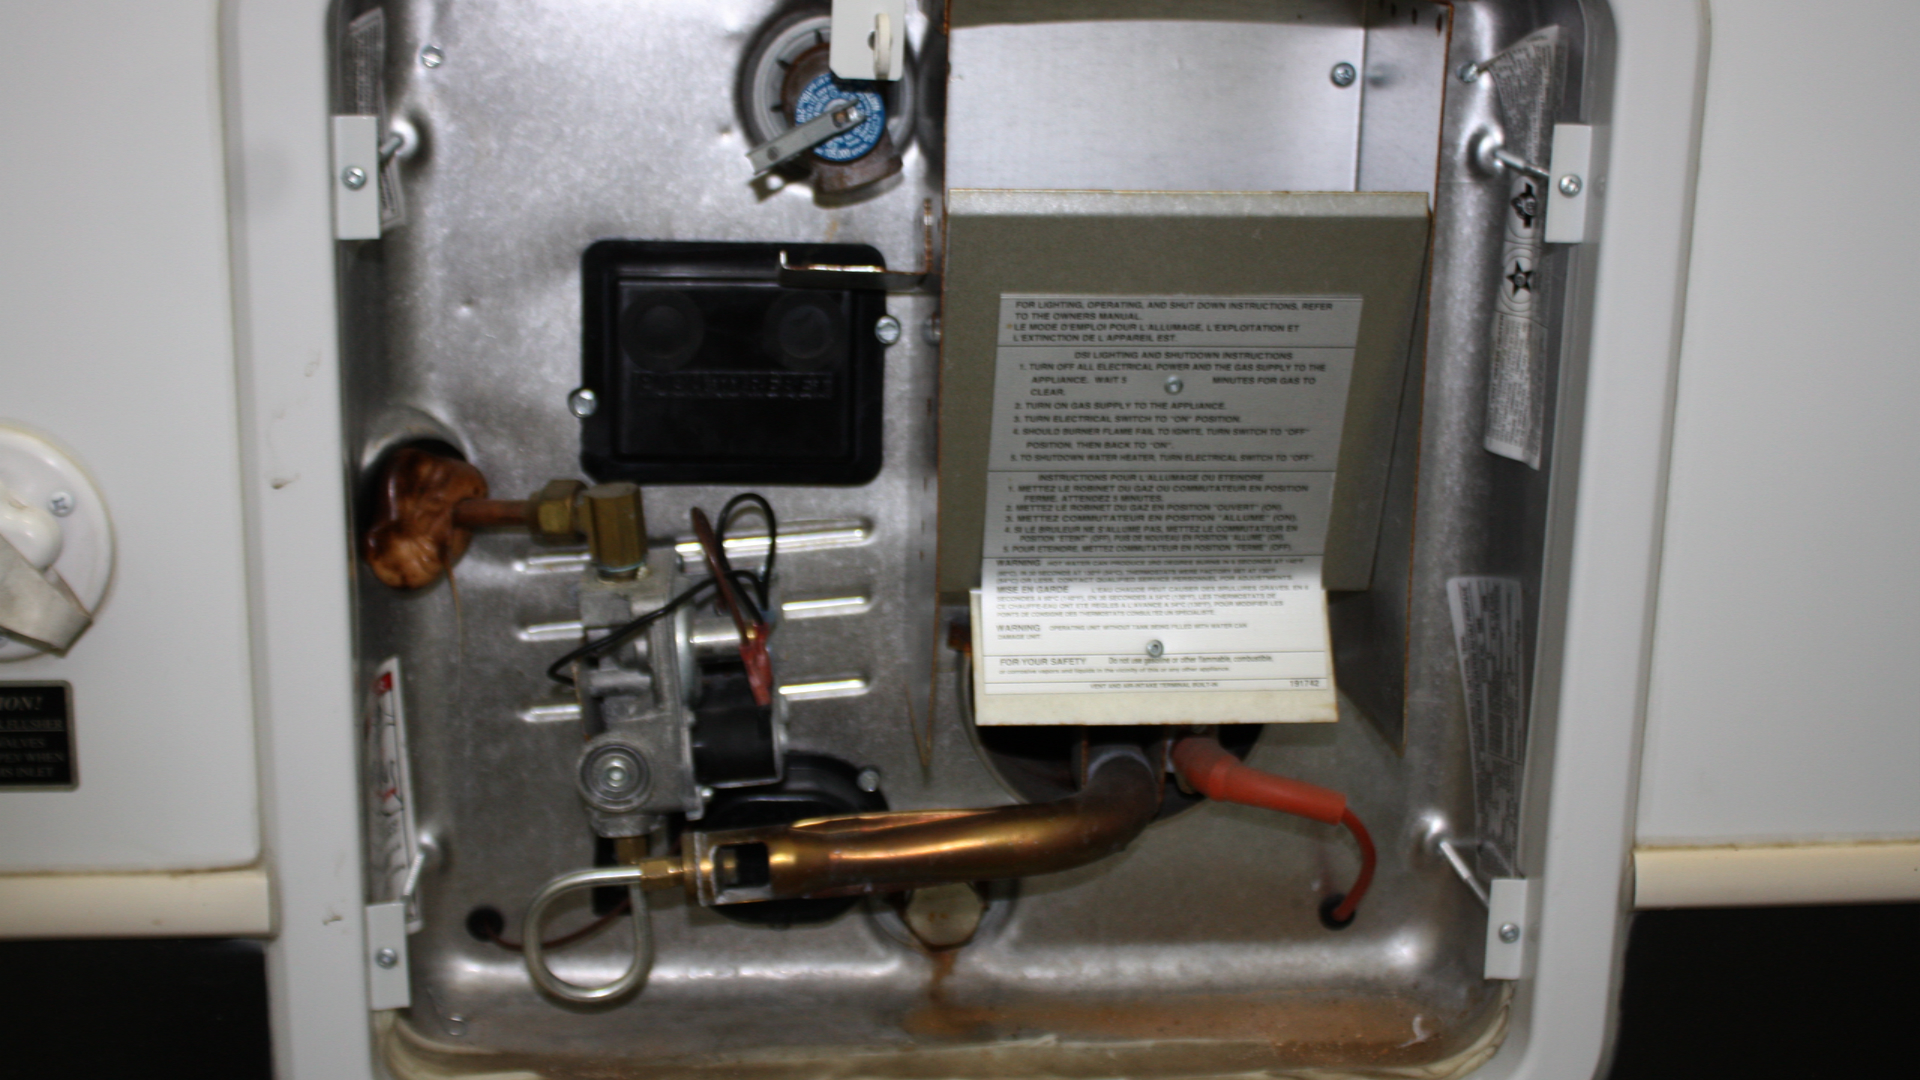
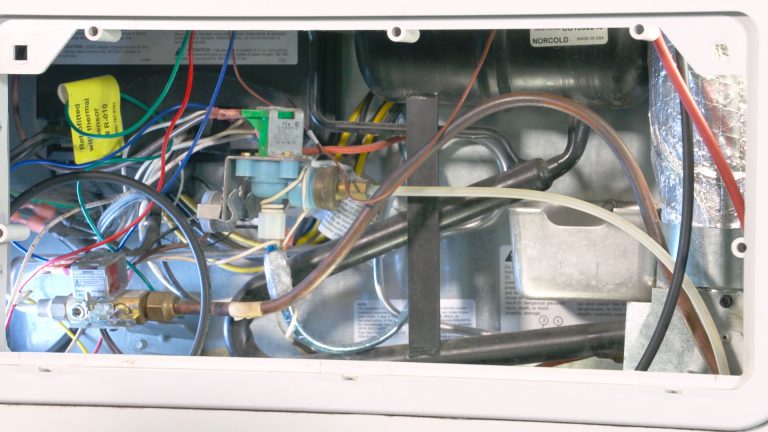
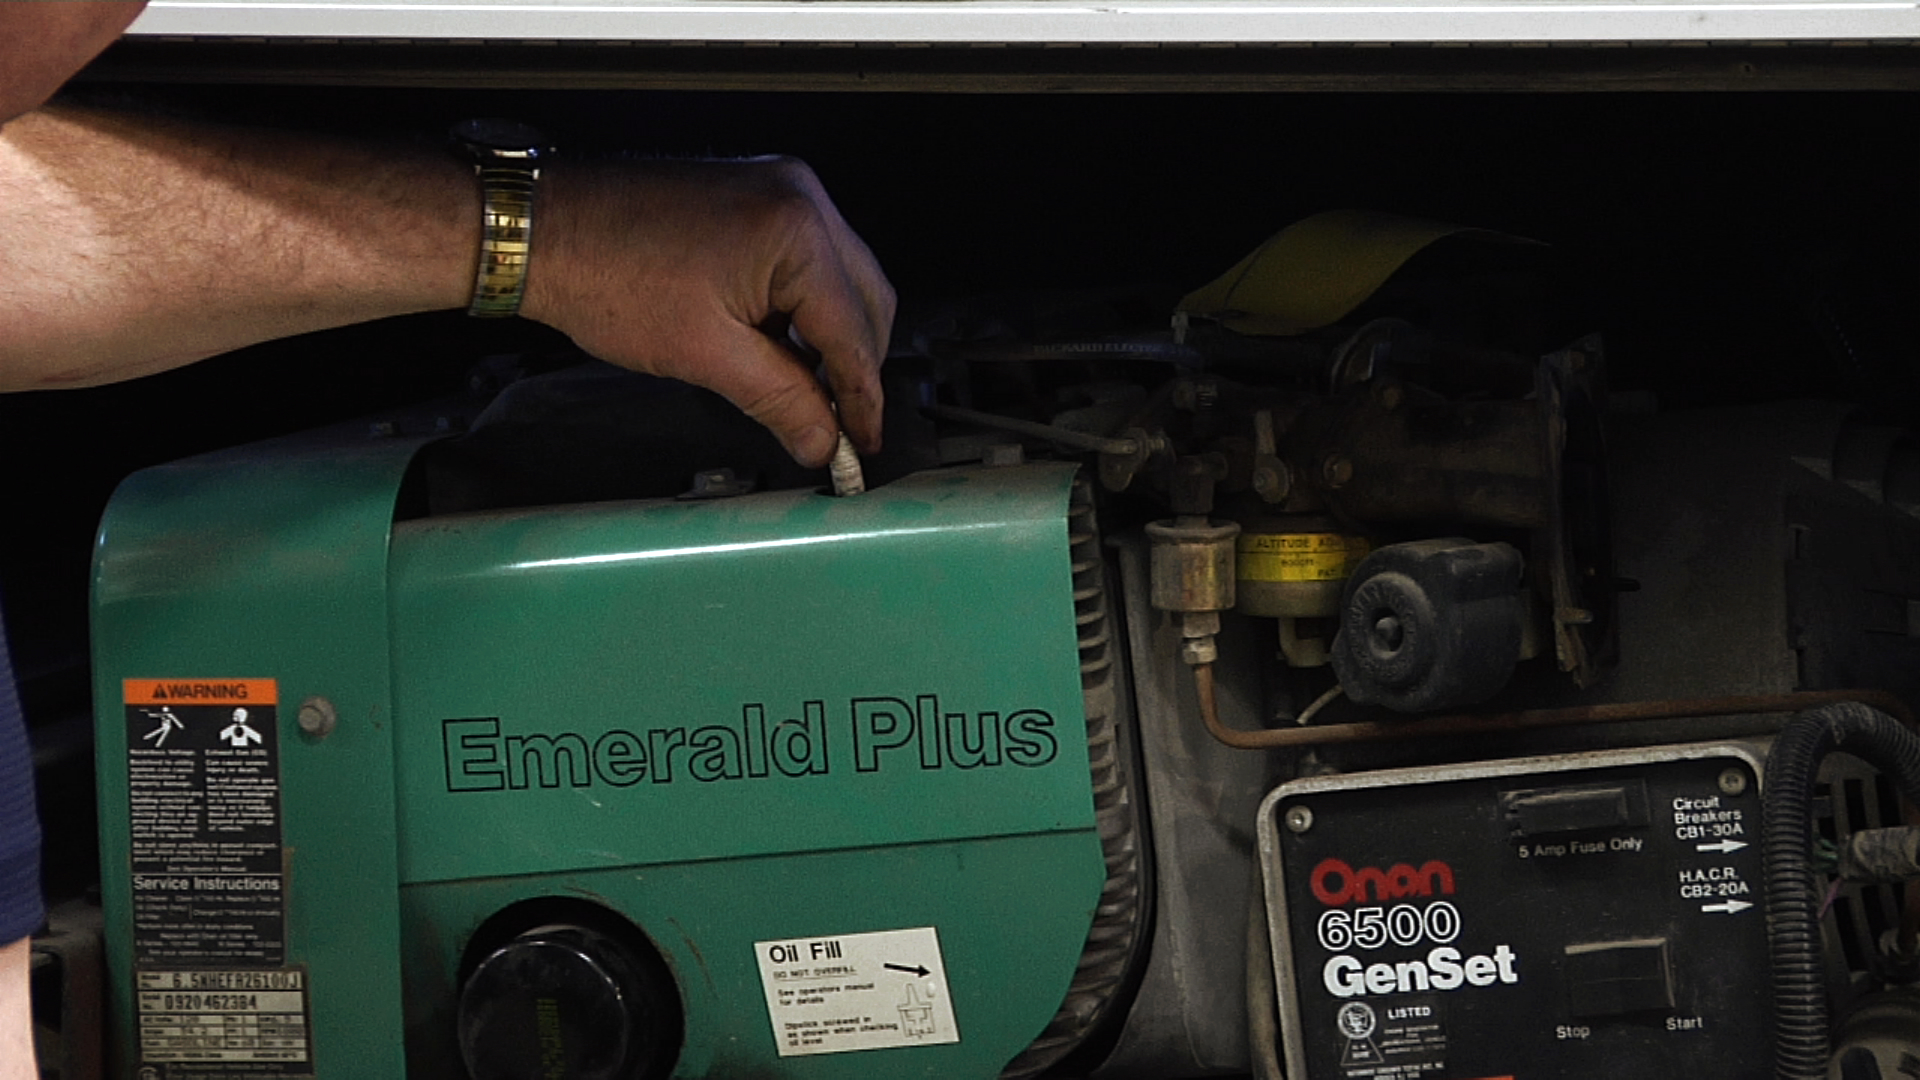
One of the first things to do when checking the water heater is take the cover off from the outside and make certain that no contaminants or spiders have gotten in the compartment. Some spiders like the smell of propane and might spin webs that will clog the exhaust vent. Also check to see if there is a buildup of rust and other debris in this compartment. If there is put on some protective eye wear and blow the compartment free of debris with an air hose.
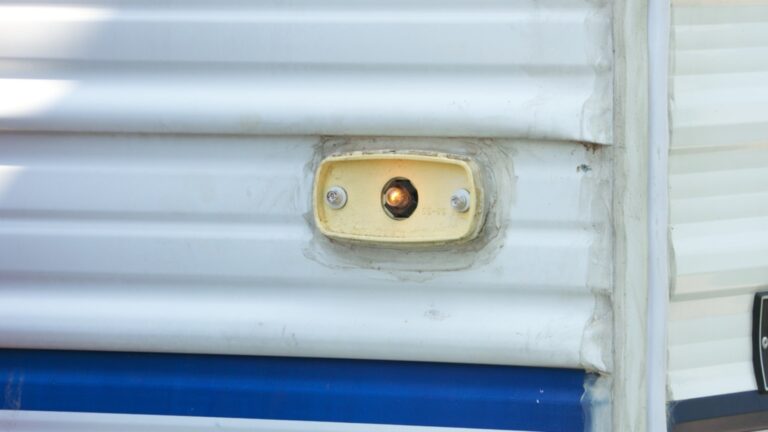
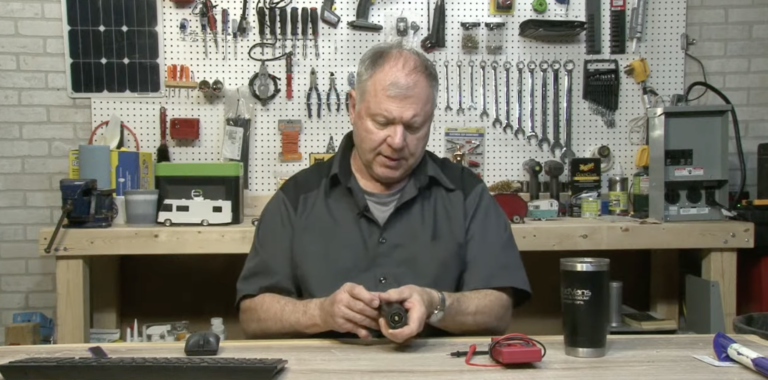
When conducting RV water heater troubleshooting you will also want to check the exhaust to ensure that there are no obstructions that will impede the flow of gas into the water heater, or from the exhaust back out. Light the water heater and make certain there is a nice blue flame in the center with darker blue closer to the outside of the flame. If you need to adjust the flame, simply loosen the nut on the pipe and slide the pipe one direction or the other. If you take you RV into different elevations, you may have to adjust the flame anyway. When the flame is burning correctly, there shouldn’t be a lot of flickering.
Remember that when you use the water heater, the tank is much smaller than you’re used to at home; often about six gallons. This means you may need to adjust your routine so you won’t run out of hot water. It doesn’t take long to do these simple RV water heater troubleshooting checks by yourself.
Explore videos by Dave Solberg


You may be interested in


Premium Membership
Unlock exclusive member content from our industry experts.
- 24/7 Access to Premium RV Maintenance Videos, Travel Inspiration, and Lifestyle Tips
- Step-by-Step Instructional Demos, Projects, and Guides
- 50% Off Video Downloads Purchased in the RV Lifestyle & Repair Shop
- Access to Ask the Expert Program
Unlock exclusive member content from our industry experts.
- 24/7 Access to Premium RV Maintenance Videos, Travel Inspiration, and Lifestyle Tips
- Step-by-Step Instructional Demos, Projects, and Guides
- 2 Full-Length Video Downloads to Watch Offline
- 50% Off Video Downloads Purchased in the RV Lifestyle & Repair Shop
- Access to Ask the Expert Program
Gold Membership
$333 Value
Get everything included in Premium plus exclusive Gold Membership benefits.
- 24/7 Access to Premium RV Maintenance Videos, Travel Inspiration, and Lifestyle Tips
- Step-by-Step Instructional Demos, Projects, and Guides
- 9 Full-Length Video Downloads to Watch Offline
- 2 Full-Length RV Repair Classes to Keep for Life
- Discounts on Purchase-to-Own Content in the RV Lifestyle & Repair Shop
- Access to Ask the Expert Program
- Exclusive GOLD LIVE Streaming Events