Fresh Air in All Kinds of Weather: RV Vent Cover Installation Instructions
Dave SolbergThe interior of your RV can get very warm during late spring and summer, especially when driving on sunny days. But running your air conditioning units to eliminate the stuffy feeling in the air can be a huge waste of electric power and money—it makes no sense to run the A/C when you’ve got a large air vent in the middle of your RV roof. It’s the perfect way to get fresh air into your RV interior.
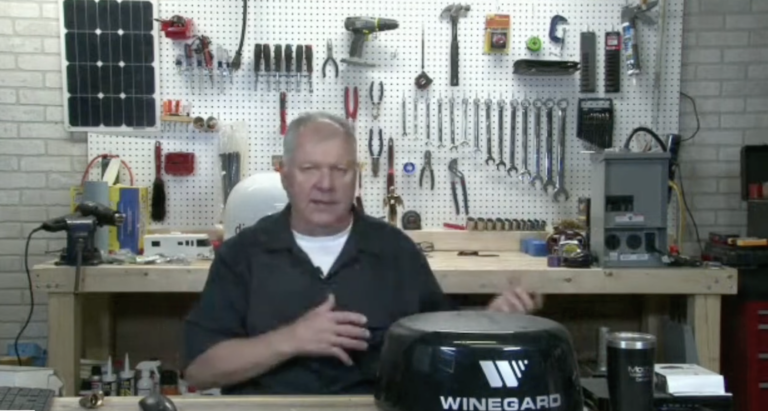
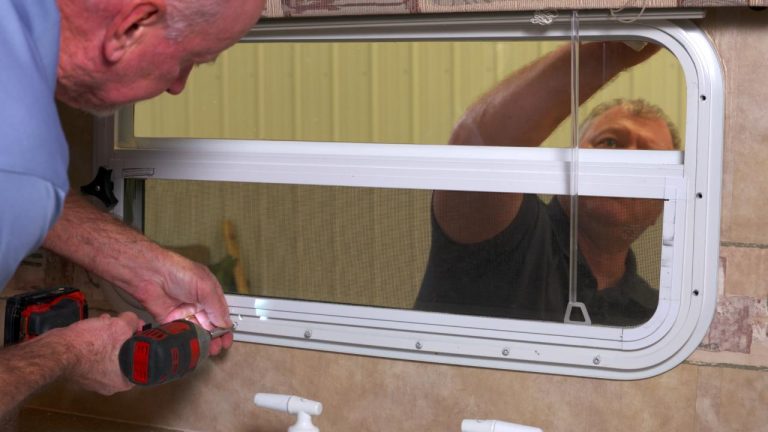
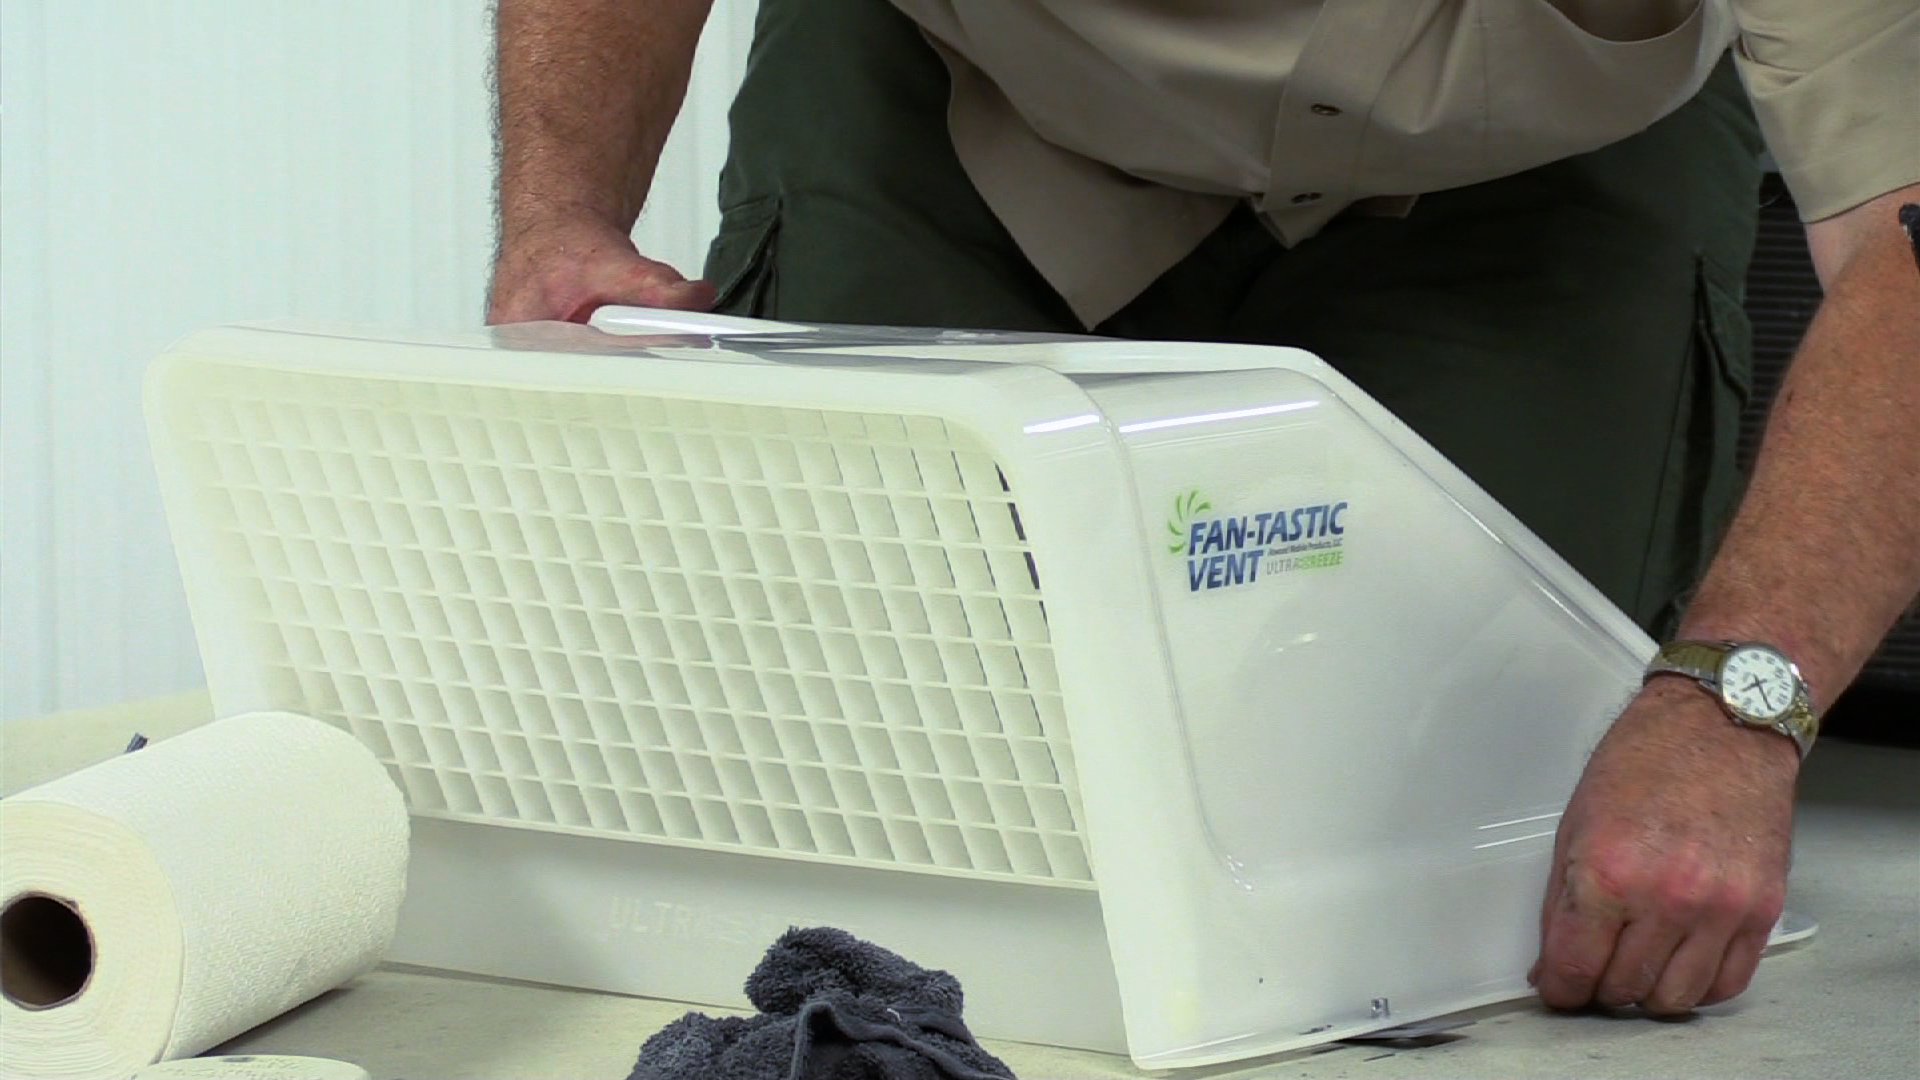
But what about those days when it’s warm but raining? Keep that fresh air flowing by doing an RV vent cover installation. A VentMate vent cover will allow you to keep your air vent open through all kinds of weather, but will shield the opening in your roof from rain, leaves, and other foreign objects. An RV vent cover installation can save you a lot of money in electricity costs and still keep your rolling home cool and comfy.
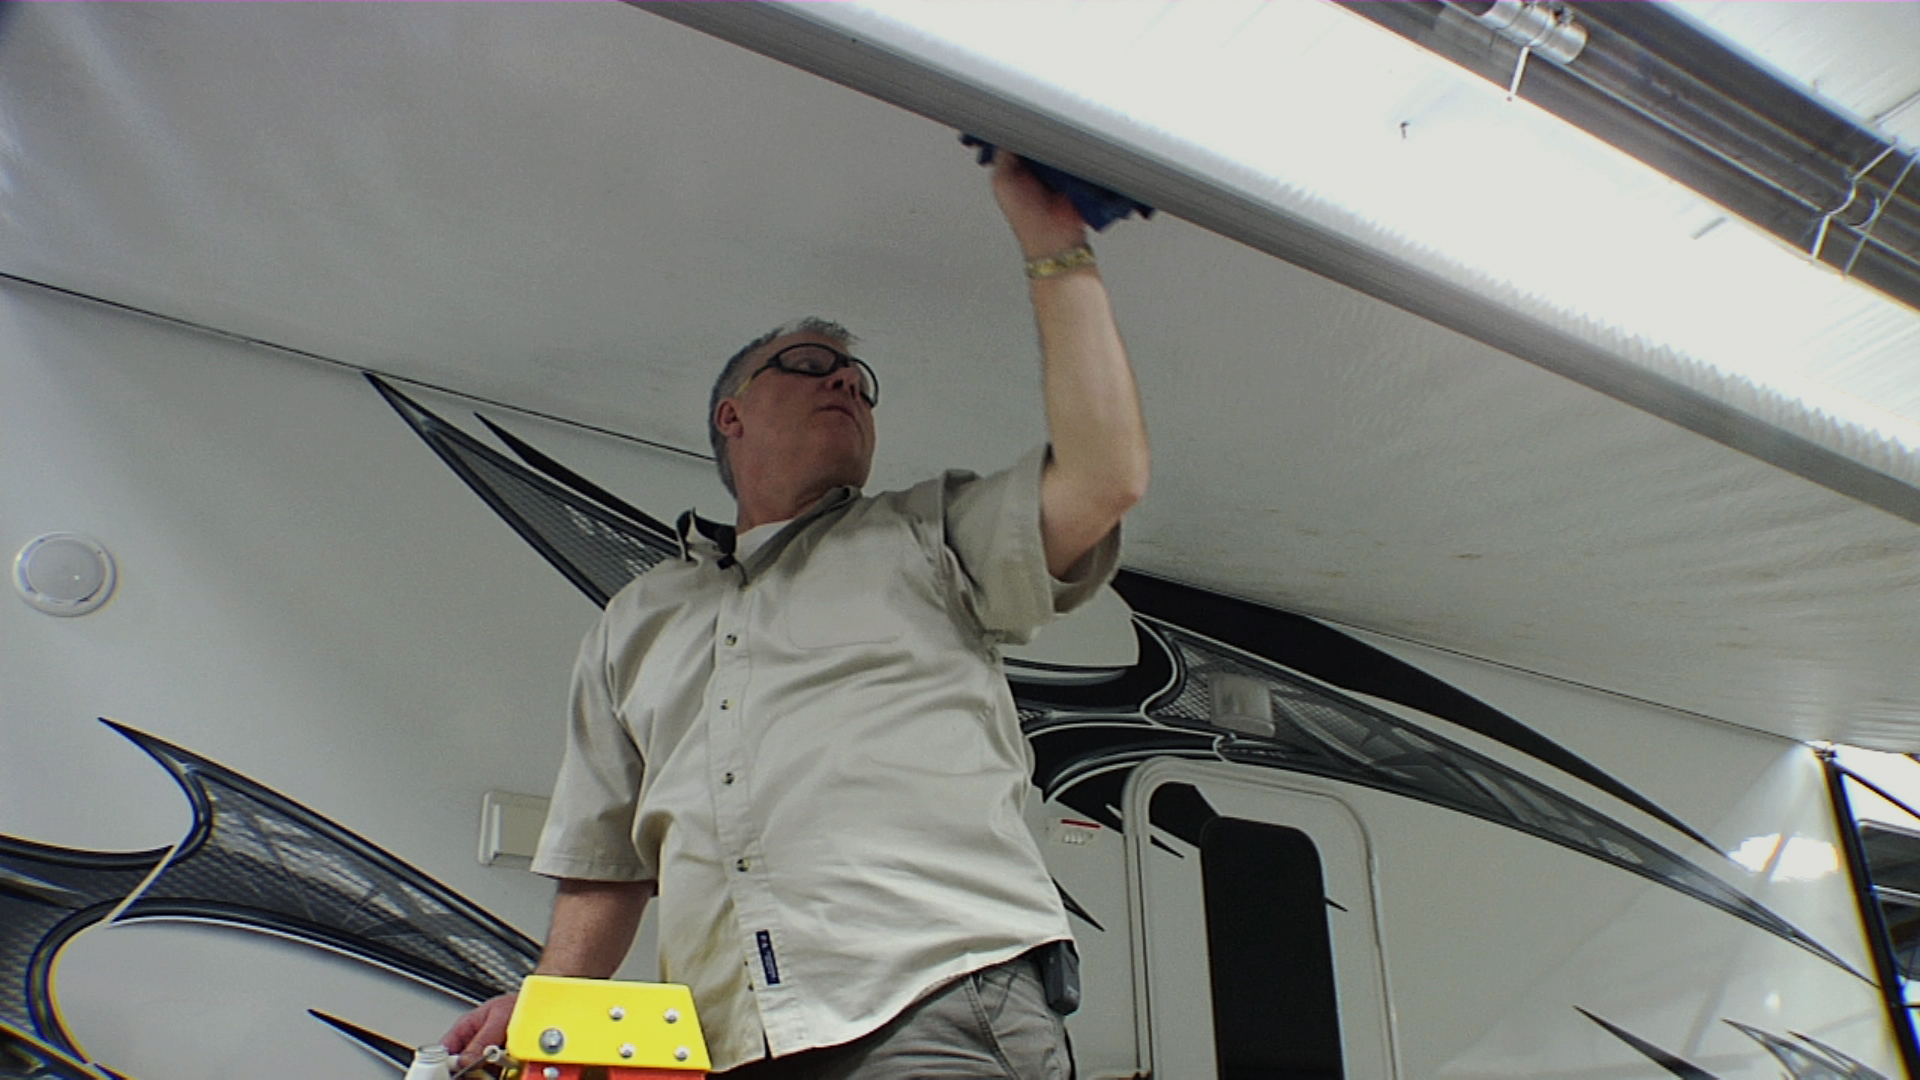
In this video, you’ll learn how to install the VentMate vent cover on the roof of your RV. The RV vent cover installation process may seem complicated, but with a small number of tools and some common sense, it’s a job that will take about fifteen minutes to finish. You’ll learn how to measure and mark for installation brackets, the importance of drilling pilot holes when adding screws to a fiberglass RV form, how to add silicone sealant to keep your roof from leaking, and the process of RV vent cover installation itself.
Explore videos by Dave Solberg


You may be interested in


Premium Membership
Unlock exclusive member content from our industry experts.
- 24/7 Access to Premium RV Maintenance Videos, Travel Inspiration, and Lifestyle Tips
- Step-by-Step Instructional Demos, Projects, and Guides
- 50% Off Video Downloads Purchased in the RV Lifestyle & Repair Shop
- Access to Ask the Expert Program
Unlock exclusive member content from our industry experts.
- 24/7 Access to Premium RV Maintenance Videos, Travel Inspiration, and Lifestyle Tips
- Step-by-Step Instructional Demos, Projects, and Guides
- 2 Full-Length Video Downloads to Watch Offline
- 50% Off Video Downloads Purchased in the RV Lifestyle & Repair Shop
- Access to Ask the Expert Program
Gold Membership
$333 Value
Get everything included in Premium plus exclusive Gold Membership benefits.
- 24/7 Access to Premium RV Maintenance Videos, Travel Inspiration, and Lifestyle Tips
- Step-by-Step Instructional Demos, Projects, and Guides
- 9 Full-Length Video Downloads to Watch Offline
- 2 Full-Length RV Repair Classes to Keep for Life
- Discounts on Purchase-to-Own Content in the RV Lifestyle & Repair Shop
- Access to Ask the Expert Program
- Exclusive GOLD LIVE Streaming Events
Purchase Video
Purchase video and add to your personal library with on-demand video access.
- Enjoy on-demand video access to this content anytime, anywhere for the one-time cost below.
- You won’t lose access, with or without an active current Membership
Fresh Air in All Kinds of Weather: RV Vent Cover Installation Instructions
with Dave Solberg