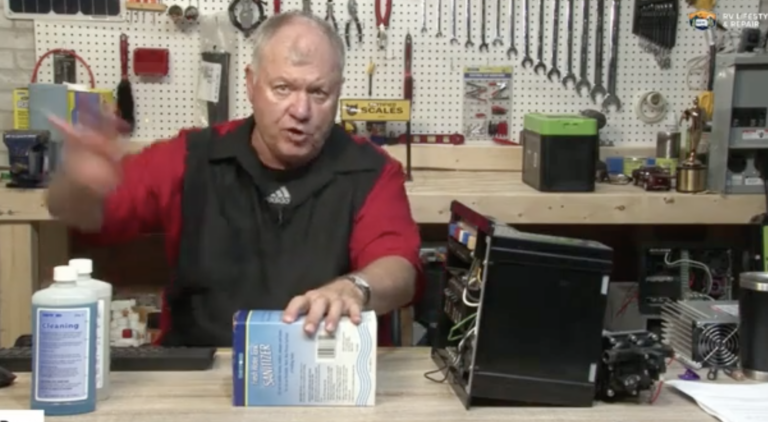
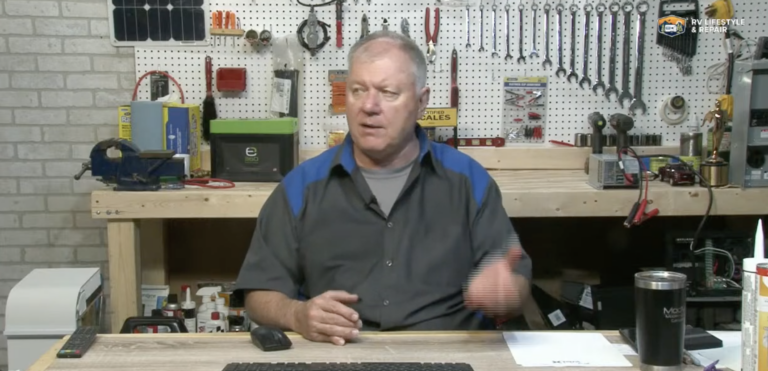
How to Replace Your Old RV Sewer Vent
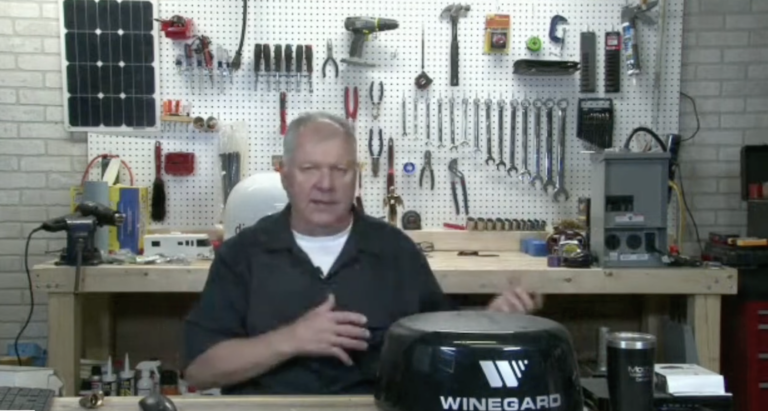
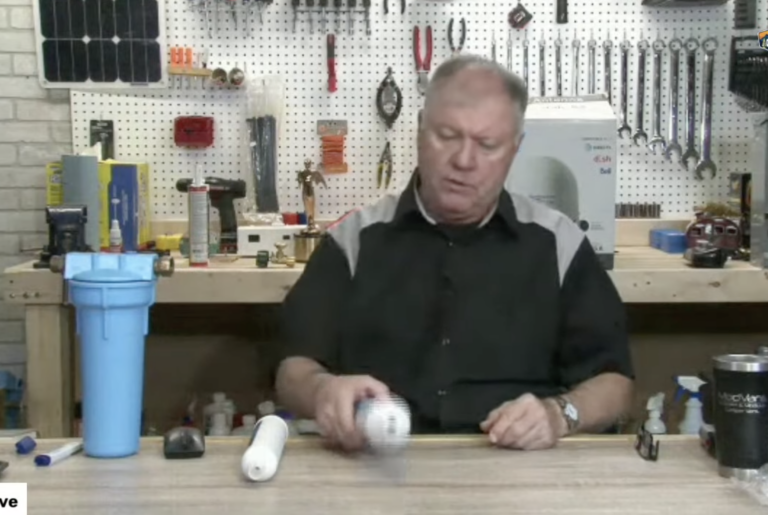
Dave SolbergIn an RV water system, the sewer vent allows sewer gas to escape and allows water to flow through the system. It’s a basic technique that lets you have a kitchen and bathroom in the same vehicle without contaminating one with the other. Without releasing sewer gas and allowing fresh air into the system, the water won’t flow from one place to another.
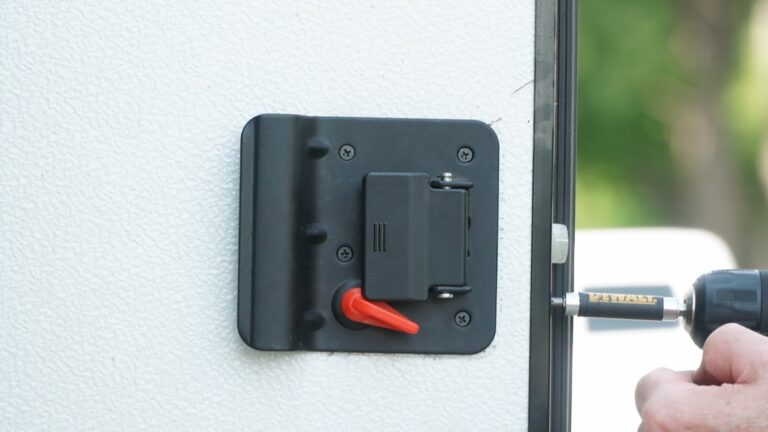
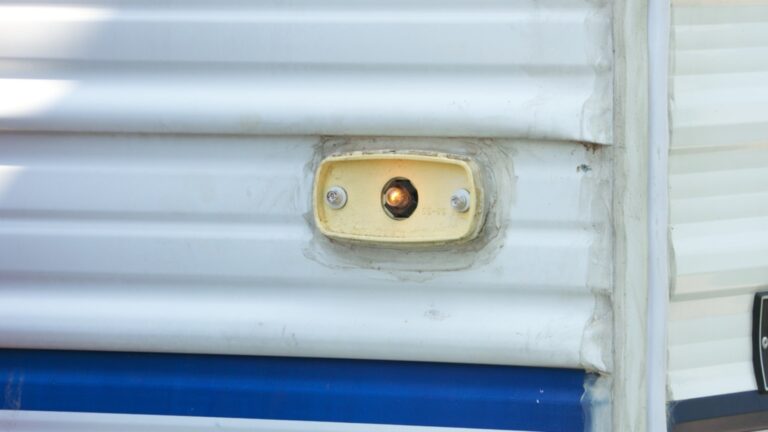
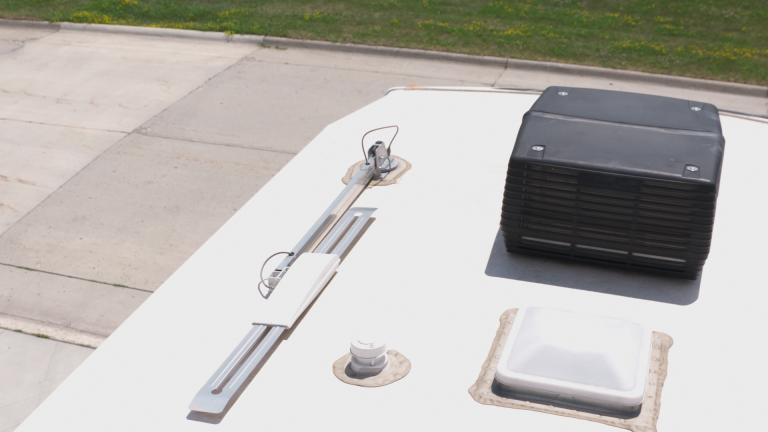
For years, RV sewer vent caps have been static round spaces on the roof of an RV. There was a cap to prevent rain or debris from falling inside, but the basic RV sewer vent hole went straight up above your home. The Campco system improves on this model, allowing the vent to turn with the wind and letting the moving air help to move sewer gas away from your RV and into the wind.
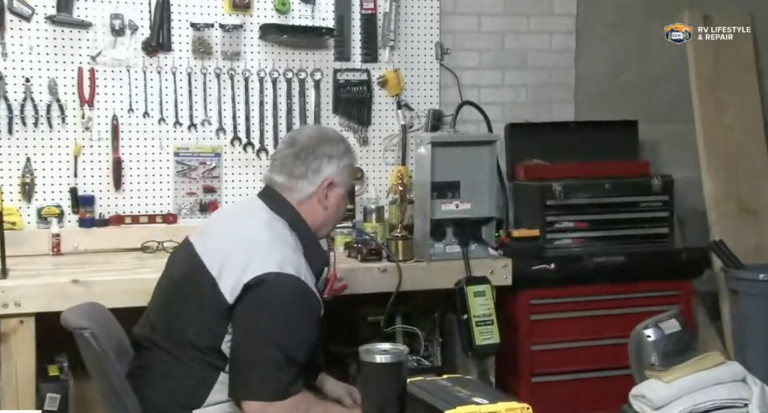
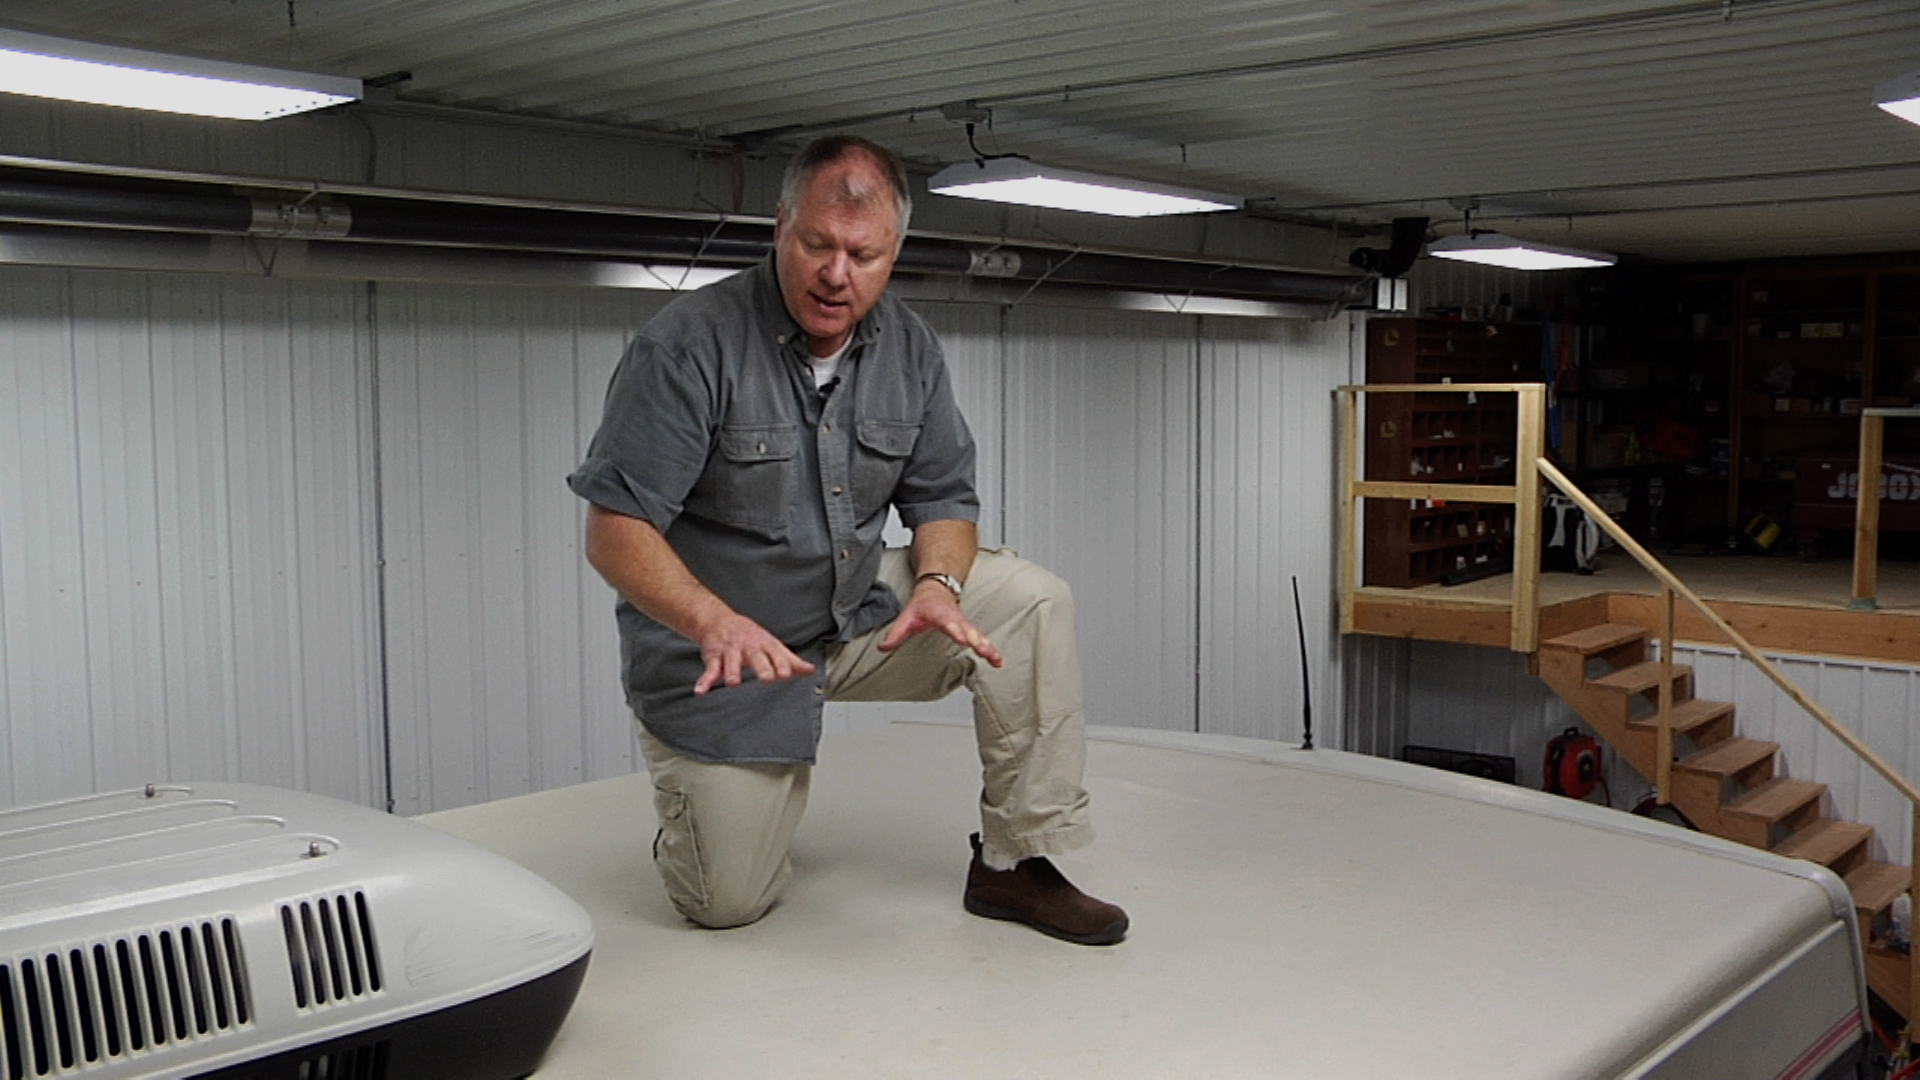
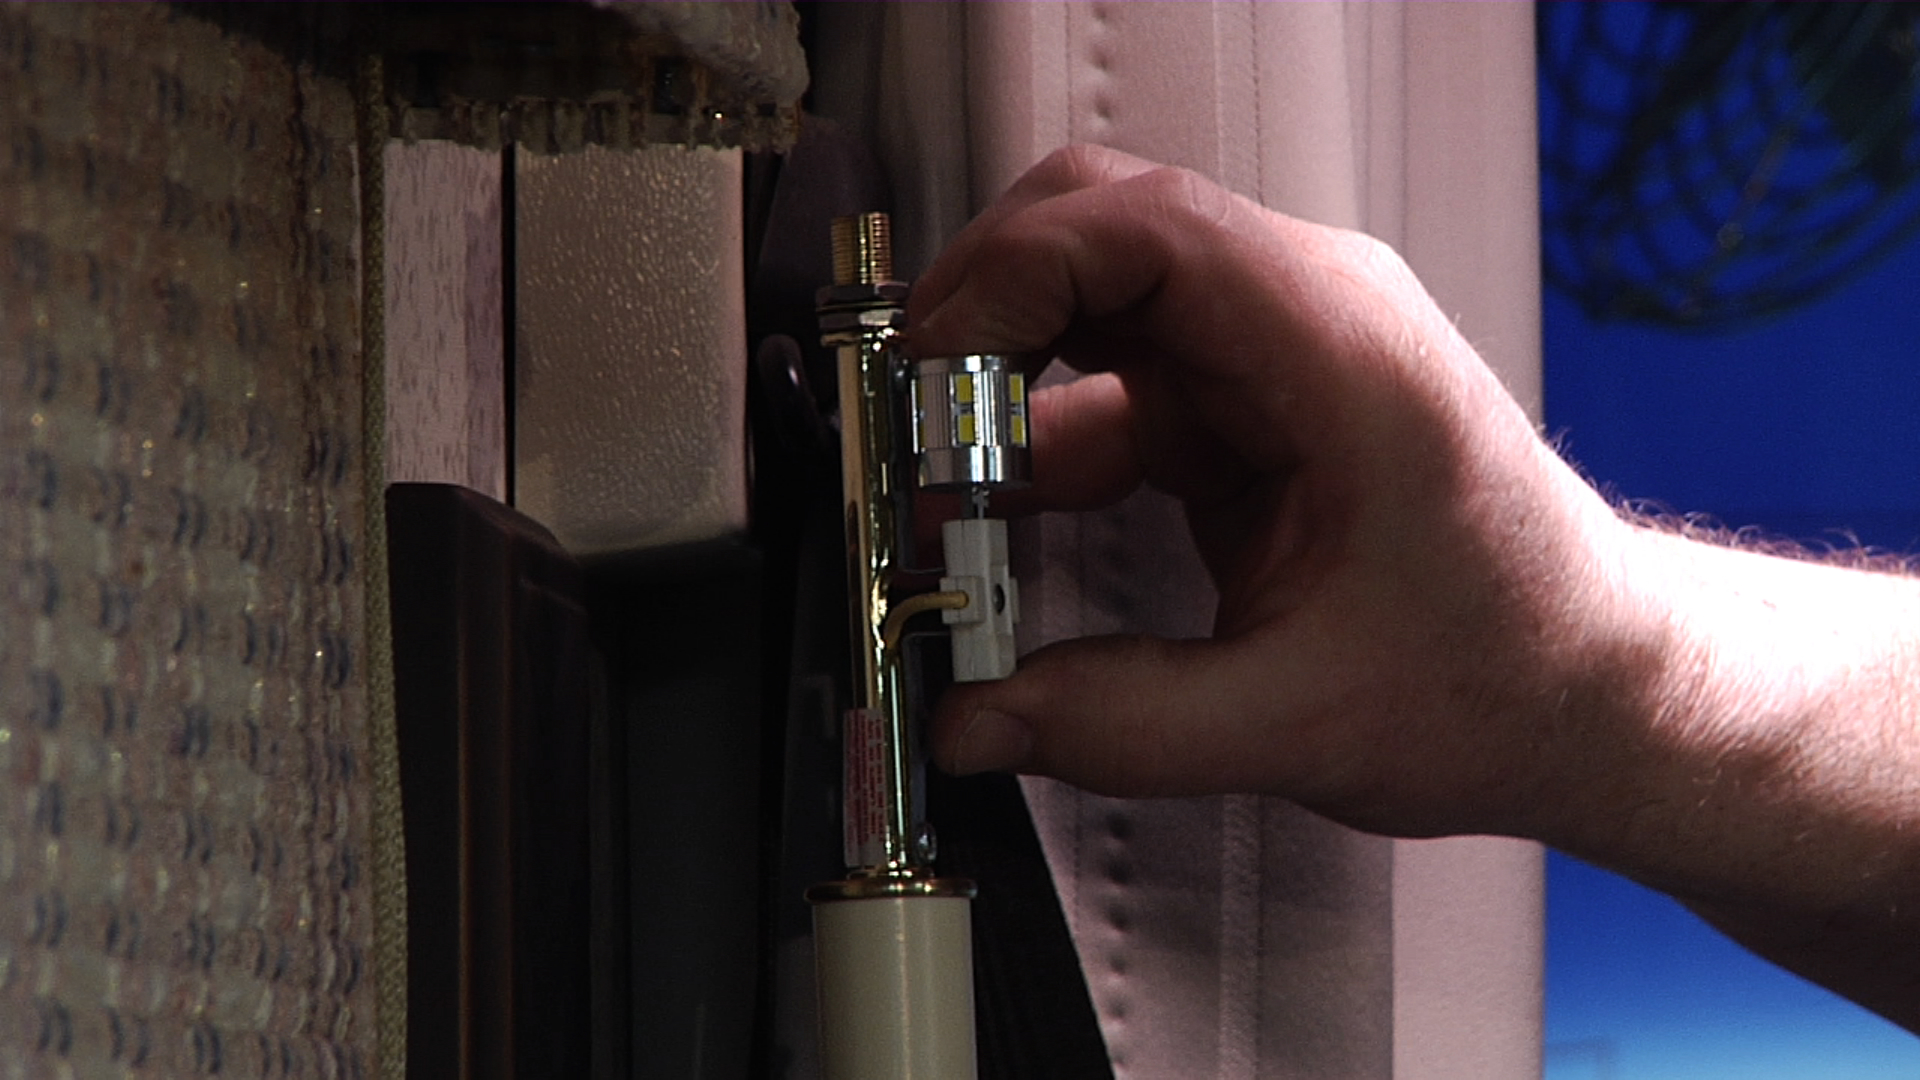
In this video, you’ll learn how to remove your old RV sewer vent cap and replace it with a newer, more efficient model. You’ll see ways to remove older equipment that has been in place for years, and how to remove dirt and buildup before installing newer equipment. Leaking is always a danger when working on your RV roof, so you’ll find out how to strategically use silicone to prevent leaks in little screw holes as well as around the larger new base of the vent. The original design called for the vent to be slipped onto the RV sewer vent post, but this video goes a little farther, designing and teaching a method to secure the vent to the stack and preventing it from flying off during especially strong winds.
Explore videos by Dave Solberg


You may be interested in


Premium Membership
Unlock exclusive member content from our industry experts.
- 24/7 Access to Premium RV Maintenance Videos, Travel Inspiration, and Lifestyle Tips
- Step-by-Step Instructional Demos, Projects, and Guides
- 50% Off Video Downloads Purchased in the RV Lifestyle & Repair Shop
- Access to Ask the Expert Program
Unlock exclusive member content from our industry experts.
- 24/7 Access to Premium RV Maintenance Videos, Travel Inspiration, and Lifestyle Tips
- Step-by-Step Instructional Demos, Projects, and Guides
- 2 Full-Length Video Downloads to Watch Offline
- 50% Off Video Downloads Purchased in the RV Lifestyle & Repair Shop
- Access to Ask the Expert Program
Gold Membership
$333 Value
Get everything included in Premium plus exclusive Gold Membership benefits.
- 24/7 Access to Premium RV Maintenance Videos, Travel Inspiration, and Lifestyle Tips
- Step-by-Step Instructional Demos, Projects, and Guides
- 9 Full-Length Video Downloads to Watch Offline
- 2 Full-Length RV Repair Classes to Keep for Life
- Discounts on Purchase-to-Own Content in the RV Lifestyle & Repair Shop
- Access to Ask the Expert Program
- Exclusive GOLD LIVE Streaming Events