
RV Toilet Replacement: A User’s Guide
Dave SolbergReplacing your RV toilet from the standard plastic bowl to a nicer porcelain model is one of the easiest ways to make your rig feel more like home. If you’ve been considering upgrading your bathroom setup but haven’t felt up for the task of removing the old bowl to install a new one, let us put your mind at ease: the process is so simple you’ll wish you’d made the move long ago!
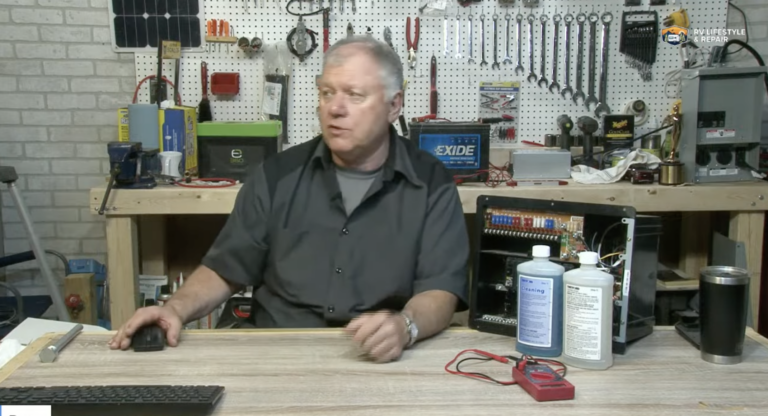
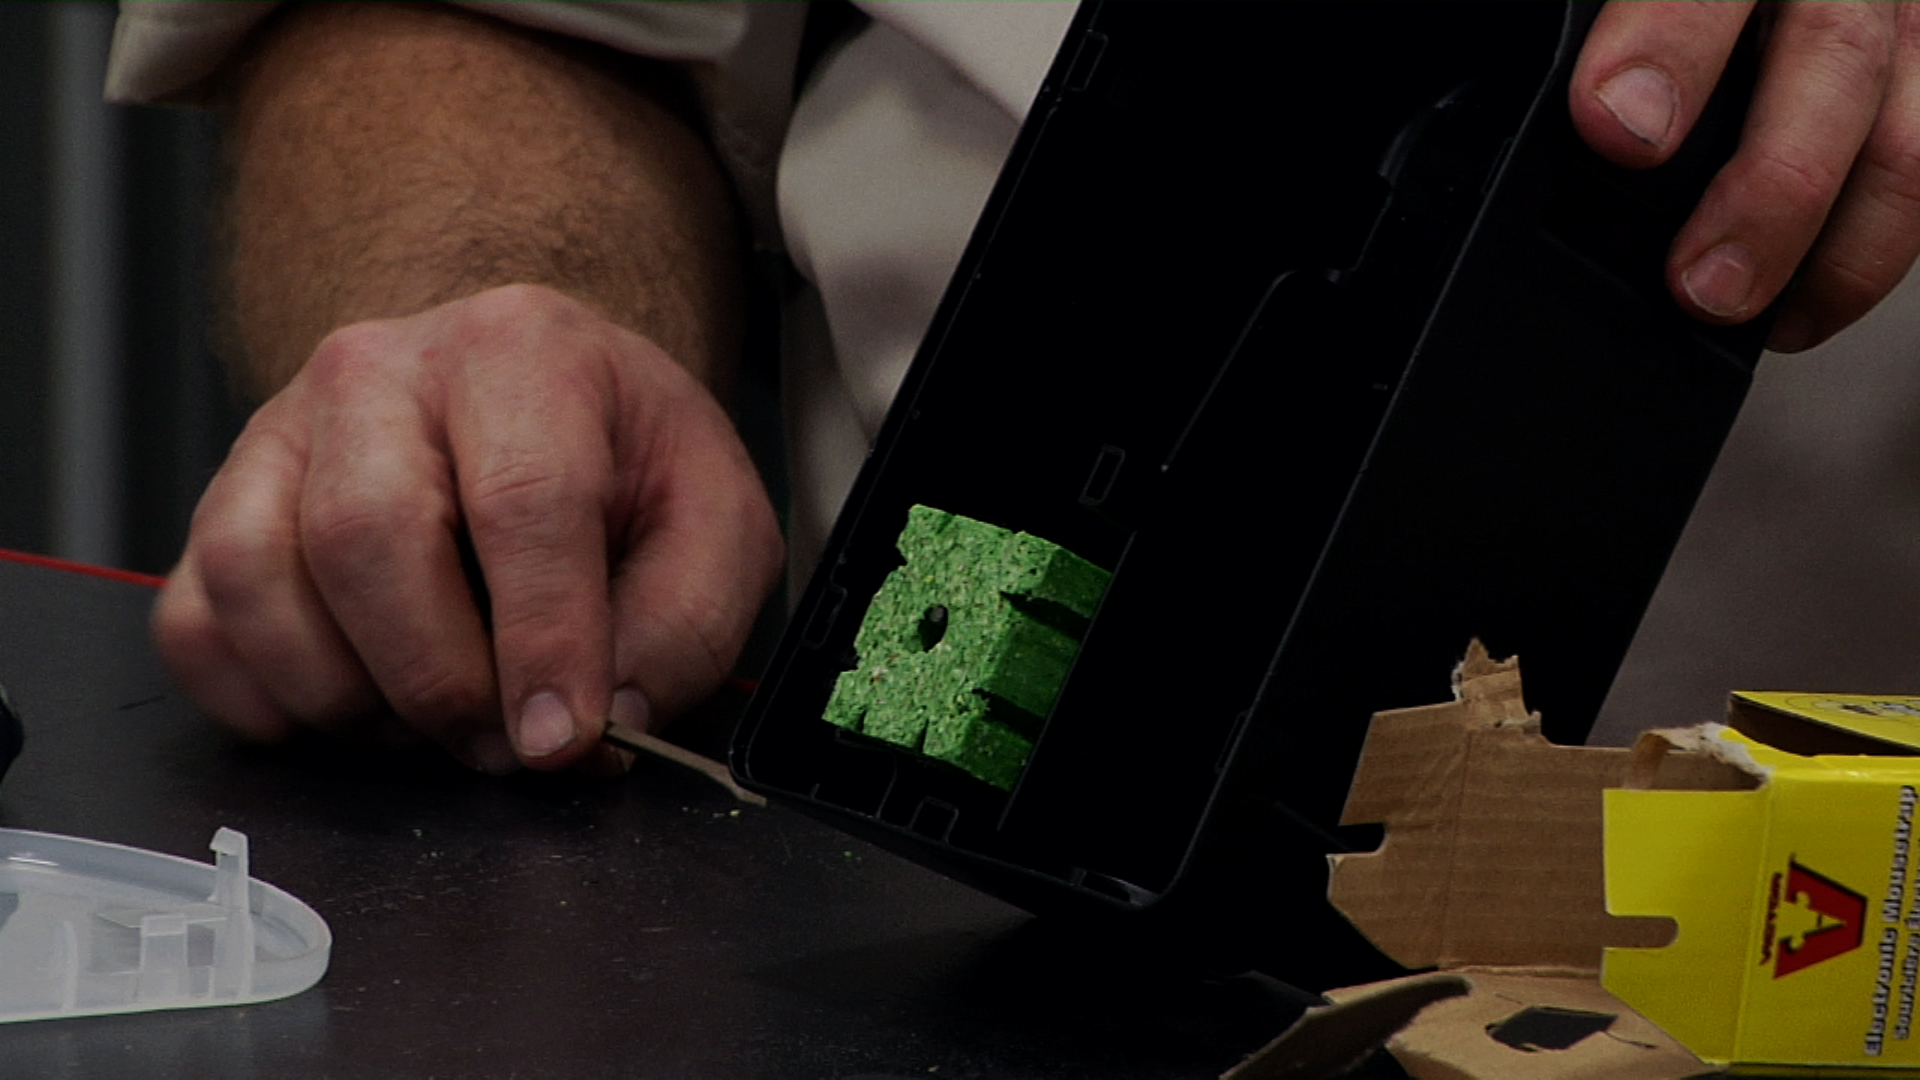
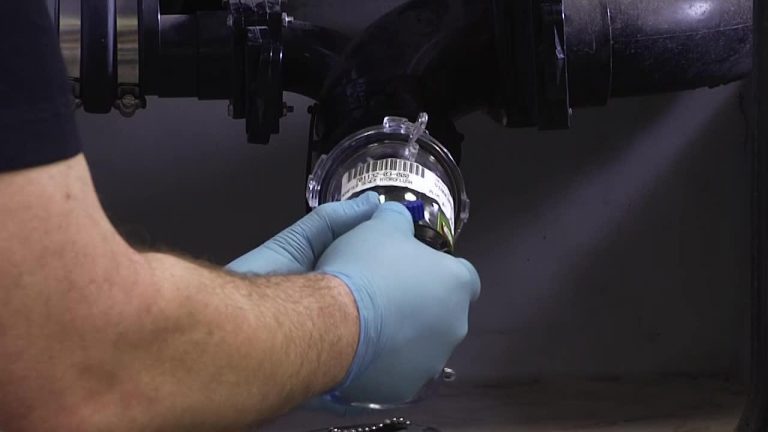
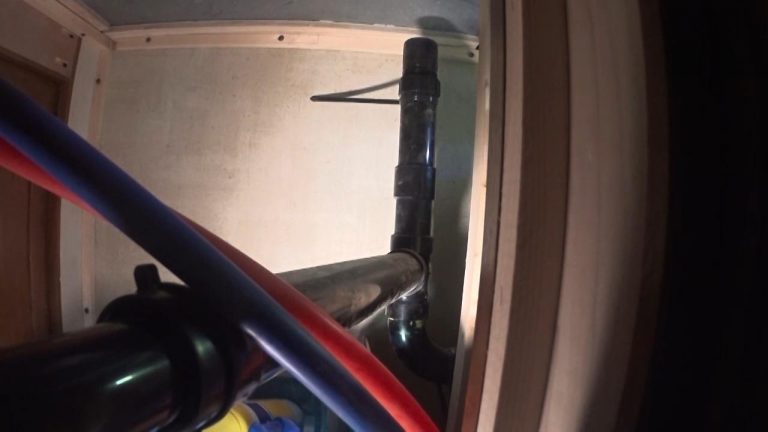
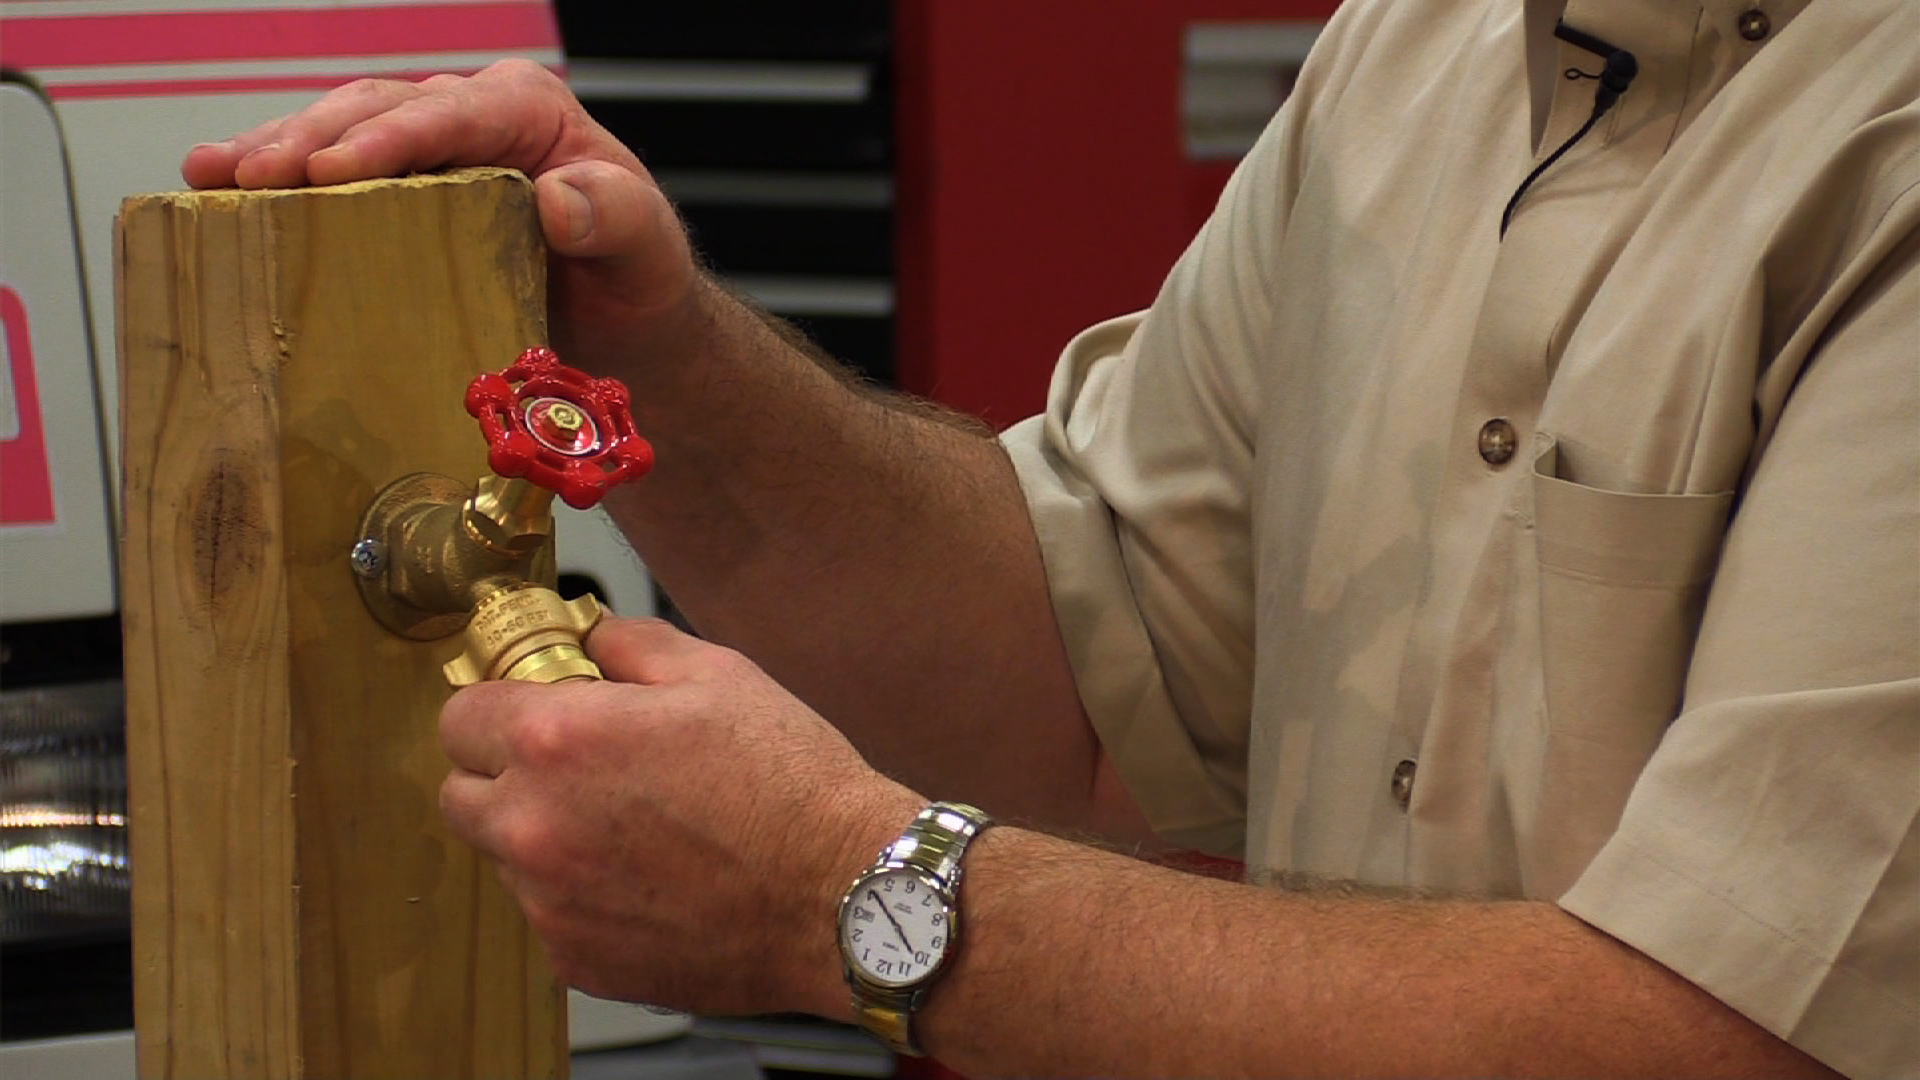
To help you complete a quick and easy RV toilet replacement, RV expert Dave Solberg walks you step by step through the project. He shows you how to remove the handle, shroud and casing from your plastic toilet to access the water lines, then explains what to do if you find the toilet’s mounting bolts are in the incorrect position to accommodate the new model. With Dave’s help, you’ll have the old bowl removed and the new one hooked up in no time flat!
If your existing toilet appears to be broken or in need of a quick fix, watch our video on RV toilet repair.
Share tips, start a discussion or ask one of our experts or other students a question.
Already a member? Sign in
5 Responses to “RV Toilet Replacement: A User’s Guide”
Explore videos by Dave Solberg
You may be interested in
Premium Membership
Unlock exclusive member content from our industry experts.
- 24/7 Access to Premium RV Maintenance Videos, Travel Inspiration, and Lifestyle Tips
- Step-by-Step Instructional Demos, Projects, and Guides
- 50% Off Video Downloads Purchased in the RV Lifestyle & Repair Shop
- Access to Ask the Expert Program
Unlock exclusive member content from our industry experts.
- 24/7 Access to Premium RV Maintenance Videos, Travel Inspiration, and Lifestyle Tips
- Step-by-Step Instructional Demos, Projects, and Guides
- 2 Full-Length Video Downloads to Watch Offline
- 50% Off Video Downloads Purchased in the RV Lifestyle & Repair Shop
- Access to Ask the Expert Program
Gold Membership
$333 Value
Get everything included in Premium plus exclusive Gold Membership benefits.
- 24/7 Access to Premium RV Maintenance Videos, Travel Inspiration, and Lifestyle Tips
- Step-by-Step Instructional Demos, Projects, and Guides
- 9 Full-Length Video Downloads to Watch Offline
- 2 Full-Length RV Repair Classes to Keep for Life
- Discounts on Purchase-to-Own Content in the RV Lifestyle & Repair Shop
- Access to Ask the Expert Program
- Exclusive GOLD LIVE Streaming Events










The rig that toilet was in seems to be about the same age as my 25yo Alpenlite, which has the same water lines and toilet. Over the years, the flange has leaked on mine a few times and I finally had to replace the floor in the bathroom. I considered changing the toilet also, but the old Sealand has been a great toilet and other than a leaking vacuum breaker was in good shape. I also did not want to deal with replacing or adapting the flange to today's 2 bolt toilets, as well as thinking that the 4 bolt setup gives a better distribution of the rocking forces on the toilet when it's in use. So the toilet got removed, floor replaced, vacuuum breaker replaced with out the sprayer which we never used anyway. and it's ready for another 25 years.
not very helpful Shows nothing about ring replacement or setting the flange
RV Toilet Replacement: A User's Guide comment: I wish you has shown how your fixed the flange and replaced the bolts. The replacement would have been useless without those repairs.and those skills are what most do-it-yourselfers need to learn in order to have any confidence to do the job. Instead, your video just raised my awareness that I am likely not to have the skills to do the job. This is a critique I have of many of your videos.
What a waste of time! It left out the most crucial part. How to replace the floor flange so the new bolts can line up.
Not very helpful. There is no video whatsoever of the new toilet being installed.