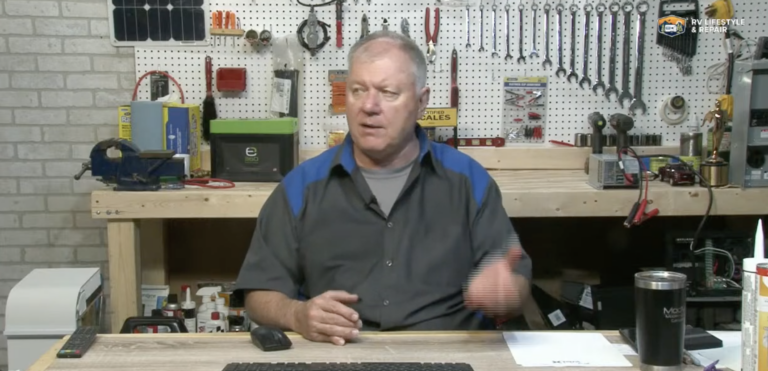
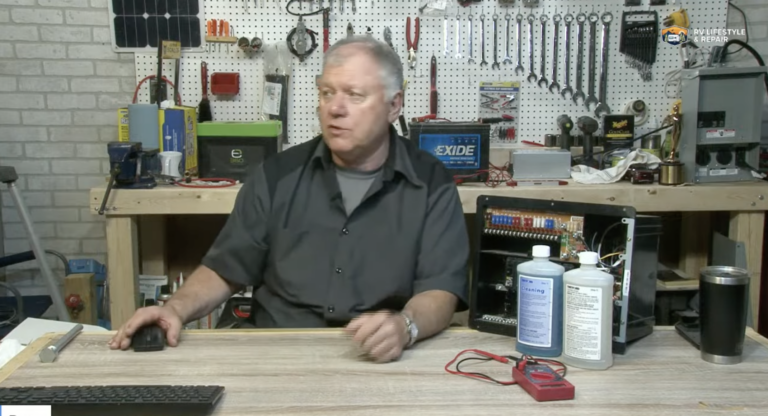
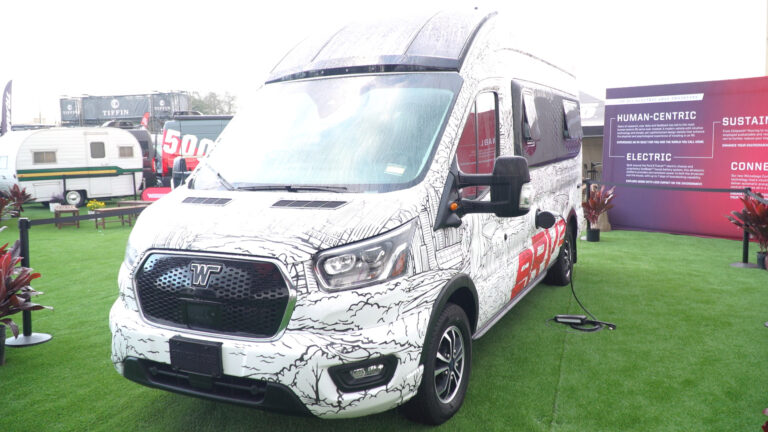
How to Add an RV Reading Light
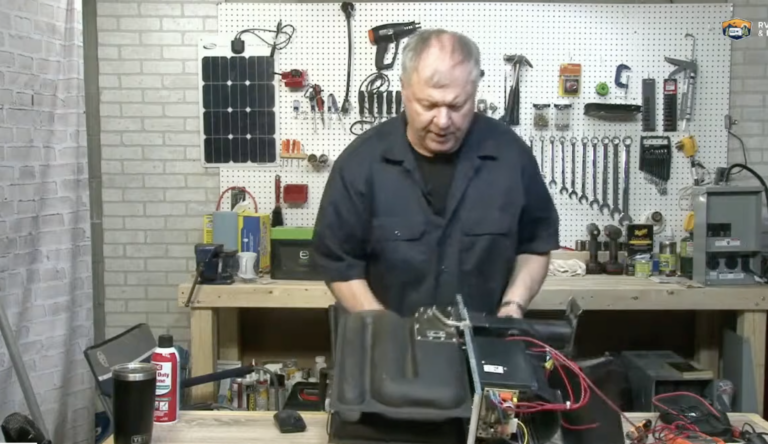
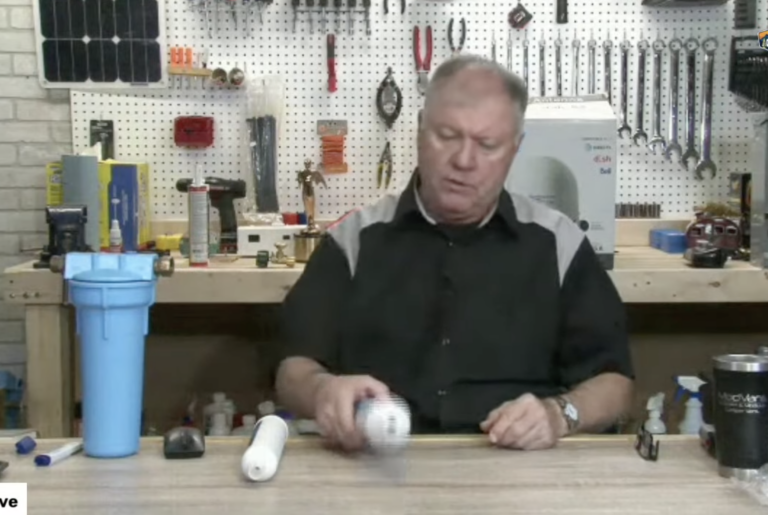
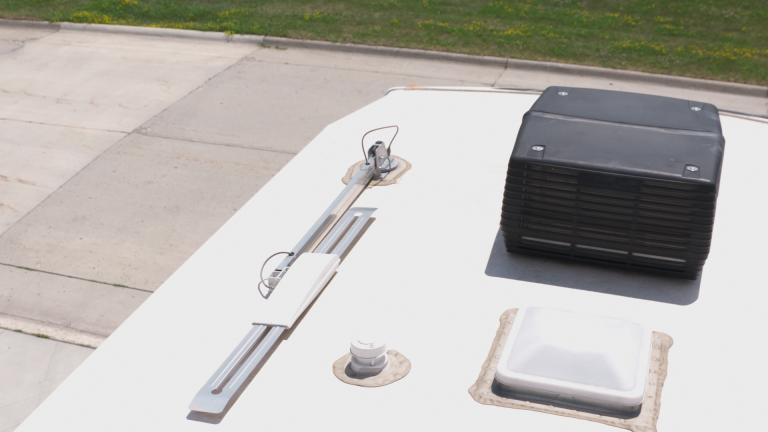
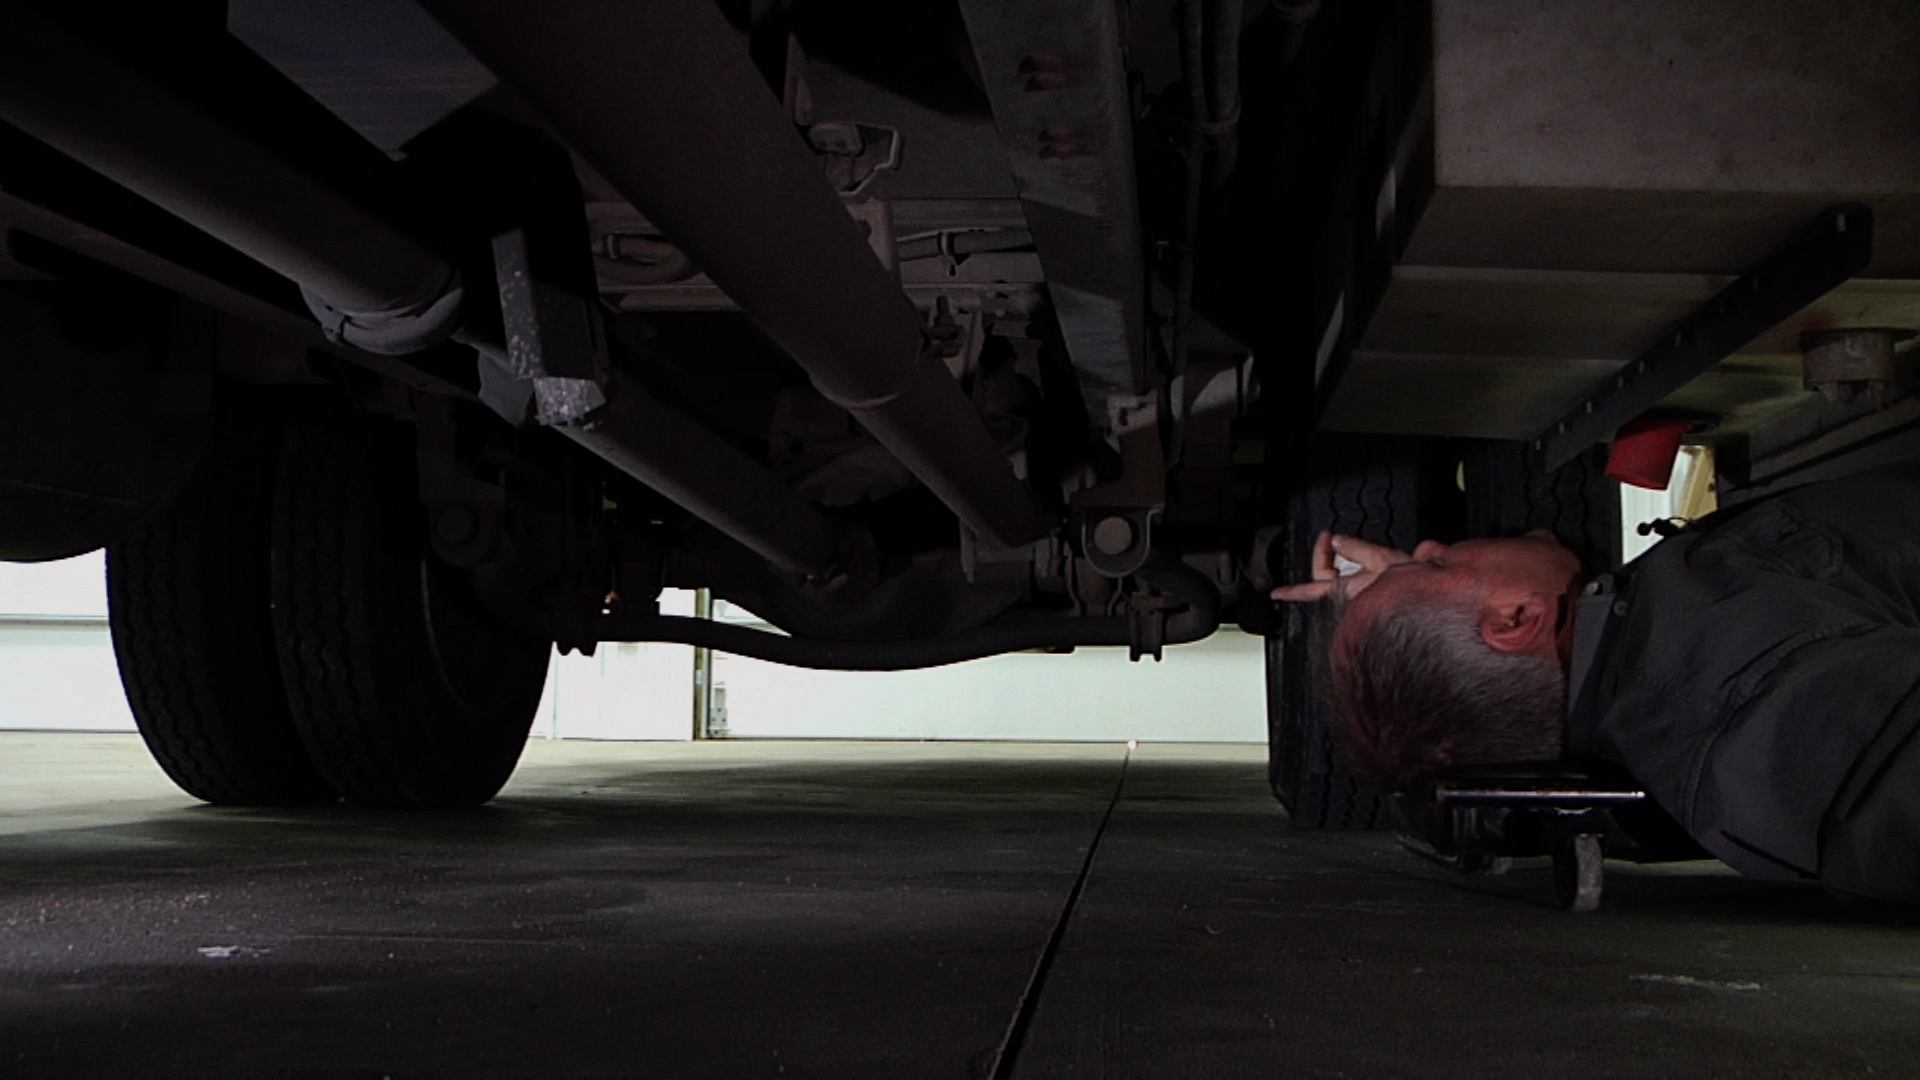
Dave SolbergSometimes at night the passenger will need to read a map or something else to help the driver navigate. An RV reading light installed just behind the passenger will offer enough light to see without disturbing the driver. First you must find a 12-Volt power source to tap into that is not switched somewhere else in the RV. In this video the RV reading light can easily be installed in the side panel of the cabinet as a bullet light is located directly under the cabinet.
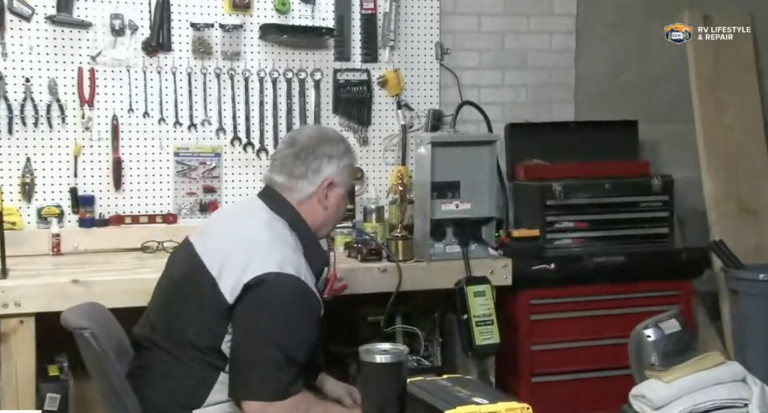
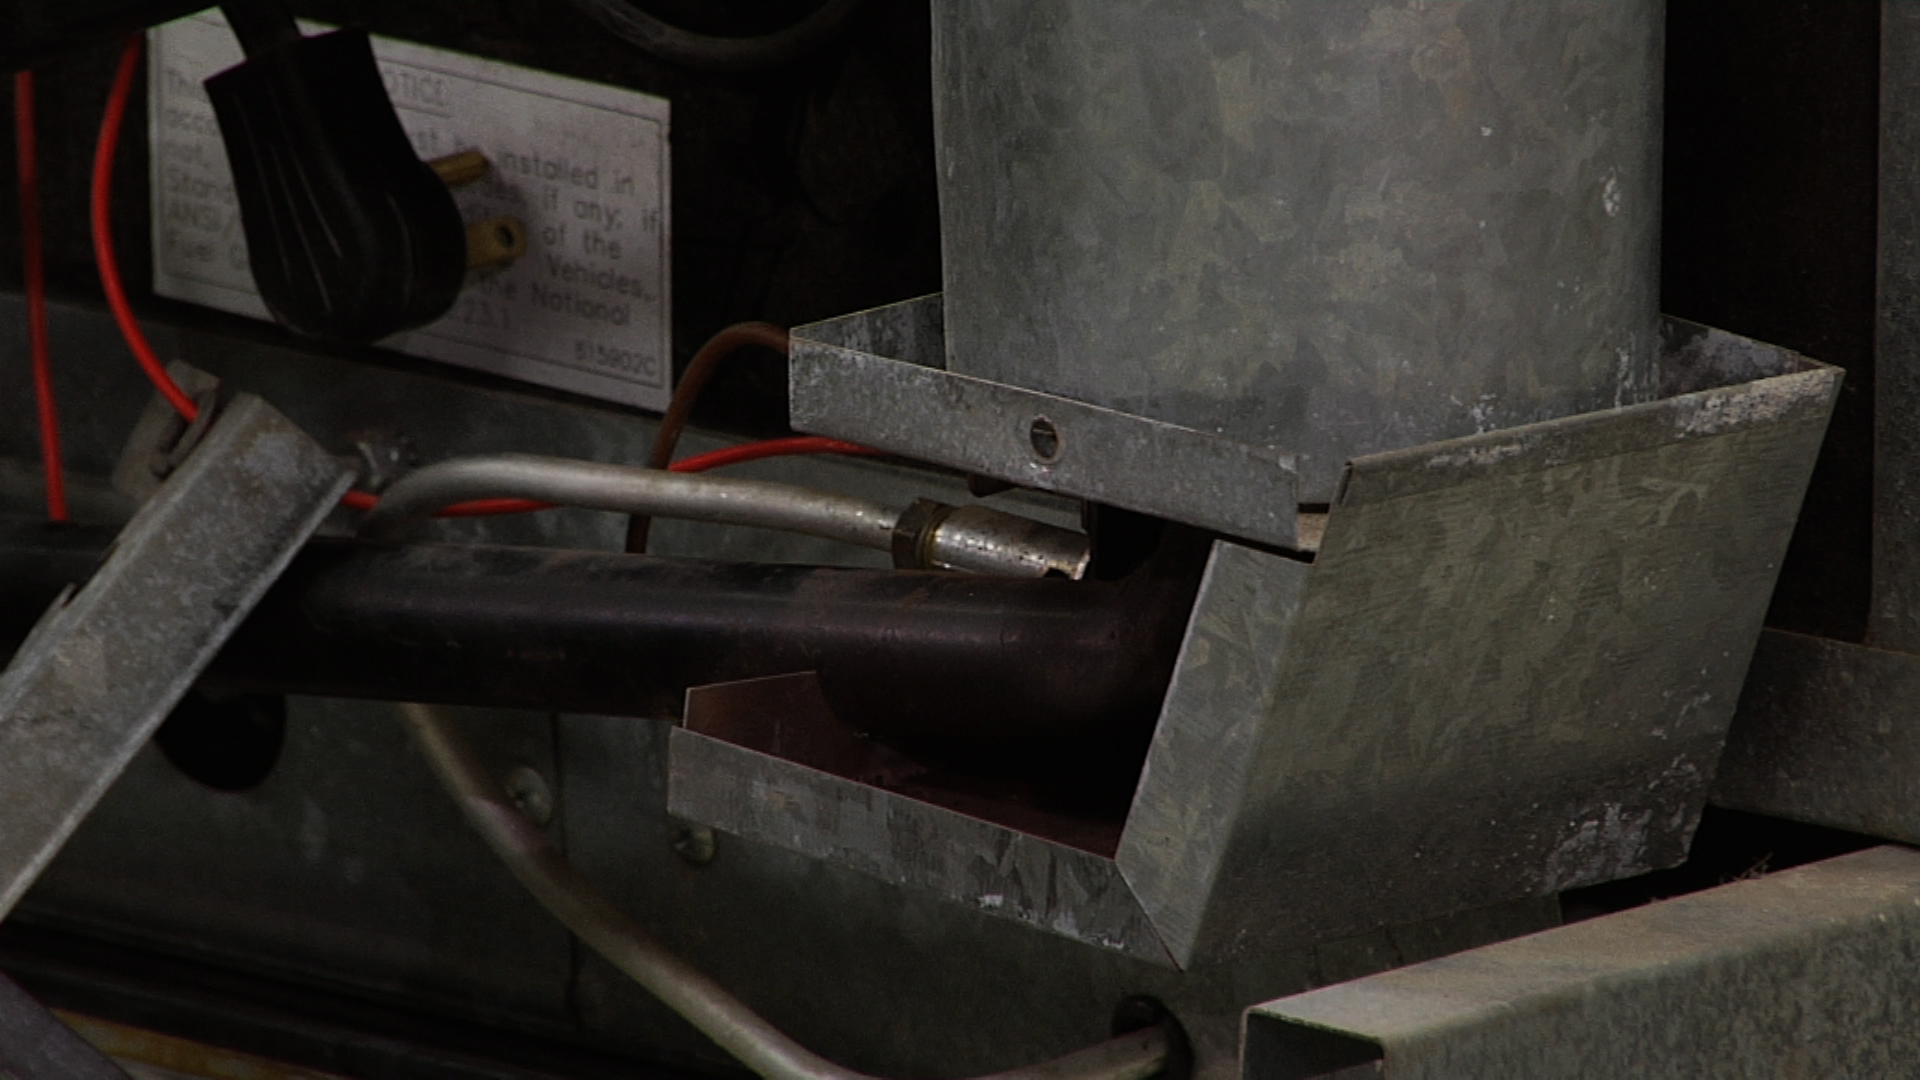
Before doing anything to install the RV reading light you must first disconnect the line from its power source. Disconnect the cable from the battery and pull the fuse. Once power to the unit is completely shut off it is time to start removing the panels in the cabinet.
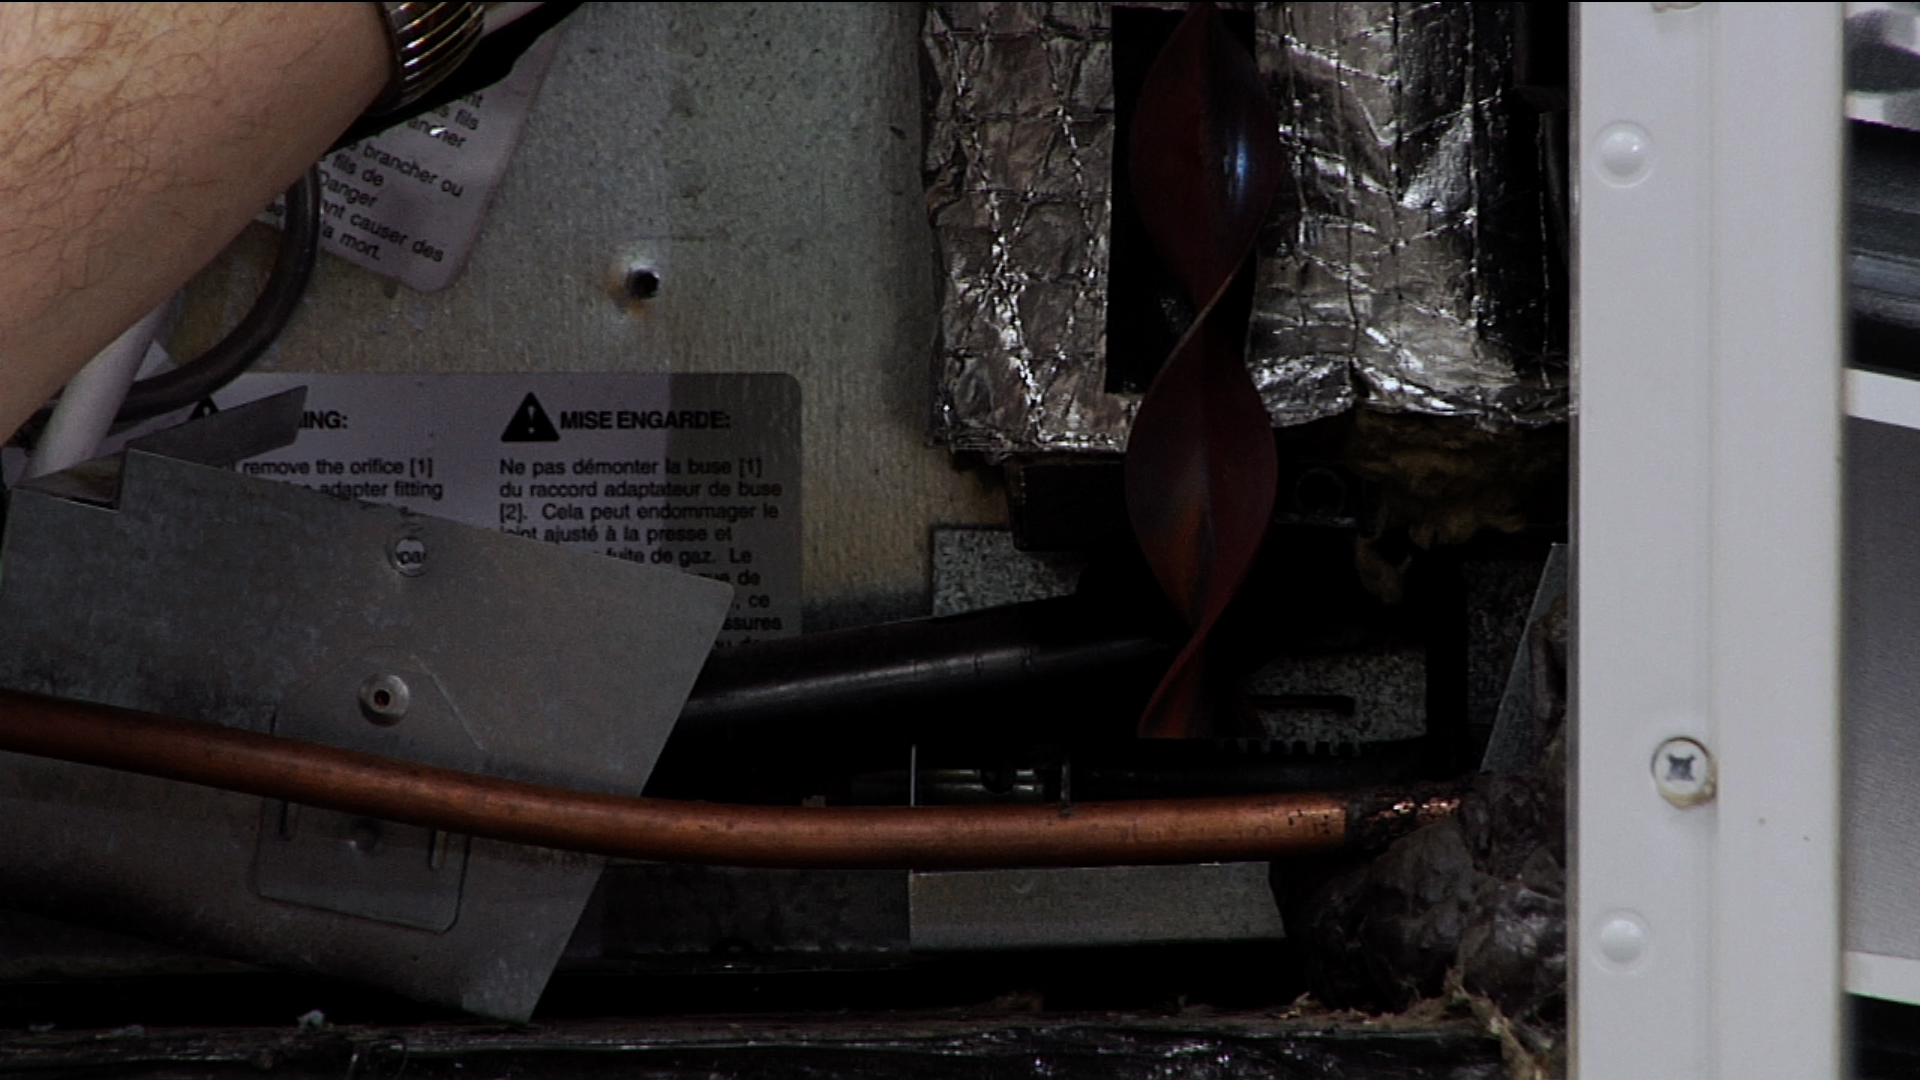
Once the false panels have been removed from the bottom inside of the cabinet you will see the 12 volt wires. Locate these wires and drill a hole in the side of the cabinet where the RV reading light will be installed. Look for a good position that keeps the RV reading light as close to the cables as possible.
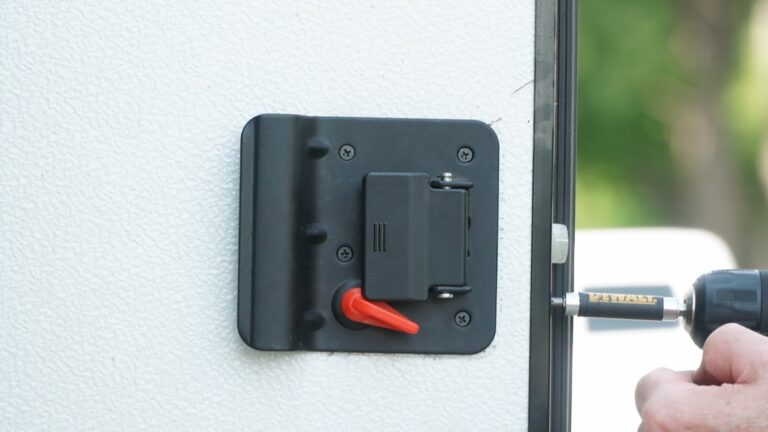
Strip the wires down a little and run through the side of the cabinet. Attach wires to the power source and cap off. Reconnect the power and ensure the RV reading light works. Finally you will want to secure and protect all wires with electrical tape at the connections.
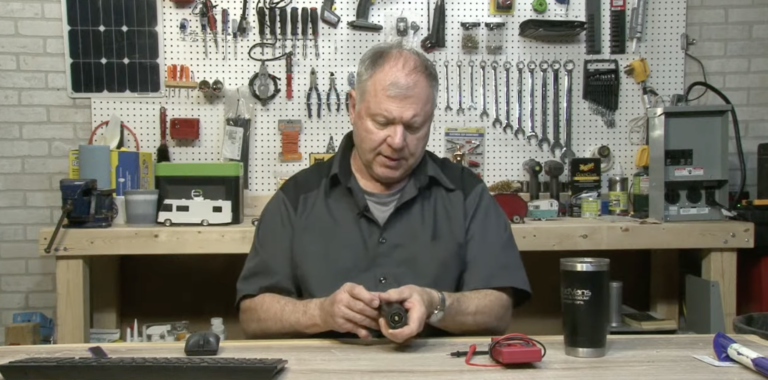
Screw the light into place on the side of the cabinet and double check to make sure it is positioned properly and will give enough light to the passenger. If it does, put the cabinet back together, ensuring everything is flush and even, keeping all wires away from the screws.
Now the light is ready to use and will help the passenger see maps, books or whatever he or she wants to do at night without disturbing the driver.
Explore videos by Dave Solberg


You may be interested in


Premium Membership
Unlock exclusive member content from our industry experts.
- 24/7 Access to Premium RV Maintenance Videos, Travel Inspiration, and Lifestyle Tips
- Step-by-Step Instructional Demos, Projects, and Guides
- 50% Off Video Downloads Purchased in the RV Lifestyle & Repair Shop
- Access to Ask the Expert Program
Unlock exclusive member content from our industry experts.
- 24/7 Access to Premium RV Maintenance Videos, Travel Inspiration, and Lifestyle Tips
- Step-by-Step Instructional Demos, Projects, and Guides
- 2 Full-Length Video Downloads to Watch Offline
- 50% Off Video Downloads Purchased in the RV Lifestyle & Repair Shop
- Access to Ask the Expert Program
Gold Membership
$333 Value
Get everything included in Premium plus exclusive Gold Membership benefits.
- 24/7 Access to Premium RV Maintenance Videos, Travel Inspiration, and Lifestyle Tips
- Step-by-Step Instructional Demos, Projects, and Guides
- 9 Full-Length Video Downloads to Watch Offline
- 2 Full-Length RV Repair Classes to Keep for Life
- Discounts on Purchase-to-Own Content in the RV Lifestyle & Repair Shop
- Access to Ask the Expert Program
- Exclusive GOLD LIVE Streaming Events