How to Upgrade Your RV Wall Light to 12V
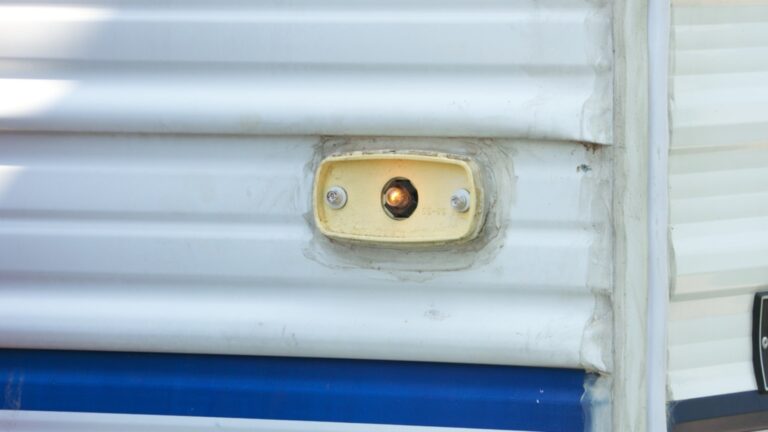
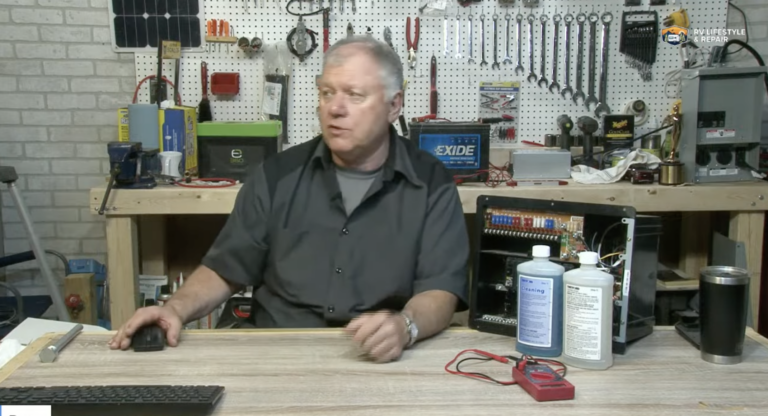
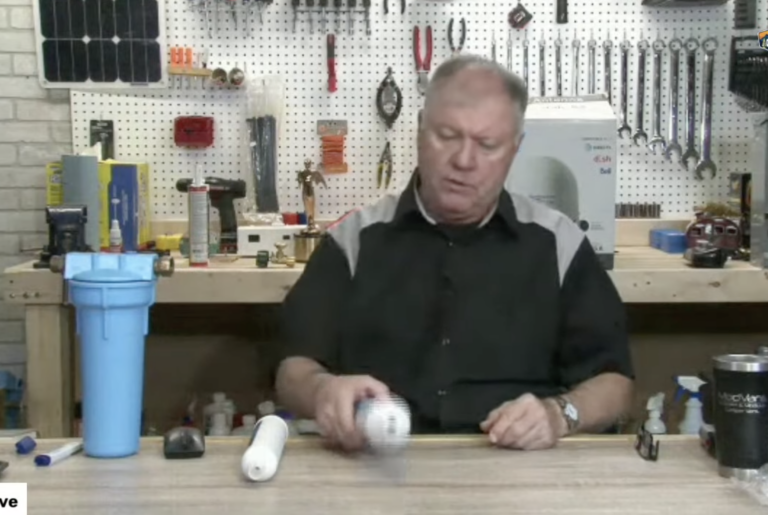
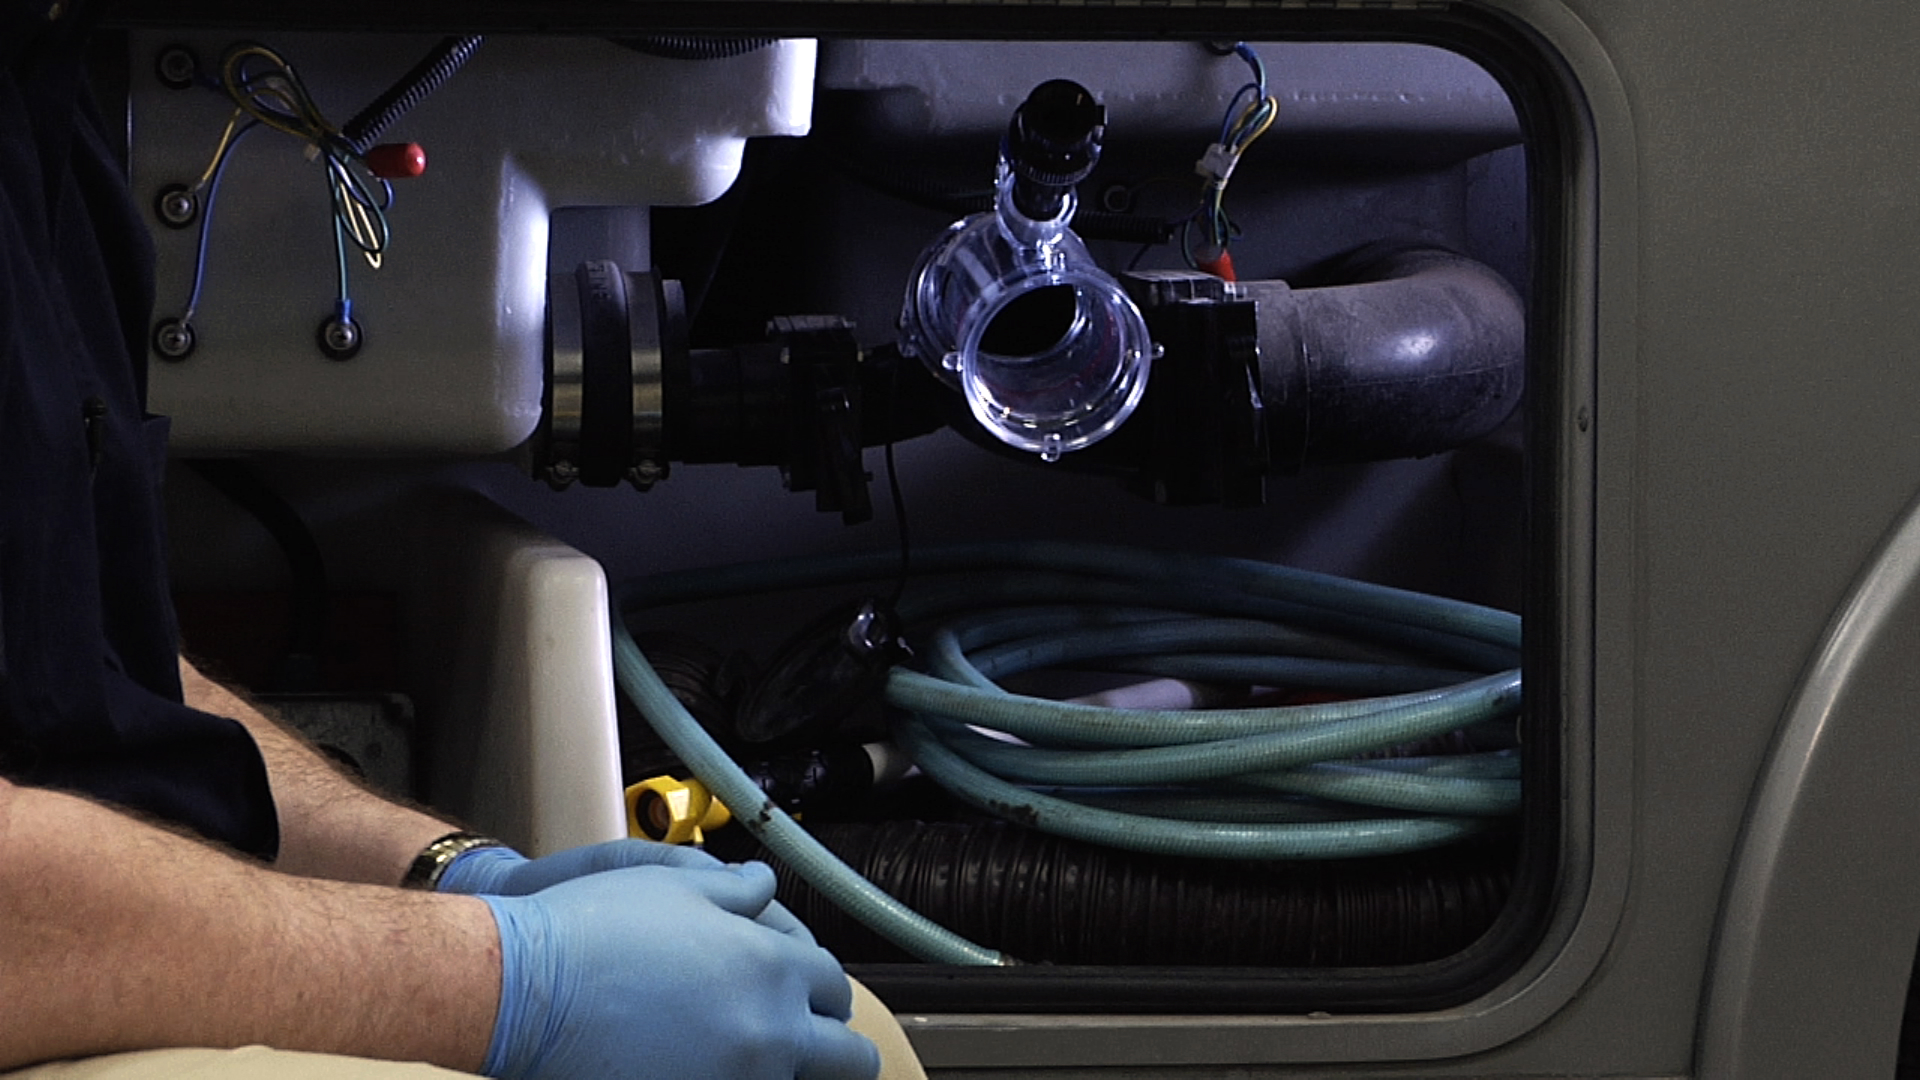
Dave SolbergSome RV owners like to go through and upgrade all of their motor home lights with LED lights. If you are finding that the wall lamps in the RV have bad sockets or are loose and flickering, it might be time to considering upgrading to new 12 volt RV wall lights. It is simple to upgrade from the old incandescent bulbs to newer ones that are made of halogen.
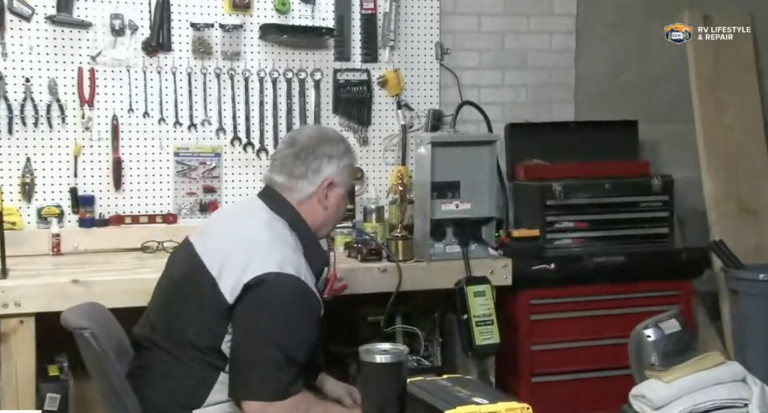
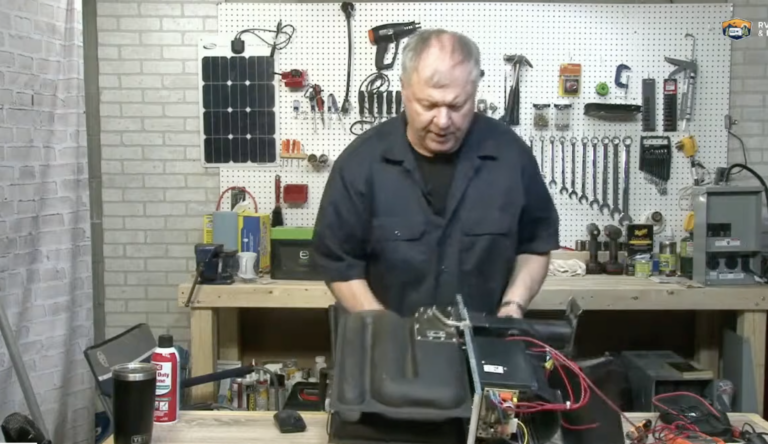
The first thing you want to do is shut the power off. If the new RV wall light is not the exact size, this project may require a bit of modification to make the new light fit just right.
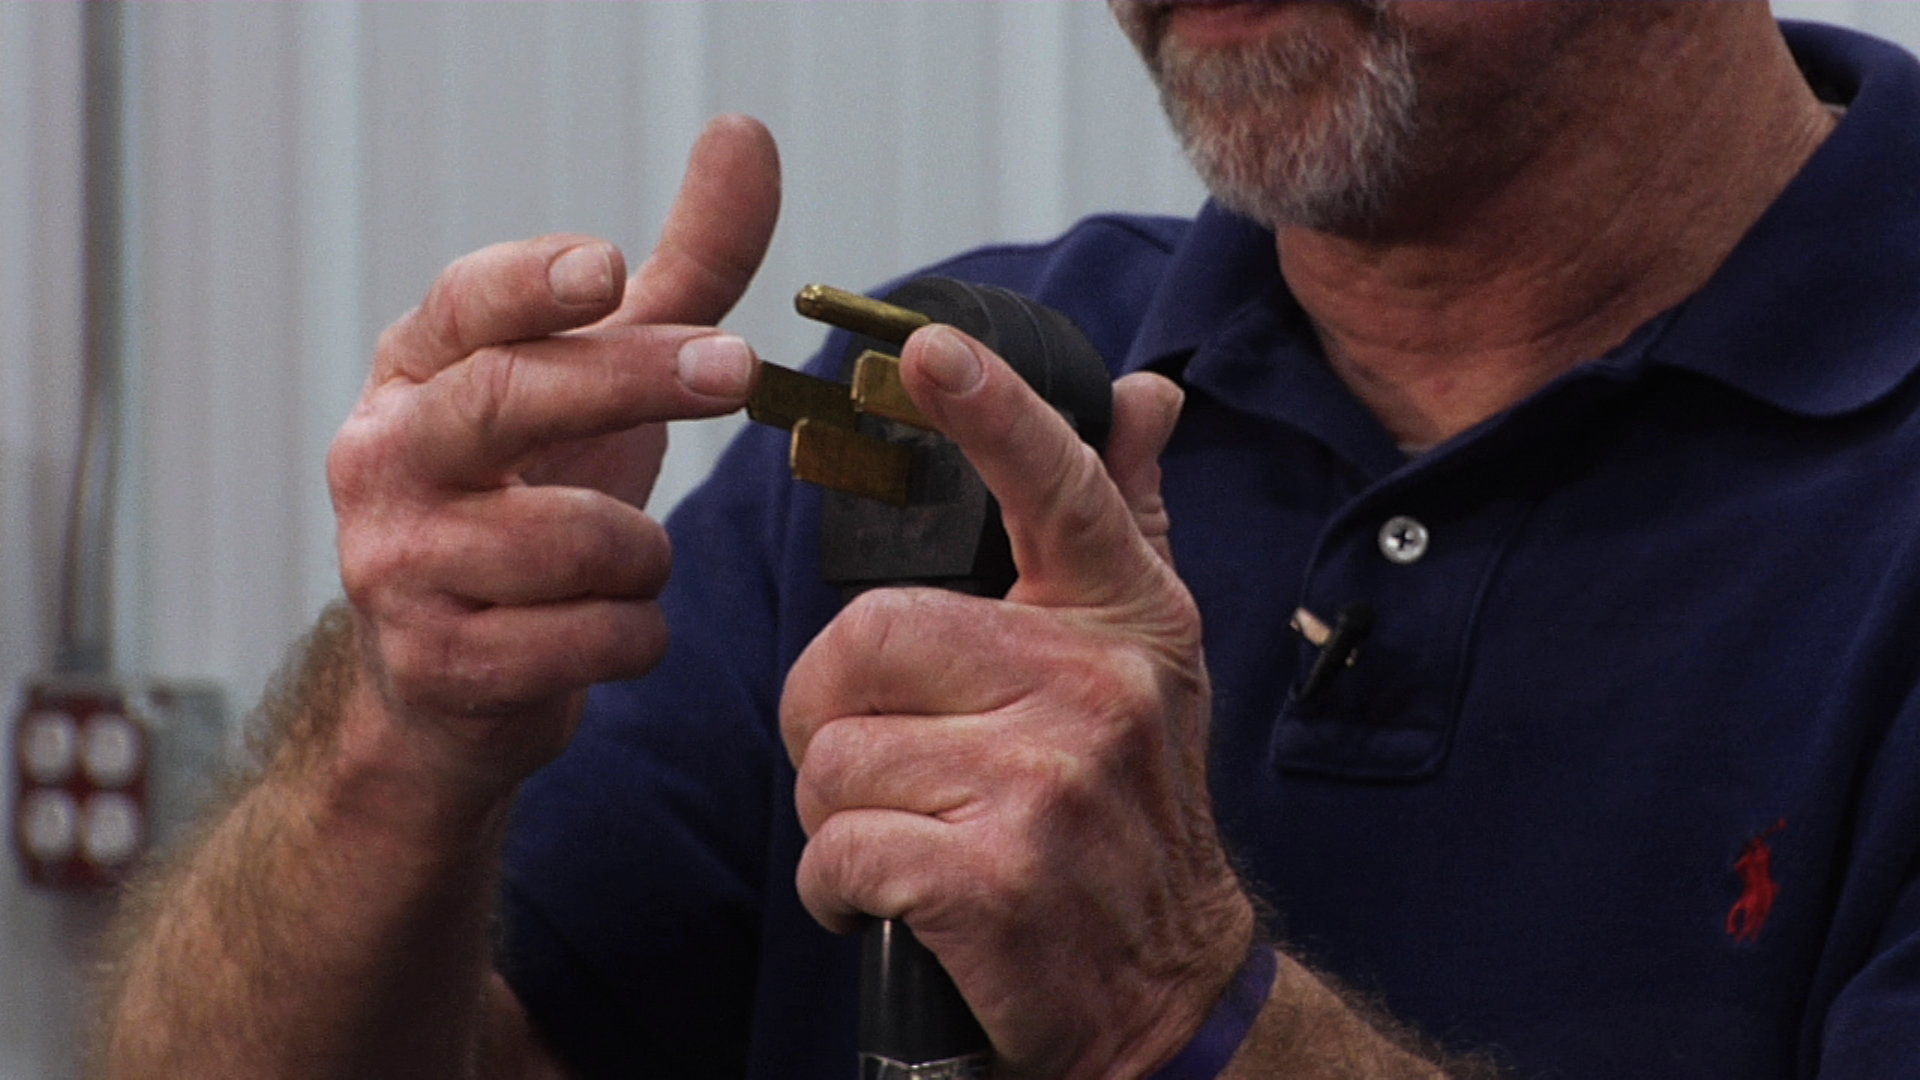
Take the old light off the wall and disconnect from all of the wires. Slide the butt connector over the wires. This type of connector is better for this type of electrical work and will offer a strong connection.
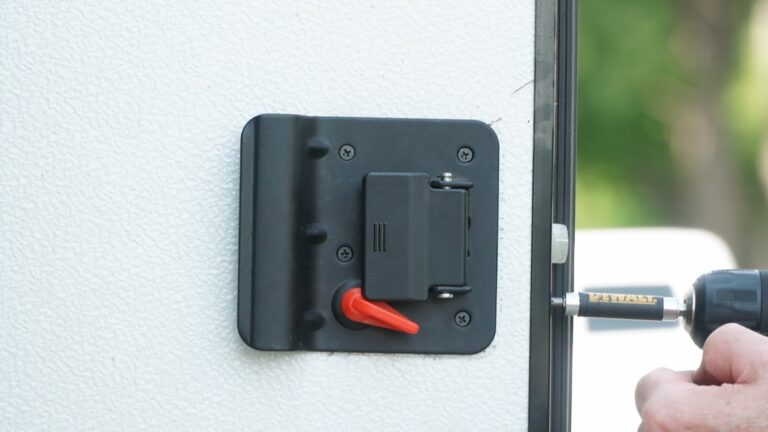
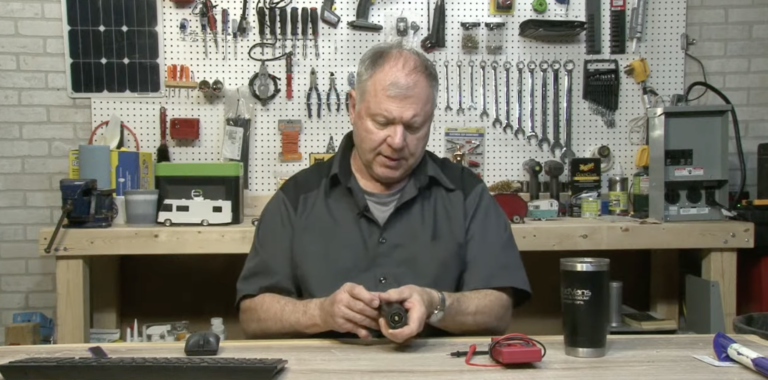
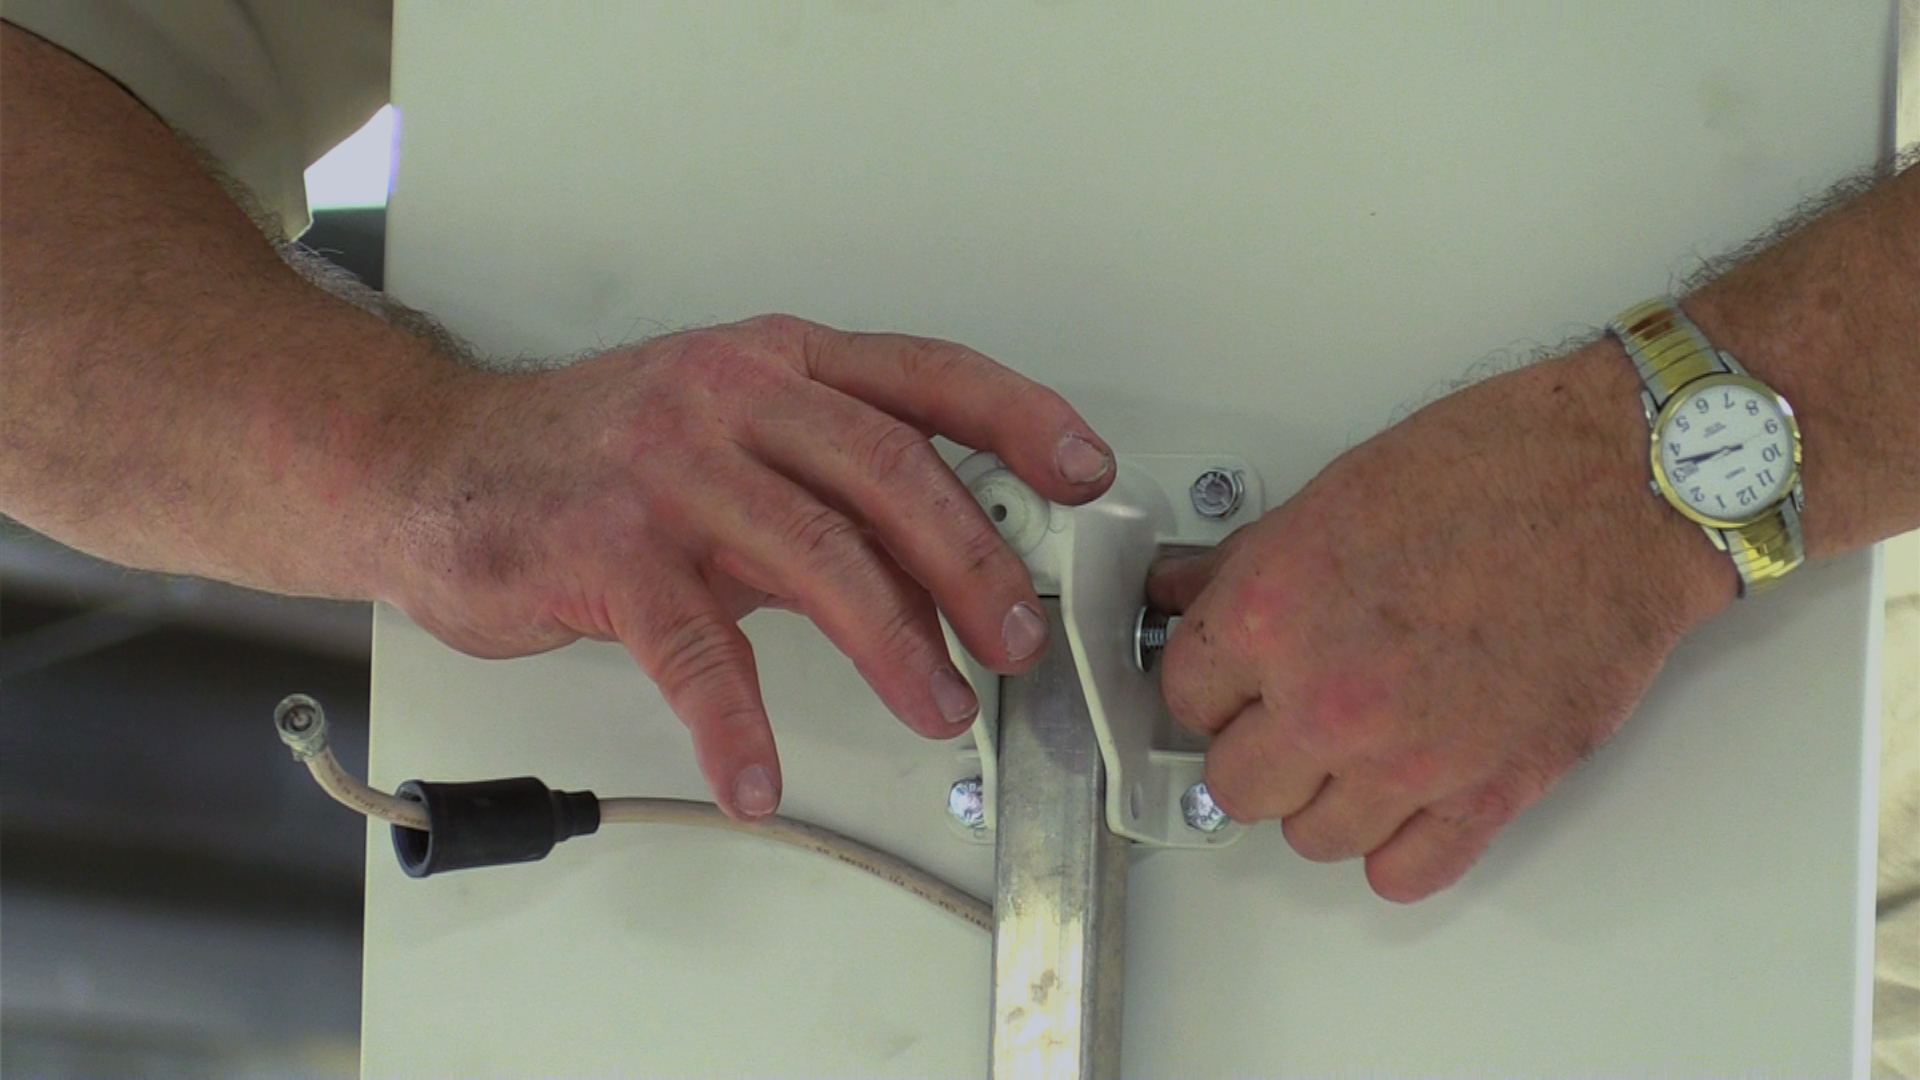
Unscrew the pieces from the front of the light to remove the back plate. Then position the back plate on the wall with wires coming through it. Before securing, verify the plate is not too high or low on the wall. Also verify that it is level and up against the wall tight enough.
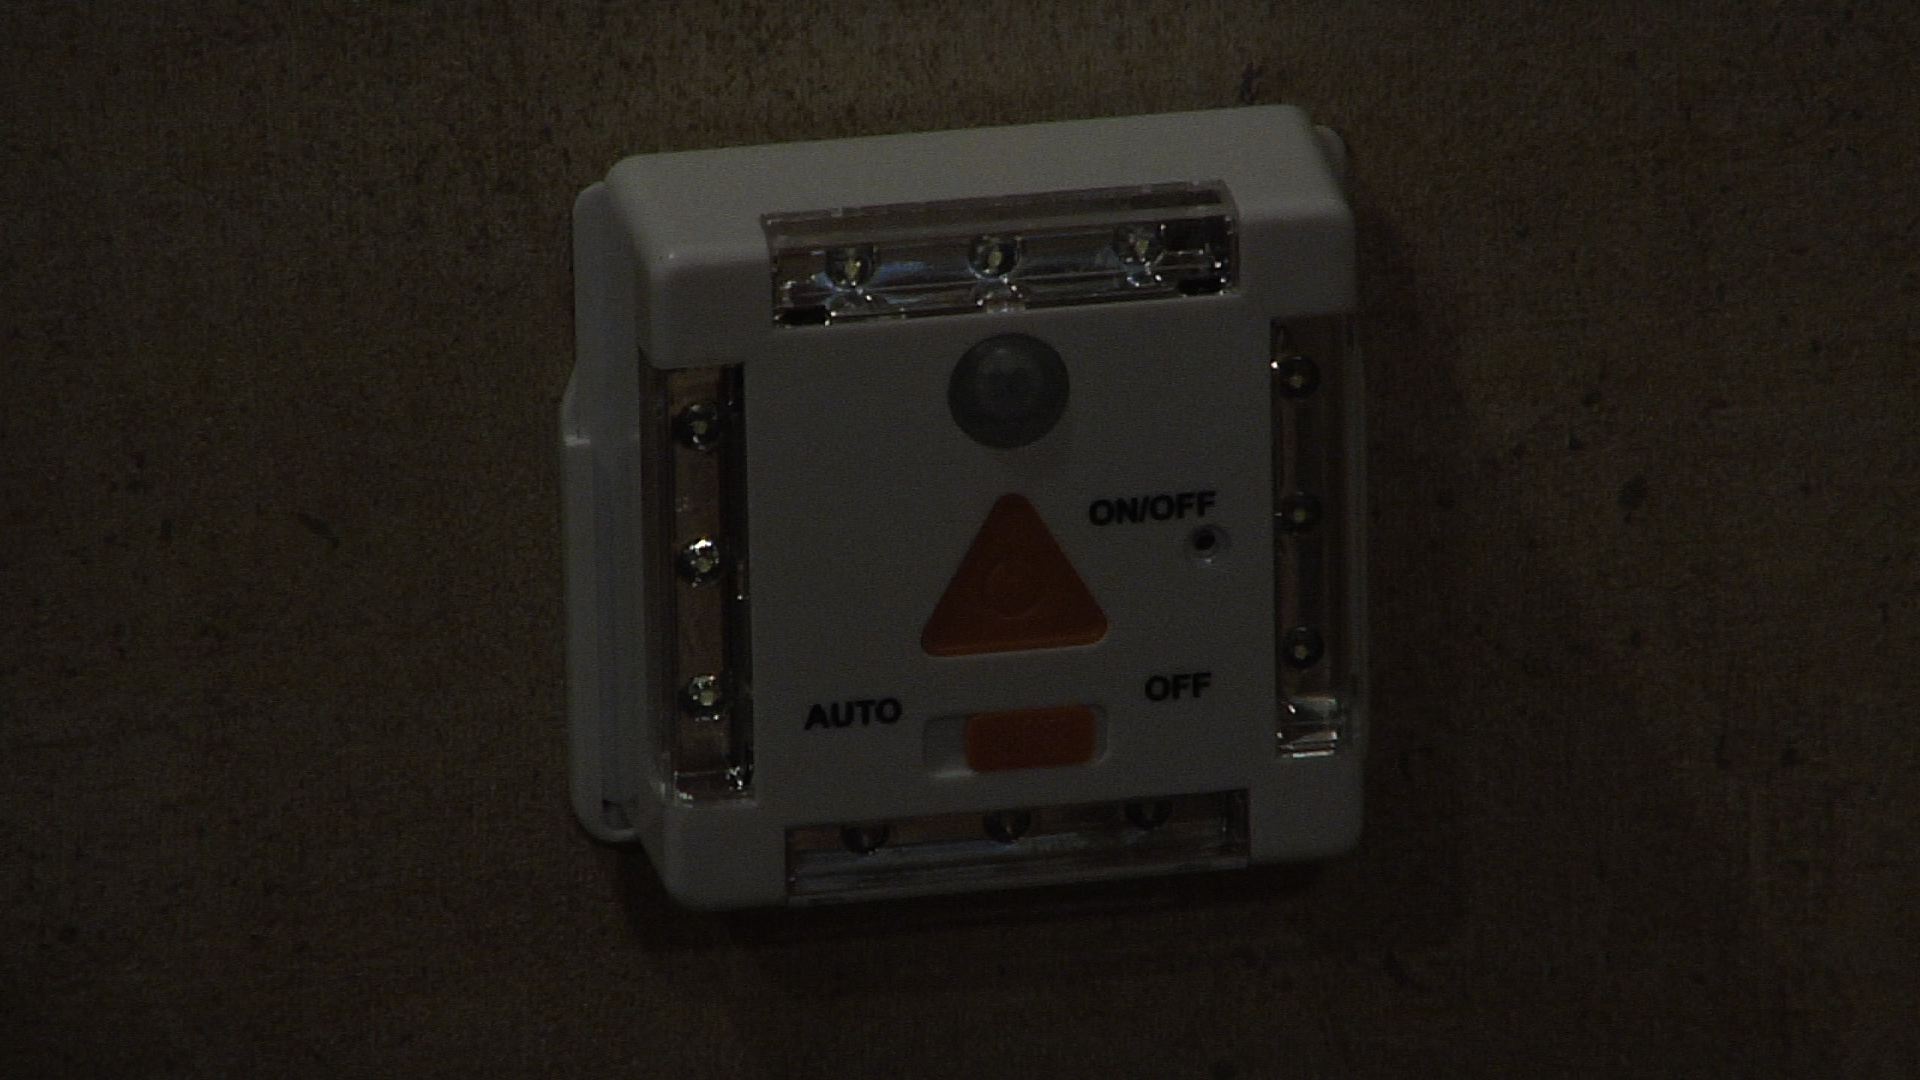
Connect the light wires through the butt splice and crimp. Once the wires are connected, put the light in place. Turn the fuse back on and test to see if the new RV wall light works. If it does, you are good to go. If not, check to make sure the wires are properly connected and there is power coming to the light. If the RV wall light still does not turn on, further electrical troubleshooting may be necessary.
Explore videos by Dave Solberg
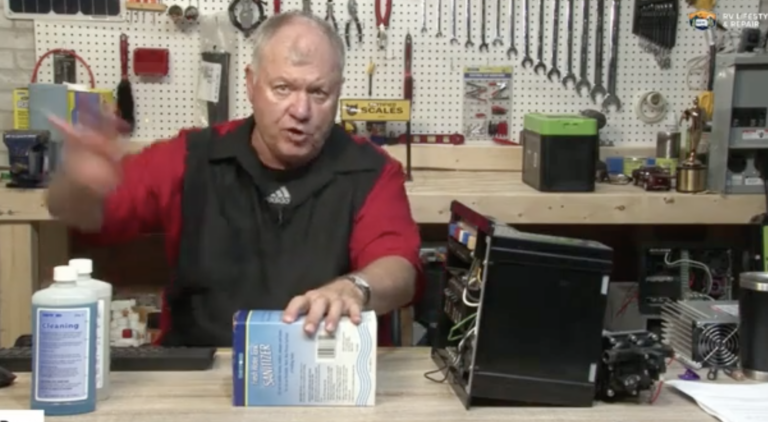


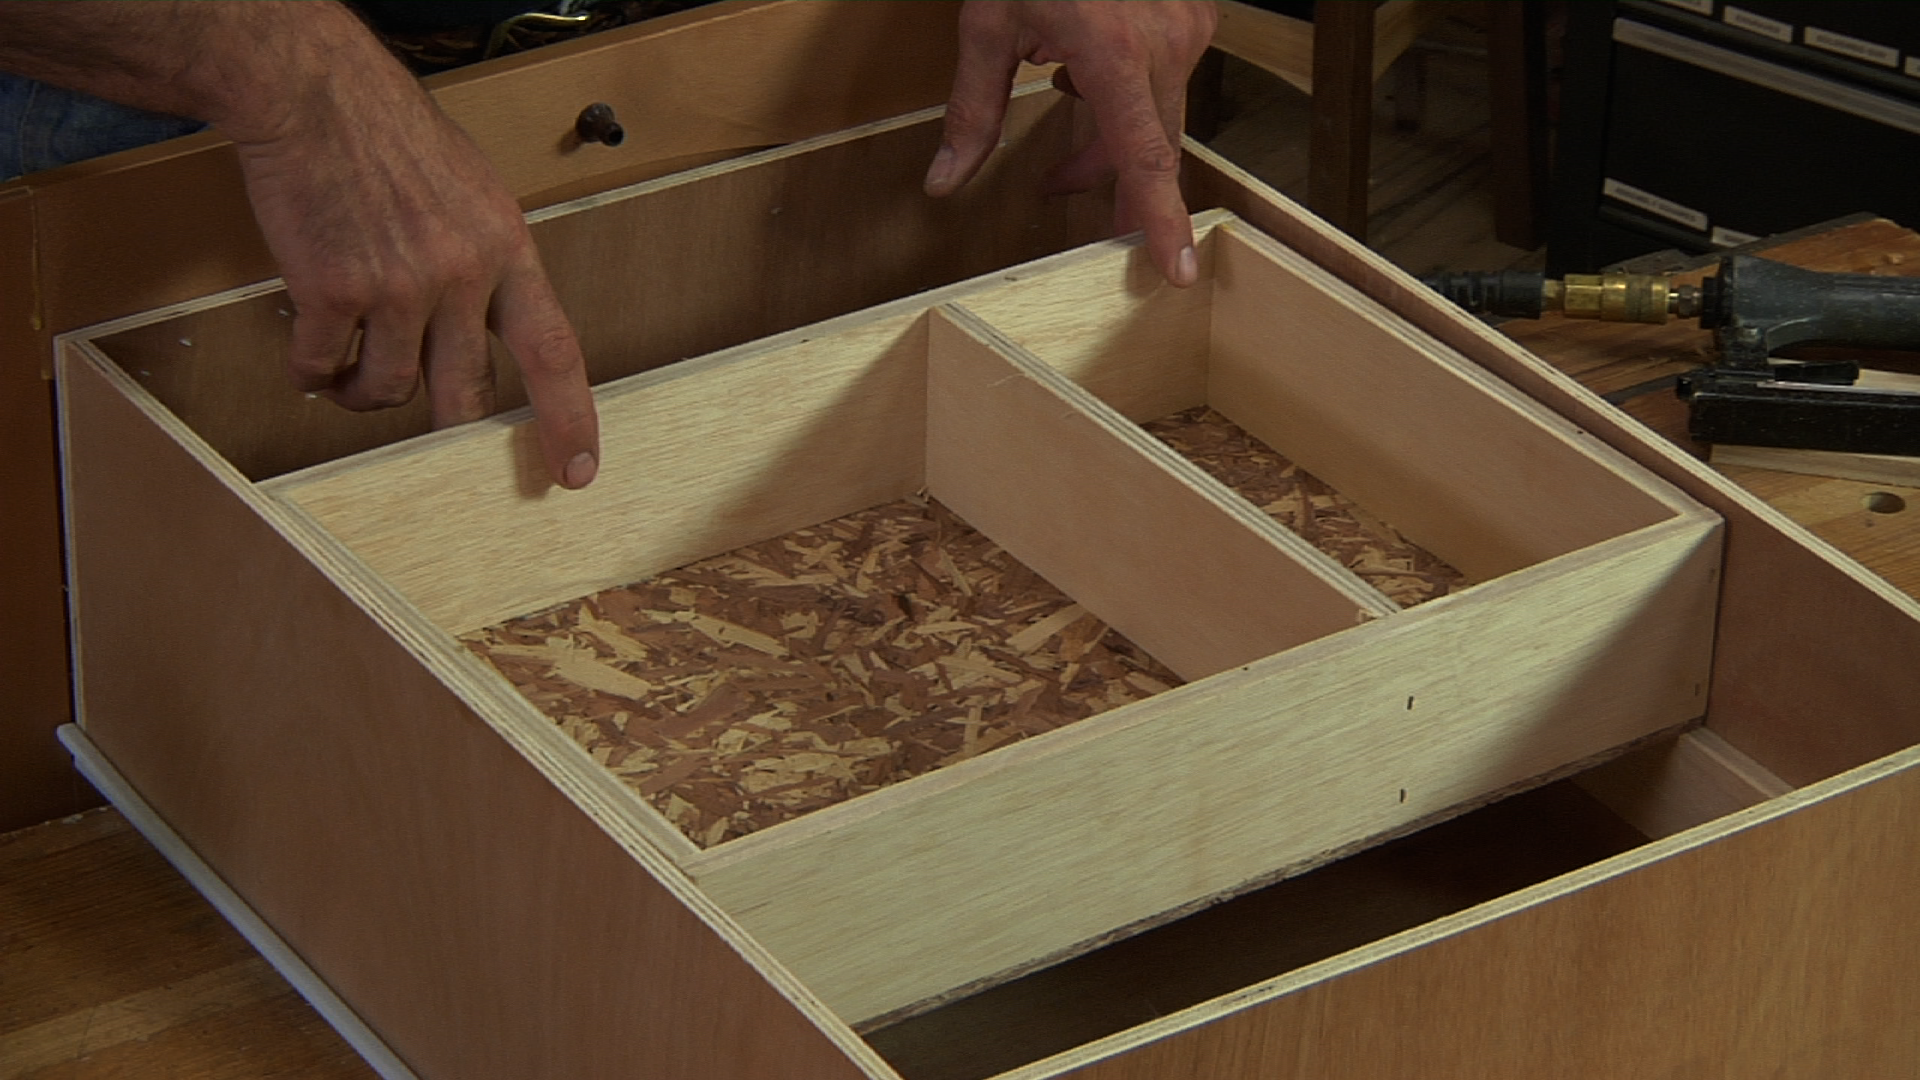
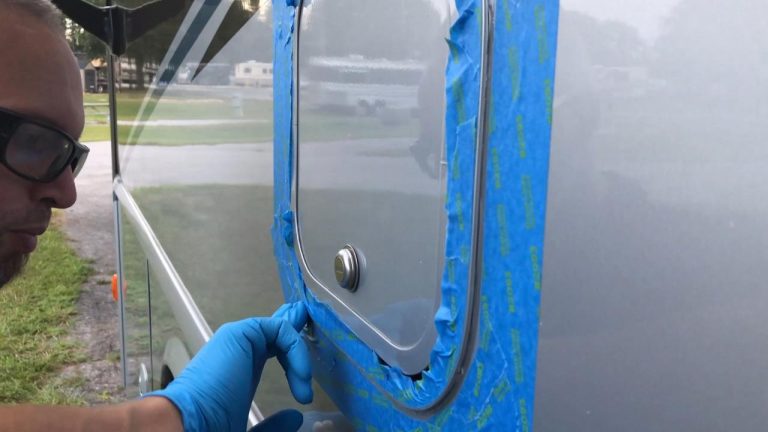
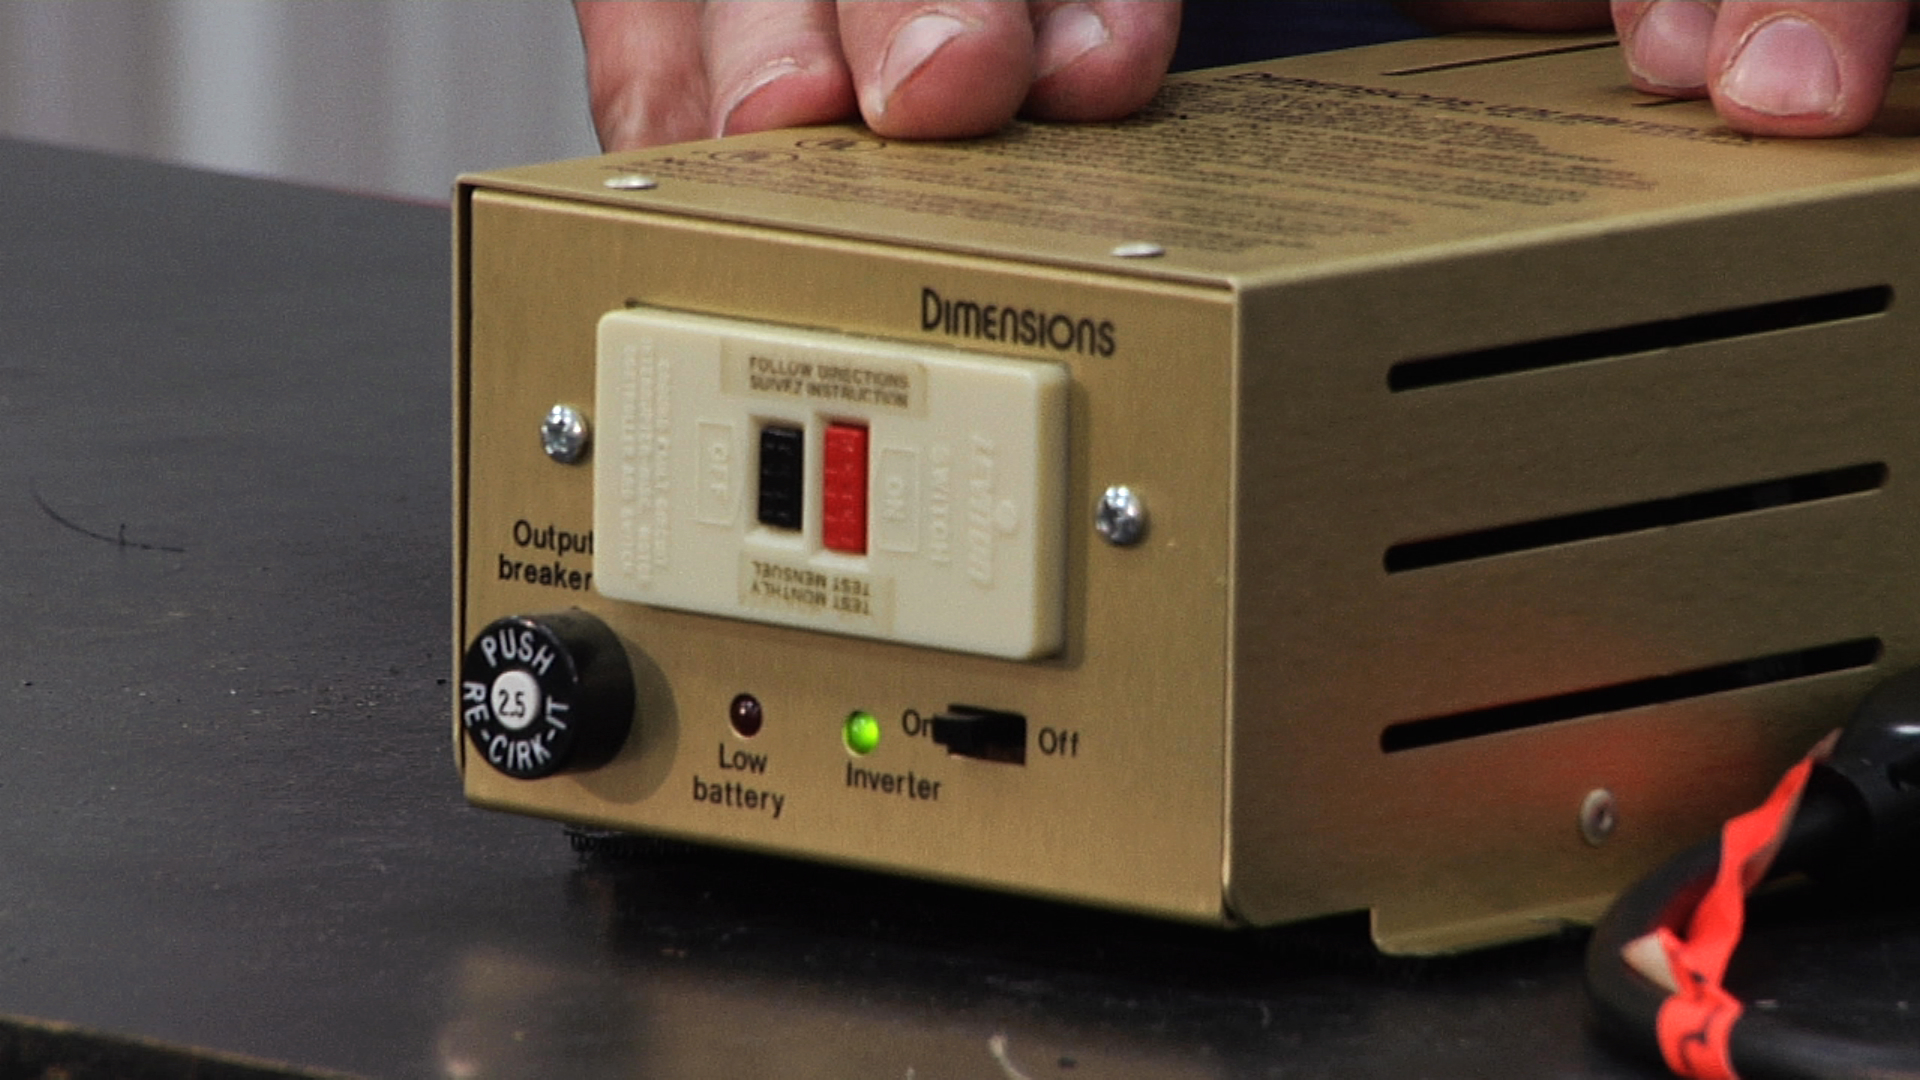
You may be interested in
Premium Membership
Unlock exclusive member content from our industry experts.
- 24/7 Access to Premium RV Maintenance Videos, Travel Inspiration, and Lifestyle Tips
- Step-by-Step Instructional Demos, Projects, and Guides
- 50% Off Video Downloads Purchased in the RV Lifestyle & Repair Shop
- Access to Ask the Expert Program
Unlock exclusive member content from our industry experts.
- 24/7 Access to Premium RV Maintenance Videos, Travel Inspiration, and Lifestyle Tips
- Step-by-Step Instructional Demos, Projects, and Guides
- 2 Full-Length Video Downloads to Watch Offline
- 50% Off Video Downloads Purchased in the RV Lifestyle & Repair Shop
- Access to Ask the Expert Program
Gold Membership
$333 Value
Get everything included in Premium plus exclusive Gold Membership benefits.
- 24/7 Access to Premium RV Maintenance Videos, Travel Inspiration, and Lifestyle Tips
- Step-by-Step Instructional Demos, Projects, and Guides
- 9 Full-Length Video Downloads to Watch Offline
- 2 Full-Length RV Repair Classes to Keep for Life
- Discounts on Purchase-to-Own Content in the RV Lifestyle & Repair Shop
- Access to Ask the Expert Program
- Exclusive GOLD LIVE Streaming Events