Duration:   4  mins

Description

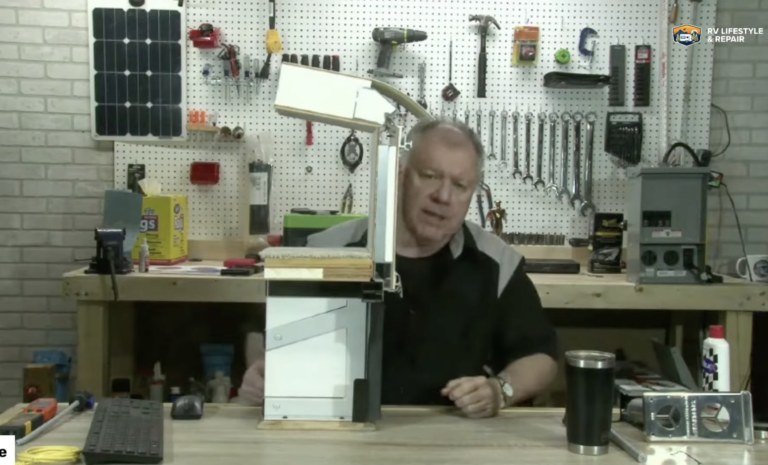
Here are some great tips for putting wiring back together in your camper. Skip the wire nuts and check out these cool heat shrink wire connectors. They’re easy to use once you know a few tricks. The easiest way to heat the connections is with a small heat gun.

Share tips, start a discussion or ask other students a question. If you have a question for the instructor, please click here.

Make a comment:
characters remaining

No Responses to “Splicing Wire”

No Comments
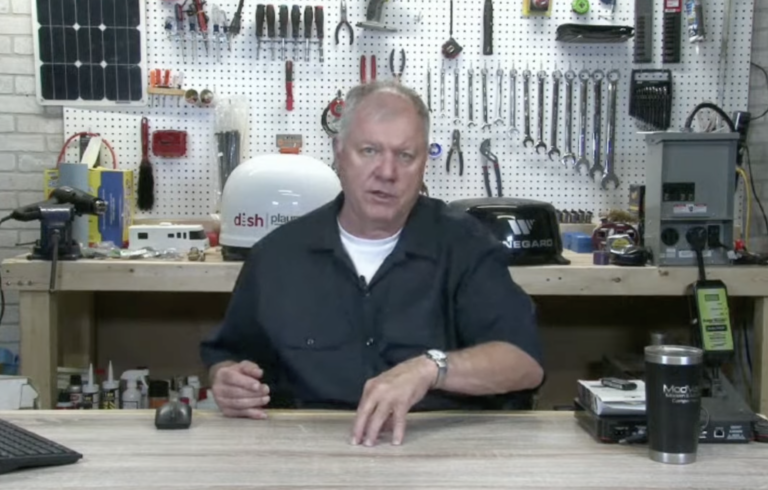
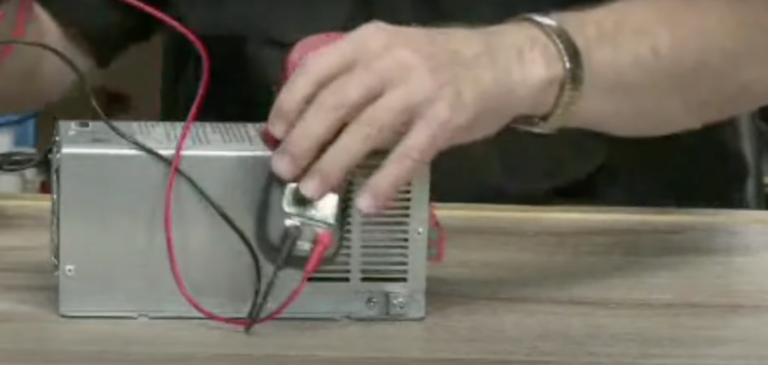
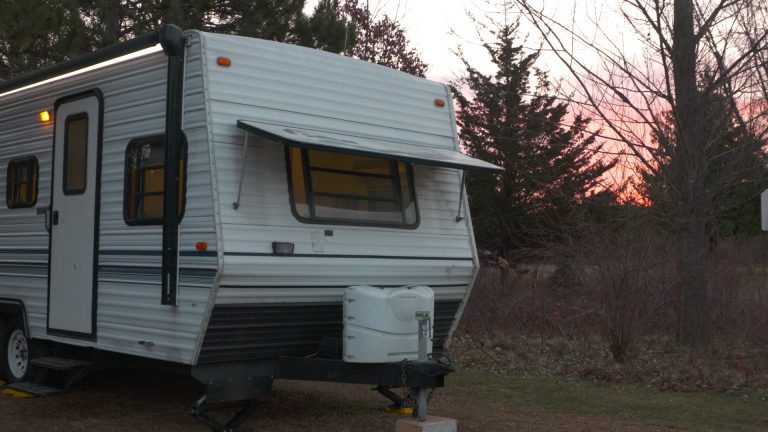
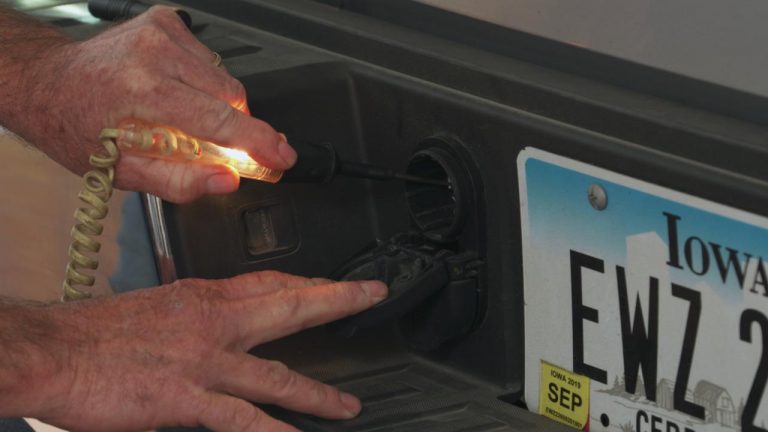
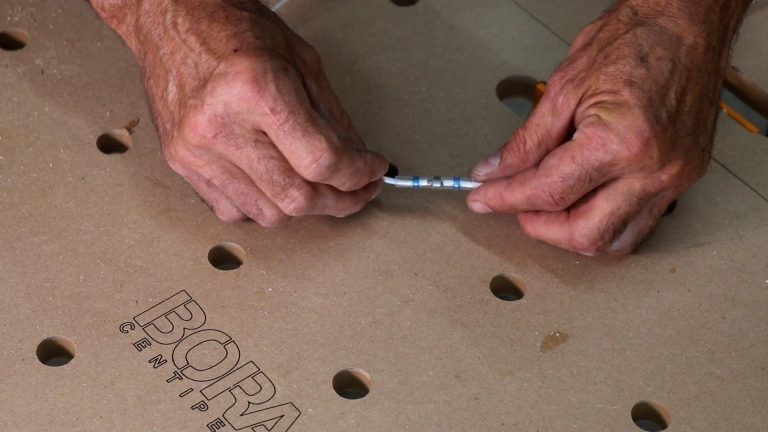
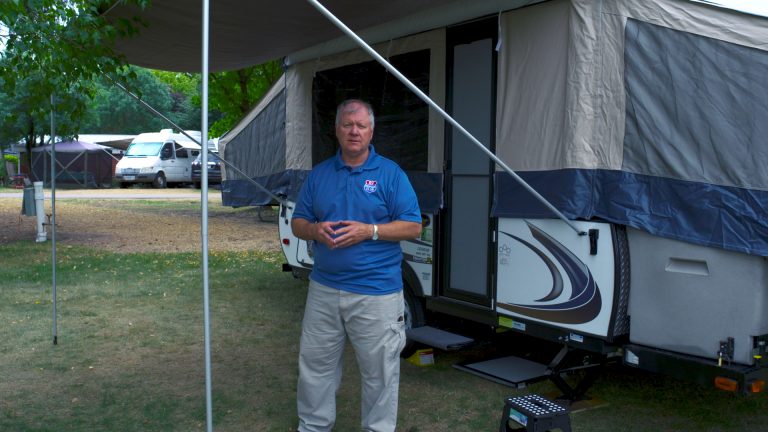
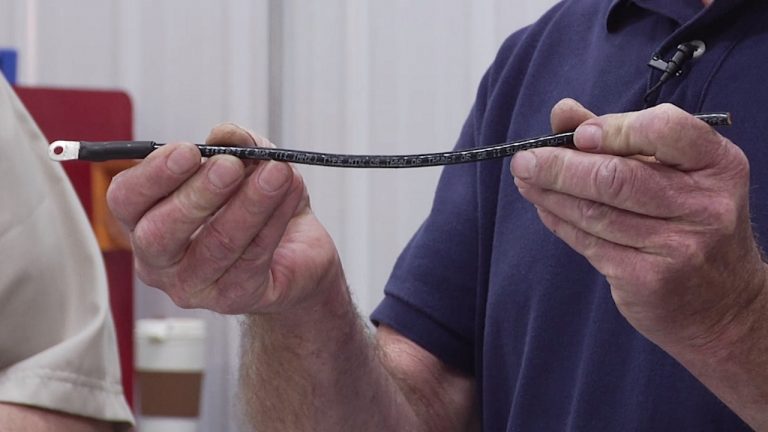
When you're working on your camper, it's not impossible that you're going to cut into the 12 0 wire someplace after you've turned off the power, you might cut into them because you need to remove a component and that's the only way to get it out. Or maybe you're slicing into the existing lines because you're adding some kind of an accessory or a component. So you end up with wires that look like this. Eventually you got to put back together, you got to splice them a real conventional way to do that is with a wire or not. Let me show you something that's a little better, definitely cooler. And if you're my age, this is a little bit of a throwback to our youth. Shrinky dink. These are insulated heat shrink connectors and in a kit like this, you get an assort, an assortment, a variety of sizes, you match the size to the wire that you're working with and what we've got cooking there is a plastic sleeve inside the plastic sleeve. There's a Cider collar way. This is all gonna come together is we're gonna slip these parts in and these parts they didn't give that wire just a little bit of a spin to bind it together and we want the wire itself to overlap inside the Cider collar. Now, you may have noticed there's a camera right here. There's a light right here. I'm outside of the camper. This is some pretty cool detail stuff and it's really hard to get everything set up inside here where you can effectively see what I'm about to show you. So that's why I'm working out here. Instead, we're gonna make this happen with a heat gun. And I like this best. I like a heat gun for this process over a torch and a heat gun like this gives me really, really good control. It's got kind of a pencil tip on it and that makes it really easy to get this to happen. This to happen is when I turn this on, the first thing you'll see is the plastic is gonna start to shrink it in against the wire and then we're gonna keep going, we're gonna go to a point where that silver or that side or collar turns silver and starts to melt. And that melting is what's really going to bind those wires together. There's a shrink and you'll also see those blue bands kind of flood out into the surrounding area. And that's another thing that tells you that you have effectively heated, that see how they're starting to, the blue bands are starting to kind of muddy out. Now, I'm gonna concentrate a little bit more on the Cider color, but still keep moving. So we don't concentrate heat too much in just one spot. See the shiny silver that's starting to flow. Look at that. We are there. Now, this is gonna cool really, really, really fast. And then you've got a great connection between those wires. Signing wires together is the best way to put them together. That's such a great bond with this shrink wrap system like this. It really gives the whole system those two pieces a really good grab. And again, we've got this side connection between them. So look around on the world light interwebs for packs of these heat shrink connectors. Um Do a little Googling, you'll find them, get an assortment pack like this very handy to have around.
Get exclusive premium content! Sign up for a membership now!