Tape Measure Secrets for RV Maintenance
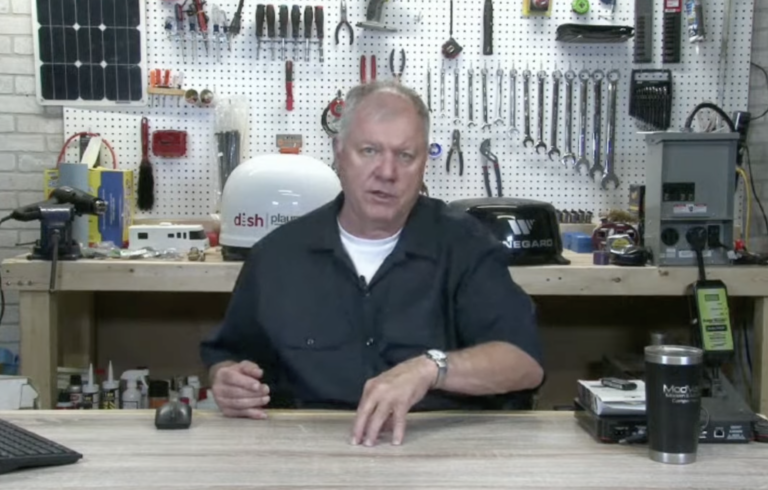
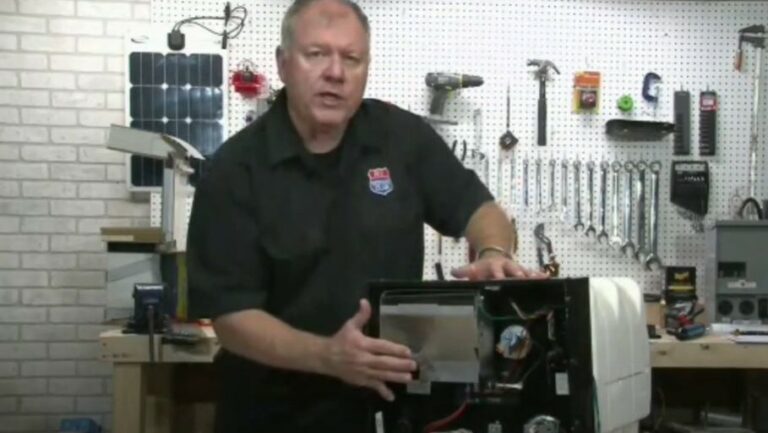
RV Lifestyle & Repair EditorsIn this free video lesson, RV maintenance expert Dave Solberg teaches you some tape measure secrets that you can use to maximize this handy tool when working on your RV.
Firstly, the wider your tape is, the longer it’ll stand up on its own when measuring for distance (without needing a second hand).
Next, the metal piece at the end of the tape is designed to wiggle so you can record a variety of measurements — your tape isn’t messed up, it’s meant to be that way! This metal piece also has a small slot so you can hook it onto a wall nail so you don’t need another set of hands, as well as a serrated edge so you can score your material if you don’t have a pencil nearby.
As for the last of the tape measure secrets that you can use to your advantage: most tape measures have a marking every 16 inches. Those marks are to help you find the on-center distance on any standard stud wall. Studs are generally 16 inches apart, so those marks should serve as a helpful guide anytime you’re looking for your center. They also have marks every 19.2 inches, which is the standard on-center distance for roof trusses.
Now you know!
Share tips, start a discussion or ask one of our experts or other students a question.
Already a member? Sign in
One Response to “Tape Measure Secrets for RV Maintenance”
Explore videos by RV Lifestyle & Repair Editors


Premium Membership
Unlock exclusive member content from our industry experts.
- 24/7 Access to Premium RV Maintenance Videos, Travel Inspiration, and Lifestyle Tips
- Step-by-Step Instructional Demos, Projects, and Guides
- 50% Off Video Downloads Purchased in the RV Lifestyle & Repair Shop
- Access to Ask the Expert Program
Unlock exclusive member content from our industry experts.
- 24/7 Access to Premium RV Maintenance Videos, Travel Inspiration, and Lifestyle Tips
- Step-by-Step Instructional Demos, Projects, and Guides
- 2 Full-Length Video Downloads to Watch Offline
- 50% Off Video Downloads Purchased in the RV Lifestyle & Repair Shop
- Access to Ask the Expert Program
Gold Membership
$333 Value
Get everything included in Premium plus exclusive Gold Membership benefits.
- 24/7 Access to Premium RV Maintenance Videos, Travel Inspiration, and Lifestyle Tips
- Step-by-Step Instructional Demos, Projects, and Guides
- 9 Full-Length Video Downloads to Watch Offline
- 2 Full-Length RV Repair Classes to Keep for Life
- Discounts on Purchase-to-Own Content in the RV Lifestyle & Repair Shop
- Access to Ask the Expert Program
- Exclusive GOLD LIVE Streaming Events
Great video. My intent is not to sharp shoot, but you did not really explain "why" the nail grab is loose. Its loose to accommodate the 1/16th inch width of the nail grab, regardless of whether you're measure an outside or inside dimension. Again, thanks for the great video. Chris