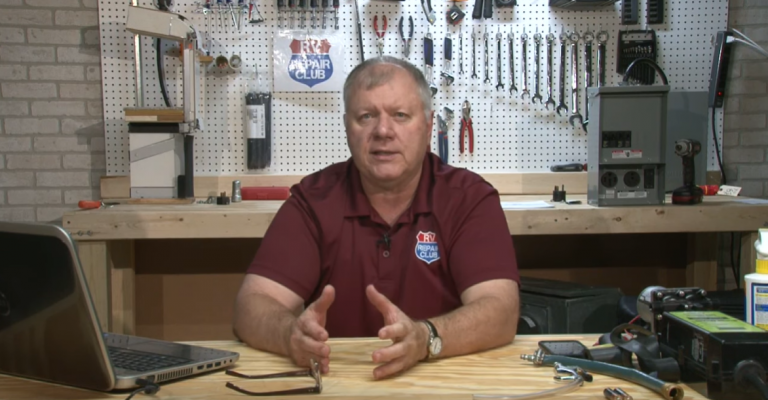
RV Battery Maintenance Techniques for Extending RV Battery Life
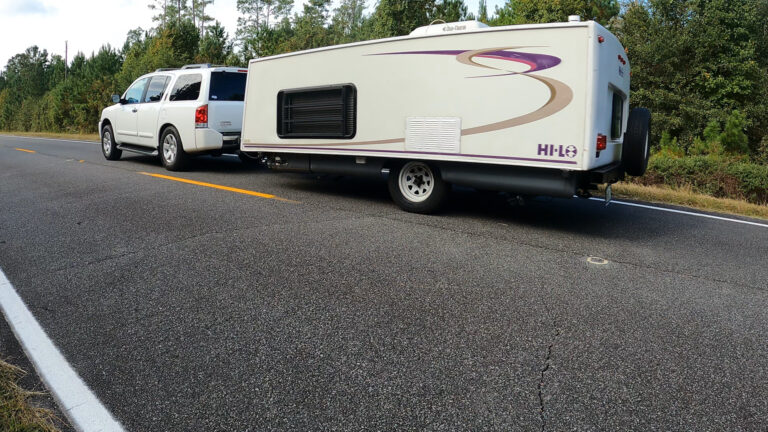
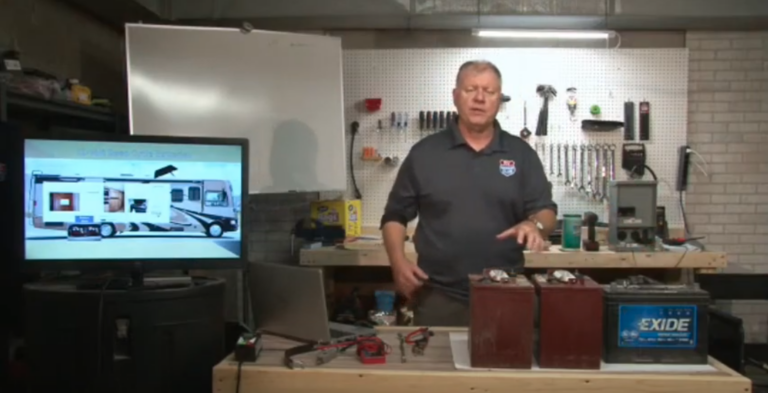
RV Lifestyle & Repair EditorsRV batteries, which run the interior lights, refrigerator, computer, and any other electrical appliance you have installed, are built to last 5-7 years, ideally. Manufacturers recommend that you remove the batteries every month and have them conditioned by a professional. This conditioning breaks up the sulfur solids and other contaminants, churning the liquid inside the battery and making it last longer.
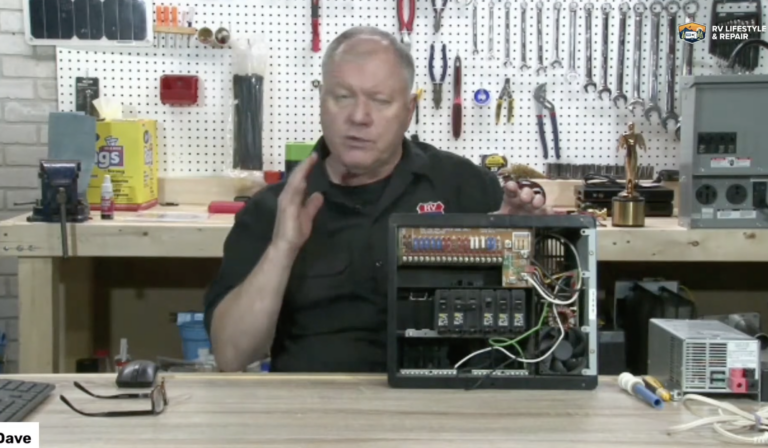
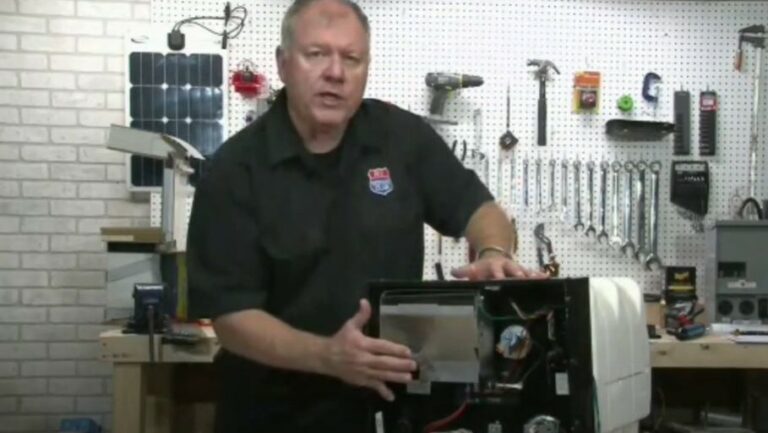
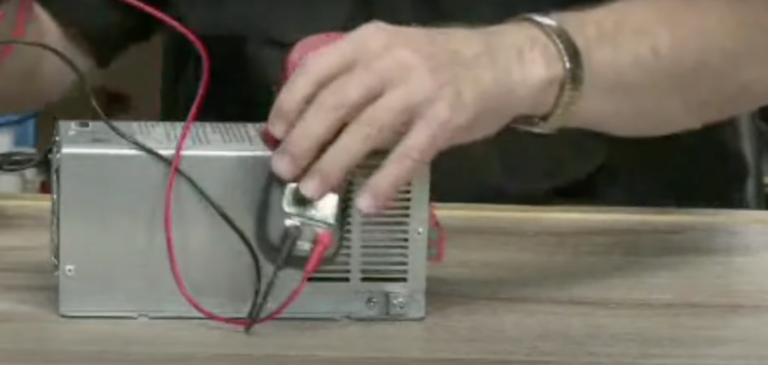
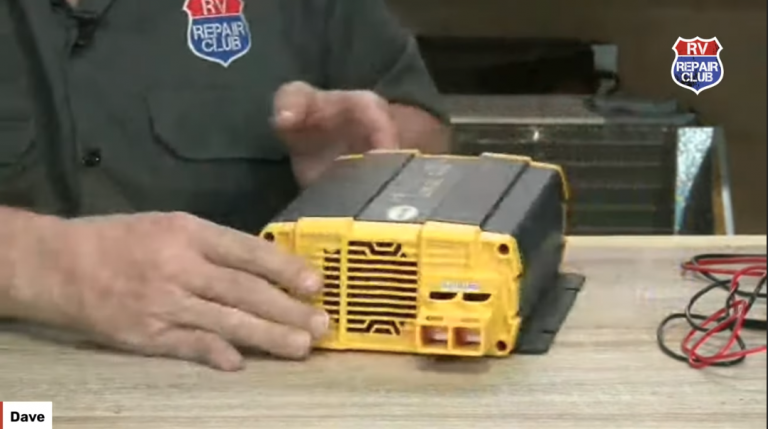
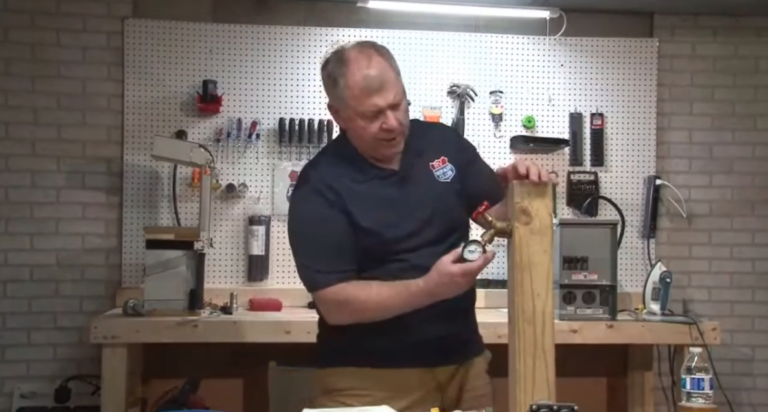
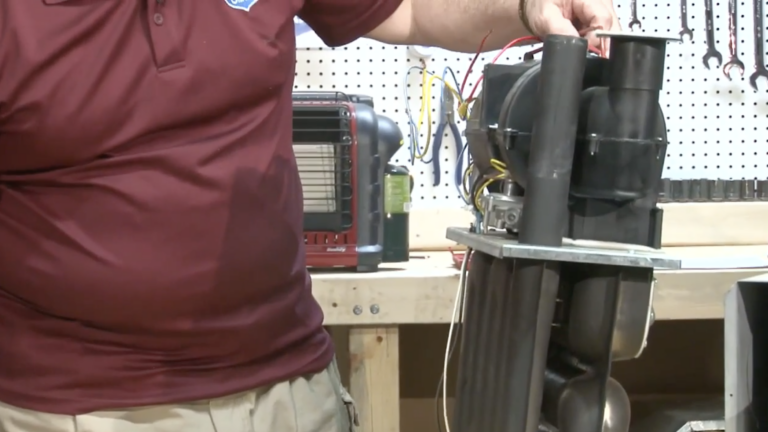
Whether through the difficulty of this process or forgetting to get it done, a majority of RV owners are finding their batteries only last two or three years. The Battery Minder is a new appliance you permanently install in your rig that does RV battery maintenance periodically without your having to remove the battery or even remember to have it done.
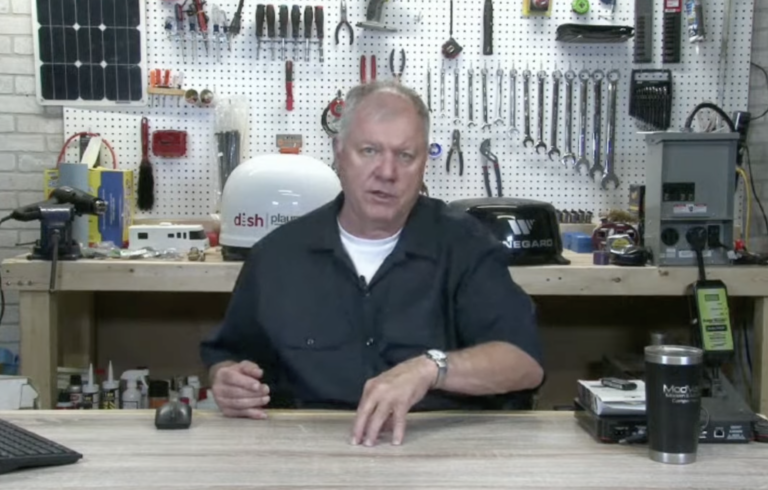
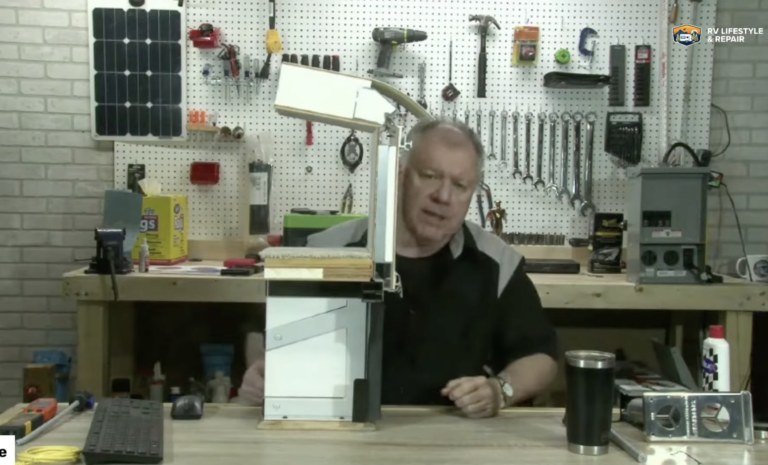
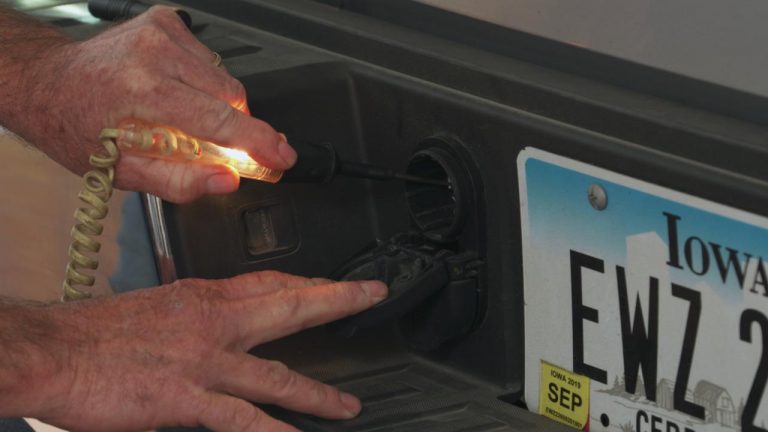
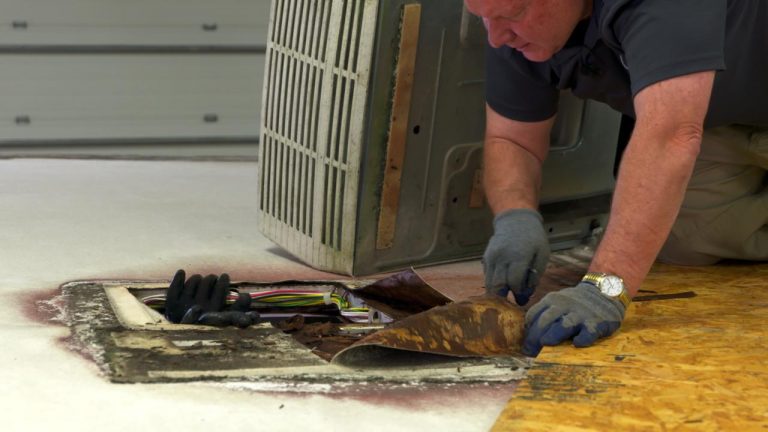
In this video, you’ll learn how to install the Battery Minder for automatic RV battery maintenance. You’ll find out safety rules about attaching and removing battery cables, tips on how to permanently attach the appliance to your basement wall, and ways to reach electrical outlets when there are none in sight. The manufacturer of the Battery Minder RV battery maintenance appliance claims you’ll get many more months out of your batteries when they use your product — sometimes as much as two or three years longer than your batteries might otherwise survive. With the cost of new RV battery sets, plus the annoyance factor from having to replace batteries earlier than planned, the Battery Minder is starting to look like a smart addition to your RV setup, and a great way to check one item off your maintenance list.
Explore videos by RV Lifestyle & Repair Editors


Premium Membership
Unlock exclusive member content from our industry experts.
- 24/7 Access to Premium RV Maintenance Videos, Travel Inspiration, and Lifestyle Tips
- Step-by-Step Instructional Demos, Projects, and Guides
- 50% Off Video Downloads Purchased in the RV Lifestyle & Repair Shop
- Access to Ask the Expert Program
Unlock exclusive member content from our industry experts.
- 24/7 Access to Premium RV Maintenance Videos, Travel Inspiration, and Lifestyle Tips
- Step-by-Step Instructional Demos, Projects, and Guides
- 2 Full-Length Video Downloads to Watch Offline
- 50% Off Video Downloads Purchased in the RV Lifestyle & Repair Shop
- Access to Ask the Expert Program
Gold Membership
$333 Value
Get everything included in Premium plus exclusive Gold Membership benefits.
- 24/7 Access to Premium RV Maintenance Videos, Travel Inspiration, and Lifestyle Tips
- Step-by-Step Instructional Demos, Projects, and Guides
- 9 Full-Length Video Downloads to Watch Offline
- 2 Full-Length RV Repair Classes to Keep for Life
- Discounts on Purchase-to-Own Content in the RV Lifestyle & Repair Shop
- Access to Ask the Expert Program
- Exclusive GOLD LIVE Streaming Events
Share tips, start a discussion or ask one of our experts or other students a question.
Already a member? Sign in
No Responses to “RV Battery Maintenance Techniques for Extending RV Battery Life”