Finding a Water Leak on Your Rig
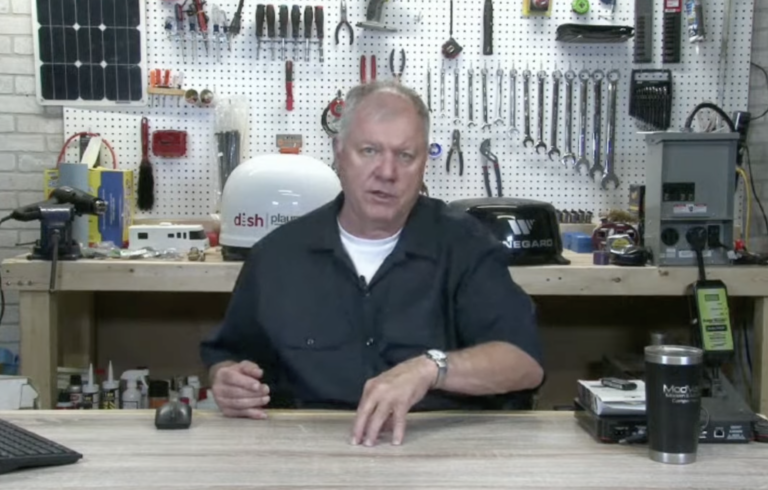
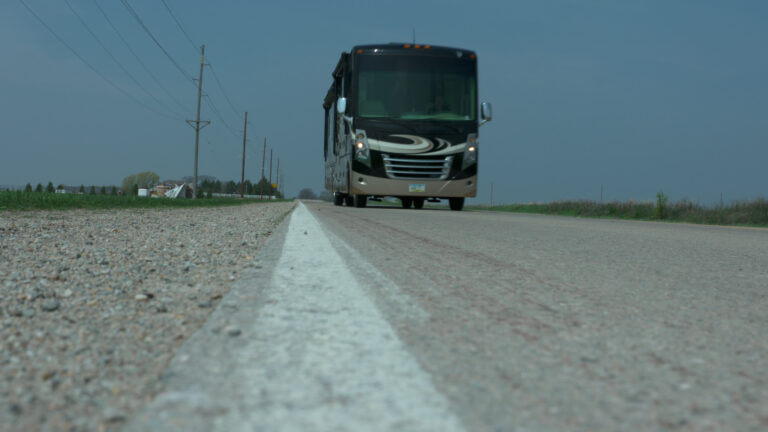
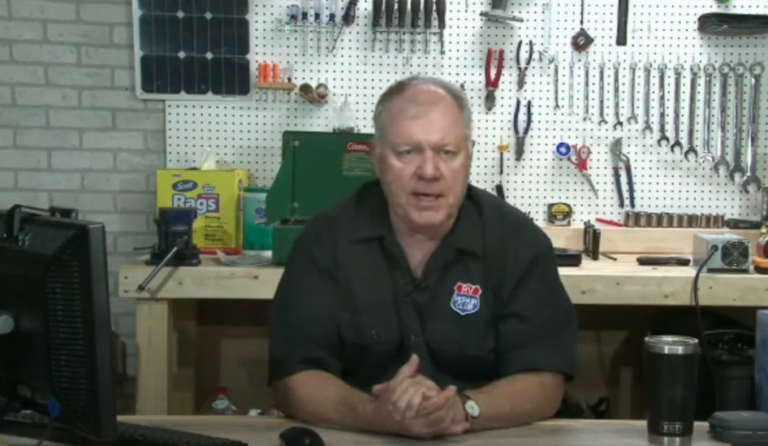
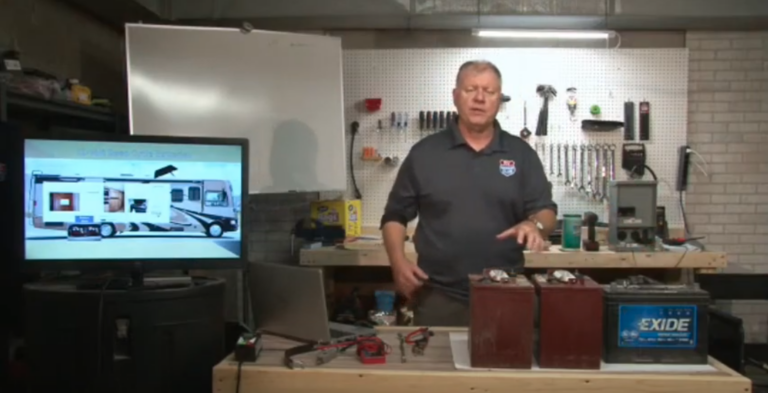
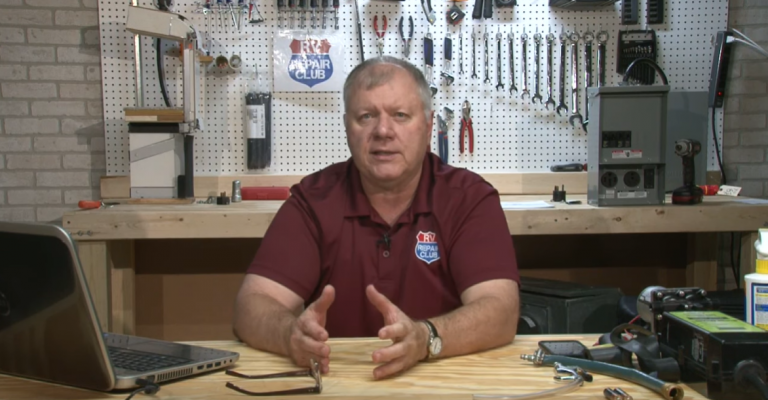
RV Lifestyle & Repair EditorsHave you noticed water collecting in an unusual spot in your RV? Are you terribly confused how that could be possible when you know for a fact your vehicle is sealed up tight? You’re not alone! Water leaks can crop up in surprising places on any RV, be it a motorhome, camper or fifth wheel. In this premium video lesson RV Repair Club expert Dave Solberg walks you through the process of finding a water leak coming from the roof on your vehicle.
Tips for finding a water leak
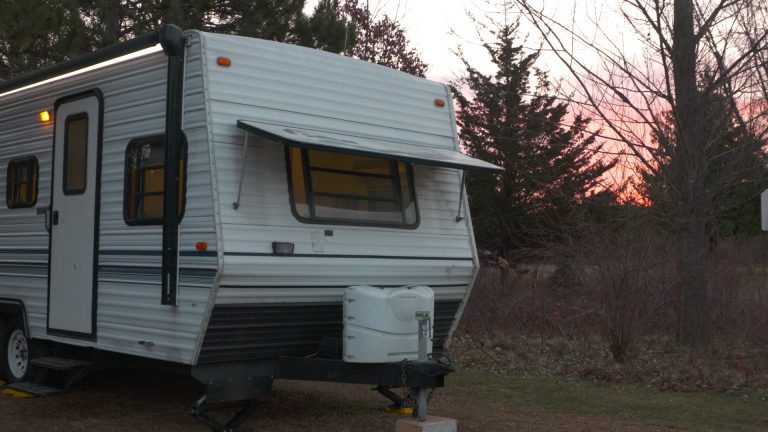
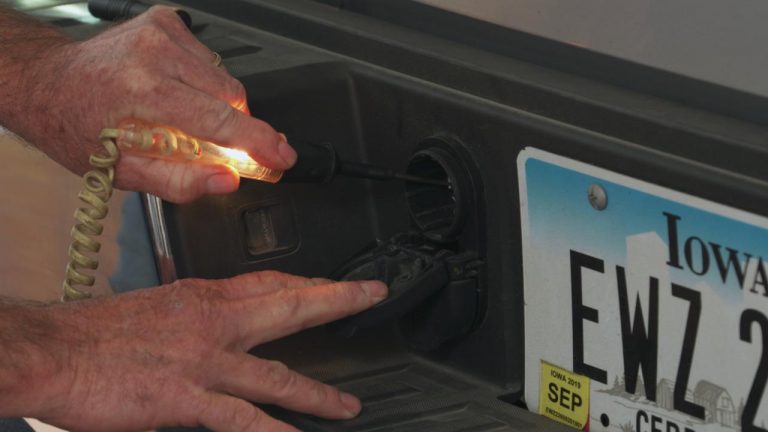
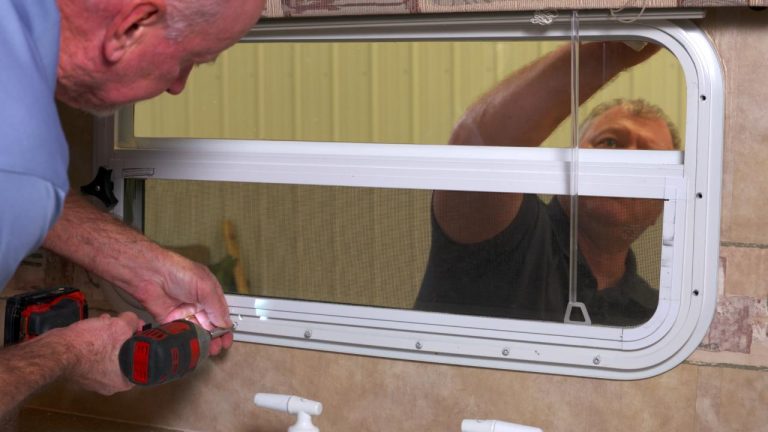
Dave demonstrates the proper inspection steps on a 2003 Winnebago Brave. The vehicle’s owners discovered a water leak on the passenger window when they were jacking up at a campground, and they were unsure where it was coming from. The reason for this is fairly common: water doesn’t always exit from the same spot where it enters. This is due to shifting that happens when the vehicle is in motion versus when it is parked.
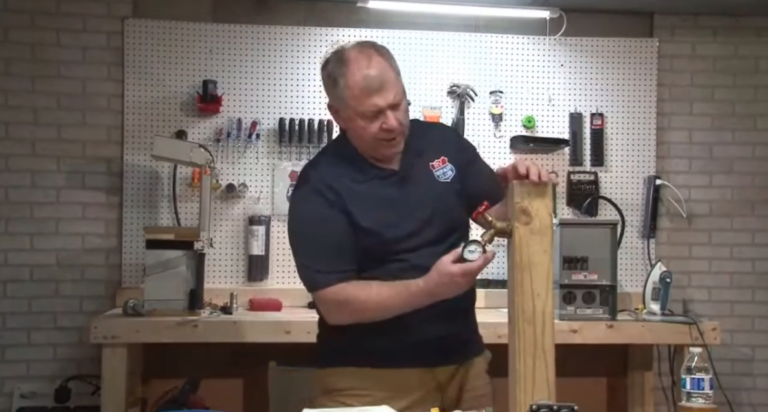
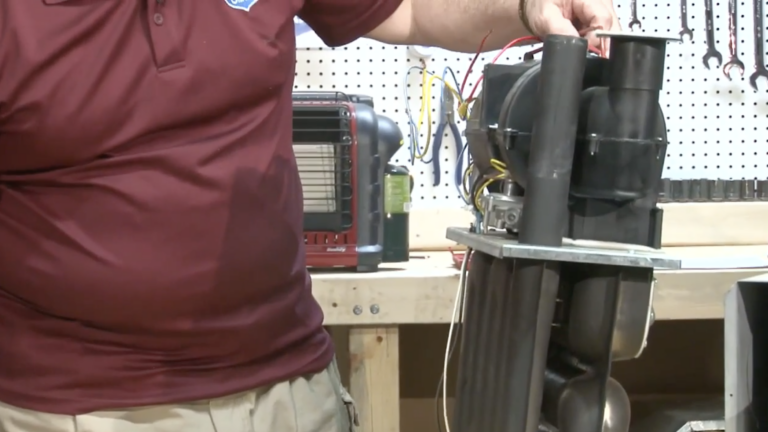
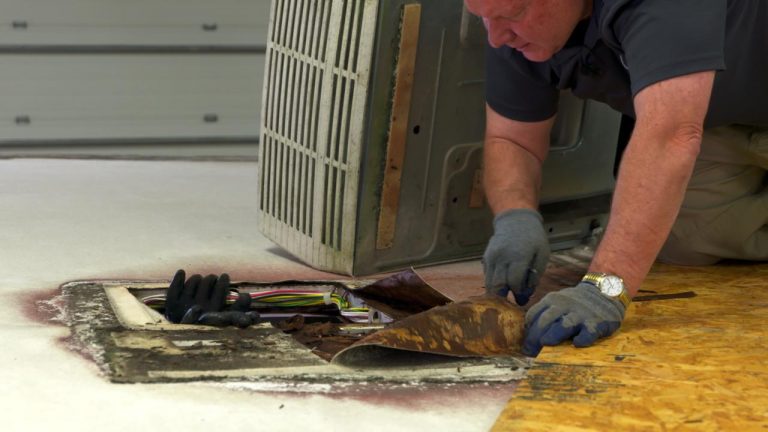
So to figure out where the water is entering, Dave recommends getting up on the roof and simulating the water source (i.e. rain). A note: as part of your regular annual inspection, you should check the roof components to prevent these kinds of leaks. Seals are prone to separating due to temperature changes that expand and contract the material. If you see any gaps in sealant around such roof-mounted units as A/C vents or TV antennae, you should reseal as soon as possible.
The first step in finding a water leak is to find those potential gaps, and then pour water around and into them. See what happens to the runoff. Does it end up inside the cabin anywhere? If you don’t notice the water entering where it did before, maybe consider what the conditions were when you did see it. Were you parked on a flat surface? Driving up an incline? Jacked at a campground? Try to recreate that scenario, and then just add water!
This can be a tricky process, but it’s essential if you want to avoid costly damage caused by pooling water. Whether or not you do find the entry point, Dave strongly suggests that you reseal any gaps you find on the roof and the vehicle’s exterior in general. Use self-leveling silicone sealant designed specifically for RVs. Do your due diligence, and you should be good!
Explore videos by RV Lifestyle & Repair Editors


Premium Membership
Unlock exclusive member content from our industry experts.
- 24/7 Access to Premium RV Maintenance Videos, Travel Inspiration, and Lifestyle Tips
- Step-by-Step Instructional Demos, Projects, and Guides
- 50% Off Video Downloads Purchased in the RV Lifestyle & Repair Shop
- Access to Ask the Expert Program
Unlock exclusive member content from our industry experts.
- 24/7 Access to Premium RV Maintenance Videos, Travel Inspiration, and Lifestyle Tips
- Step-by-Step Instructional Demos, Projects, and Guides
- 2 Full-Length Video Downloads to Watch Offline
- 50% Off Video Downloads Purchased in the RV Lifestyle & Repair Shop
- Access to Ask the Expert Program
Gold Membership
$333 Value
Get everything included in Premium plus exclusive Gold Membership benefits.
- 24/7 Access to Premium RV Maintenance Videos, Travel Inspiration, and Lifestyle Tips
- Step-by-Step Instructional Demos, Projects, and Guides
- 9 Full-Length Video Downloads to Watch Offline
- 2 Full-Length RV Repair Classes to Keep for Life
- Discounts on Purchase-to-Own Content in the RV Lifestyle & Repair Shop
- Access to Ask the Expert Program
- Exclusive GOLD LIVE Streaming Events
Share tips, start a discussion or ask one of our experts or other students a question.
Already a member? Sign in
No Responses to “Finding a Water Leak on Your Rig”