Fixing a Hole in a TPO RV Roof with a Rubber Patch
RV Lifestyle & Repair EditorsWhen it comes to maintaining the exterior components on your RV, regular preventative care is just as important as making the right fix when the damage is done. This is especially true for a TPO RV roof, which is that thin skin of rubber material that lines the roof of your rig. It’s prone to cuts, rips and holes from any number of sources, including folded TV antennae and debris. At first it’s just a tiny tear in the top layer, but when left untreated for too long it’s liable to become a bubble of moisture trapped in the ceiling of your cab, and then we have ourselves a real ordeal!
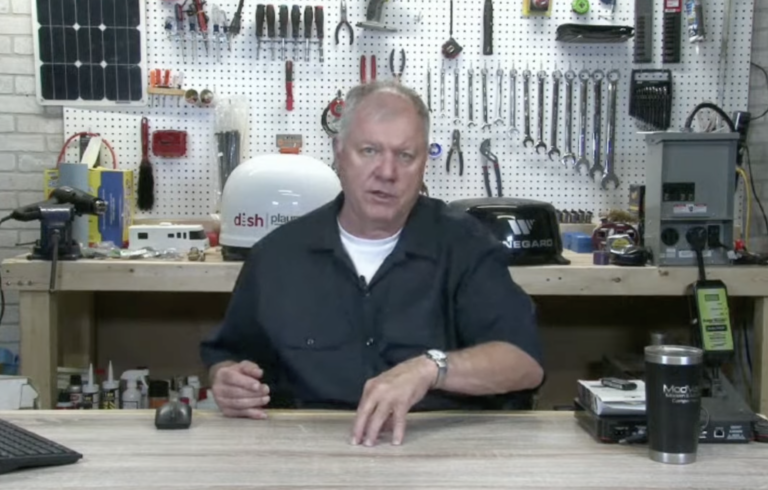
Repairing a TPO RV roof that’s experiencing common wear and tear can be a quick, hassle-free process that requires little cost and a bit of your time, provided you utilize the right solution. In this lesson, RV expert Dave Solberg hops up on the roof and teaches you how to easily mend any minor damage that’s been done to your TPO RV roof to guarantee you won’t need to do more serious repairs down the line.
How to fix a TPO RV roof
Like all other forms of preventative care for any recreational vehicle, the objective for repairing a TPO RV roof is to nip minor damage in the bud before it becomes a big issue. Because of their height and the type of travel through which they’re put, RV roofs are susceptible to cutting and tearing as well as the resulting costly leaks, so it’s essential that you keep an eye on your roof to ensure it stays in tiptop shape.
To help you prevent major damage and seal up small holes on your TPO RV roof, Dave demonstrates the proper way to repair torn or cut TPO membrane on an RV roof. He walks you step by step through the simple process for patching and reinforcing TPO RV roof liner with rubber tape strips, which you can pick up from just about any reputable dealer. Dicor makes a great kit that Dave always recommends.
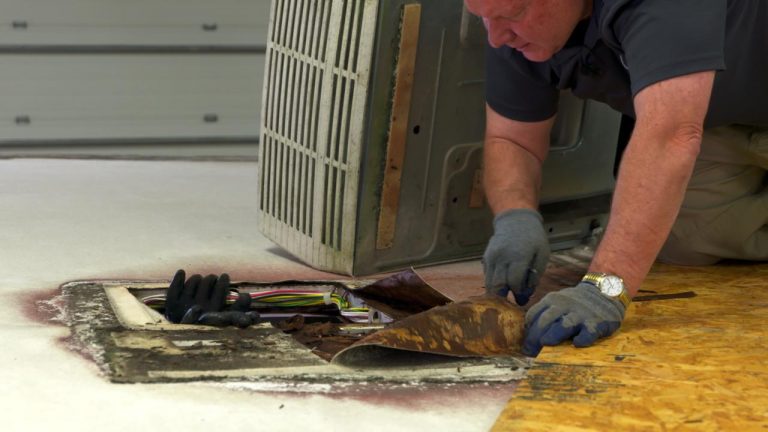
In this case, the RV’s TV antenna has worn small holes into the TPO RV roof, so to avoid bubbling under the membrane from rain and sun damage, Dave uses these rubber patches to cover the holes and keep the roofline watertight. Prior to completing the patch, it’s extremely important that you thoroughly clean the TPO surface with approved roof cleaner and a scouring pad, as you want to avoid the new rubber coming loose when you’re expecting it to last!
Furthermore, while he doesn’t deem it necessary for this particular repair, Dave talks about how you can apply self-leveling lap sealant around the edges of the new patch to better ensure it stays intact and effective for years to come. This is especially true when patching bigger holes.
So that’s it, ten minutes of your time and a foolproof kit. Take advantage of Dave’s expert tips to prevent that small cut on your TPO RV roof from turning into an expensive headache!
Share tips, start a discussion or ask one of our experts or other students a question.
Already a member? Sign in
One Response to “Fixing a Hole in a TPO RV Roof with a Rubber Patch”
Explore videos by RV Lifestyle & Repair Editors


Premium Membership
Unlock exclusive member content from our industry experts.
- 24/7 Access to Premium RV Maintenance Videos, Travel Inspiration, and Lifestyle Tips
- Step-by-Step Instructional Demos, Projects, and Guides
- 50% Off Video Downloads Purchased in the RV Lifestyle & Repair Shop
- Access to Ask the Expert Program
Unlock exclusive member content from our industry experts.
- 24/7 Access to Premium RV Maintenance Videos, Travel Inspiration, and Lifestyle Tips
- Step-by-Step Instructional Demos, Projects, and Guides
- 2 Full-Length Video Downloads to Watch Offline
- 50% Off Video Downloads Purchased in the RV Lifestyle & Repair Shop
- Access to Ask the Expert Program
Gold Membership
$333 Value
Get everything included in Premium plus exclusive Gold Membership benefits.
- 24/7 Access to Premium RV Maintenance Videos, Travel Inspiration, and Lifestyle Tips
- Step-by-Step Instructional Demos, Projects, and Guides
- 9 Full-Length Video Downloads to Watch Offline
- 2 Full-Length RV Repair Classes to Keep for Life
- Discounts on Purchase-to-Own Content in the RV Lifestyle & Repair Shop
- Access to Ask the Expert Program
- Exclusive GOLD LIVE Streaming Events
If you round the corners there is a better chance it won't lift up...