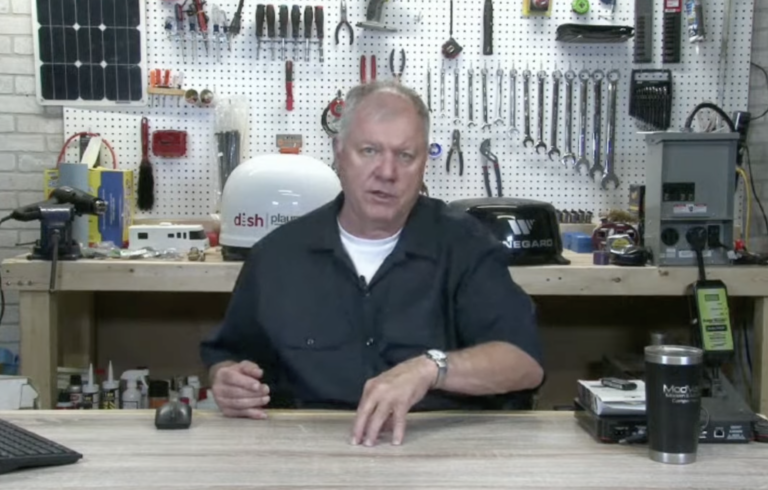
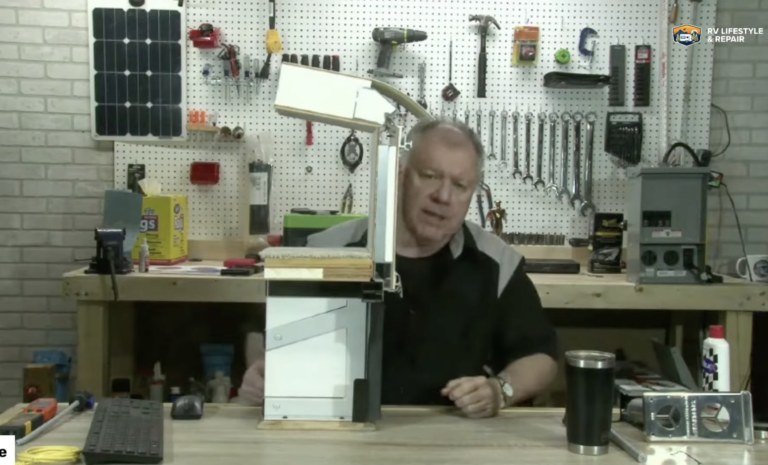
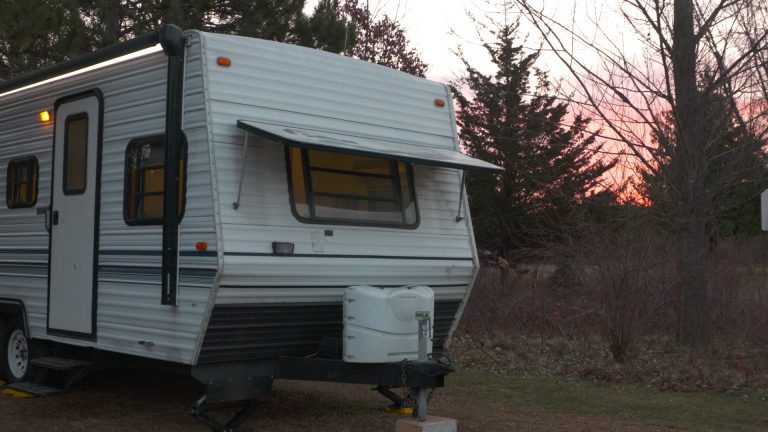
How to Install an Automatic RV Transfer Switch
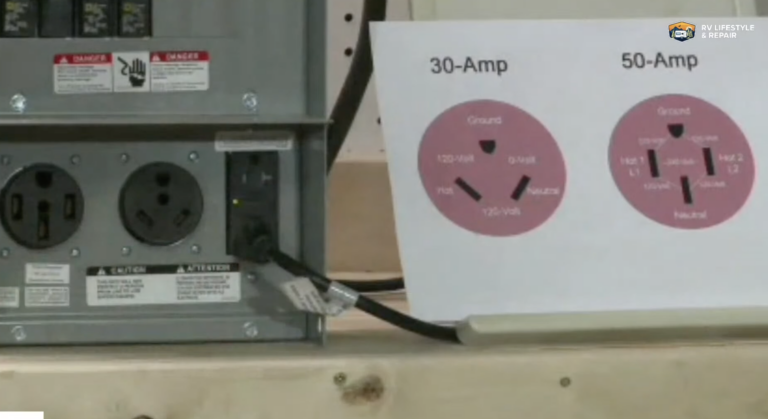
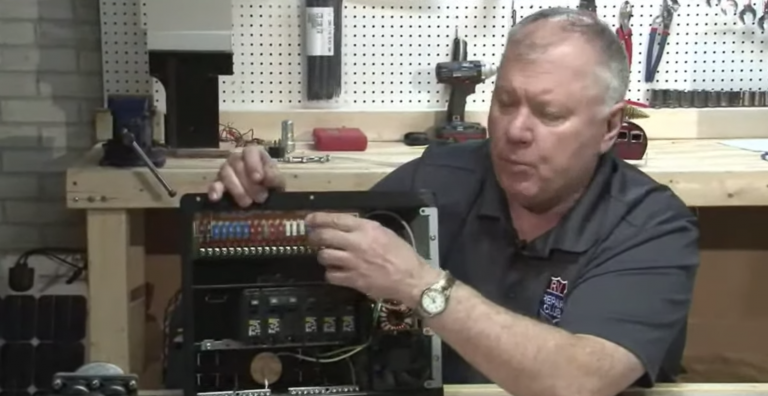
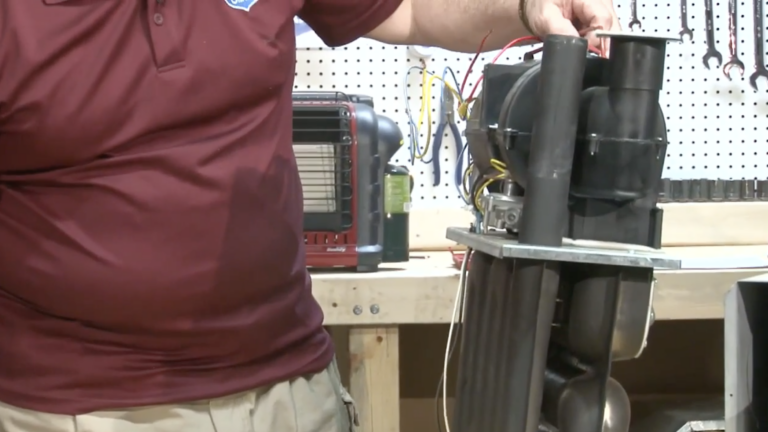
RV Lifestyle & Repair EditorsThe shoreline cord is what gets connected to your RV bringing in power to your distribution center. Older models have a J Box, which has a receptacle coming from the generator and another that goes to the distribution center. This requires you to have to go outside and plug in the generator every time you want to use it.
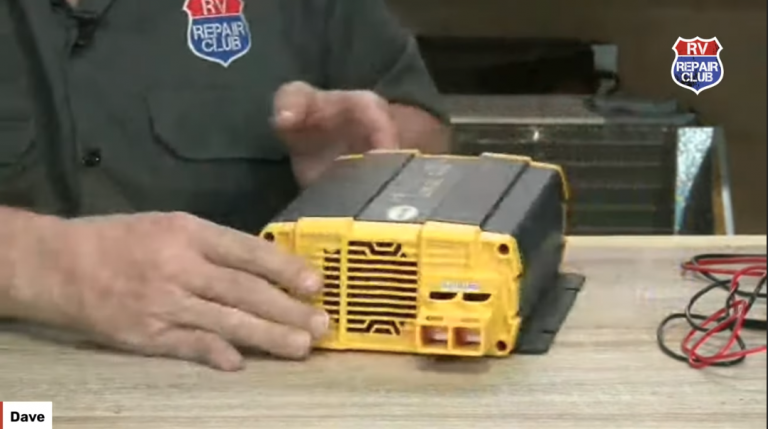
Newer models come with an automatic RV transfer switch already installed, eliminating the need to have to manually unplug from shore power and plug in the generator. It is possible to upgrade older models to an automatic 30-Amp RV transfer switch, which will put everything you need in one single box.
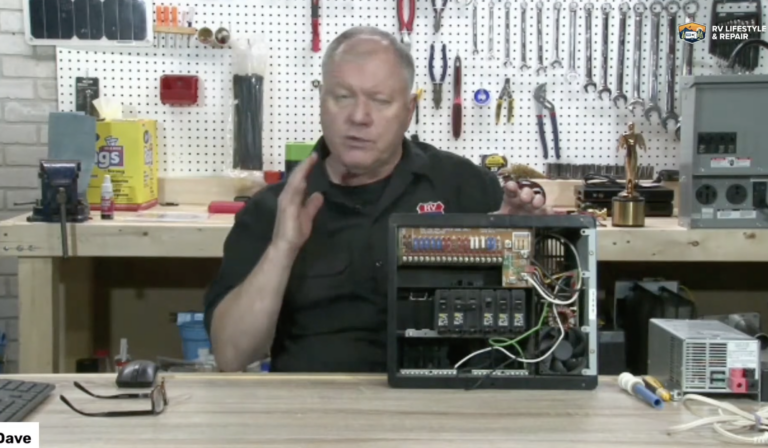
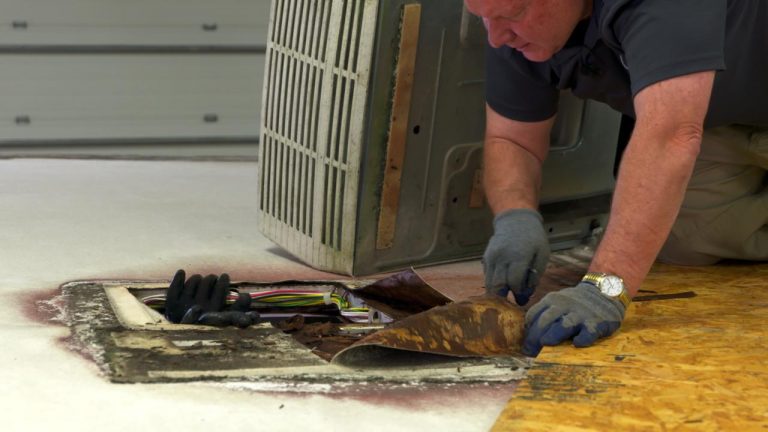
Before installing a RV transfer switch you will want to make sure that all power sources to the RV are disconnected, including generators, shore lines and batteries. Remove the 4×4 boxes and disconnect any wires that are connected to the older style units.
The automatic RV transfer switch has decals where everything gets hooked up. It is important to follow these guidelines to ensure nothing gets hooked up incorrectly. Look at the box and the placement to determine which punch outs to remove from the box so the wires can be run through it.
Connect the grounding wires first, followed by the shore power lines, generator wires and load center wires. Be careful not to have the screw go into the wire insulation. This can cause a poor connection and will generate heat, which could cause a fire.
Once done make sure all wires are connected correctly and tightly. The plug it in and verify that there is power coming in from the shore power and into the load center. The next test is when the generator is started; the shore power should automatically shut off.
If you are still unsure of how to upgrade to a 30-Amp RV transfer switch, contact a certified electrician to help work on your RV.
Explore videos by RV Lifestyle & Repair Editors


Premium Membership
Unlock exclusive member content from our industry experts.
- 24/7 Access to Premium RV Maintenance Videos, Travel Inspiration, and Lifestyle Tips
- Step-by-Step Instructional Demos, Projects, and Guides
- 50% Off Video Downloads Purchased in the RV Lifestyle & Repair Shop
- Access to Ask the Expert Program
Unlock exclusive member content from our industry experts.
- 24/7 Access to Premium RV Maintenance Videos, Travel Inspiration, and Lifestyle Tips
- Step-by-Step Instructional Demos, Projects, and Guides
- 2 Full-Length Video Downloads to Watch Offline
- 50% Off Video Downloads Purchased in the RV Lifestyle & Repair Shop
- Access to Ask the Expert Program
Gold Membership
$333 Value
Get everything included in Premium plus exclusive Gold Membership benefits.
- 24/7 Access to Premium RV Maintenance Videos, Travel Inspiration, and Lifestyle Tips
- Step-by-Step Instructional Demos, Projects, and Guides
- 9 Full-Length Video Downloads to Watch Offline
- 2 Full-Length RV Repair Classes to Keep for Life
- Discounts on Purchase-to-Own Content in the RV Lifestyle & Repair Shop
- Access to Ask the Expert Program
- Exclusive GOLD LIVE Streaming Events
Share tips, start a discussion or ask one of our experts or other students a question.
Already a member? Sign in
No Responses to “How to Install an Automatic RV Transfer Switch”