How to Fix a Sagging RV Headliner
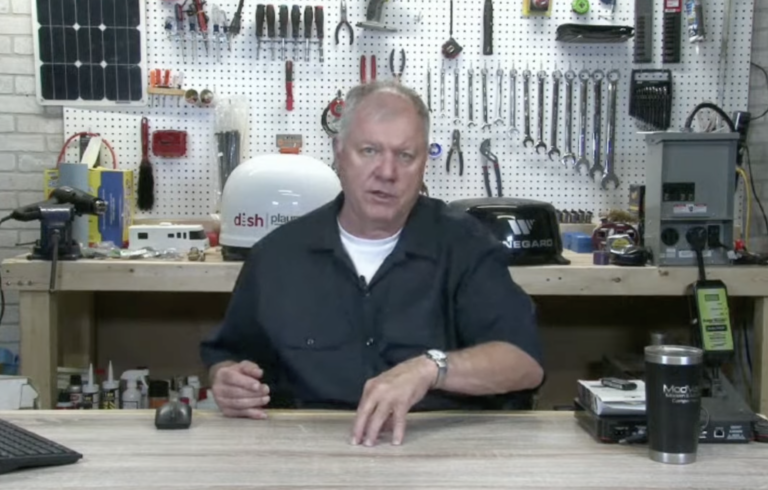
RV Lifestyle & Repair EditorsThe fabric headliner in your RV can begin to sag in spots for various reasons, including excessive heat, humidity, and leakage. These all cause the adhesive to loosen and the fabric headliner to peel away from the ceiling. But fear not! You can fix your sagging RV headliner in a few different ways and get the inside of your vehicle looking tiptop. In this free tutorial, RV maintenance and repair expert Dave Solberg teaches you what to do when your fabric RV headliner sags because of failing adhesive.
After discussing the common causes of a headliner that’s developed a soft spot, Dave introduces a couple techniques you can utilize to fix the problem. If you’re tired of the fabric and just want to swap it out for a new material, you could go the wallboard route, but be aware of the drawbacks this entails. If you do prefer the fabric look, Dave shows you how to either strip and replace the current fabric or cut and repair it where the sag has occurred.
Should you choose the latter option, you’ll want to strip wet or worn adhesive and apply a new coat, and then pull the fabric taut to all four walls before sealing it up for good. With Dave’s help, you’ll have that sagging RV headliner tightened up and looking like new in no time!
Explore videos by RV Lifestyle & Repair Editors


Premium Membership
Unlock exclusive member content from our industry experts.
- 24/7 Access to Premium RV Maintenance Videos, Travel Inspiration, and Lifestyle Tips
- Step-by-Step Instructional Demos, Projects, and Guides
- 50% Off Video Downloads Purchased in the RV Lifestyle & Repair Shop
- Access to Ask the Expert Program
Unlock exclusive member content from our industry experts.
- 24/7 Access to Premium RV Maintenance Videos, Travel Inspiration, and Lifestyle Tips
- Step-by-Step Instructional Demos, Projects, and Guides
- 2 Full-Length Video Downloads to Watch Offline
- 50% Off Video Downloads Purchased in the RV Lifestyle & Repair Shop
- Access to Ask the Expert Program
Gold Membership
$333 Value
Get everything included in Premium plus exclusive Gold Membership benefits.
- 24/7 Access to Premium RV Maintenance Videos, Travel Inspiration, and Lifestyle Tips
- Step-by-Step Instructional Demos, Projects, and Guides
- 9 Full-Length Video Downloads to Watch Offline
- 2 Full-Length RV Repair Classes to Keep for Life
- Discounts on Purchase-to-Own Content in the RV Lifestyle & Repair Shop
- Access to Ask the Expert Program
- Exclusive GOLD LIVE Streaming Events
Share tips, start a discussion or ask one of our experts or other students a question.
Already a member? Sign in
No Responses to “How to Fix a Sagging RV Headliner”