How to Properly Dump Your RV Waste Water Tanks
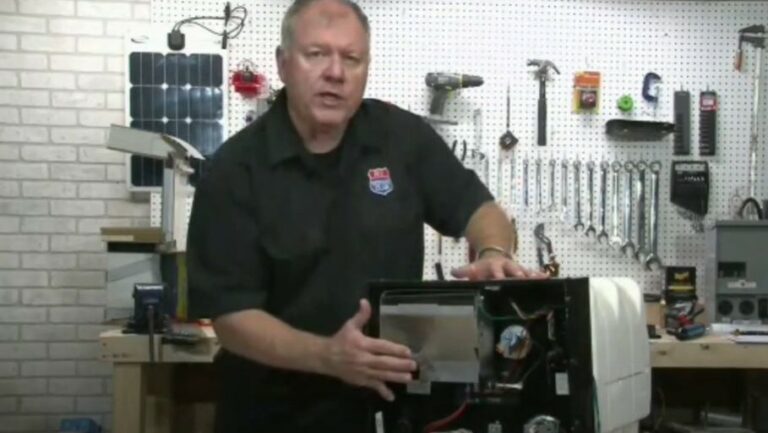
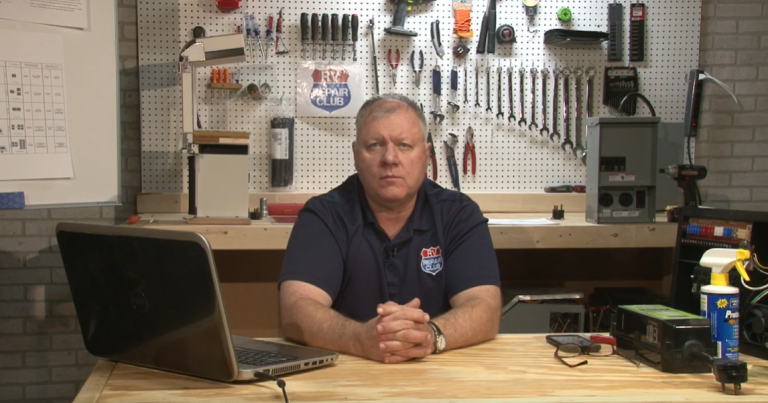
RV Lifestyle & Repair EditorsAn RV sewage system allows you to camp or travel for days at a time without having to hook up to city plumbing, but eventually you’ll have to clean out your RV waste water tanks. While it’s not a very complicated process, you’ll need to follow some safety protocols to avoid spreading disease-causing pathogens and bacteria into your clean water tanks and around the rig itself. Finding the right tools for dumping your RV waste water tanks is simple, but crucial. You’ll want to keep the area clean and keep your own personal safety in mind.
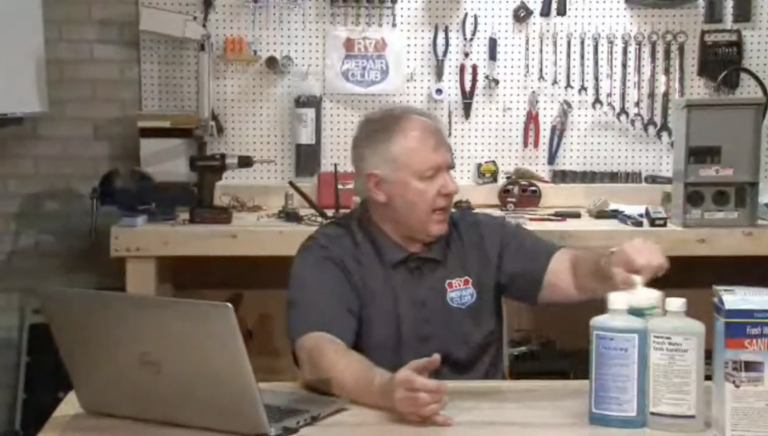
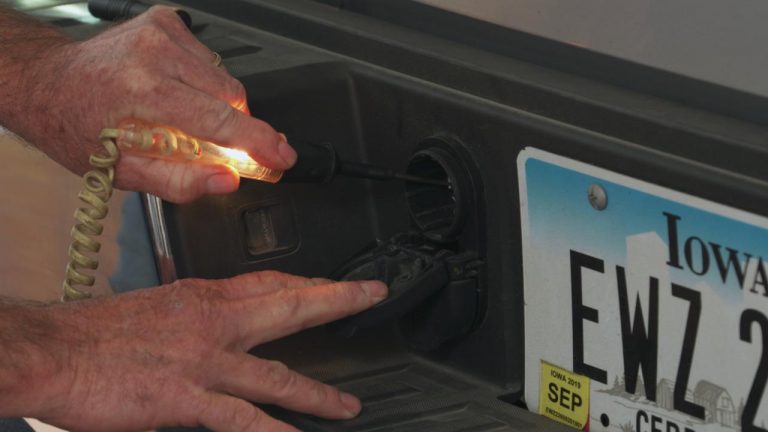
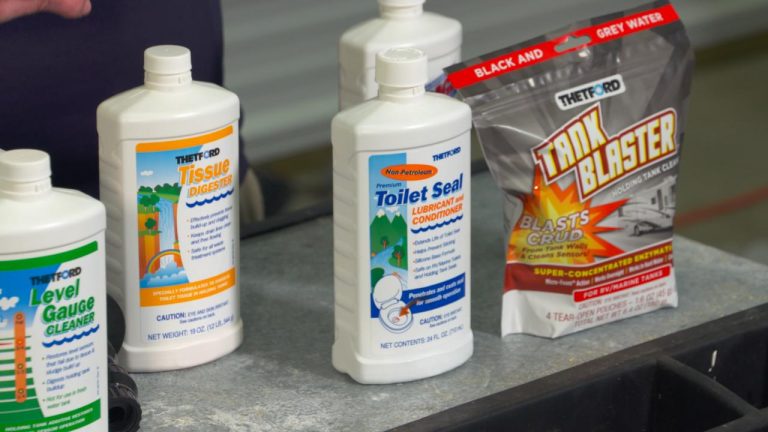
In this video, we begin with the simple protective tools you’ll need when emptying your RV waste water tanks. You’ll see the best type of elbow pipe and the reason why it’s considered the best for this job. You’ll learn about why you need a dedicated garden hose for this specific job, and why just any old hose you have lying around won’t cut it.
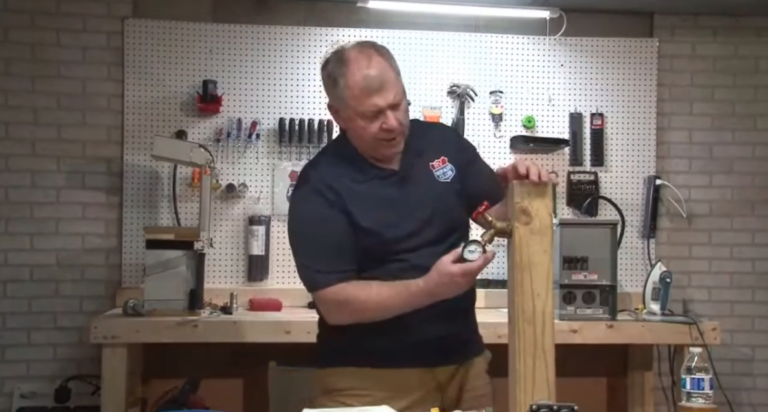
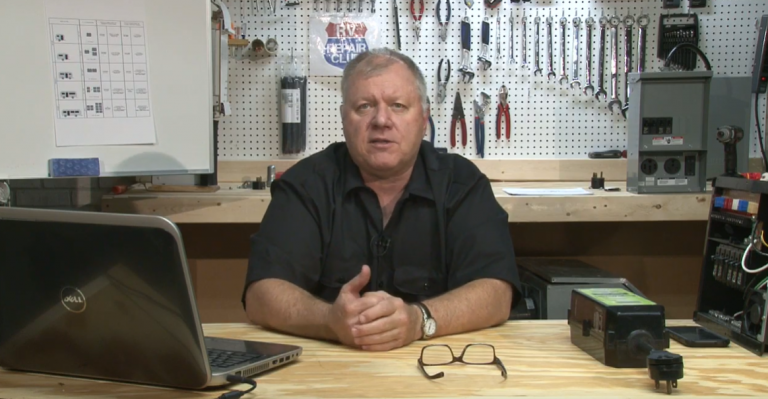
Find out the actual process for cleaning out the RV waste water tanks, from the first valve opening to what happens when the hose seems to run dry. You’ll learn about black water tank flush wands and how they clean out a tank that seems like it’s already been emptied by loosening and removing excess material that may have been stuck inside. Cleaning out your RV waste water tanks in the correct manner will not only leave it cleaner and emptier, giving you more volume to use while on the road, it will also protect you against germs and pathogens that lurk in the liquid in your tank. The tips and tricks our pro provides in this video will show you how to properly clean out your RV waste water tanks and how to clean up your supplies afterward.
Explore videos by RV Lifestyle & Repair Editors


Premium Membership
Unlock exclusive member content from our industry experts.
- 24/7 Access to Premium RV Maintenance Videos, Travel Inspiration, and Lifestyle Tips
- Step-by-Step Instructional Demos, Projects, and Guides
- 50% Off Video Downloads Purchased in the RV Lifestyle & Repair Shop
- Access to Ask the Expert Program
Unlock exclusive member content from our industry experts.
- 24/7 Access to Premium RV Maintenance Videos, Travel Inspiration, and Lifestyle Tips
- Step-by-Step Instructional Demos, Projects, and Guides
- 2 Full-Length Video Downloads to Watch Offline
- 50% Off Video Downloads Purchased in the RV Lifestyle & Repair Shop
- Access to Ask the Expert Program
Gold Membership
$333 Value
Get everything included in Premium plus exclusive Gold Membership benefits.
- 24/7 Access to Premium RV Maintenance Videos, Travel Inspiration, and Lifestyle Tips
- Step-by-Step Instructional Demos, Projects, and Guides
- 9 Full-Length Video Downloads to Watch Offline
- 2 Full-Length RV Repair Classes to Keep for Life
- Discounts on Purchase-to-Own Content in the RV Lifestyle & Repair Shop
- Access to Ask the Expert Program
- Exclusive GOLD LIVE Streaming Events
Share tips, start a discussion or ask one of our experts or other students a question.
Already a member? Sign in
No Responses to “How to Properly Dump Your RV Waste Water Tanks”