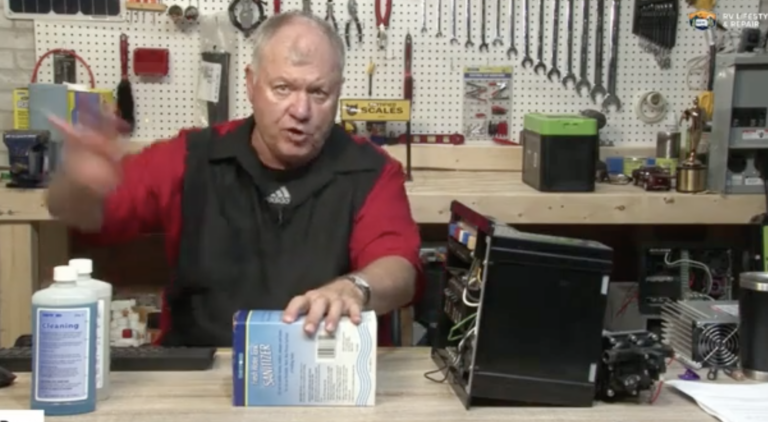
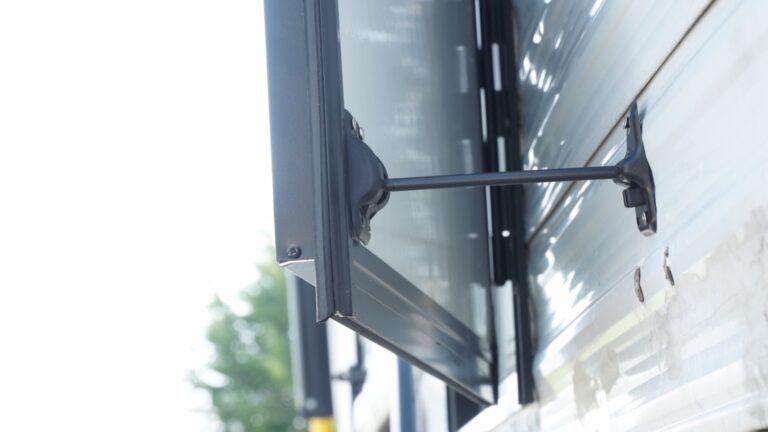
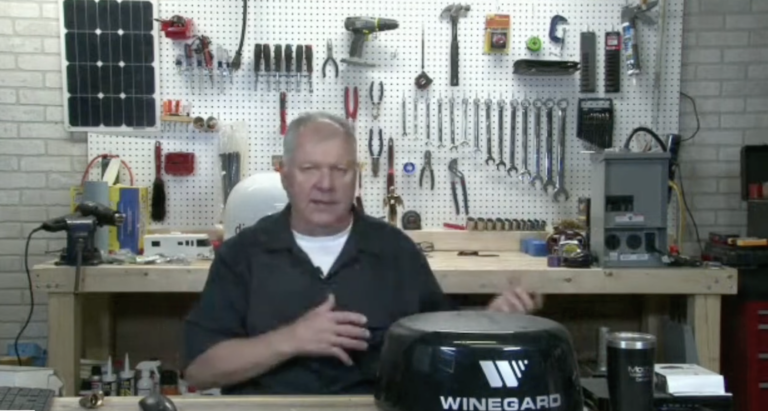
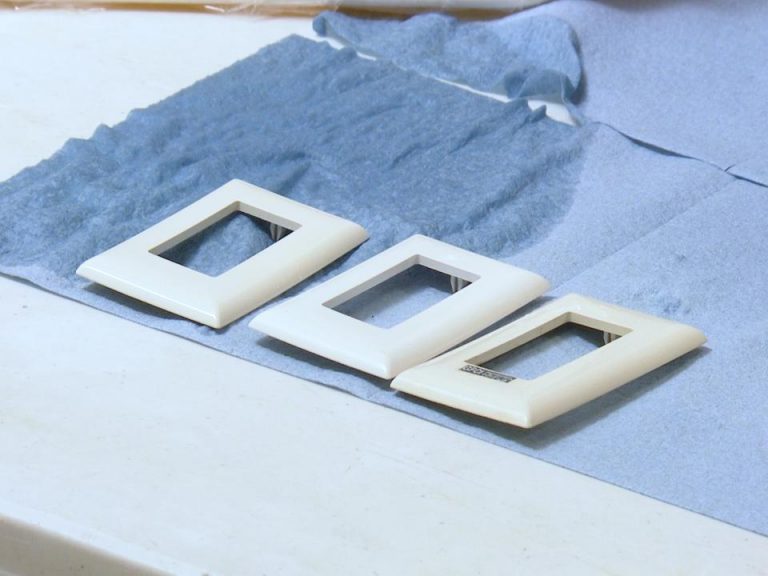
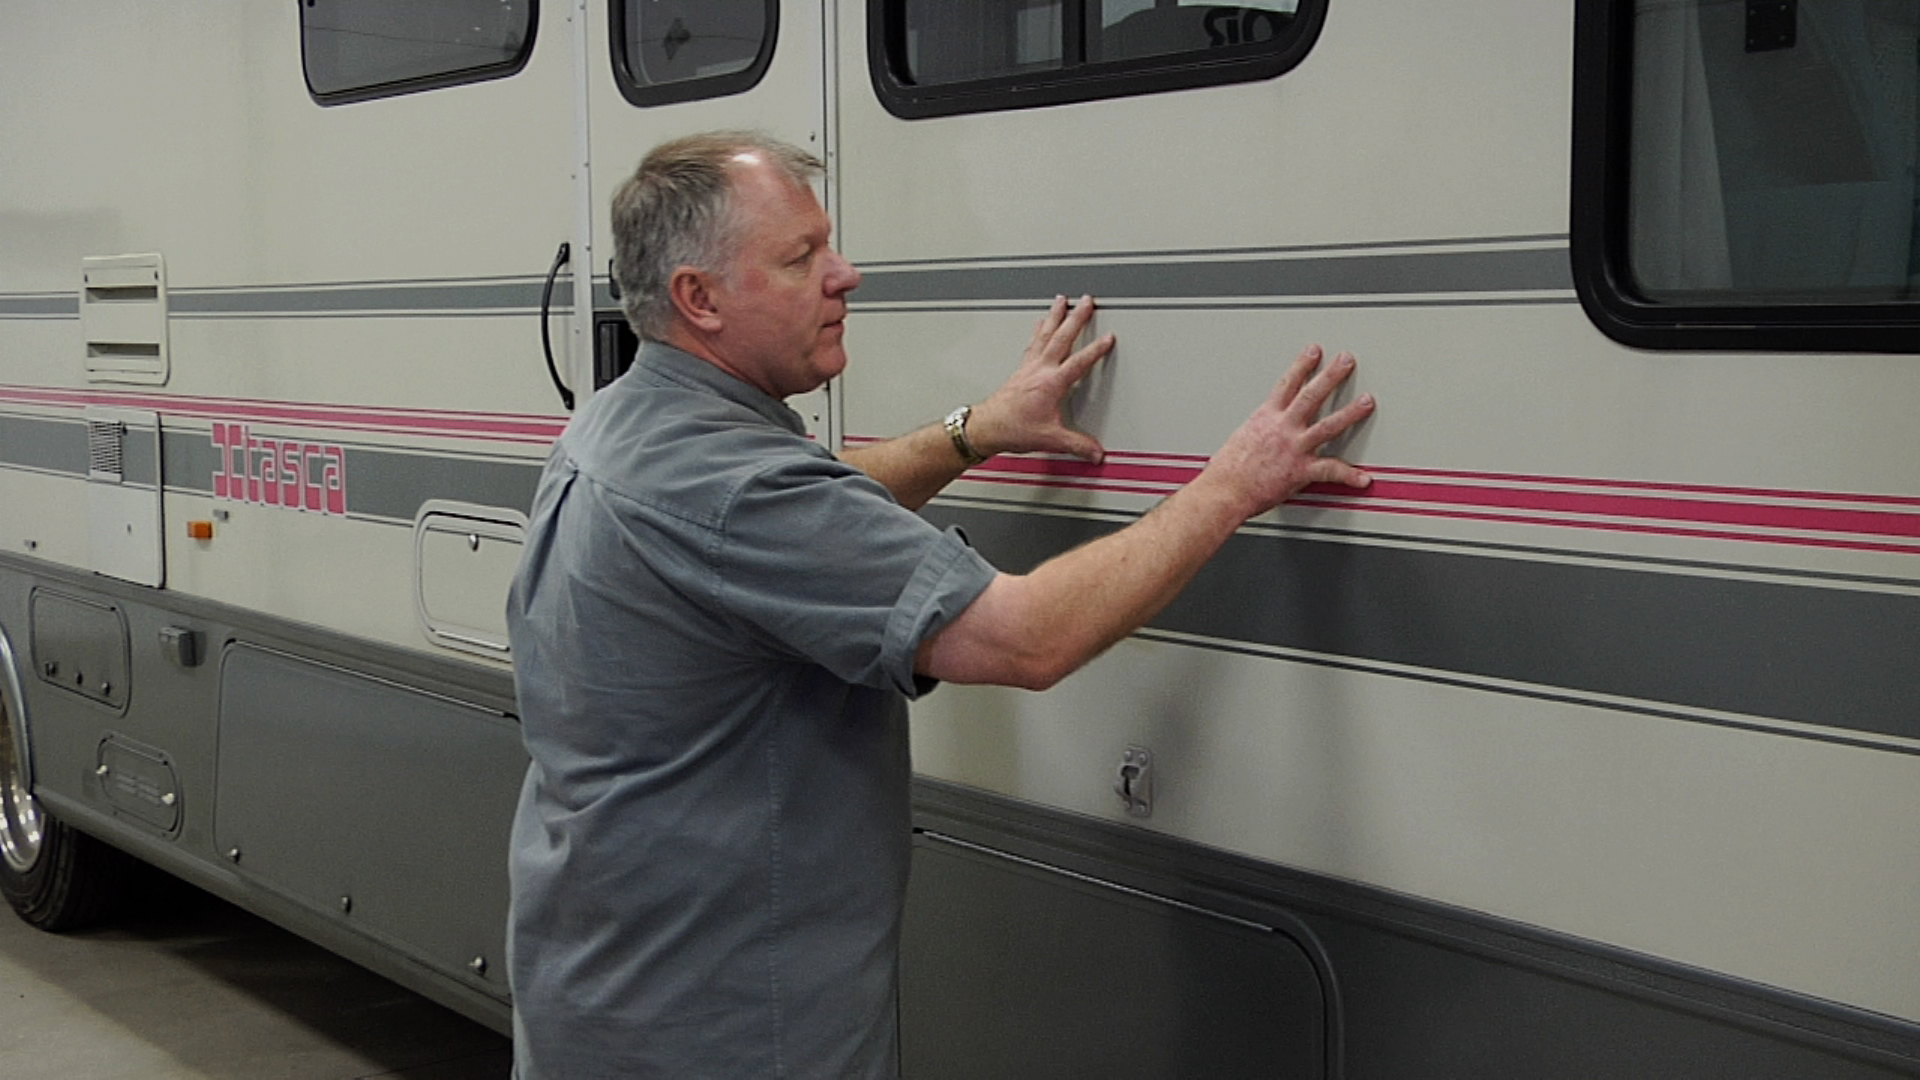
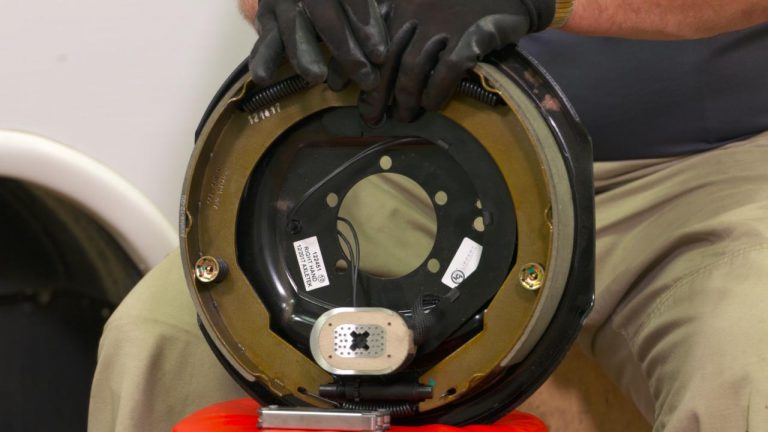
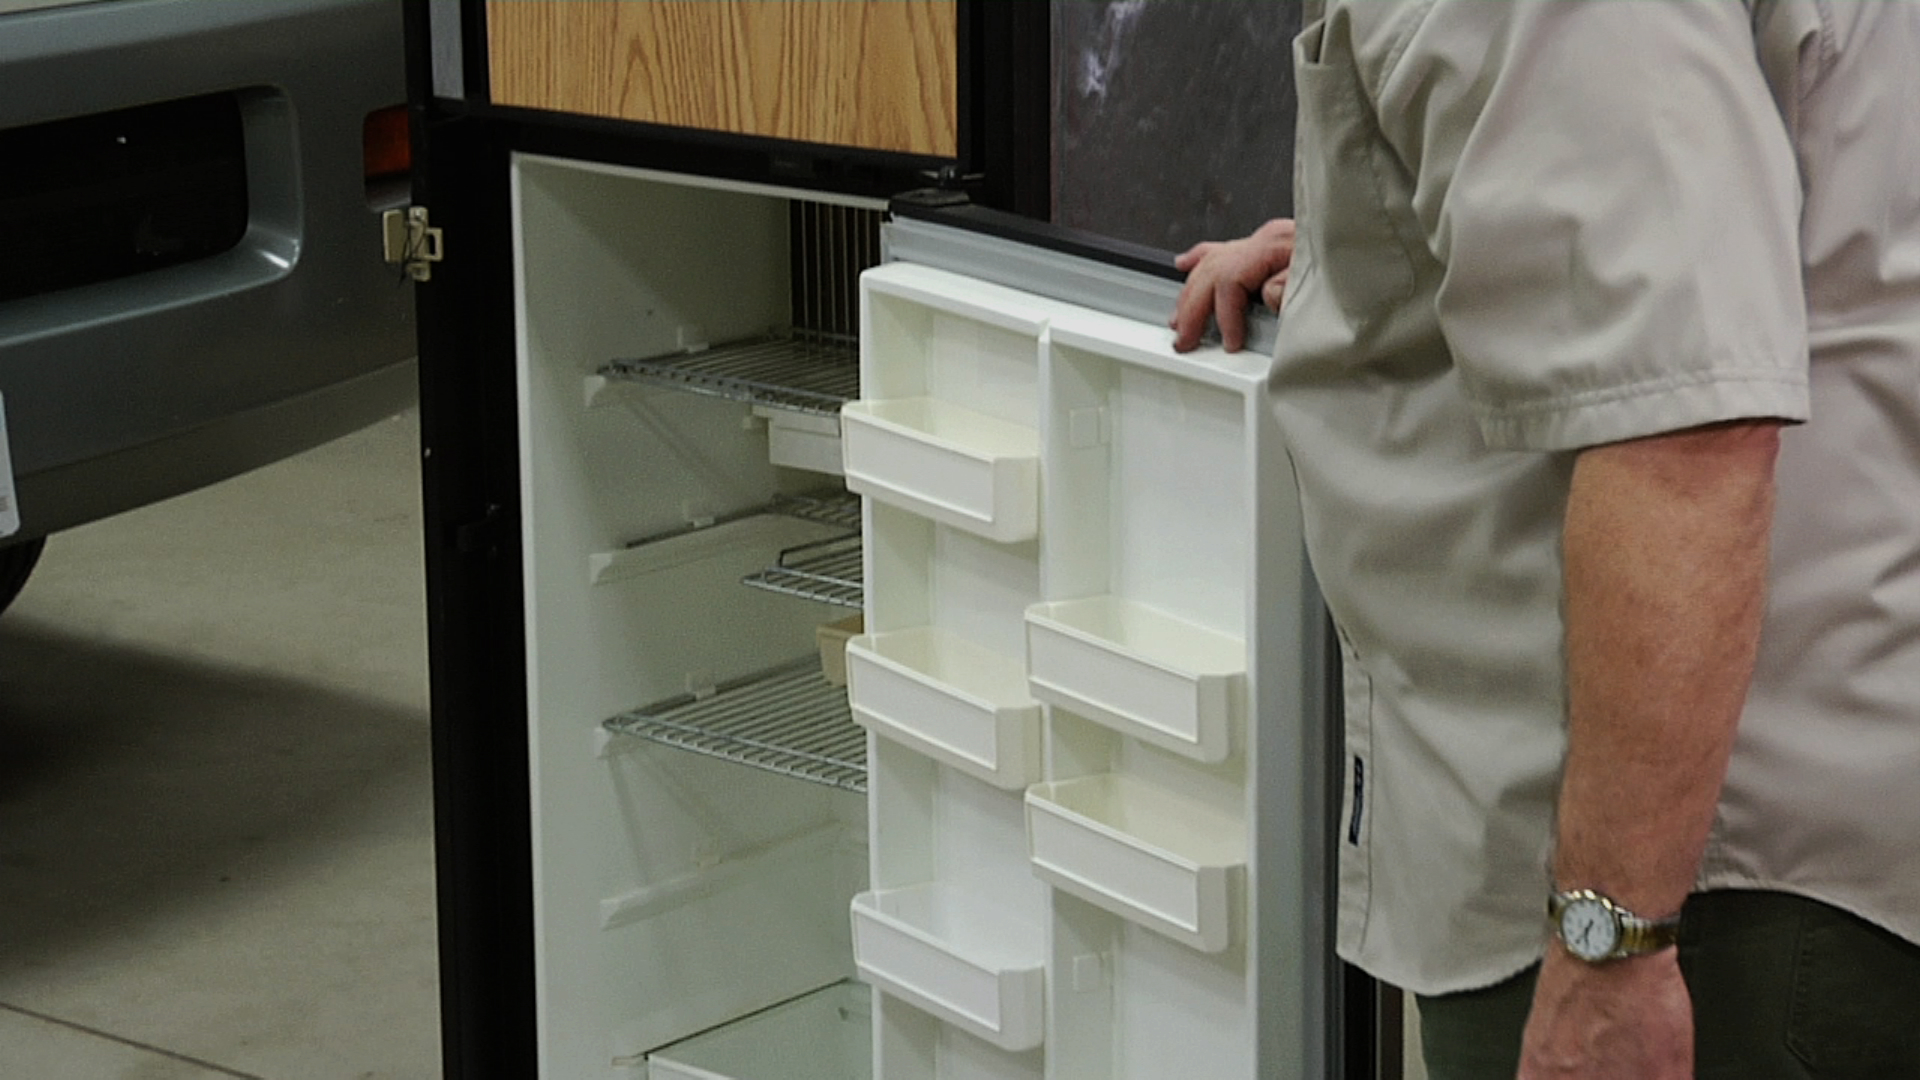
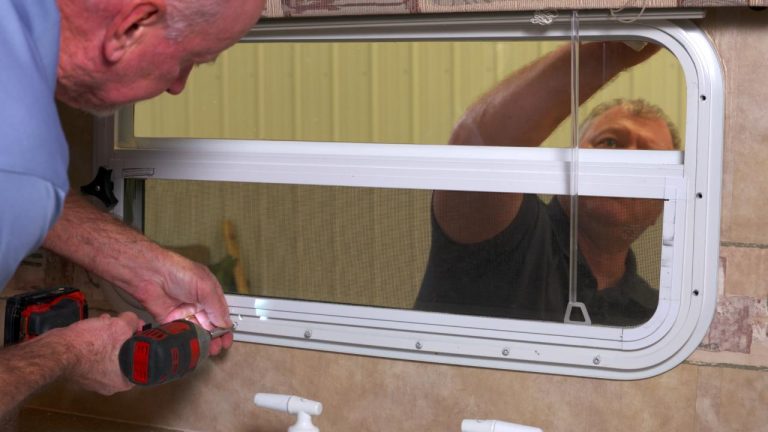
Screwing into Plastic on Your RV
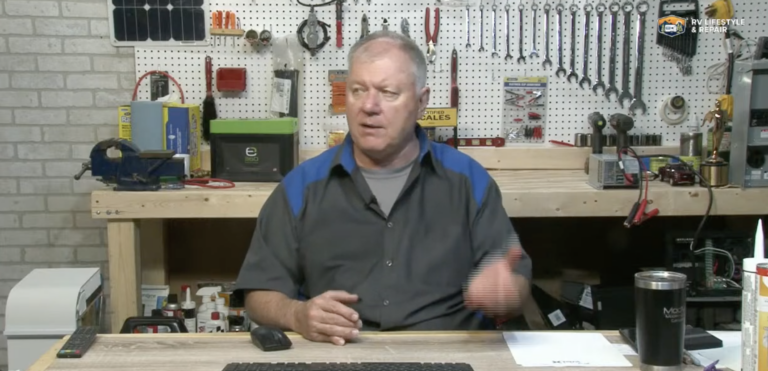
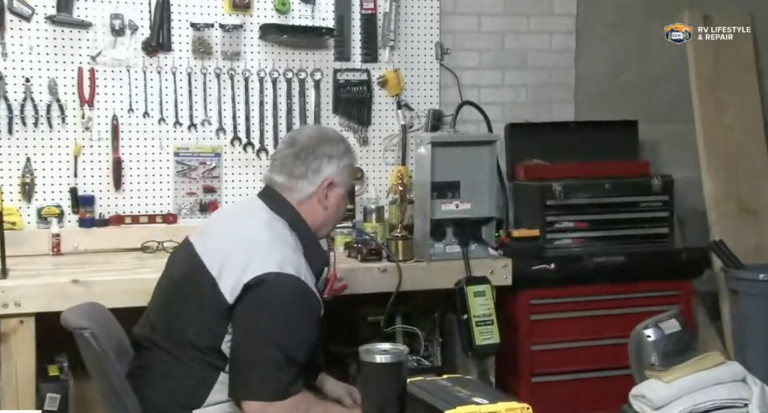
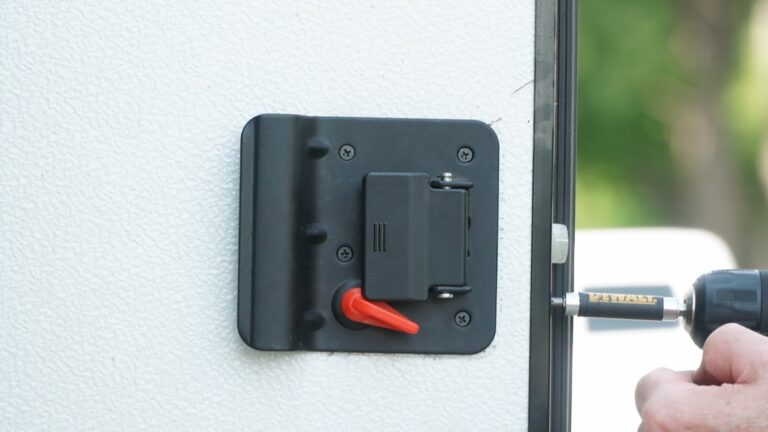
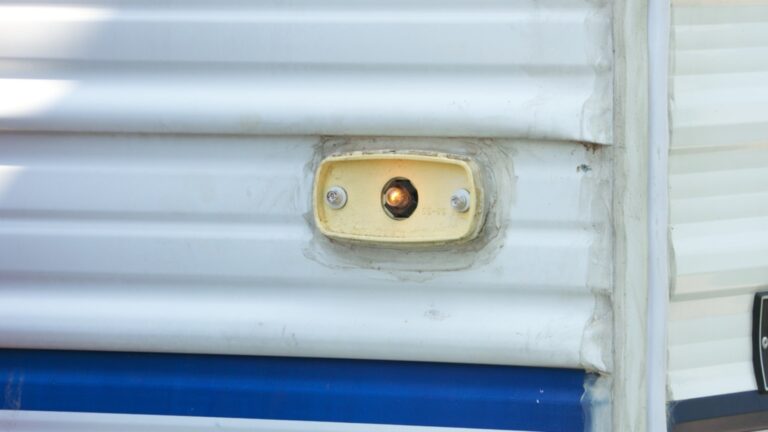
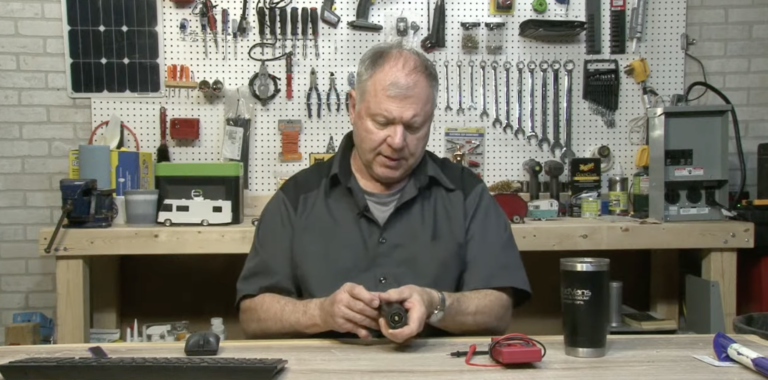
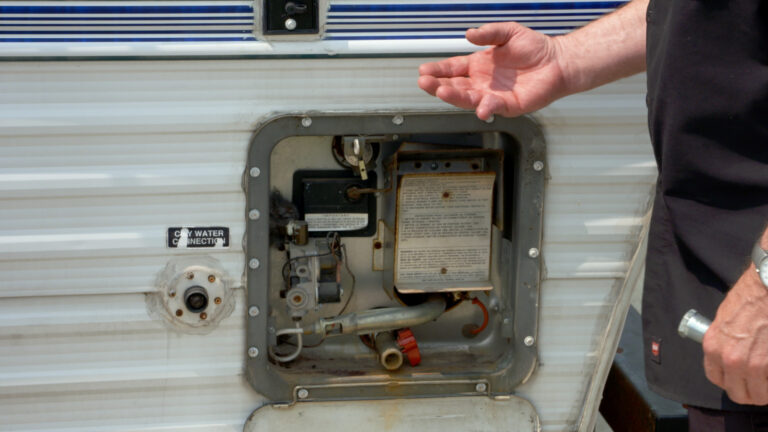
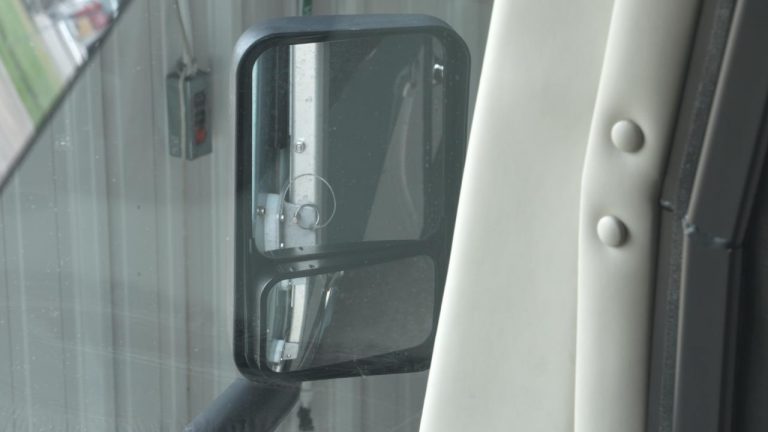
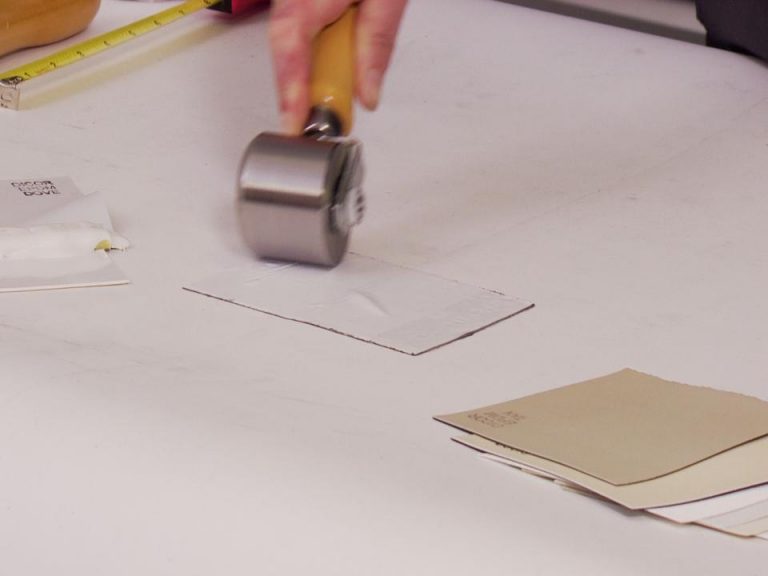
Dave SolbergTo ensure the longest lifespan for the materials and components on your RV, you want to treat them with care and use proper techniques for altering and updating them. Close attention should be paid when mounting or drill into plastic on interior and exterior of your rig, as you’ll want to avoid spider cracking whenever possible. And in this lesson, RVing expert Dave Solberg teaches you the correct technique for screwing into plastic and fiberglass so you can prevent cracking on your unit’s materials.
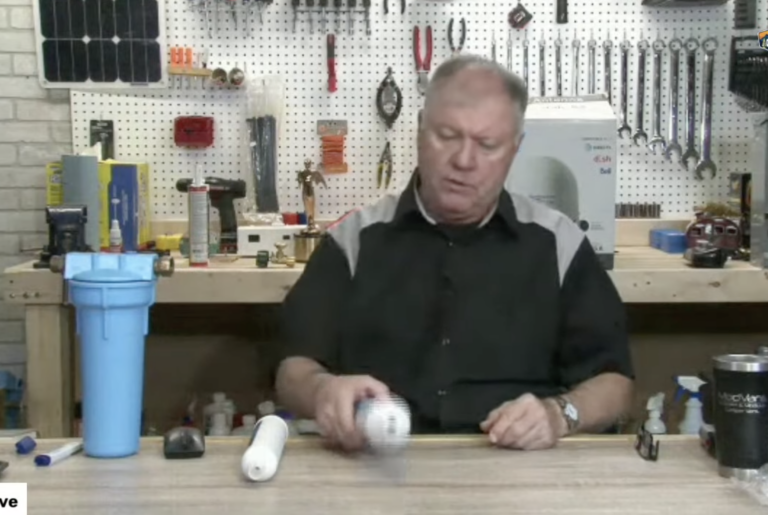
You’ll learn why it’s critical to pre-drill a hole for any screw you intend to attach to plastic or fiberglass, whether the component is on the roof, side or interior of your RV. With Dave’s help, you will be able to drill a smooth, crackless slot for screws of all sizes. Remember, if you want your components to last, avoid the spiders at all costs!
Share tips, start a discussion or ask one of our experts or other students a question.
Already a member? Sign in
2 Responses to “Screwing into Plastic on Your RV”
Explore videos by Dave Solberg


You may be interested in


Premium Membership
Unlock exclusive member content from our industry experts.
- 24/7 Access to Premium RV Maintenance Videos, Travel Inspiration, and Lifestyle Tips
- Step-by-Step Instructional Demos, Projects, and Guides
- 50% Off Video Downloads Purchased in the RV Lifestyle & Repair Shop
- Access to Ask the Expert Program
Unlock exclusive member content from our industry experts.
- 24/7 Access to Premium RV Maintenance Videos, Travel Inspiration, and Lifestyle Tips
- Step-by-Step Instructional Demos, Projects, and Guides
- 2 Full-Length Video Downloads to Watch Offline
- 50% Off Video Downloads Purchased in the RV Lifestyle & Repair Shop
- Access to Ask the Expert Program
Gold Membership
$333 Value
Get everything included in Premium plus exclusive Gold Membership benefits.
- 24/7 Access to Premium RV Maintenance Videos, Travel Inspiration, and Lifestyle Tips
- Step-by-Step Instructional Demos, Projects, and Guides
- 9 Full-Length Video Downloads to Watch Offline
- 2 Full-Length RV Repair Classes to Keep for Life
- Discounts on Purchase-to-Own Content in the RV Lifestyle & Repair Shop
- Access to Ask the Expert Program
- Exclusive GOLD LIVE Streaming Events
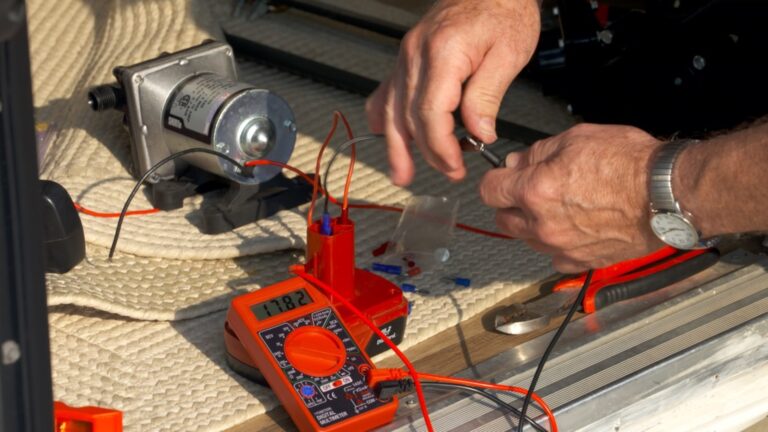
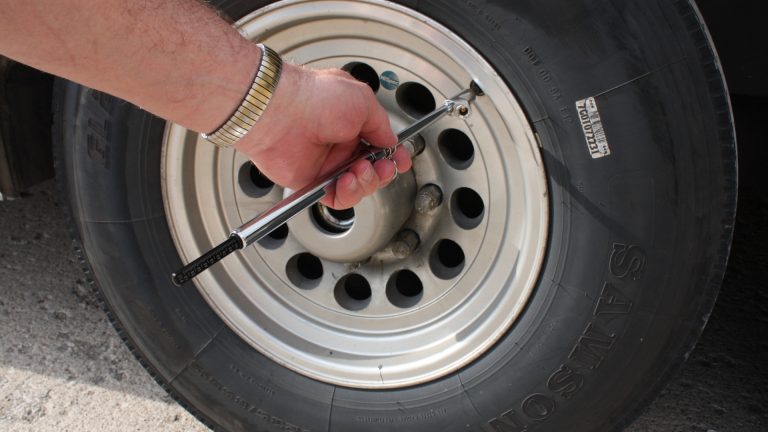
A couple of comments: First the drill bit should be positioned at 90 degrees to what is being drilled. Your illustration appears to be about 5 degrees off vertical. Secondly the dill bit used should be the diameter of the screw exclusive of the threads otherwise you may not get a tight connection when the screw is tightened. I use the eye ball method when selecting the appropriate drill size required: hold the drill up to the screw and determine that it is suitable.
Hey Dave, that black sleeve you have on your drill, if used properly, will prevent the wobbling you experienced when trying to use the self-tapping screw. Just pull that black sleeve down over most of the screw before starting. 😉