Tips for RV Air Conditioner Maintenance
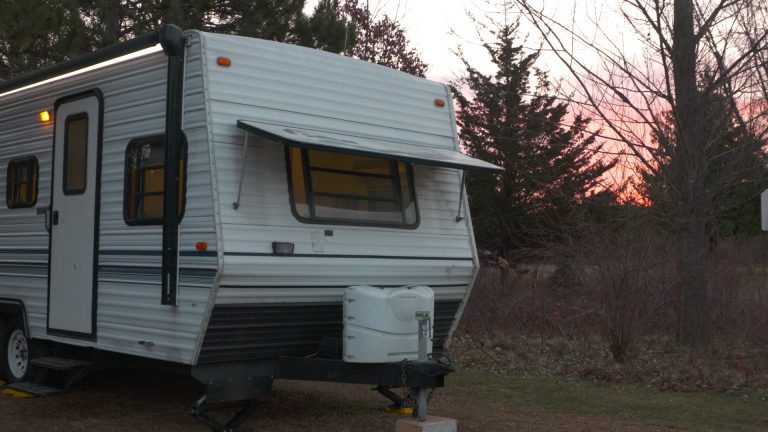
RV Lifestyle & Repair EditorsYour RV is your home away from home and you want to do everything possible to ensure you are just as comfortable while traveling as you would be at home. If traveling in the summer, you will want to make sure that the RV air conditioner is providing proper air flow and keeps you cool when temperatures rise. This can be done through routine maintenance checks which should be conducted on your RV air conditioner at least once every two weeks.
To start, remove the cover to the RV air conditioner on the inside of your RV and check the filters. In order to provide proper air flow, the filters need to be cleaned regularly. Vacuuming the filters should be enough, however, if they are really bad, use warm soapy water to rinse the filters and allow to dry thoroughly before putting back in the RV air conditioner.
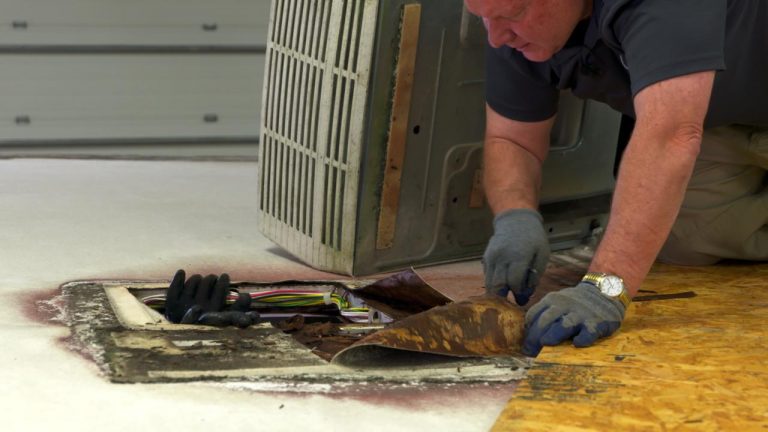
Other regular maintenance checks include visual inspections of the exterior of the RV air conditioner. Check for any cracks or major damage to the outside of the unit. Also, check the vent to ensure there are not any which have flattened out. If there are some flattened fins, use a knife or screwdriver to open them back up.
It is also suggested to check the bolts on the inside of the air conditioner unit every couple of years. You want to ensure they are tight securing the compressor gaskets which will avoid any moisture to build up. Check the owner’s manual for the proper torque amount before tightening the bolts.
Conducting routine maintenance of your RV air conditioner will help ensure it runs properly while traveling and will help you avoid any major repairs in the future.
Explore videos by RV Lifestyle & Repair Editors


Premium Membership
Unlock exclusive member content from our industry experts.
- 24/7 Access to Premium RV Maintenance Videos, Travel Inspiration, and Lifestyle Tips
- Step-by-Step Instructional Demos, Projects, and Guides
- 50% Off Video Downloads Purchased in the RV Lifestyle & Repair Shop
- Access to Ask the Expert Program
Unlock exclusive member content from our industry experts.
- 24/7 Access to Premium RV Maintenance Videos, Travel Inspiration, and Lifestyle Tips
- Step-by-Step Instructional Demos, Projects, and Guides
- 2 Full-Length Video Downloads to Watch Offline
- 50% Off Video Downloads Purchased in the RV Lifestyle & Repair Shop
- Access to Ask the Expert Program
Gold Membership
$333 Value
Get everything included in Premium plus exclusive Gold Membership benefits.
- 24/7 Access to Premium RV Maintenance Videos, Travel Inspiration, and Lifestyle Tips
- Step-by-Step Instructional Demos, Projects, and Guides
- 9 Full-Length Video Downloads to Watch Offline
- 2 Full-Length RV Repair Classes to Keep for Life
- Discounts on Purchase-to-Own Content in the RV Lifestyle & Repair Shop
- Access to Ask the Expert Program
- Exclusive GOLD LIVE Streaming Events
Share tips, start a discussion or ask one of our experts or other students a question.
Already a member? Sign in
No Responses to “Tips for RV Air Conditioner Maintenance”