How to Winterize an RV Using Pressurized Air
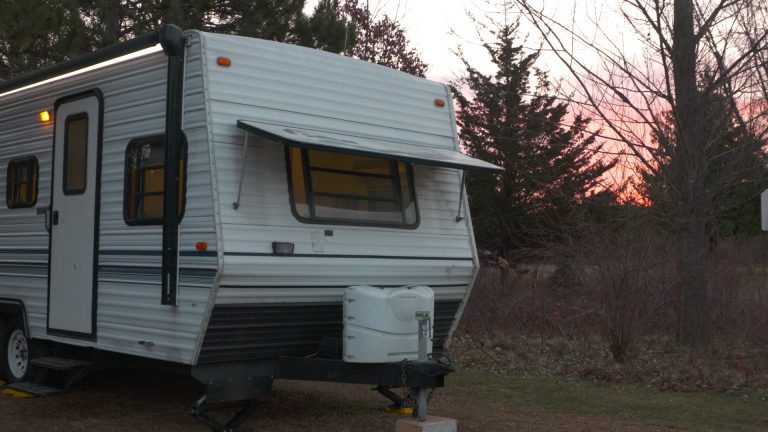
RV Lifestyle & Repair EditorsThere are a few different ways you can winterize an RV, including the use of antifreeze or compressed air to free the lines of any water that might freeze when temperatures drop. No matter what method you use, you need to fully understand how to winterize an RV to avoid any damage while in storage.
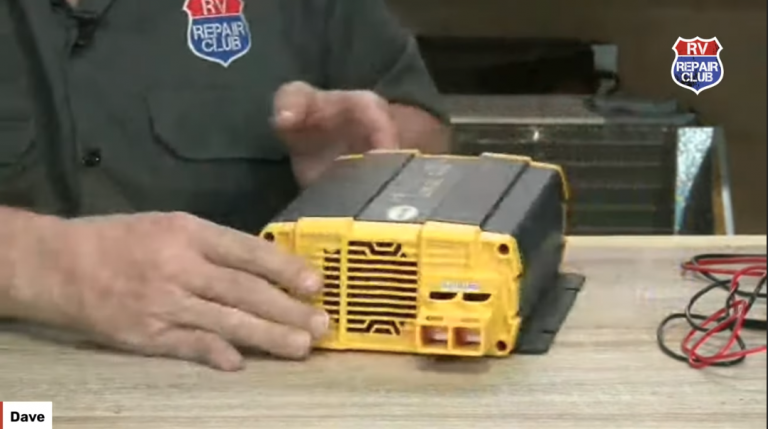
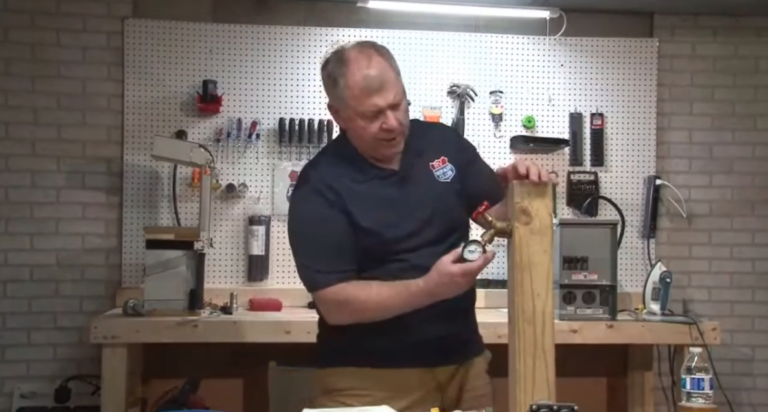
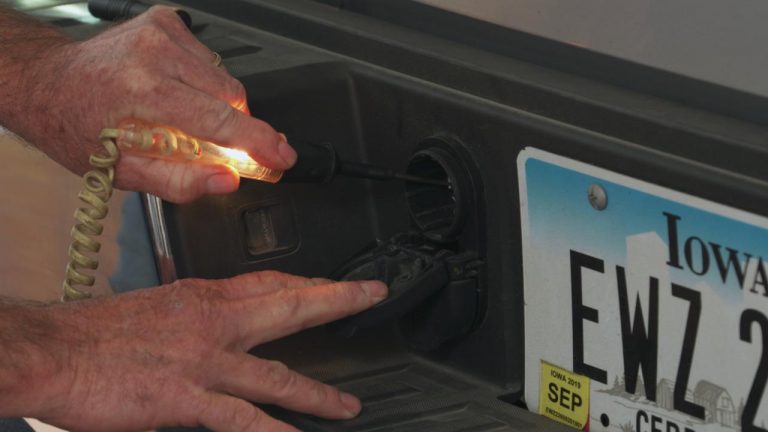
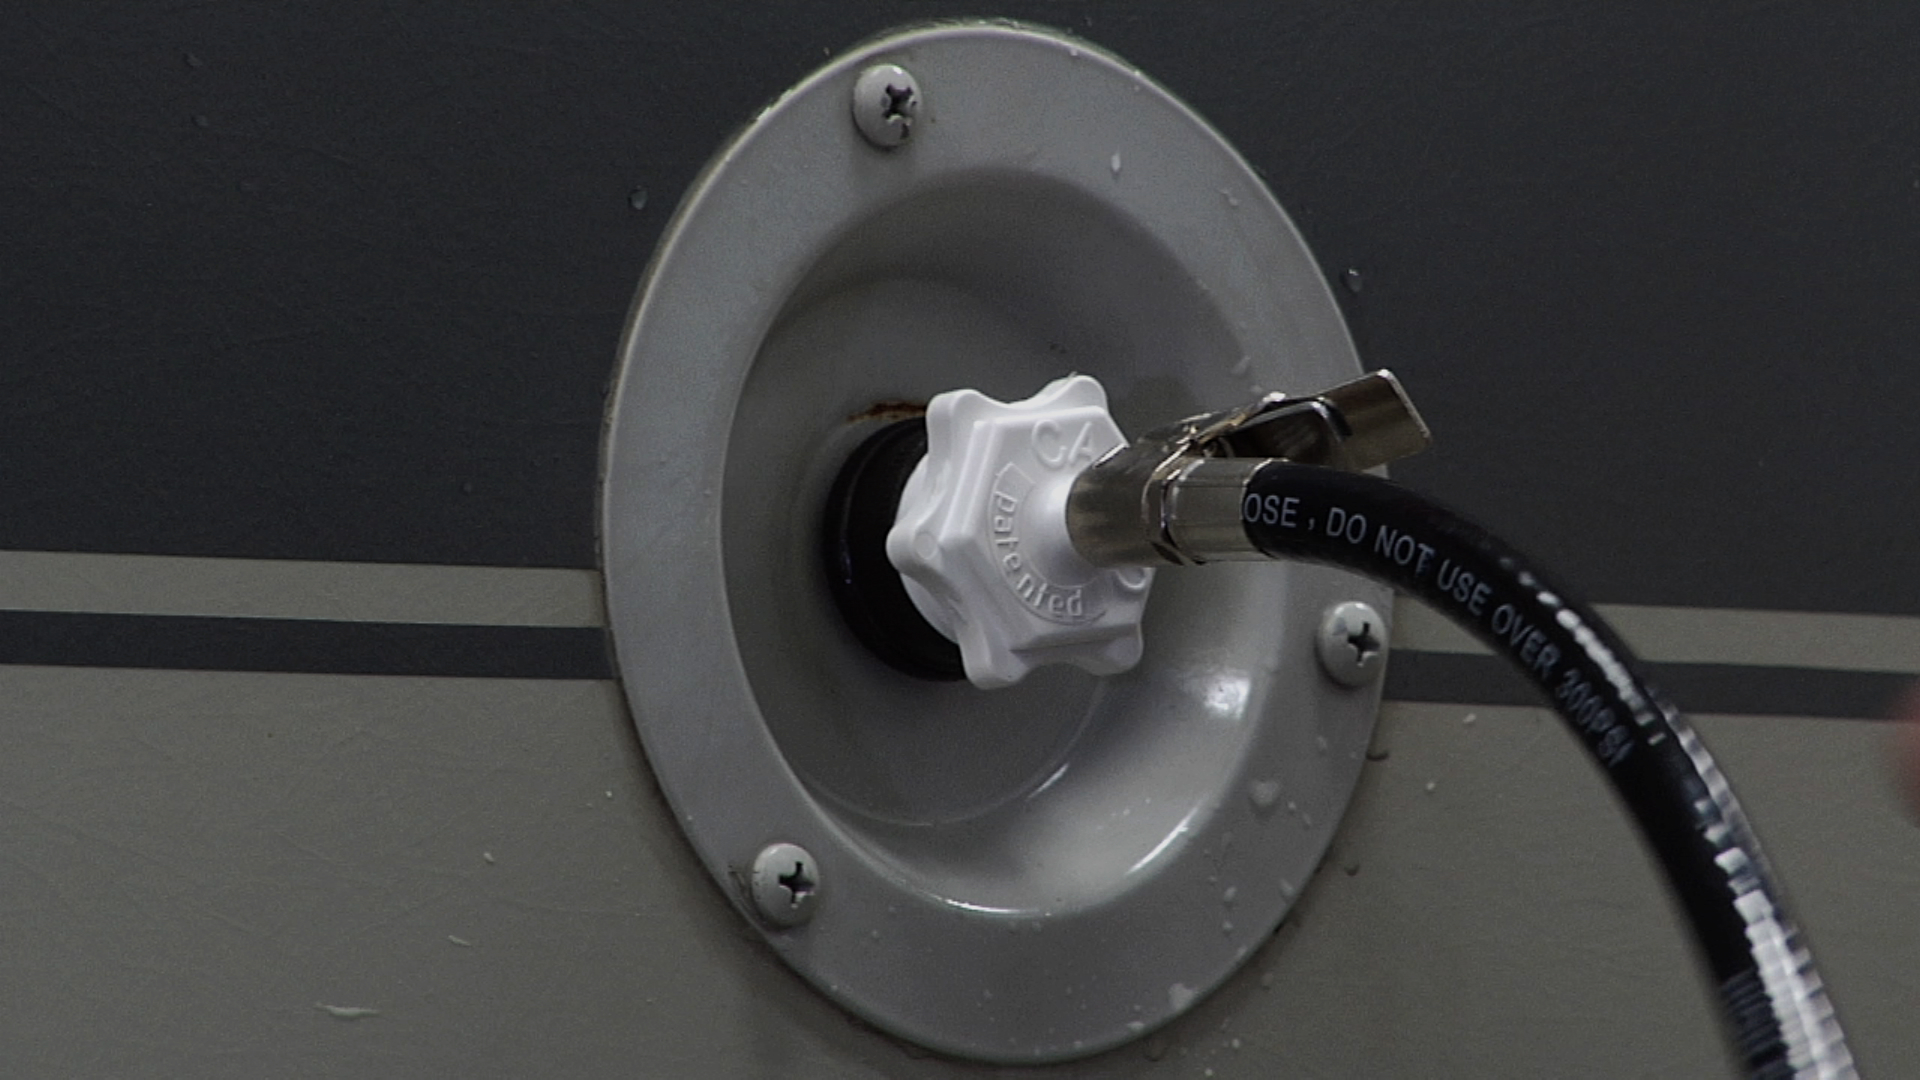
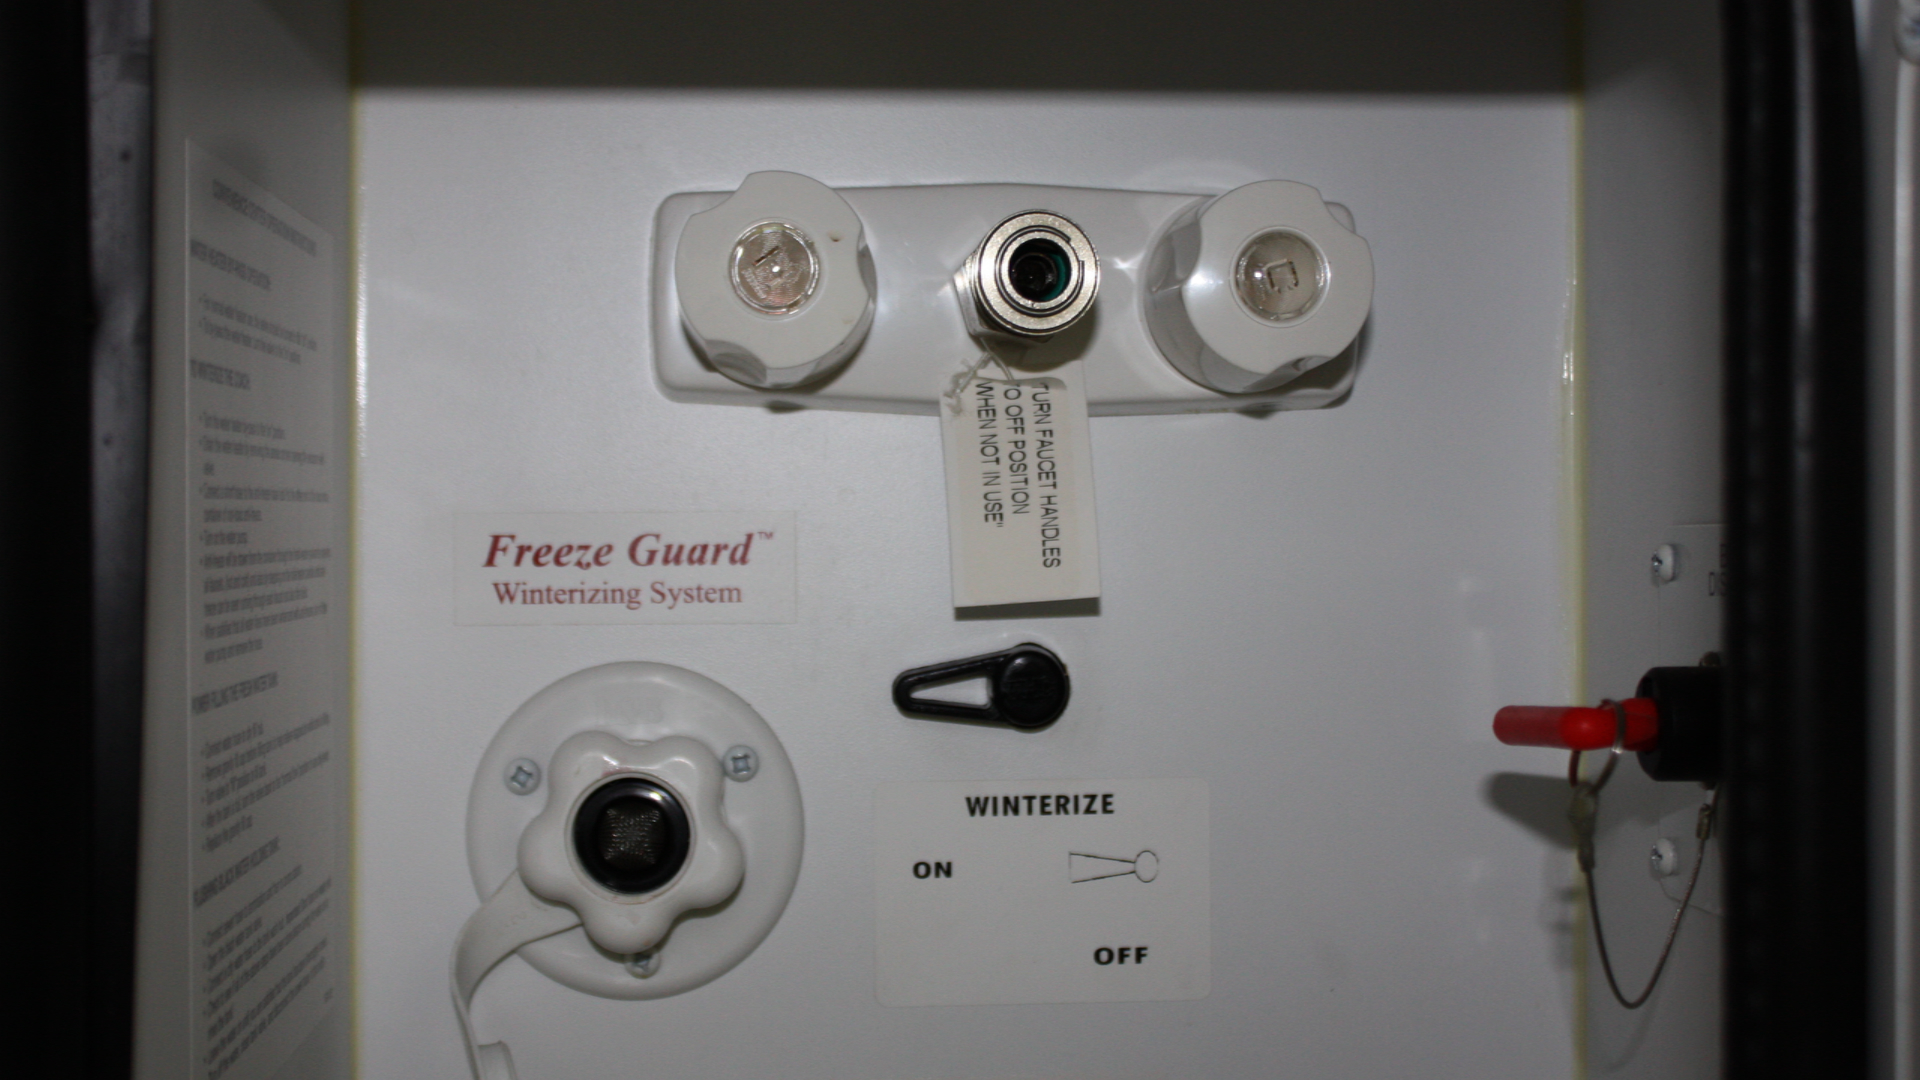
If you are not planning on using your RV during the winter months it is best to blowout the water inside the system using compressed air. To do so, you will need an adapter that screws into the city water fill line and a typical air compressor used in a garage.
Knowing how to winterize an RV using compressed air will ensure you complete the process properly. Set the air compressor at 120 PSI. Put it in place against the adapter attached to the water line and open each of the faucets inside the RV. When using compressed air it might be best to enlist the help of someone who knows how to winterize an RV because he or she may have to be on the inside of the RV watching while you are squeezing the compressor’s trigger.
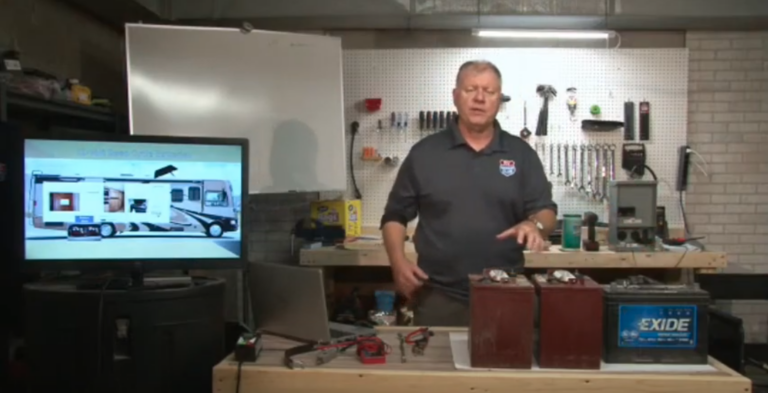
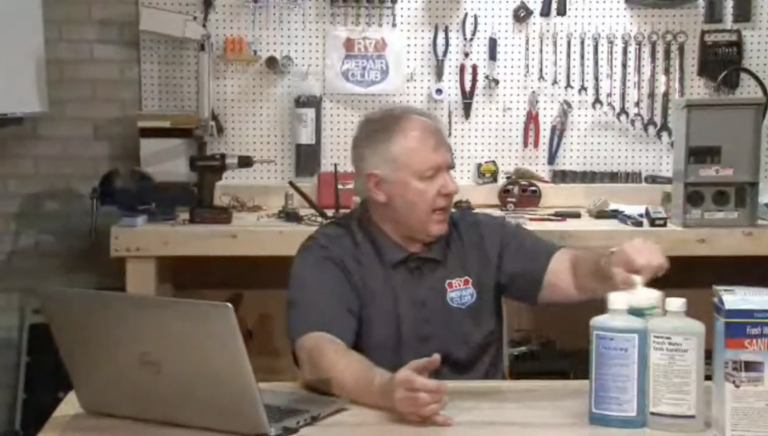
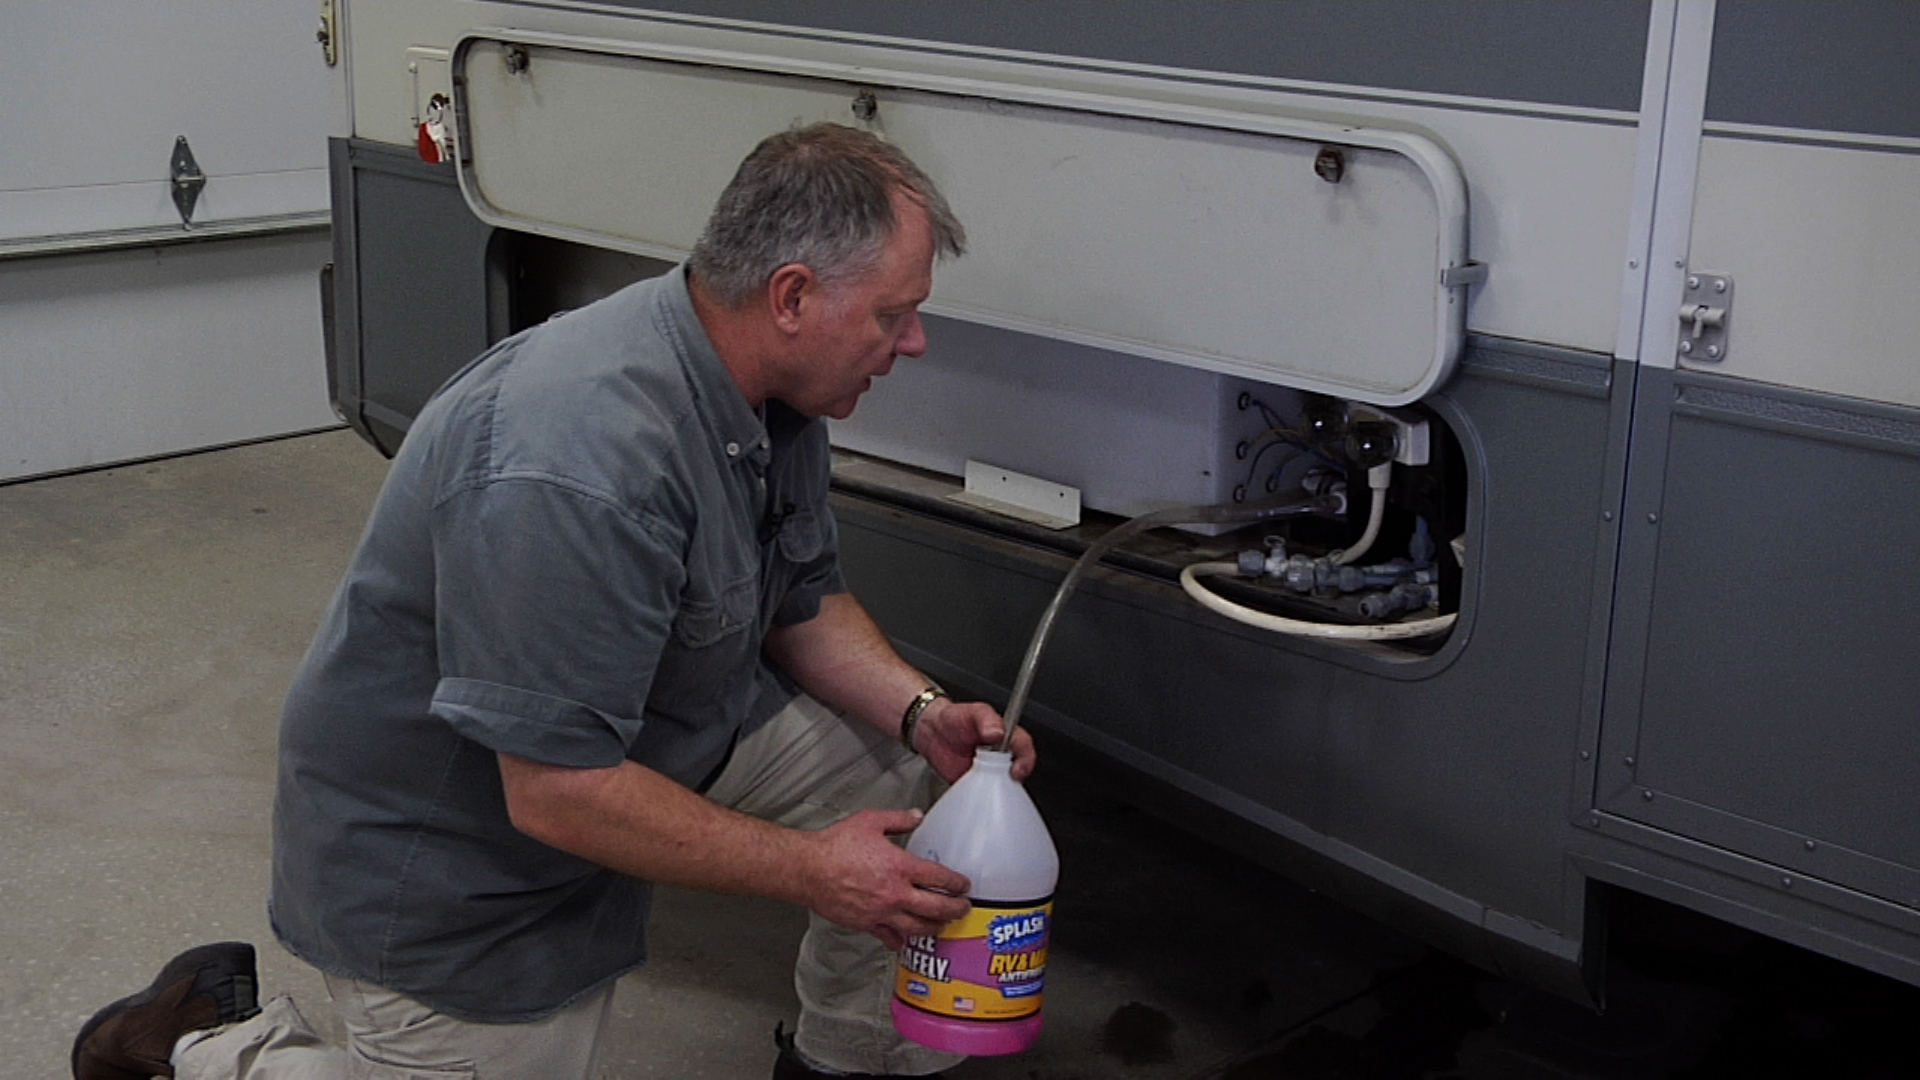
Turn on the faucet for both the hot and cold water lines to ensure they are completely empty of any water. Some sinks and drains may have water left behind. If so, pour a cup of antifreeze down each drain.
Another thing you will be told when learning how to winterize an RV using compressed air is to remove the water filter. This will prevent it from freezing while in storage.
Once you have learned how to winterize an RV you will discover that this method is the best when the RV will not be in use during the winter. This way you do not have to worry about learning how to winterize an RV using antifreeze and having to drain it when spring comes along.
Share tips, start a discussion or ask one of our experts or other students a question.
Already a member? Sign in
One Response to “How to Winterize an RV Using Pressurized Air”
Explore videos by RV Lifestyle & Repair Editors


You may be interested in


Premium Membership
Unlock exclusive member content from our industry experts.
- 24/7 Access to Premium RV Maintenance Videos, Travel Inspiration, and Lifestyle Tips
- Step-by-Step Instructional Demos, Projects, and Guides
- 50% Off Video Downloads Purchased in the RV Lifestyle & Repair Shop
- Access to Ask the Expert Program
Unlock exclusive member content from our industry experts.
- 24/7 Access to Premium RV Maintenance Videos, Travel Inspiration, and Lifestyle Tips
- Step-by-Step Instructional Demos, Projects, and Guides
- 2 Full-Length Video Downloads to Watch Offline
- 50% Off Video Downloads Purchased in the RV Lifestyle & Repair Shop
- Access to Ask the Expert Program
Gold Membership
$333 Value
Get everything included in Premium plus exclusive Gold Membership benefits.
- 24/7 Access to Premium RV Maintenance Videos, Travel Inspiration, and Lifestyle Tips
- Step-by-Step Instructional Demos, Projects, and Guides
- 9 Full-Length Video Downloads to Watch Offline
- 2 Full-Length RV Repair Classes to Keep for Life
- Discounts on Purchase-to-Own Content in the RV Lifestyle & Repair Shop
- Access to Ask the Expert Program
- Exclusive GOLD LIVE Streaming Events
Are you neglecting the line between the fresh water tank and the city water line? I’ve been using the air method the last few years but this thought occurred to me this year...