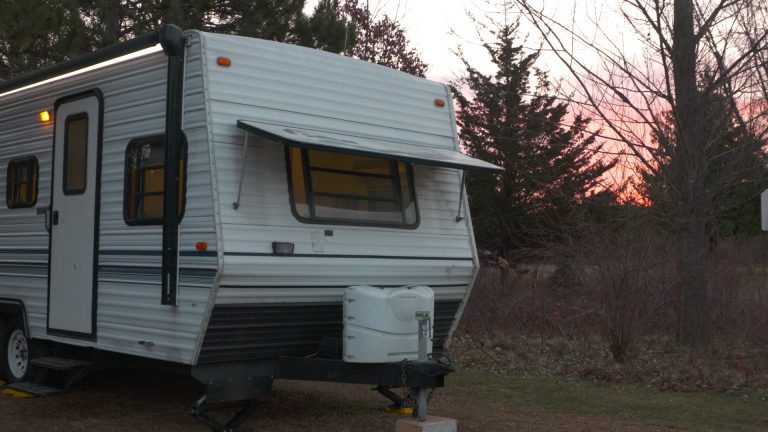
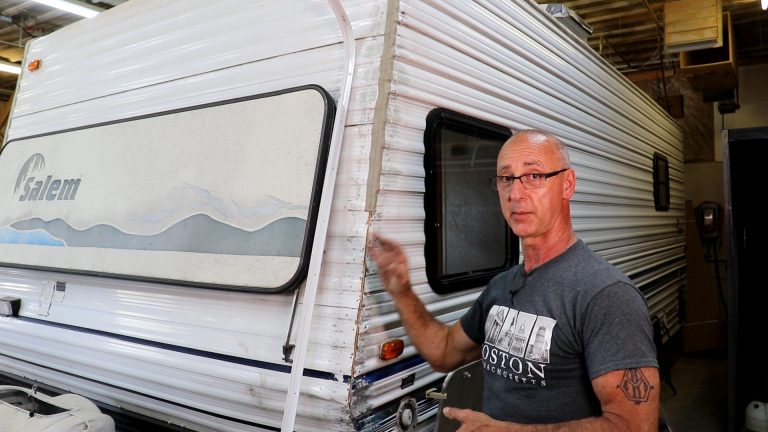
RV Refrigerator Repair: Cleaning a Burner Assembly
RV Lifestyle & Repair EditorsYou may not know that a number of RV refrigerator repair issues can be solved with basic and regular maintenance and some good cleaning. After going on a number of road trips and kicking up a whole lot of dirt along the way, it’s essential for your RV refrigerator’s efficiency and lifespan that you clean the components on the back of the unit that are most prone to buildup of grime and other things like spider webs.
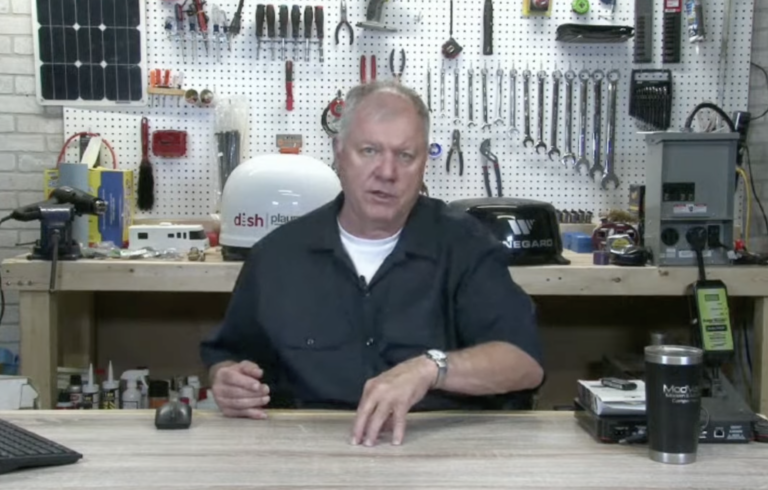
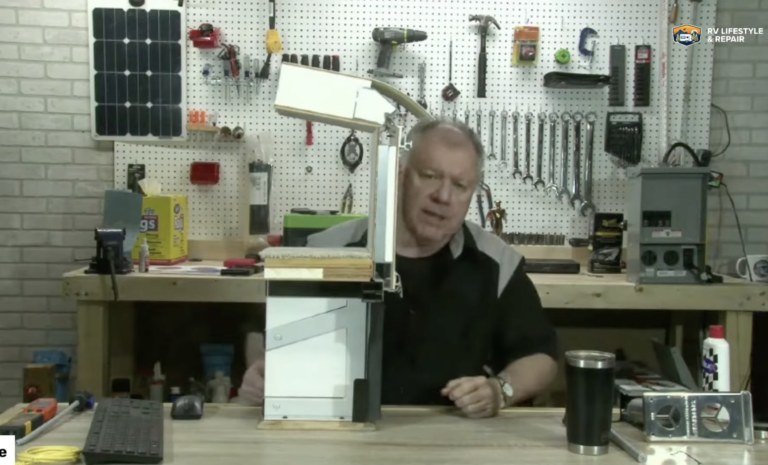
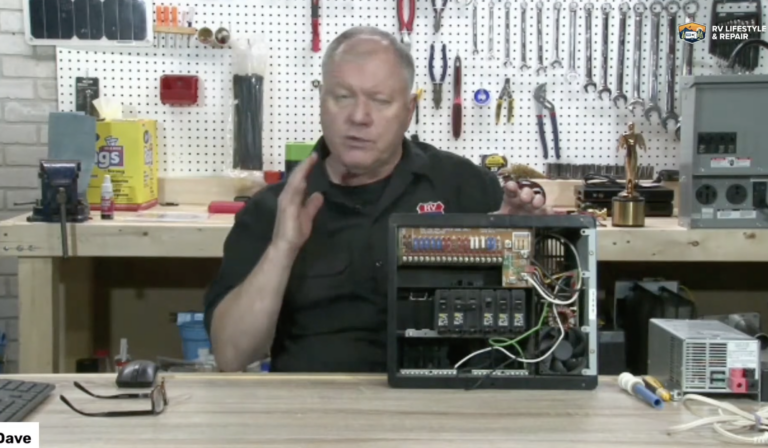
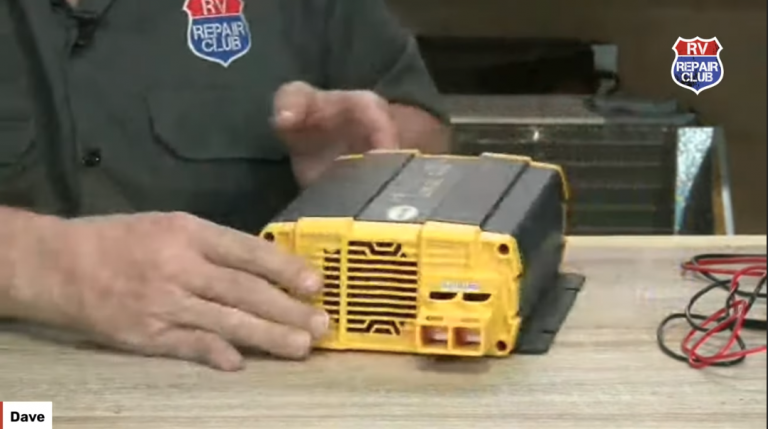
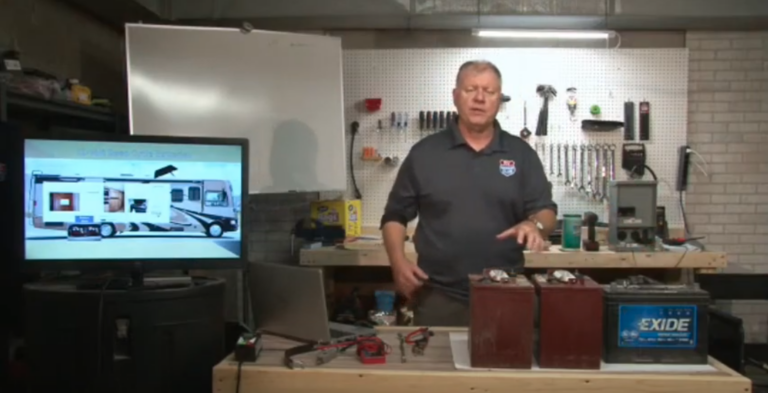
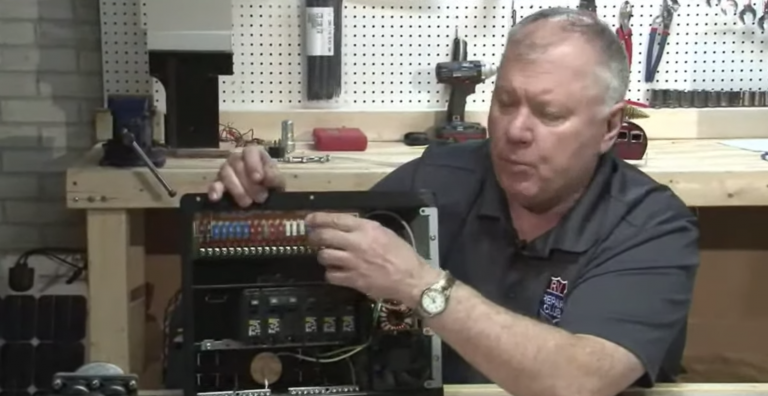
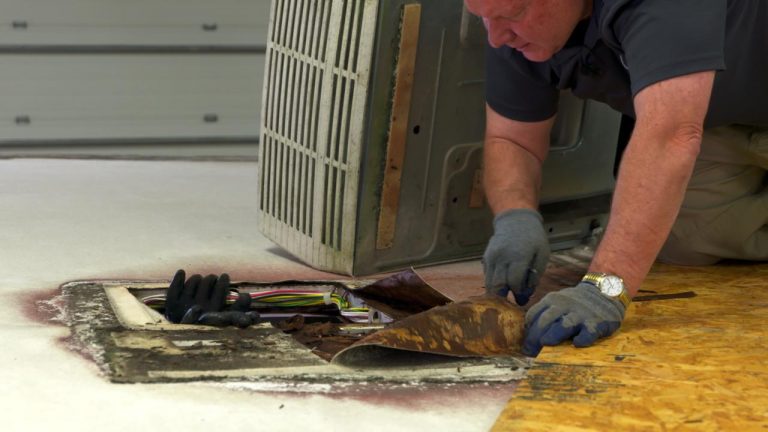
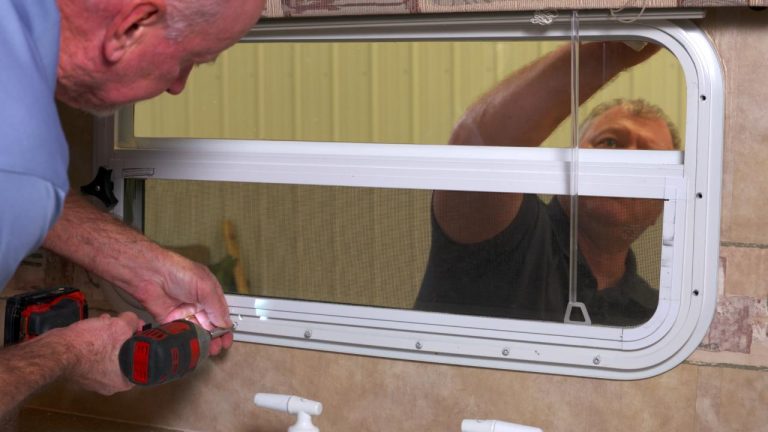
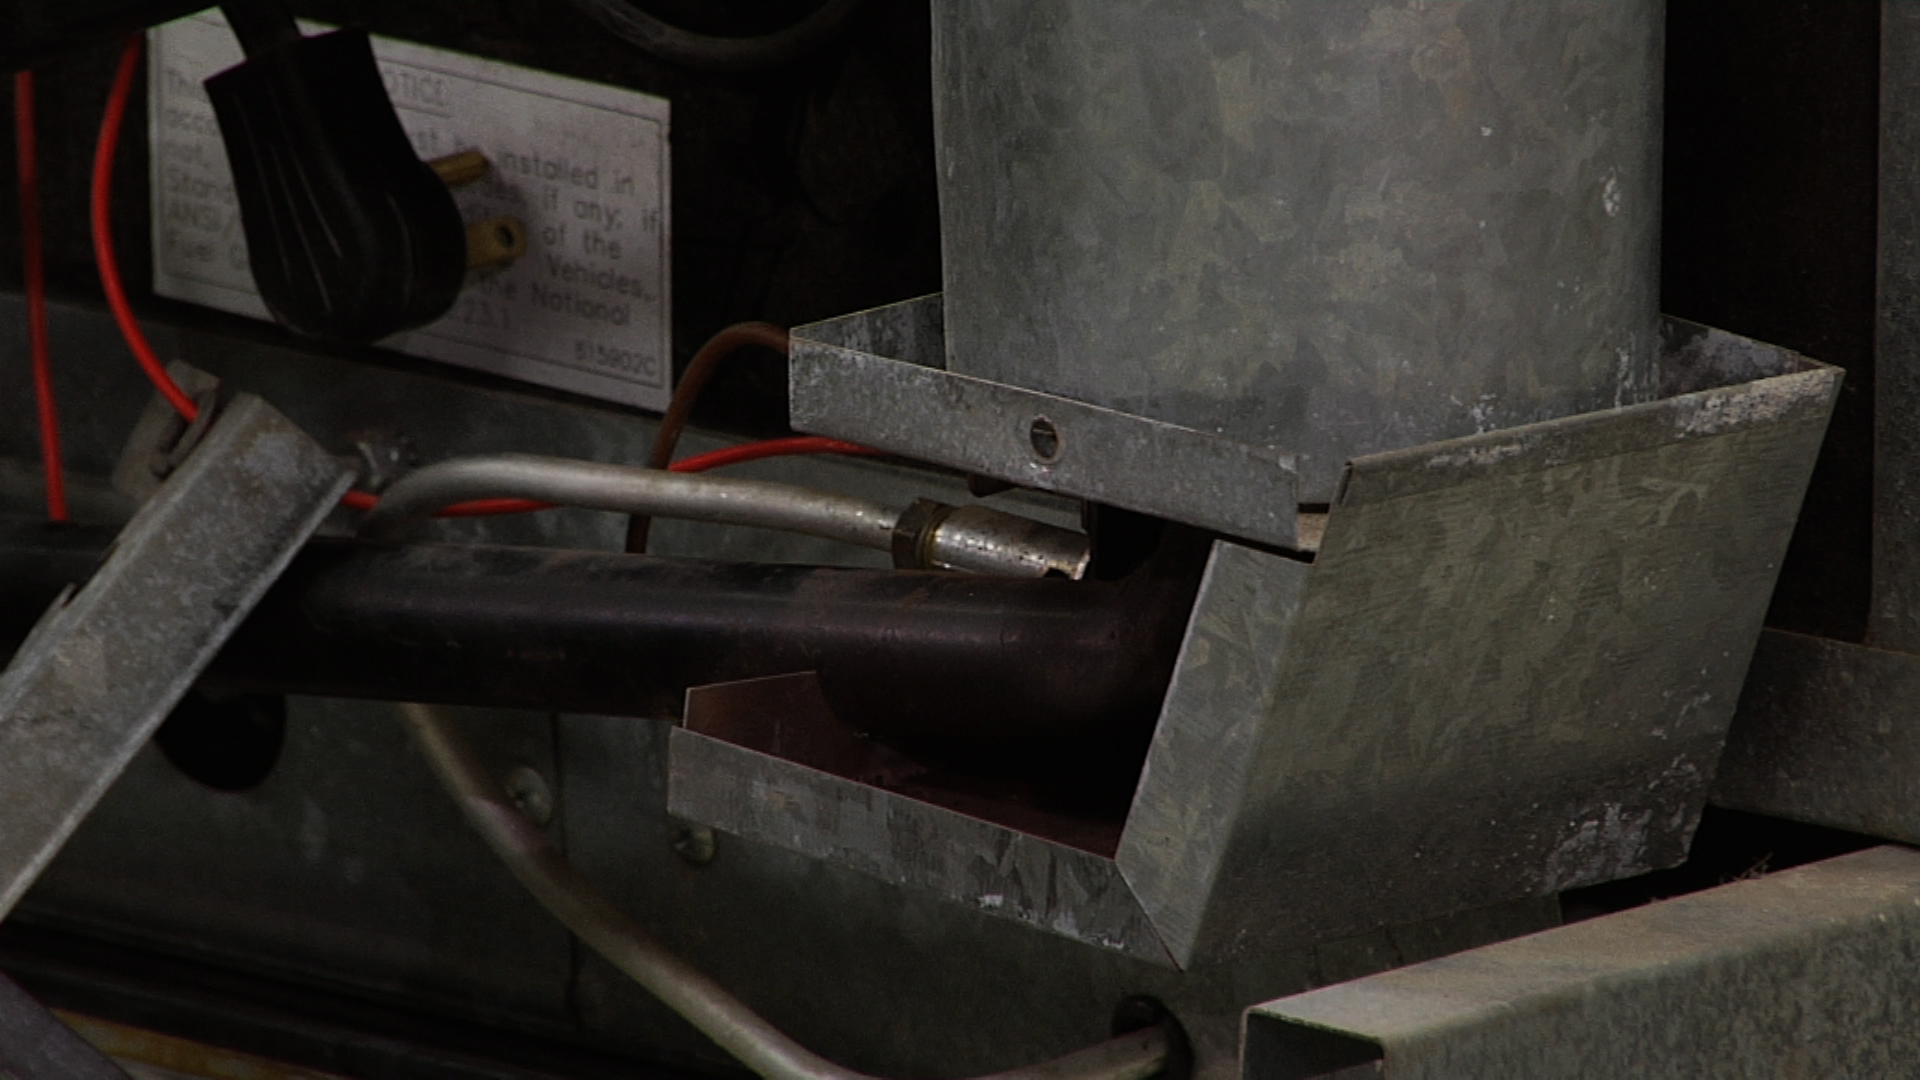
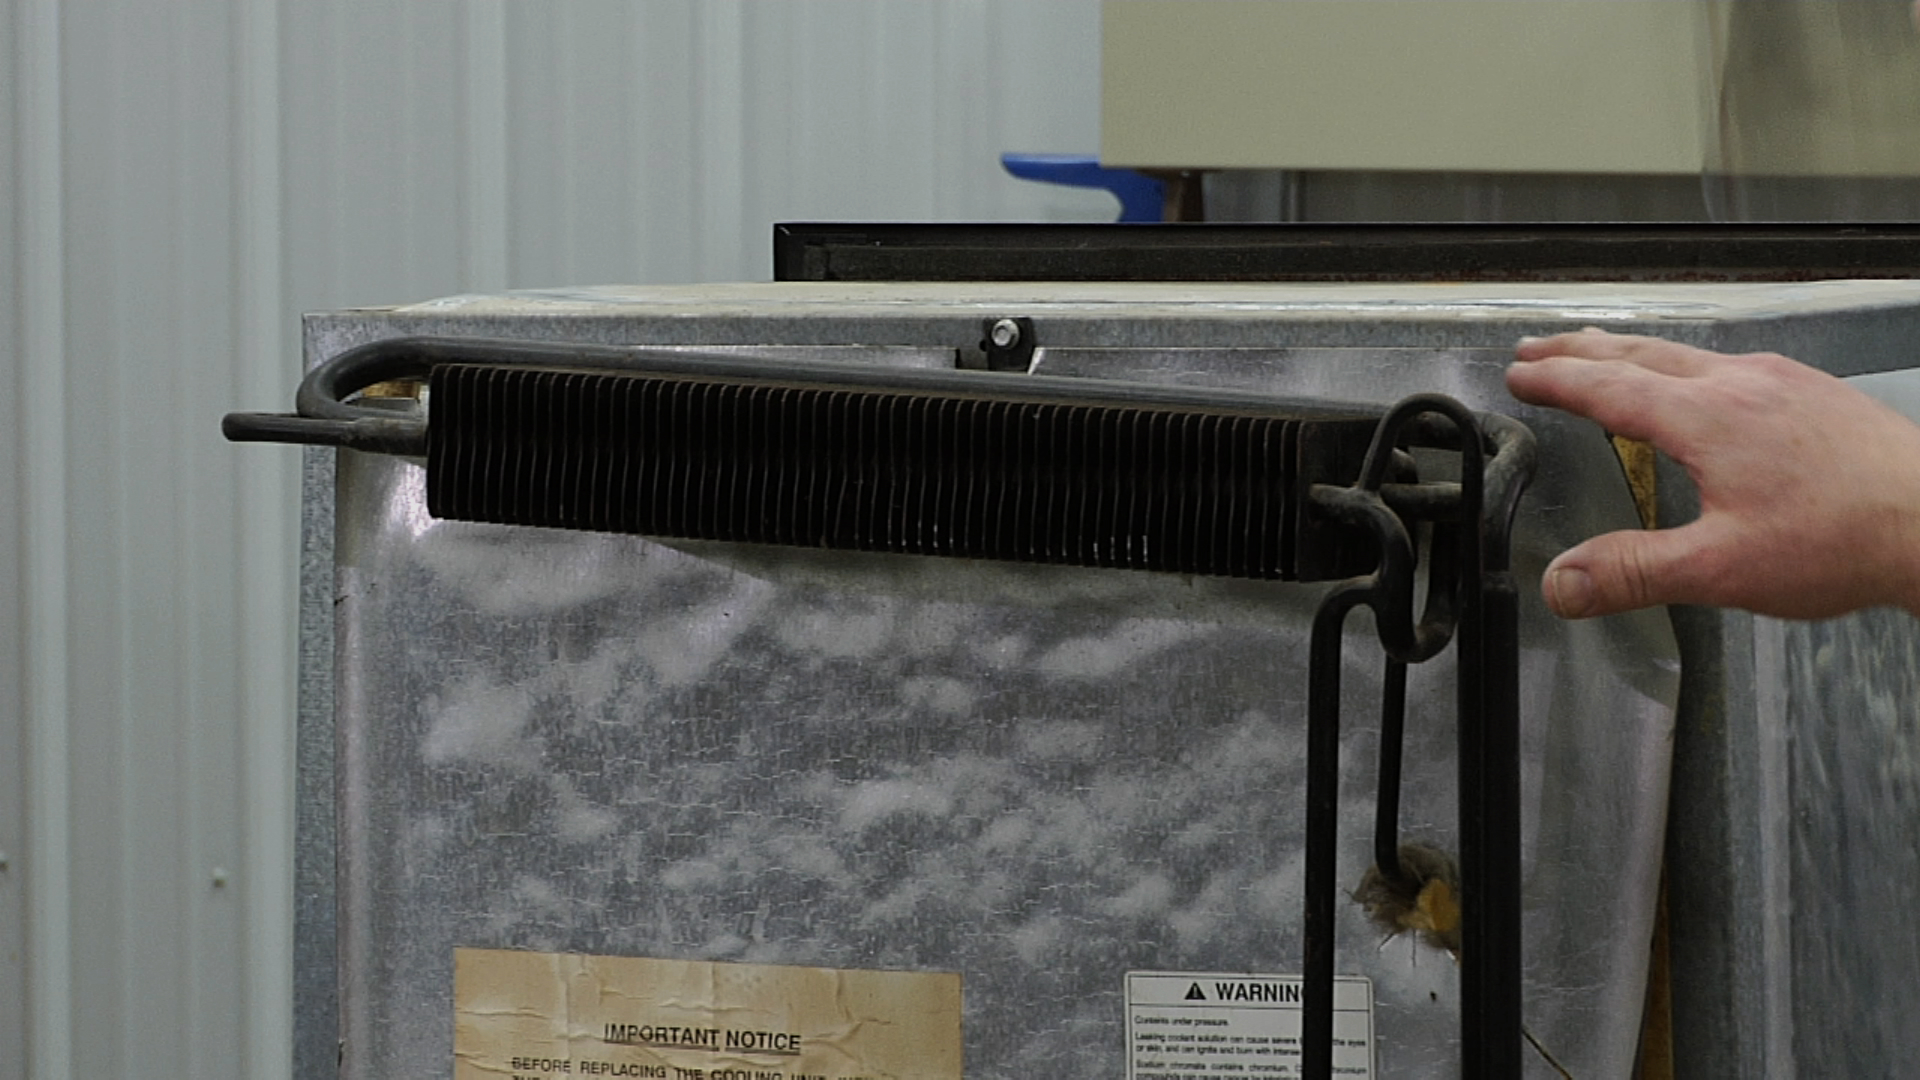
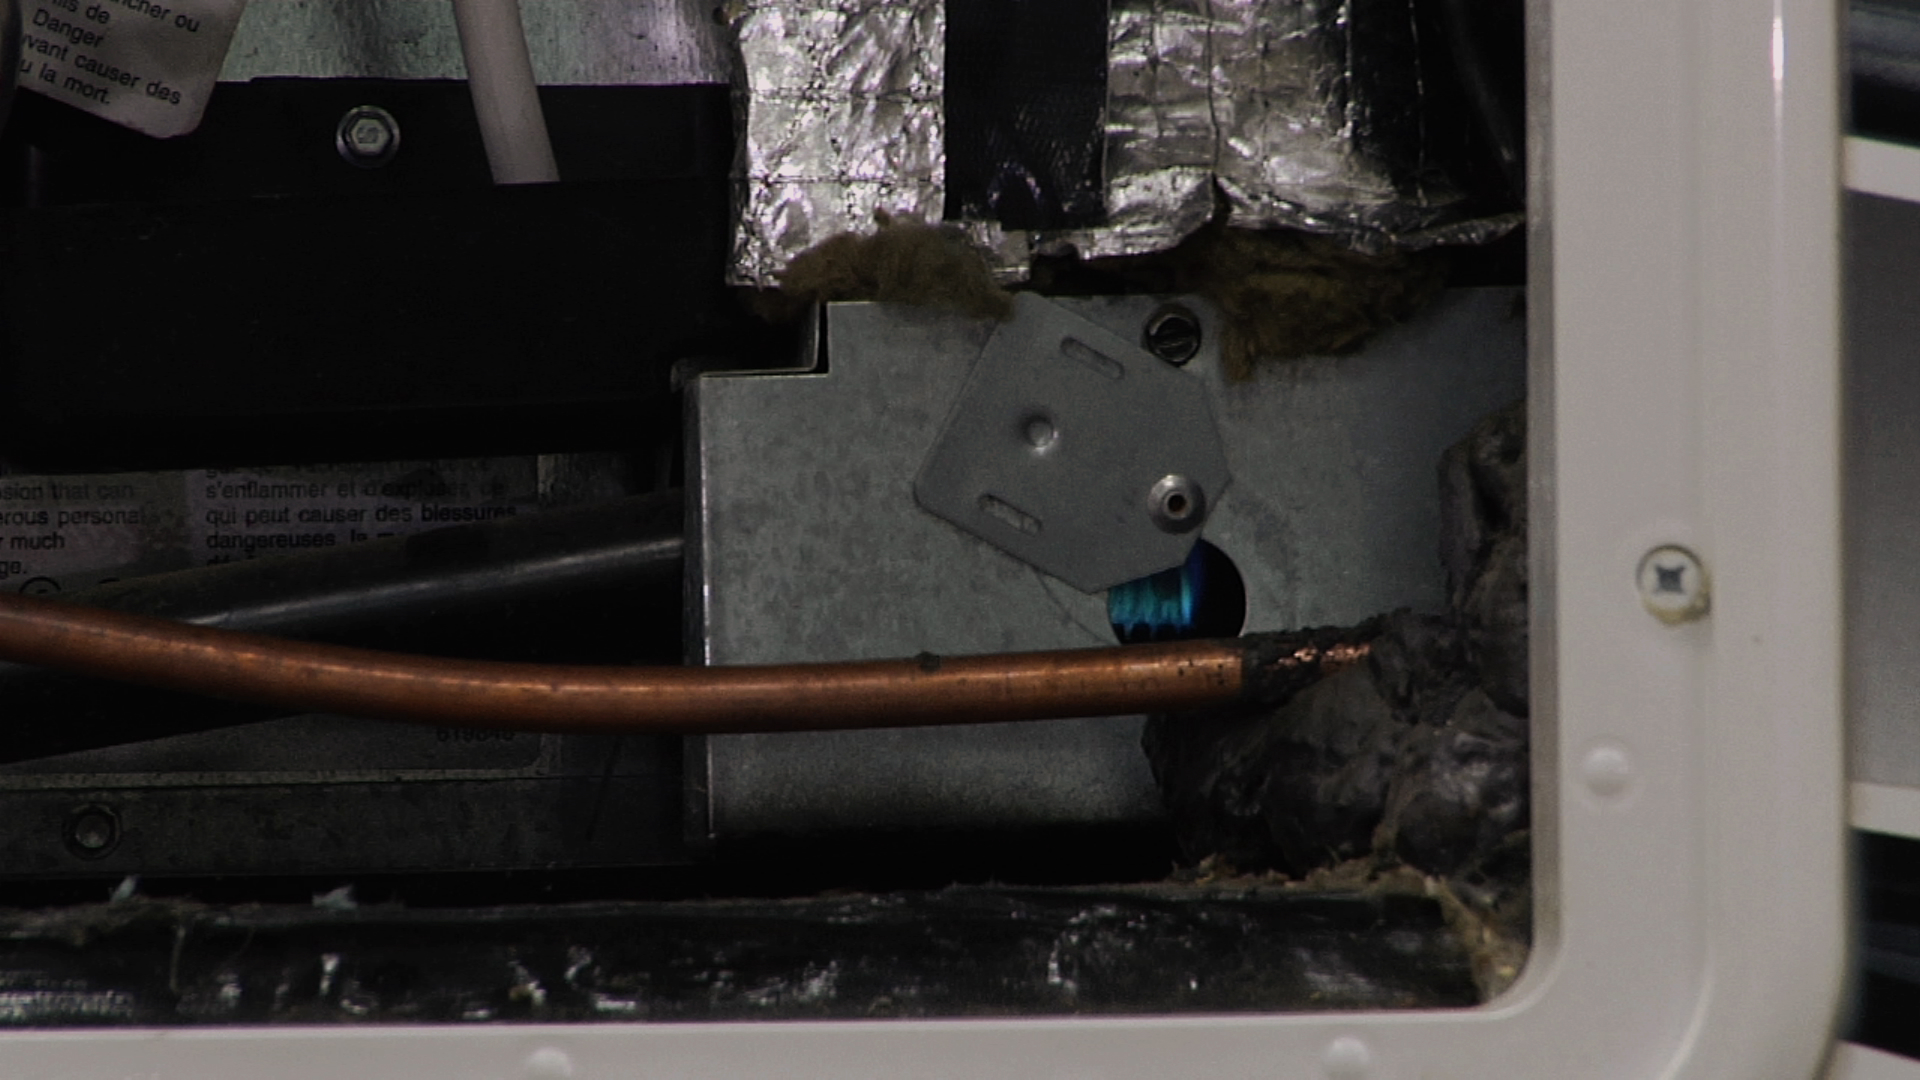
In this RV refrigerator repair demonstration, Dave Solberg teaches you how to disengage the housing around your model’s burner to clean a blocked or defective burner assembly, which is known to accumulate dust and grit that will hinder the burner’s ability to properly cool your unit and maintain a high level of efficiency.
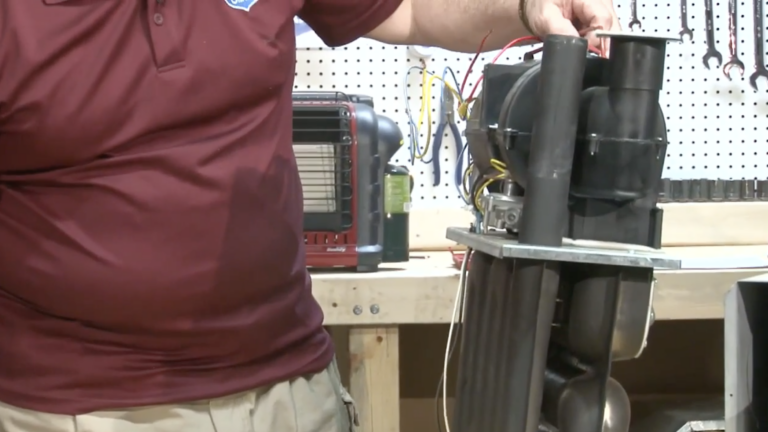
Dave walks you step by step through the RV refrigerator repair process necessary to carefully remove components such as the protective housing, spark ignitor and burner assembly without disrupting minor parts, some of which break easily and others you can’t afford to lose.
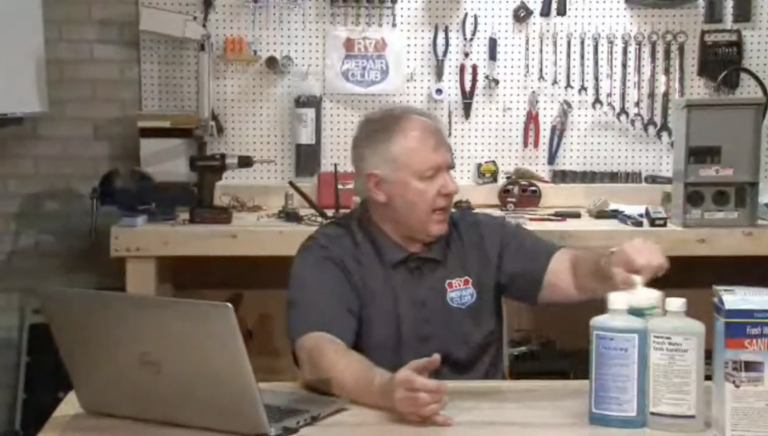
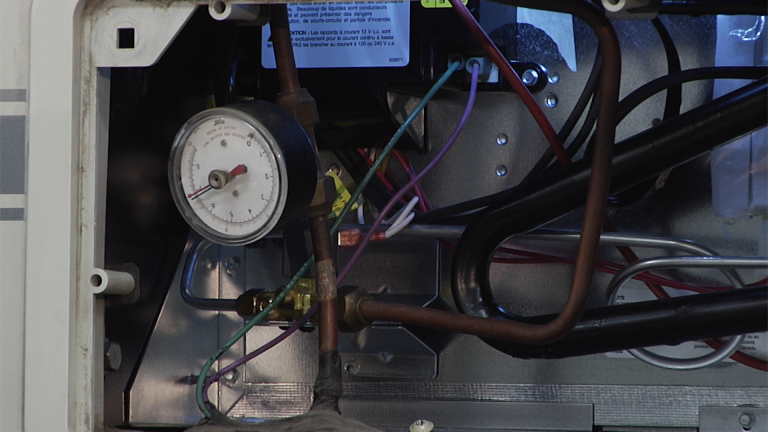
By looking inside the burner assembly, if you have a blocked component you’ll find dirt and dust that need to be removed in order to effectively ignite and hold a flame. RV refrigerator repair technicians will recommend that you use a wire brush to clean out the main tube, and dunk the orifice in a solution of rubbing alcohol and let it sit for a while.
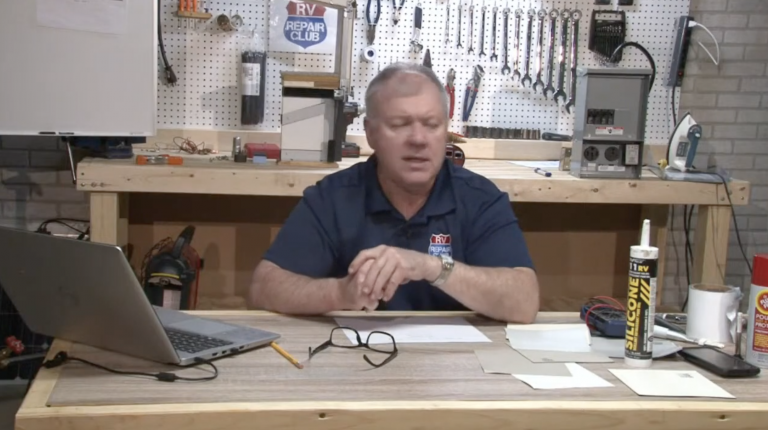
However, before removing all of these parts, some RV refrigerator repair experts say you should inspect your flame to see if it’s actually necessary to clean the burner assembly. If you have a yellow or faint orange flame, that means you have a buildup of rust and dust, which can be taken care of with a few bursts from an air compressor.
Explore videos by RV Lifestyle & Repair Editors


You may be interested in


Premium Membership
Unlock exclusive member content from our industry experts.
- 24/7 Access to Premium RV Maintenance Videos, Travel Inspiration, and Lifestyle Tips
- Step-by-Step Instructional Demos, Projects, and Guides
- 50% Off Video Downloads Purchased in the RV Lifestyle & Repair Shop
- Access to Ask the Expert Program
Unlock exclusive member content from our industry experts.
- 24/7 Access to Premium RV Maintenance Videos, Travel Inspiration, and Lifestyle Tips
- Step-by-Step Instructional Demos, Projects, and Guides
- 2 Full-Length Video Downloads to Watch Offline
- 50% Off Video Downloads Purchased in the RV Lifestyle & Repair Shop
- Access to Ask the Expert Program
Gold Membership
$333 Value
Get everything included in Premium plus exclusive Gold Membership benefits.
- 24/7 Access to Premium RV Maintenance Videos, Travel Inspiration, and Lifestyle Tips
- Step-by-Step Instructional Demos, Projects, and Guides
- 9 Full-Length Video Downloads to Watch Offline
- 2 Full-Length RV Repair Classes to Keep for Life
- Discounts on Purchase-to-Own Content in the RV Lifestyle & Repair Shop
- Access to Ask the Expert Program
- Exclusive GOLD LIVE Streaming Events
Share tips, start a discussion or ask one of our experts or other students a question.
Already a member? Sign in
No Responses to “RV Refrigerator Repair: Cleaning a Burner Assembly”