RV Roof Repair: Cleaning up Water Damage
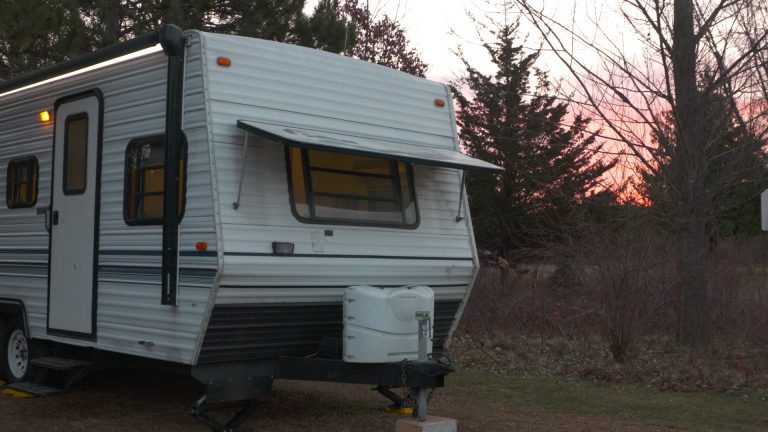
RV Lifestyle & Repair EditorsIf you don’t regularly inspect your RV roof, you might miss underlying damage that can be minor at first but eventually lead to major problems. In the case of one member’s 2007 Jayco 23B Jay Feather, standing water around the AC unit worsened into rotted roof ribbing, a completely soft membrane, and likely several thousand dollars worth of repairs. This kind of damage is not always easy to spot in the beginning, but you’ll certainly notice once it’s had time to take root!
What happens when water takes over your RV roof?
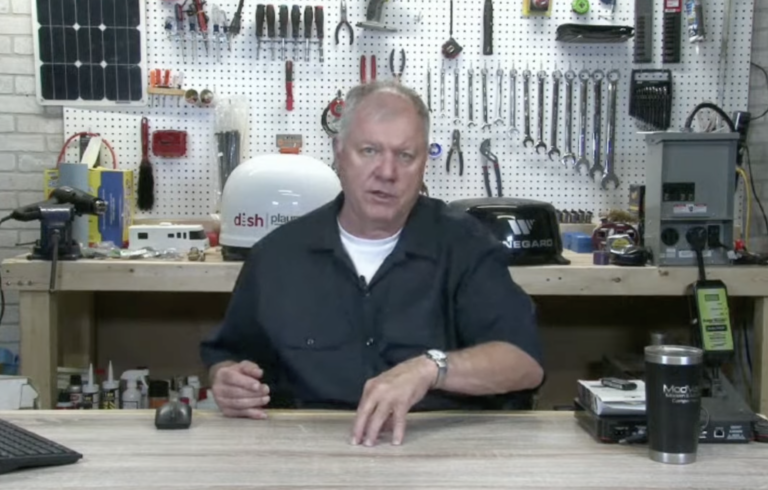
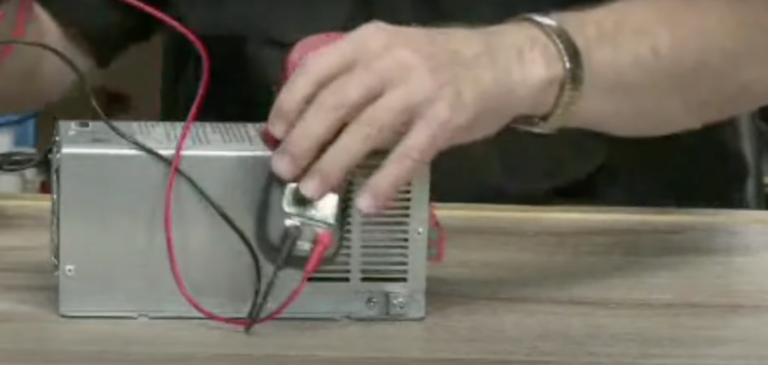
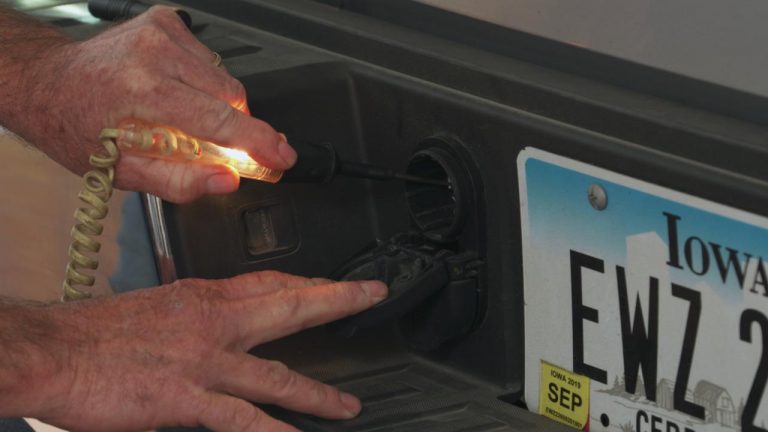
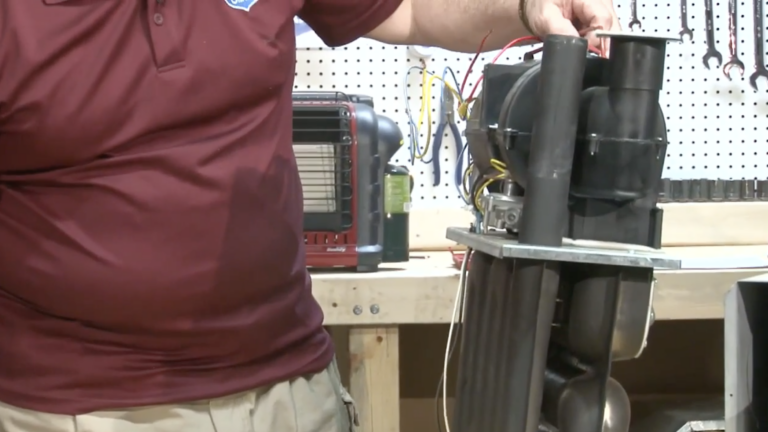
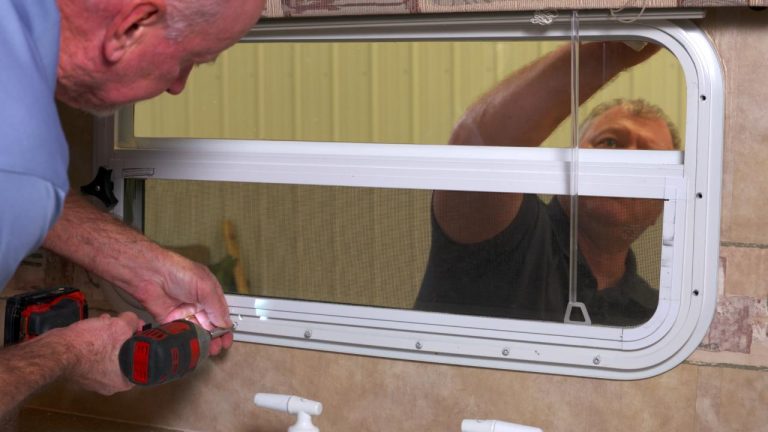
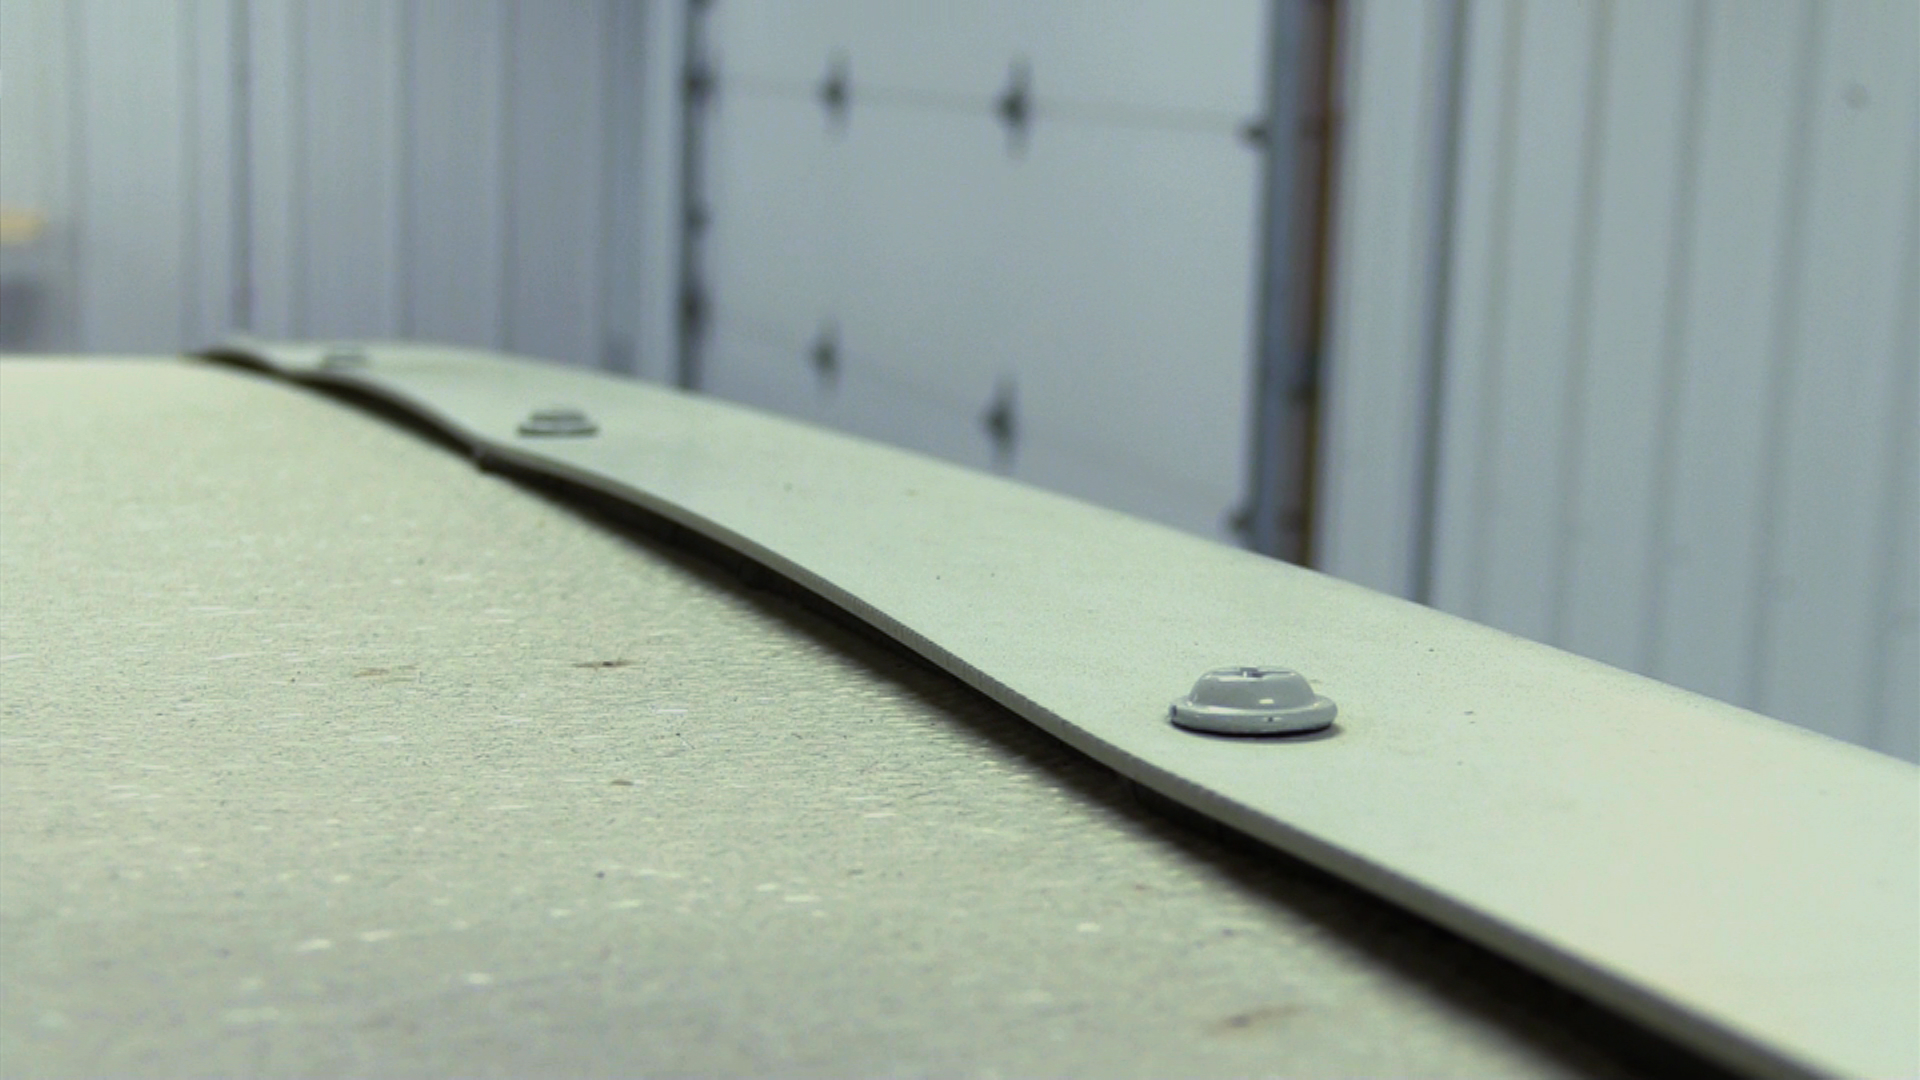
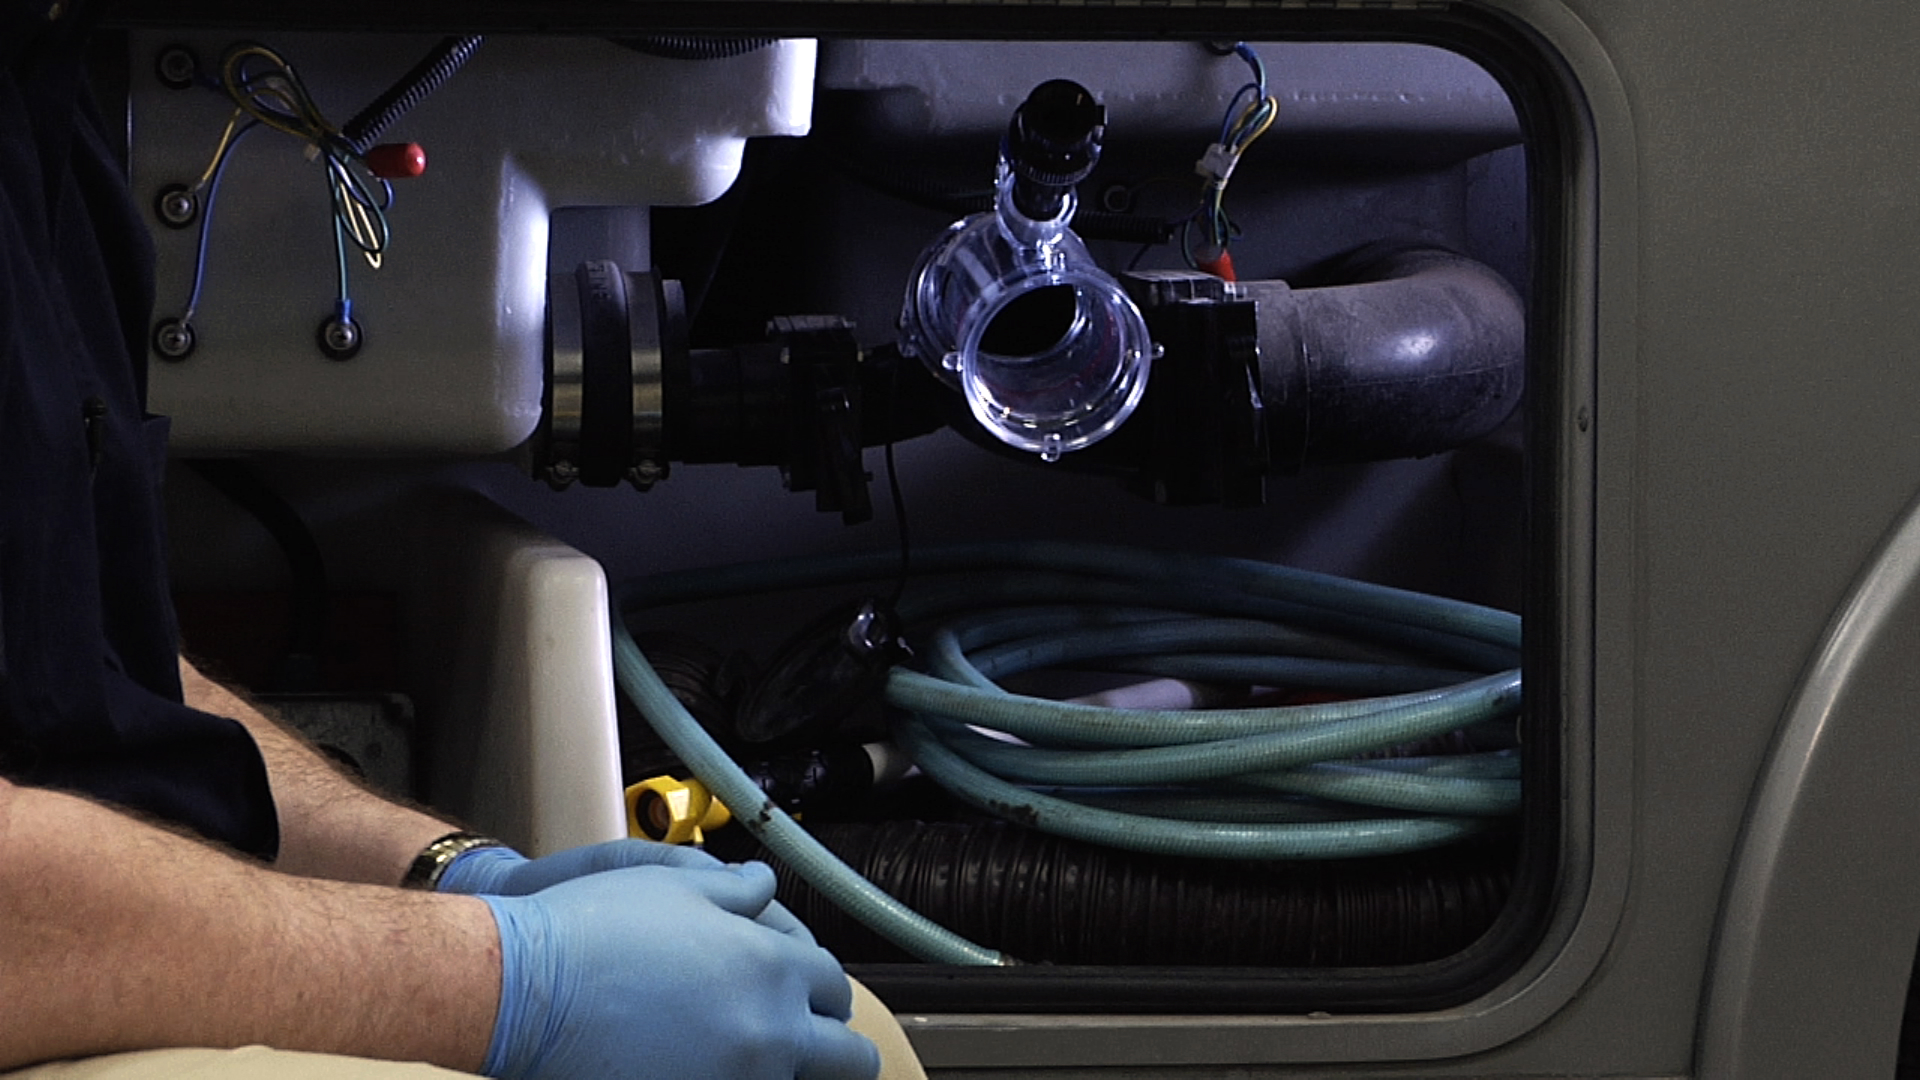
In this video demonstration, RV roof maintenance experts Dave Solberg and Steve Albright take a look at the full extent of the Jay Feather’s roof damage. They walk you through a thorough inspection, beginning by removing the roof antenna and then the AC unit from the inside to get a better view of the layers beneath the rubber membrane.
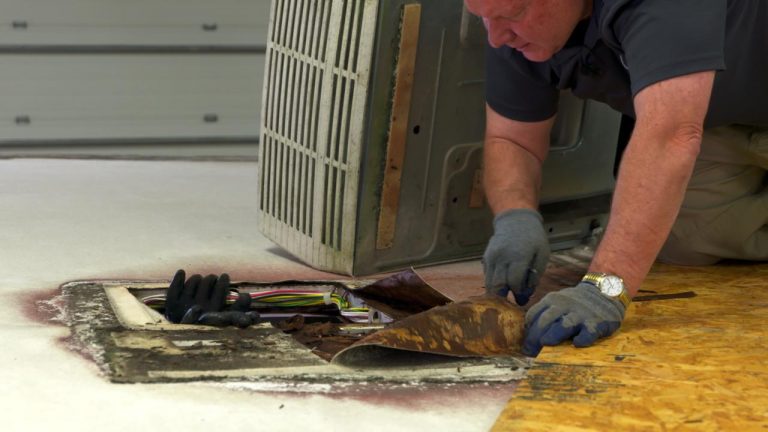
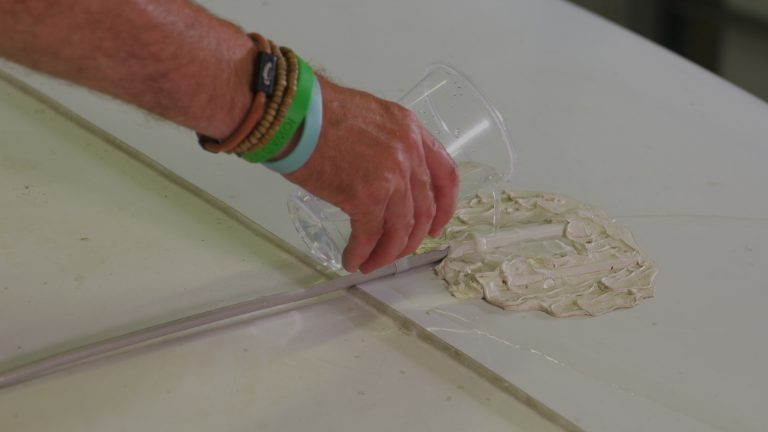
Once all of AC’s components are dismantled and the unit is pushed back from its opening, Dave and Steve discover a world of rot and disrepair. This type of RV roof utilizes a stick-and-tin rafter system, meaning there’s lots of wood that’s prone to water damage when left unchecked. The damage is immediately visible with the AC base set aside, and becomes even worse when Dave cuts into the membrane around the opening.
It’s hard to diagnose the full extent of roof damage until you’ve peeled the membrane all the way to the last signs of moisture. So that’s what Dave and Steve recommend for this vehicle: cut every bit of the membrane away, gut the wooden ribbing, and start fresh; if, of course, the cost of repair isn’t more substantial than the vehicle is worth. If that’s the case, you might just want to consider turning to your insurance provider.
Explore videos by RV Lifestyle & Repair Editors


You may be interested in


Premium Membership
Unlock exclusive member content from our industry experts.
- 24/7 Access to Premium RV Maintenance Videos, Travel Inspiration, and Lifestyle Tips
- Step-by-Step Instructional Demos, Projects, and Guides
- 50% Off Video Downloads Purchased in the RV Lifestyle & Repair Shop
- Access to Ask the Expert Program
Unlock exclusive member content from our industry experts.
- 24/7 Access to Premium RV Maintenance Videos, Travel Inspiration, and Lifestyle Tips
- Step-by-Step Instructional Demos, Projects, and Guides
- 2 Full-Length Video Downloads to Watch Offline
- 50% Off Video Downloads Purchased in the RV Lifestyle & Repair Shop
- Access to Ask the Expert Program
Gold Membership
$333 Value
Get everything included in Premium plus exclusive Gold Membership benefits.
- 24/7 Access to Premium RV Maintenance Videos, Travel Inspiration, and Lifestyle Tips
- Step-by-Step Instructional Demos, Projects, and Guides
- 9 Full-Length Video Downloads to Watch Offline
- 2 Full-Length RV Repair Classes to Keep for Life
- Discounts on Purchase-to-Own Content in the RV Lifestyle & Repair Shop
- Access to Ask the Expert Program
- Exclusive GOLD LIVE Streaming Events